 ジェルネイル実践記 編集部
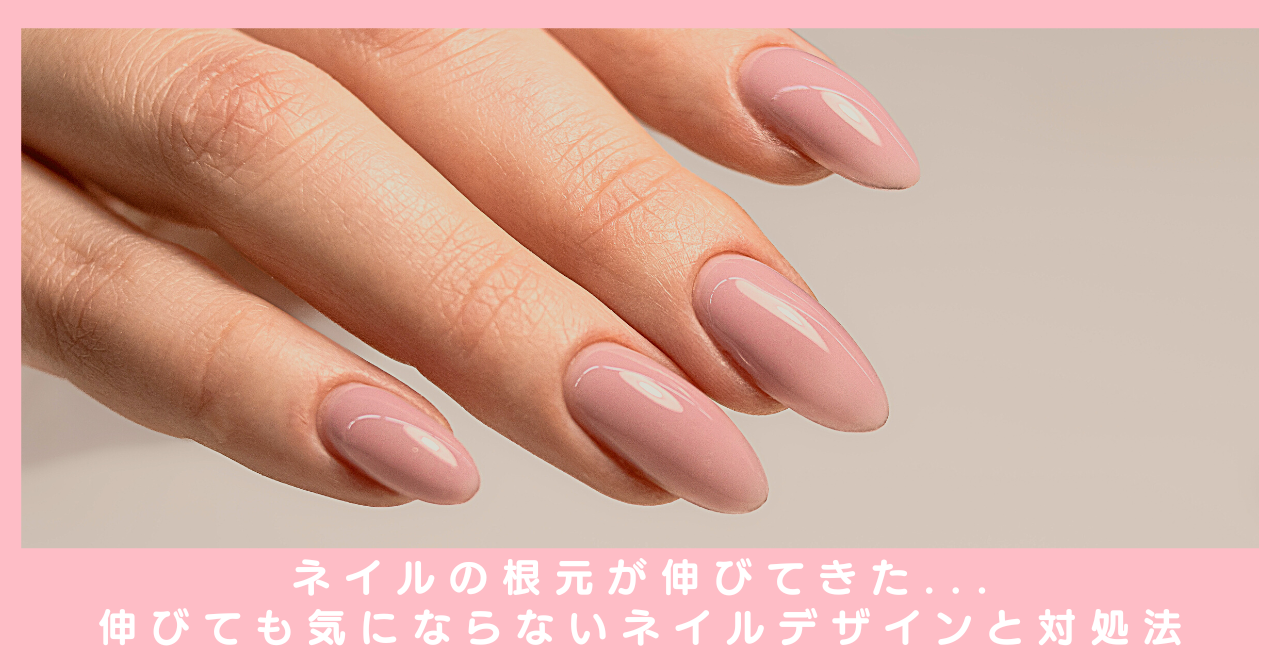
ジェルネイルが伸びてきたときに、根元が気になったことはありませんか?
 Ami
Ami自爪とネイル部分の境目が目立って、汚く見えてしまうこともあります。
根元の伸びが気にならないネイルデザインで、美しい見た目をできるだけ長く楽しめる方法をご紹介します。
コンテンツリード・編集

ジェルネイル実践記編集部
ジェルネイル実践記の編集部です。編集部では、主にネイリスト様とやり取りをして記事の編集や商品選定を行っています。おかげさまでジェルネイル実践記は4年目を迎え、少しずつ成長しています!これからもどうぞよろしくお願いいたします。
コンテンツの監修含む手順・ポイント・画像提供等

ami
【JNECネイリスト検定1級】と【JNAジェルネイル検定上級】保持。ネイリスト資格取得後、現場では6年勤務。新店舗の立ち上げや指導等も経験。現在は専業主婦で友人などにネイルを施す日々を過ごす。
根元が気になってくる時期は?
 Ami
Amiジェルネイルは一般的に3〜4週間で付け替えるのが理想です。
爪は1ヶ月で約3mm伸び、伸びた分の自爪部分が見えてきてしまいます。
ちょうど2週間を過ぎたあたりから根元の自爪部分が多くなり、ジェルネイルとの境目や段差が目立ってきます。
2週間ほどでフィルイン(お直し)する方法もありますが、毎回フィルインをすることは難しいです。
ジェルネイル実践記 編集部根本が目立つようになると、見栄えが半減してしまいますよね。
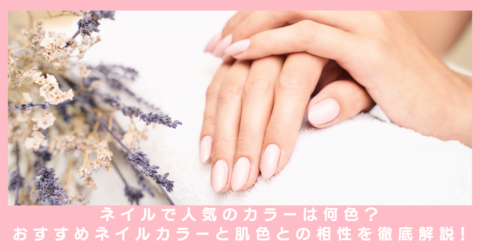
根元が気になりにくいカラー
 Ami
Ami伸びても気にならないカラーは大きく分けて2つあります。
- 根元がクリアなデザイン
- 根元がベージュまたはピンクカラーのデザイン
Ami根元をクリアにしておくと、伸びたときも境目が目立ちにくいです。
根元がクリアなデザインは多くあるので、好みのデザインが選べます。
 Ami
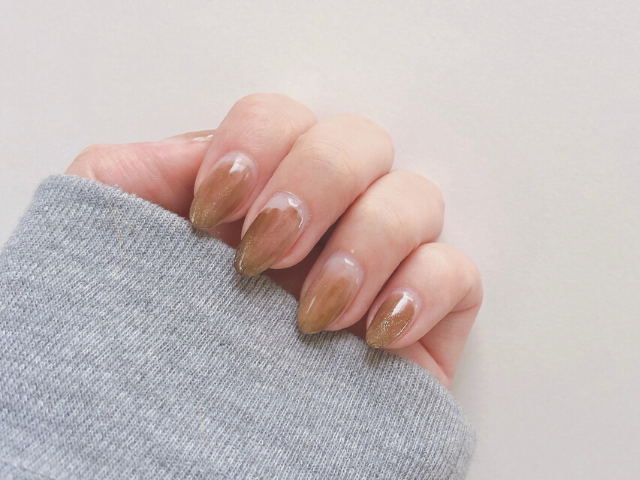
Amiヌーディなピンクベージュ系カラーも、目立ちにくいカラーです。
クリアほどではないですが、自爪や肌の色に馴染み、伸びても気になりにくいです。
ジェルネイル実践記 編集部これらのカラーなら、確かに爪が伸びても目立ちにくそうです。
伸びても気にならない人気デザイン
Ami伸びても気にならないデザインに共通するのは、「根元にクリア感があること」です。
どうしてもワンカラーのように根元にカラーを入れたい場合は、ピンクベージュ系を選びましょう。
- フレンチ
- グラデーション
- 塗りかけネイル
- ナチュラルなニュアンスネイル
- クリアベースデザイン
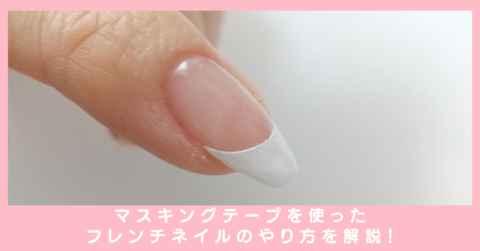
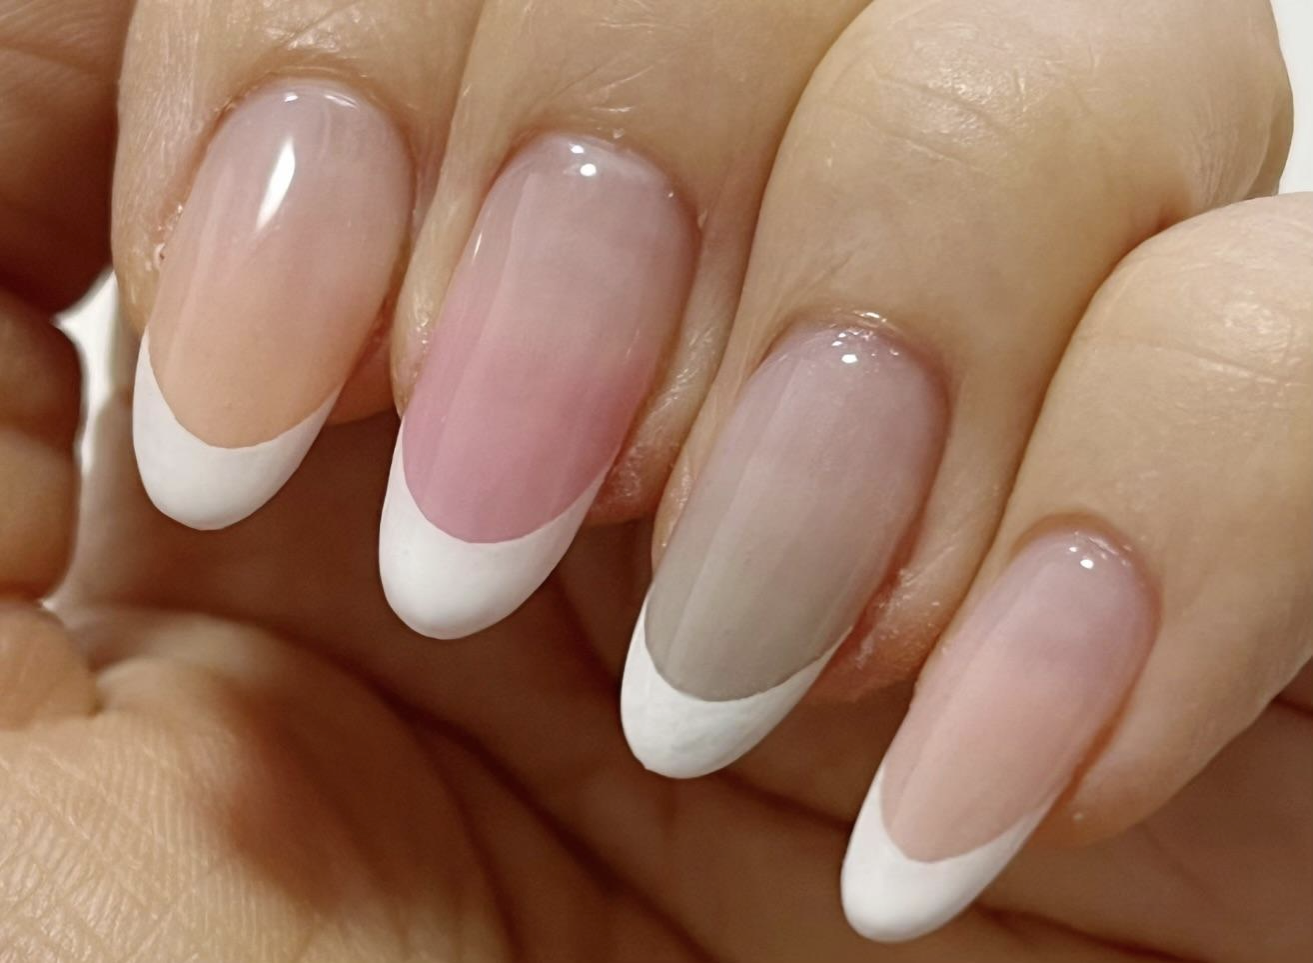
フレンチ
 Ami
Ami王道人気のフレンチネイルは伸びても気になりにくく、付け替えまで美しいデザインが楽しめます。
ベースカラーを仕込むバーチャルフレンチにしておくと、自爪のイエローラインが見えず、よりきれいな状態を保つことができます。
変形フレンチやハーフフレンチ、逆フレンチなども同じく、伸びたとき目立ちにくいデザインです。
ジェルネイル実践記 編集部付け替えるときまで根本が気になりにくいのはうれしいですね!
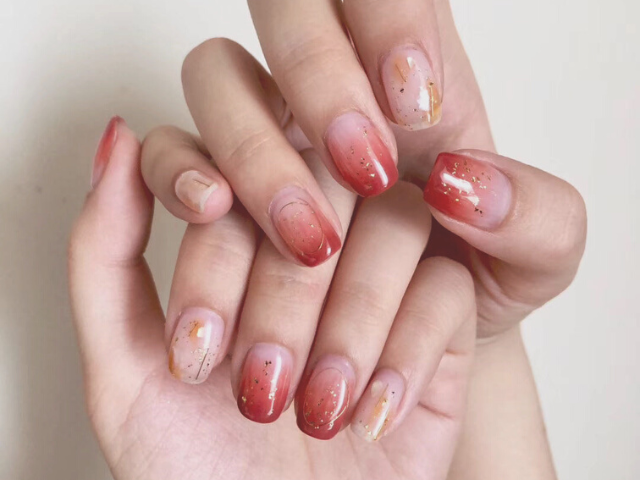
グラデーション
 Ami
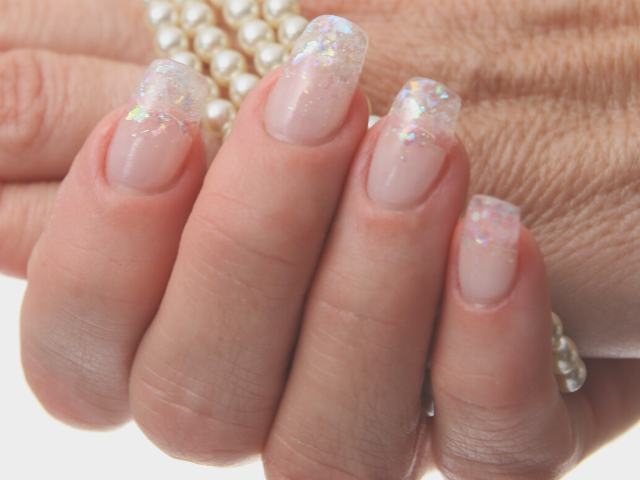
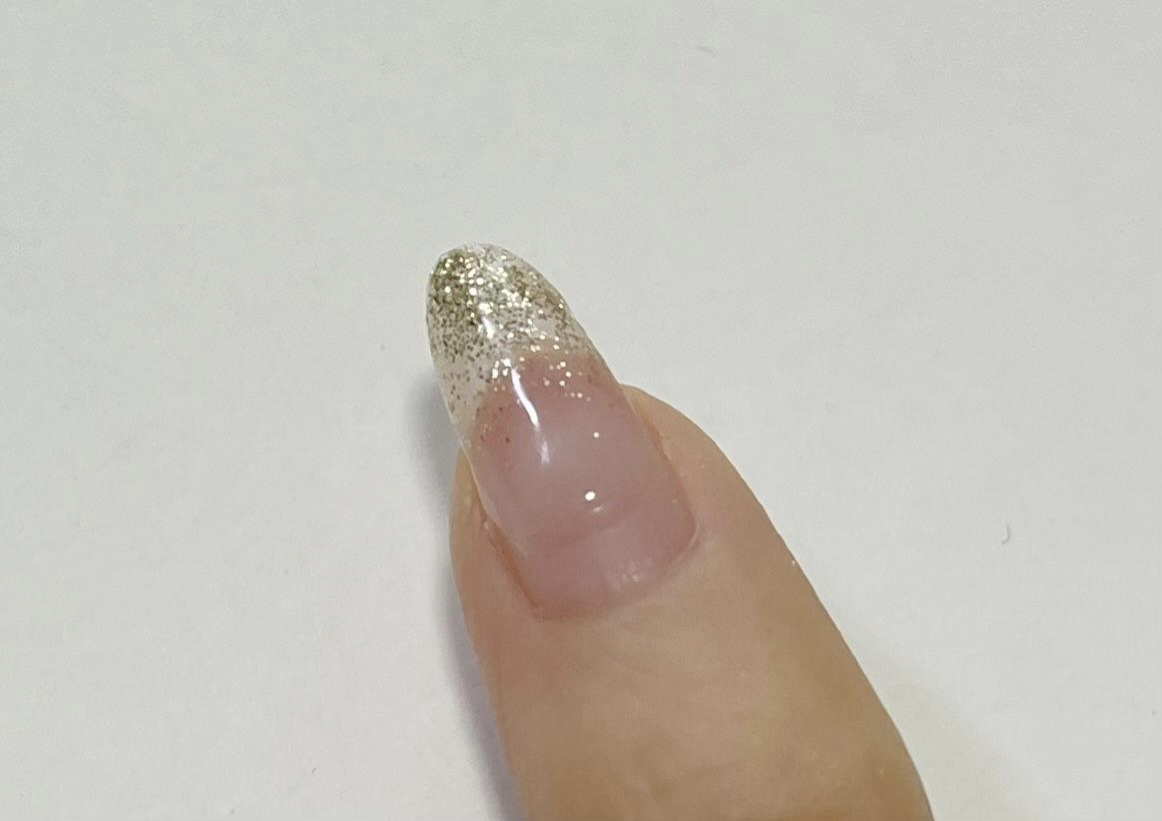
Amiこちらも定番人気のネイルデザインです。
先端から根元に向かってナチュラルに馴染んでいくデザインは、指先を美しく見せるだけでなく、どんなシーンにもマッチしてくれます。
ラメグラデーションも根元がクリアになるので、カラーと同じく伸びても目立ちにくいです。
ジェルネイル実践記 編集部自爪が乾燥しないように意識しましょう!
塗りかけネイル
 Ami
Ami中心から先端部分に塗りかけデザインを施すと、根元はクリアに仕上がります。
個性的でおしゃれな雰囲気を演出しつつ、伸びても気にならないといったメリットがあります。
ジェルネイル実践記 編集部これならさまざまなカラーの組み合わせが楽しめますね!
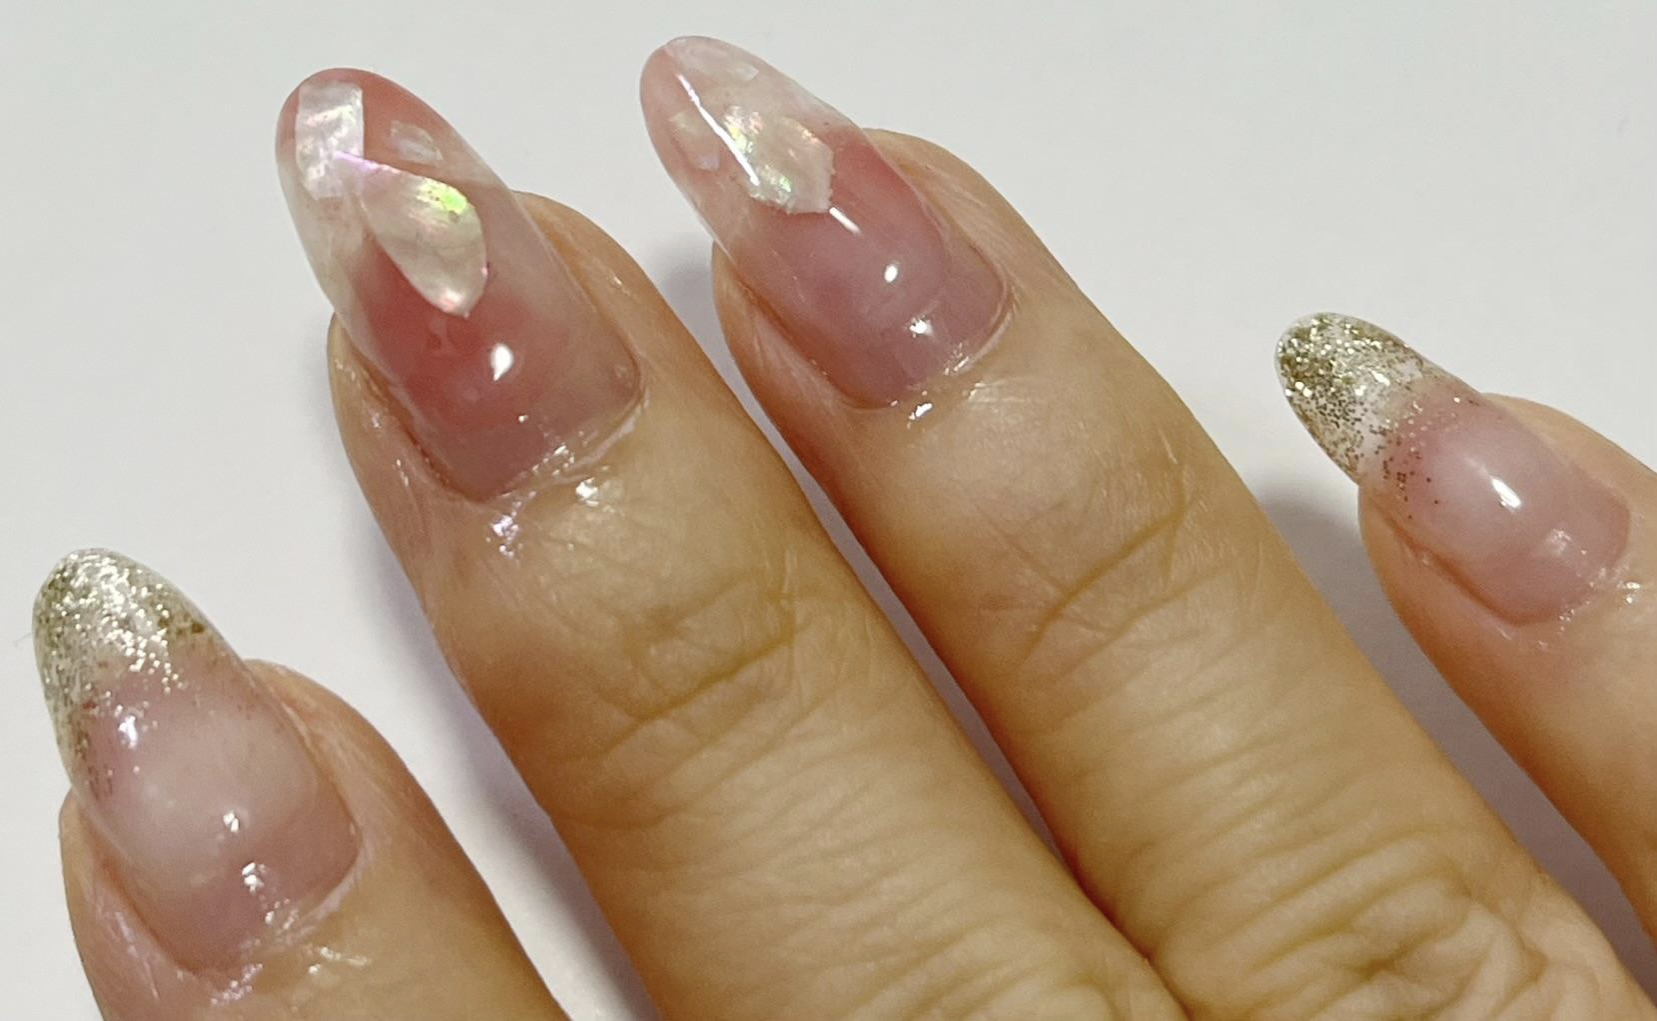
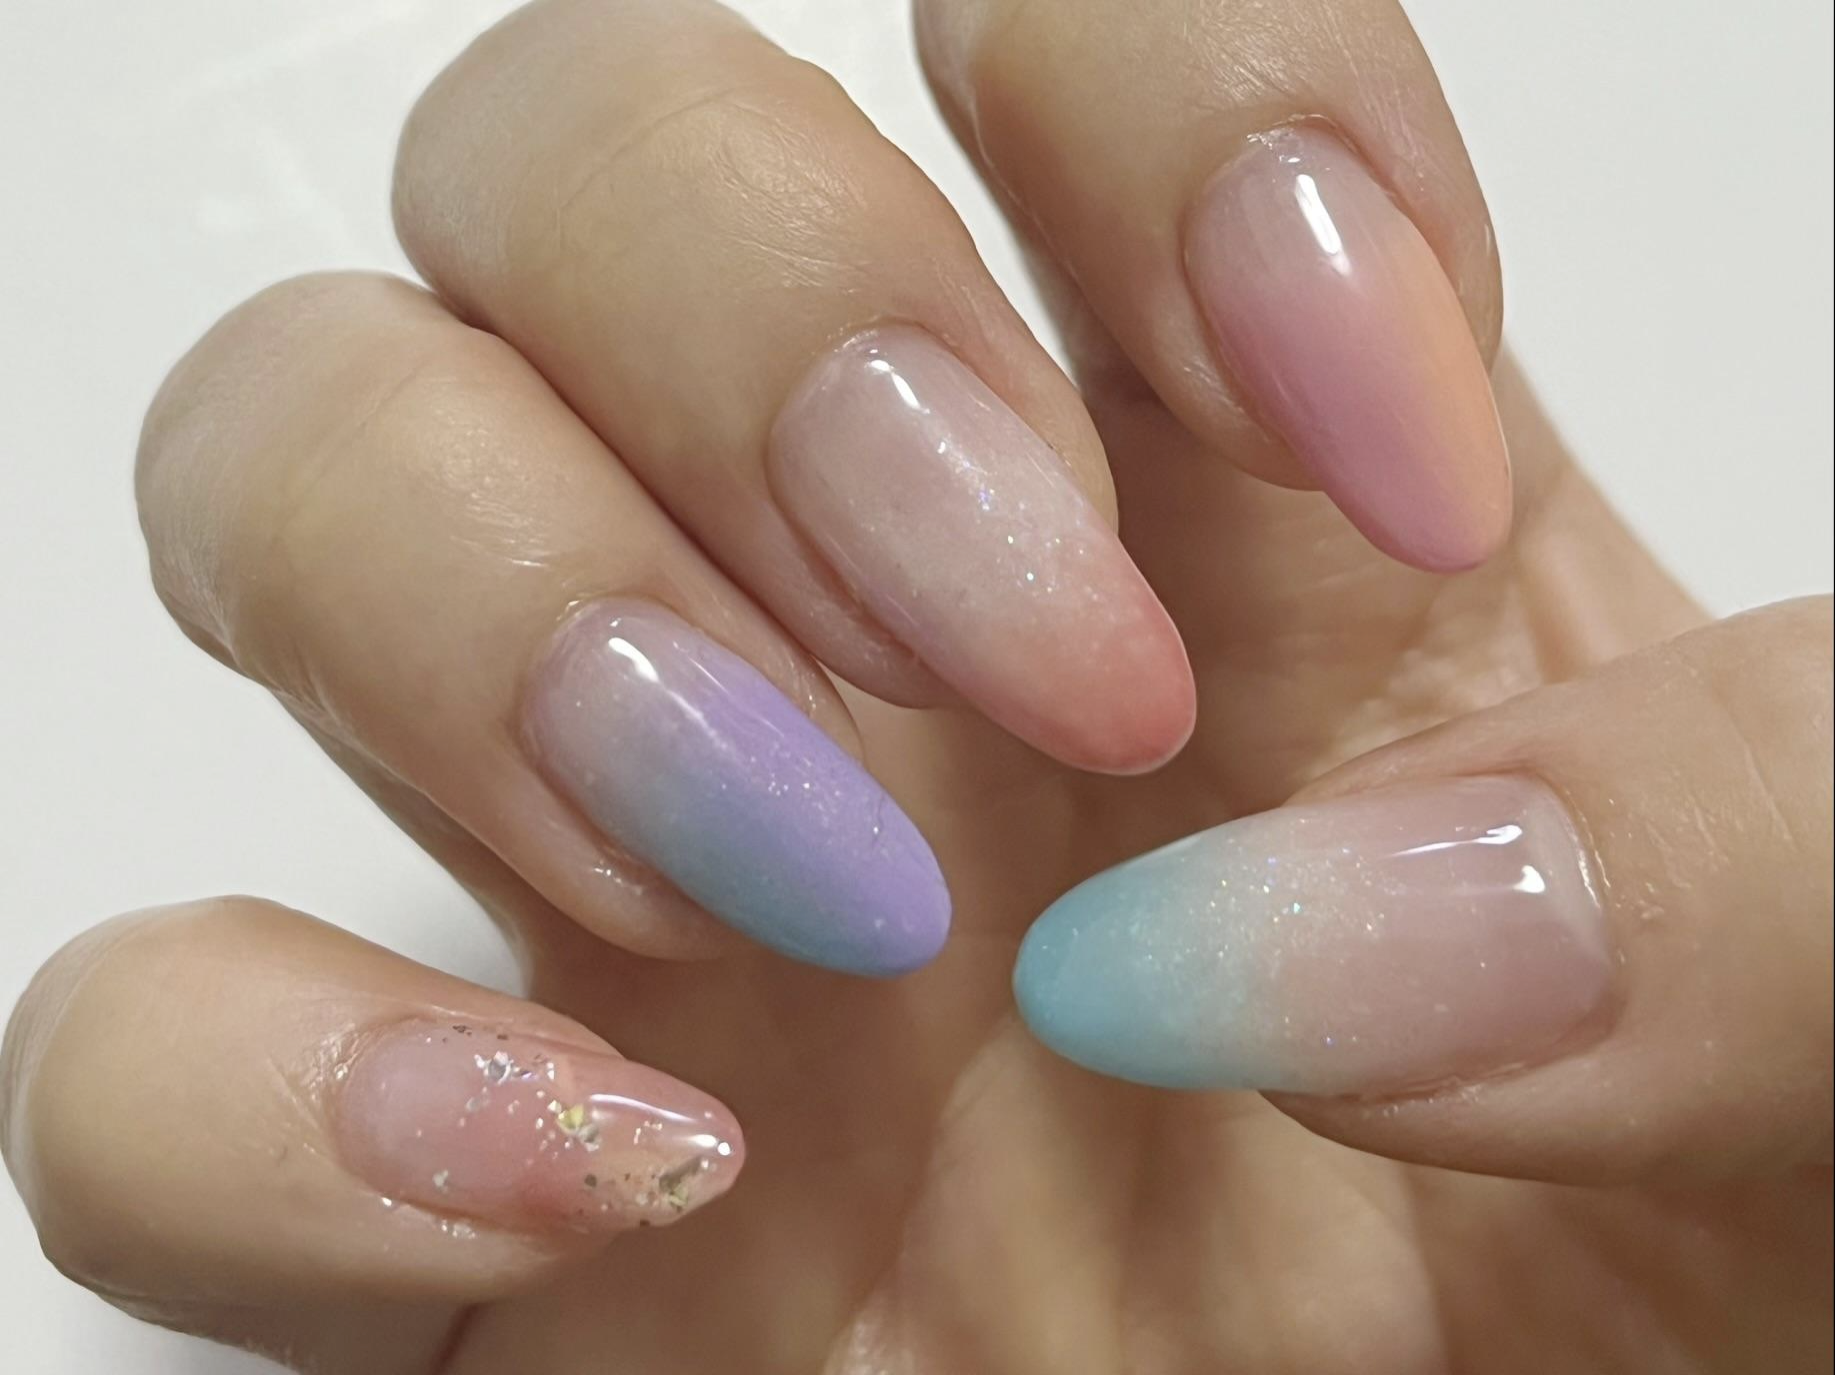
ニュアンスネイル
 Ami
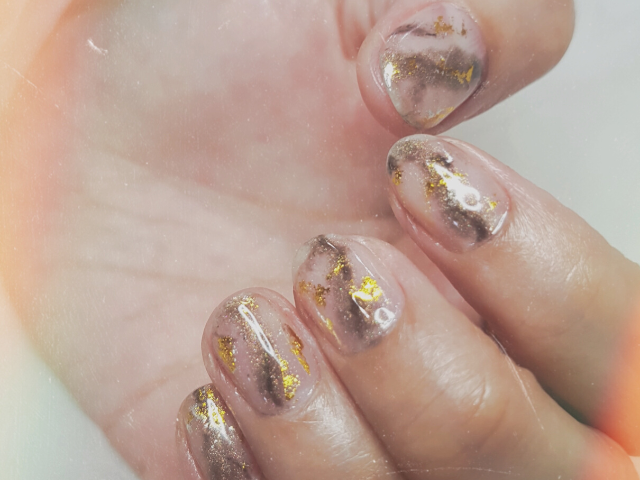
Amiランダムなニュアンスネイルをナチュラルカラーで作りあげると、肌馴染みが良くなります。
ぼわっと抜け感のあるデザインと、まだらなカラーの入り方が、境目を目立ちにくくしてくれます。
ジェルネイル実践記 編集部流行りのデザインがかわいいですね!
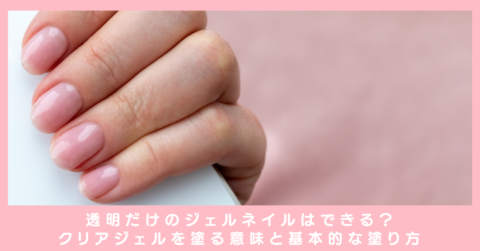
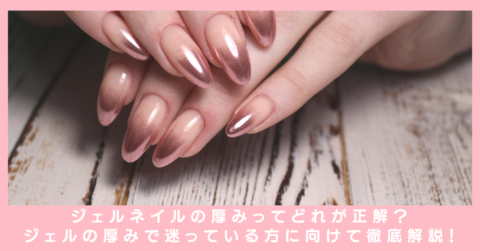
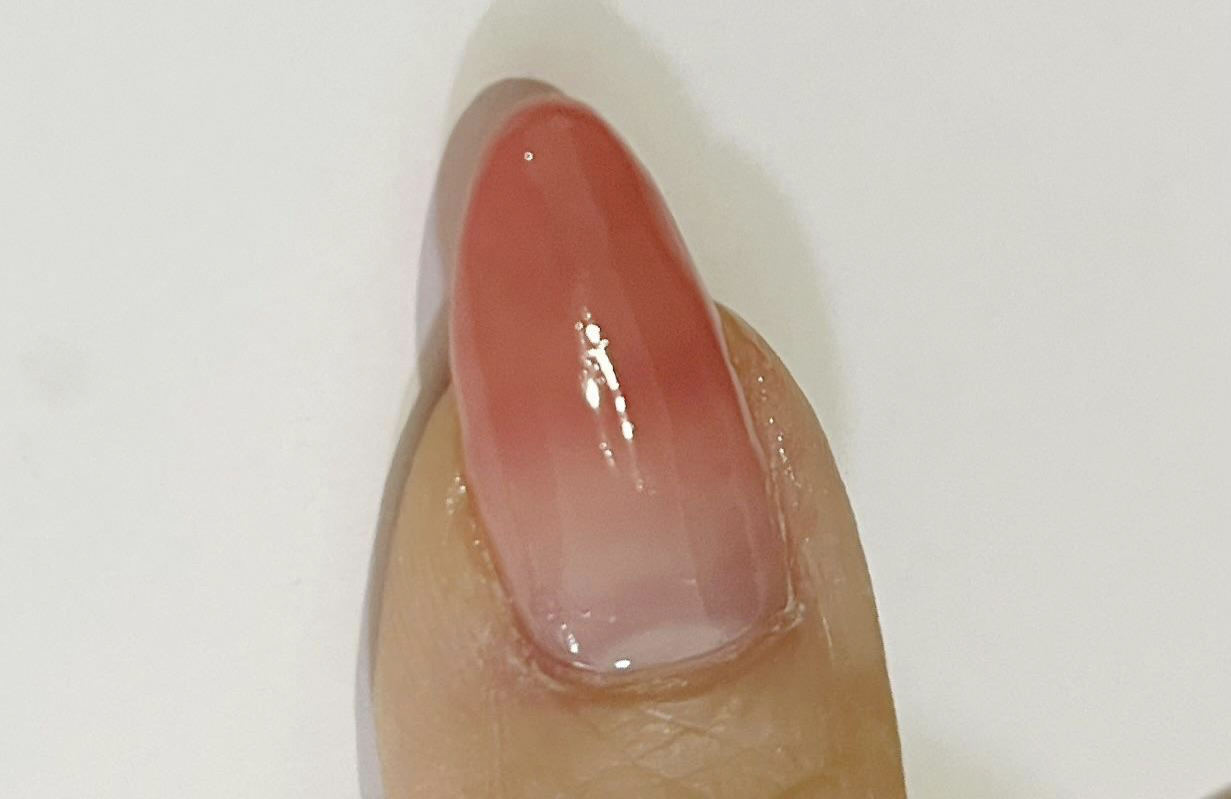
クリアベース
 Ami
Ami全体的にカラーよりクリアの割合が多いデザインも、伸びたときに分かりにくいです。
ちゅるっと透明感のある印象に仕上がり、シアーな色合いで柔らかい雰囲気が楽しめます。
発色の良いカラーのワンカラーは、根元のラインがくっきりと表現されるので、根本の伸びが気になる方にはおすすめしません。
ストーンやパーツ類を根元に並べるデザインも、伸びた部分がハッキリと分かってしまいます。
ジェルネイル実践記 編集部クリア感を意識するのが大切ですね!
カラーとデザイン以外にできること
Ami根元部分のジェルの厚みを意識することも大切です。
根元付近に厚みがあると、日が経つごとにジェルと自爪の境目が分かりやすく目立ってしまいます。
引っかかる原因にもなりますので、コーティングの際はなるべく根元ギリギリは薄めに仕上げておくと良いでしょう。
 Ami
Amiジェルネイルを施してから時間が経つと、根元の甘皮が目立つこともあります。
甘皮を放置しておくと根元が汚く見えてしまい、より伸びた部分が気になってしまいます。
ネイルオイルやクリームで日常的にケアしておき、甘皮周りを保湿しておくのがおすすめです。
ジェルネイル実践記 編集部日頃からケアすることで、ネイルのもちもよくなりますね。
どうしても根元が気になったときは
Ami付け替えまでの間にジェルと自爪の境目が、どうしても気になってしまう場合の方法です。
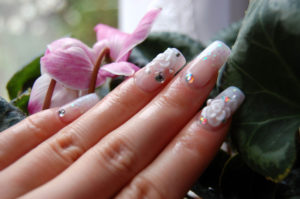
根元にパーツ類を乗せる
Ami根元の自爪部分とジェル部分、全体的にサンディングをしたあと、全体にベースジェルを塗布します。
伸びた部分を隠すようにパーツ類を並べて、全体をコーティングしておきます。
パーツではなくラメやホログラムでもOKです。
ジェルネイル実践記 編集部伸びてしまった部分がうまくカバーされて、違った雰囲気が楽しめますね。
伸びた部分にクリアジェルを塗り足す
Ami全体をサンディングしてベースジェルとコーティングを施す、フィルインと同じ工程です。
根元がクリア仕上げのネイルにしかできませんが、付け替えまでの間の応急処置としてどうしても気になる場合にはおすすめです。
根元がリフトしていたら、塗り足しても剥がれやすくなるため、根元がきれいな状態のときのみ試してください。
ジェルネイル実践記 編集部根本がリフトしていたら、付け替えるのが得策です。
まとめ
ジェルネイル実践記 編集部今回は、ネイルの根元が伸びてきても気にならないデザインと対処法をご紹介しました。長くお気に入りのネイルを楽しめるように、ぜひ実践してみてください。
- 根元はピンクやベージュ、クリアにしておくと伸びても目立ちにくい
- コーティングの厚みを根元付近は薄めにしておく
- フレンチやグラデーションなど、伸びても気にならないデザインにする
- どうしても気になる場合は根元にパーツやジェルを足す方法もある
Ami根本が目立つようになると、どうしても清潔感が失われてきます。上記を意識して、きれいな手元を保ちましょう。