※2021年11月15日に記事を更新。
 ジェルネイル実践記 編集部
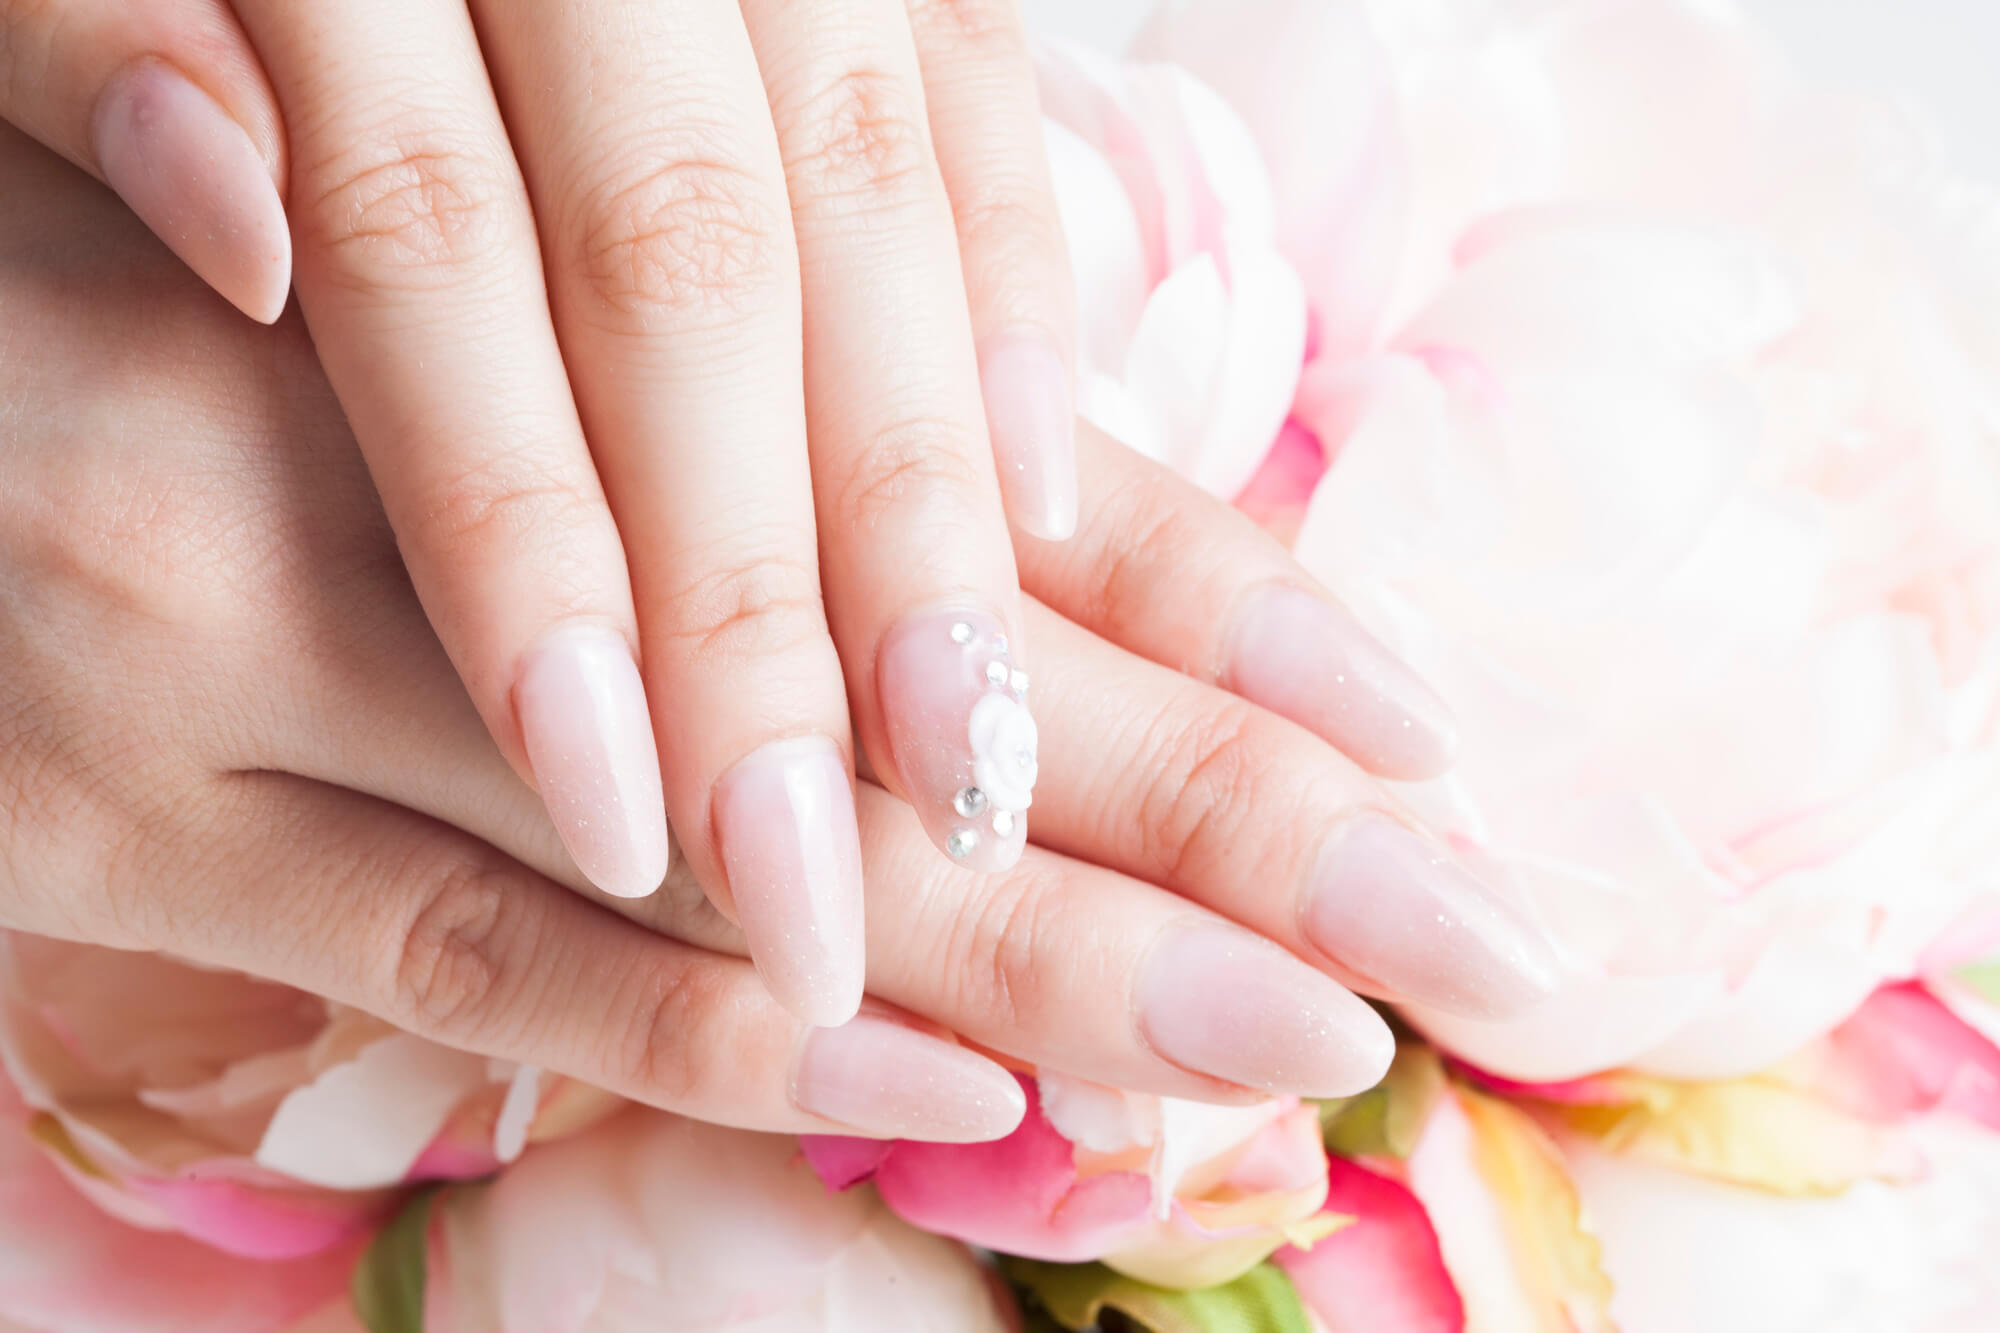
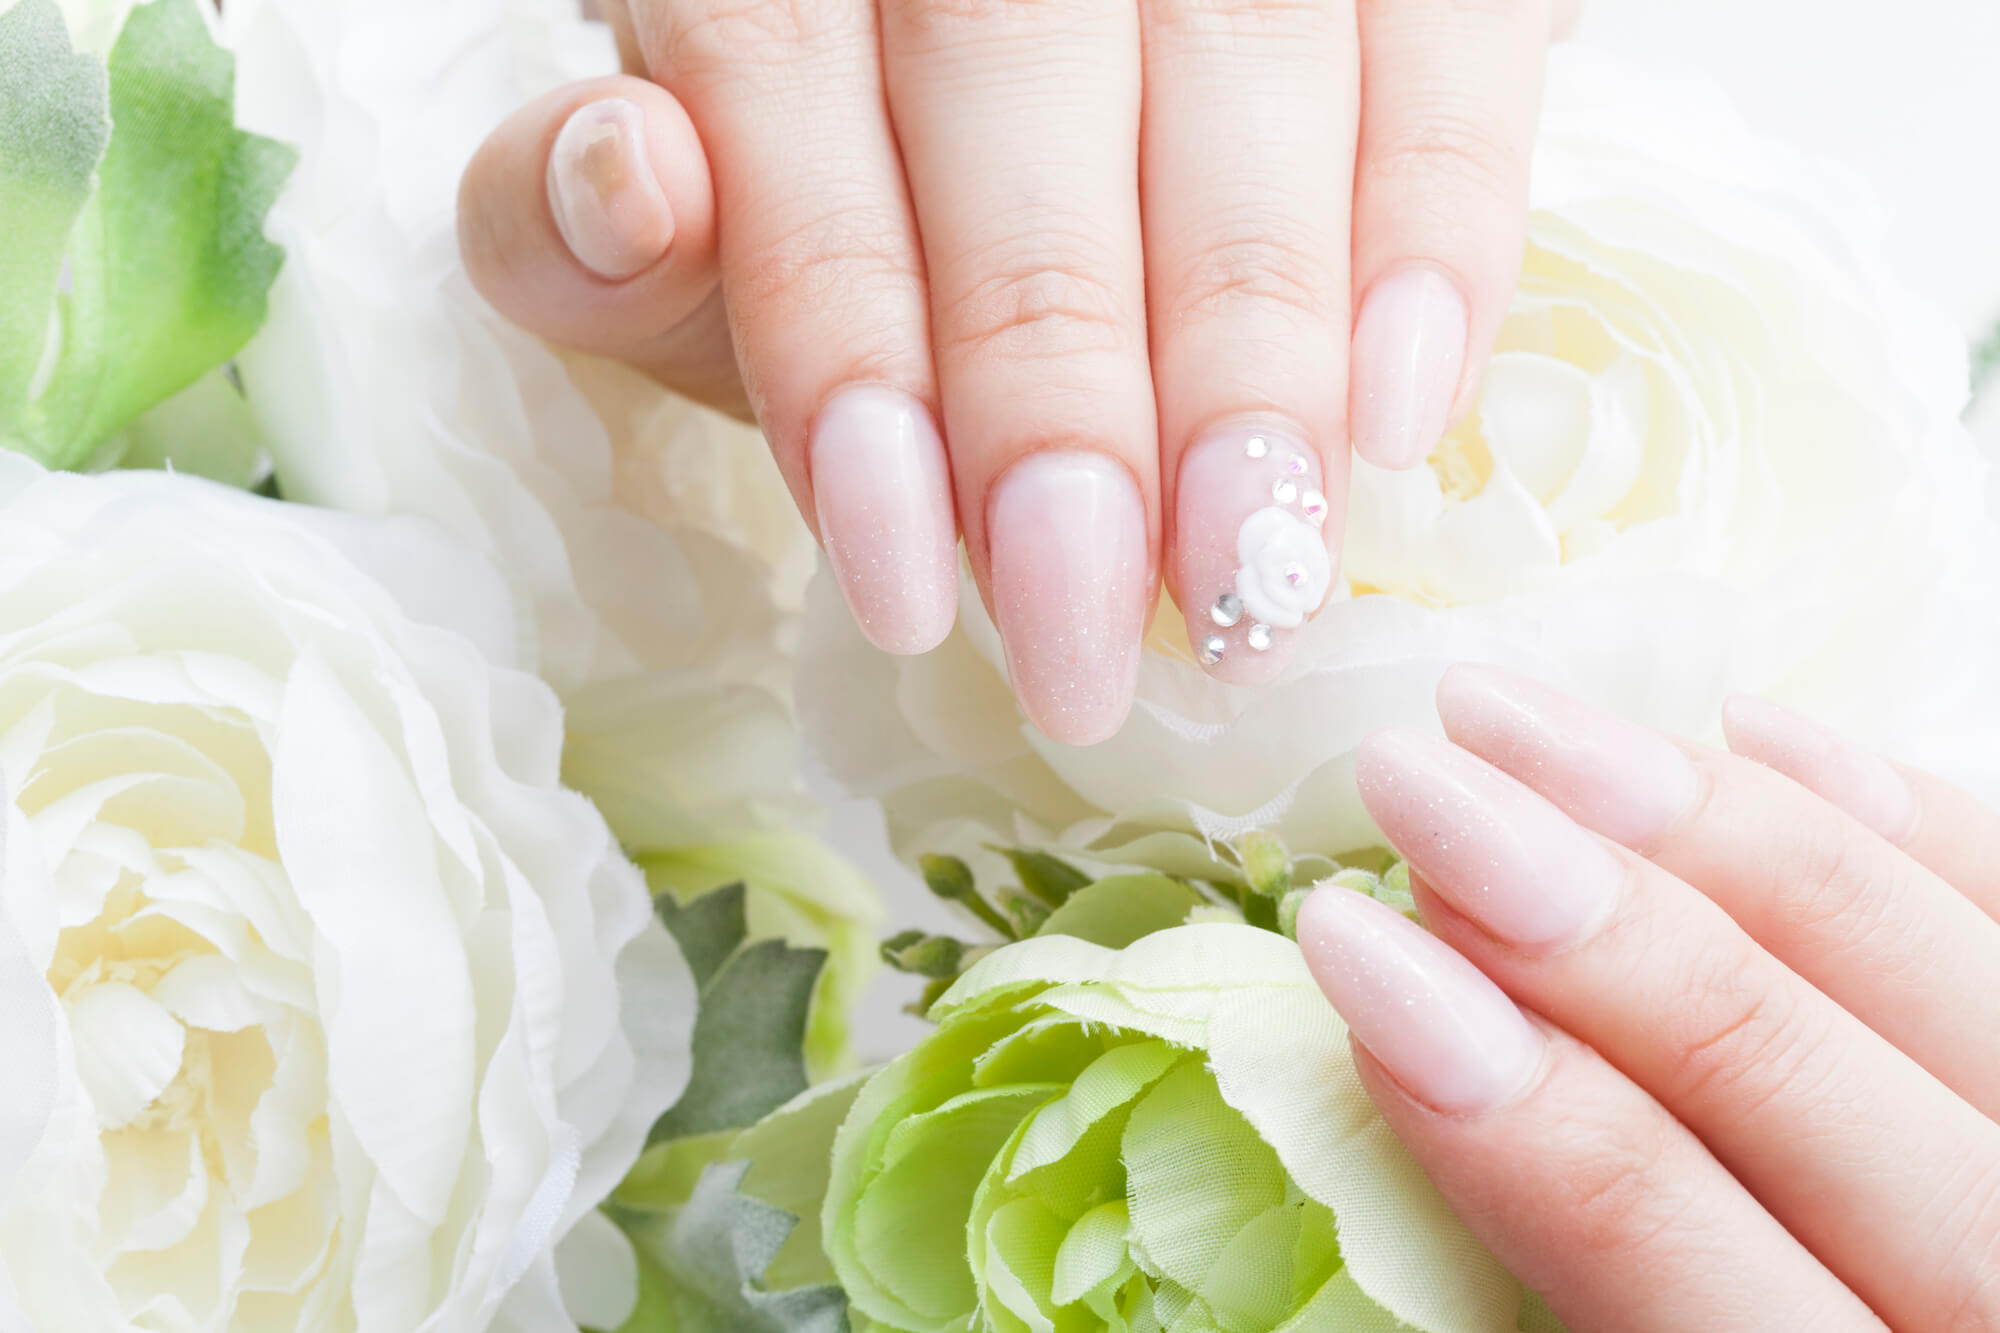
近年、セルフネイルをする女性も増えています。「自爪を伸ばしてきれいな形の爪でジェルネイルがしたい」という女性は多いはずです。
 Ami
Amiしかし、爪の状態によってはネイルが施せなかったり、満足いかない出来栄えになってしまったりという方も多いのではないでしょうか。
 Ami
Amiこの記事では、そのような問題を解決するジェルを使った長さ出しの方法や行う際の注意点、セルフネイルで、きれいに仕上げるためのコツについて詳しく紹介していきます。
ジェルネイル実践記 編集部これからセルフジェルネイルをする方にとって参考になる記事なのでぜひ見てみてください!
コンテンツリード・編集

ジェルネイル実践記編集部
ジェルネイル実践記の編集部です。編集部では、主にネイリスト様とやり取りをして記事の編集や商品選定を行っています。おかげさまでジェルネイル実践記は4年目を迎え、少しずつ成長しています!これからもどうぞよろしくお願いいたします。
コンテンツの監修含む手順・ポイント・画像提供等

ami
【JNECネイリスト検定1級】と【JNAジェルネイル検定上級】保持。ネイリスト資格取得後、現場では6年勤務。新店舗の立ち上げや指導等も経験。現在は専業主婦で友人などにネイルを施す日々を過ごす。
長さ出し(スカルプチュア)とは
 ジェルネイル実践記 編集部
長さ出しとは、アクリルやジェル、ハーフチップなどを用いて自爪に長さを足すことです。ほかにも「スカルプチュア」と呼ばれることもあります。
Amiフリーエッジ(爪先の白い部分)がどのくらいあるかによって長さ出しの方法は変わってきますが、十分なフリーエッジがある方はネイルフォームを用いた長さ出しが可能です。
ジェルネイル実践記 編集部ネイルフォームを挟むだけのフリーエッジが残っていない方はハーフチップという長さ出し専用のネイルチップを使用します。
Amiハーフチップにネイルグルー(ネイルチップ用の接着剤)を塗り、爪先に取り付け、ファイルなどで形を整えてハーフチップと自爪の境目をクリアジェルなどで埋めて補強します。
ジェルネイル実践記 編集部長さ出しは、素材を硬化させるタイミングで爪の形を整える作業を行うので自爪の形をきれいにする効果も期待できます。
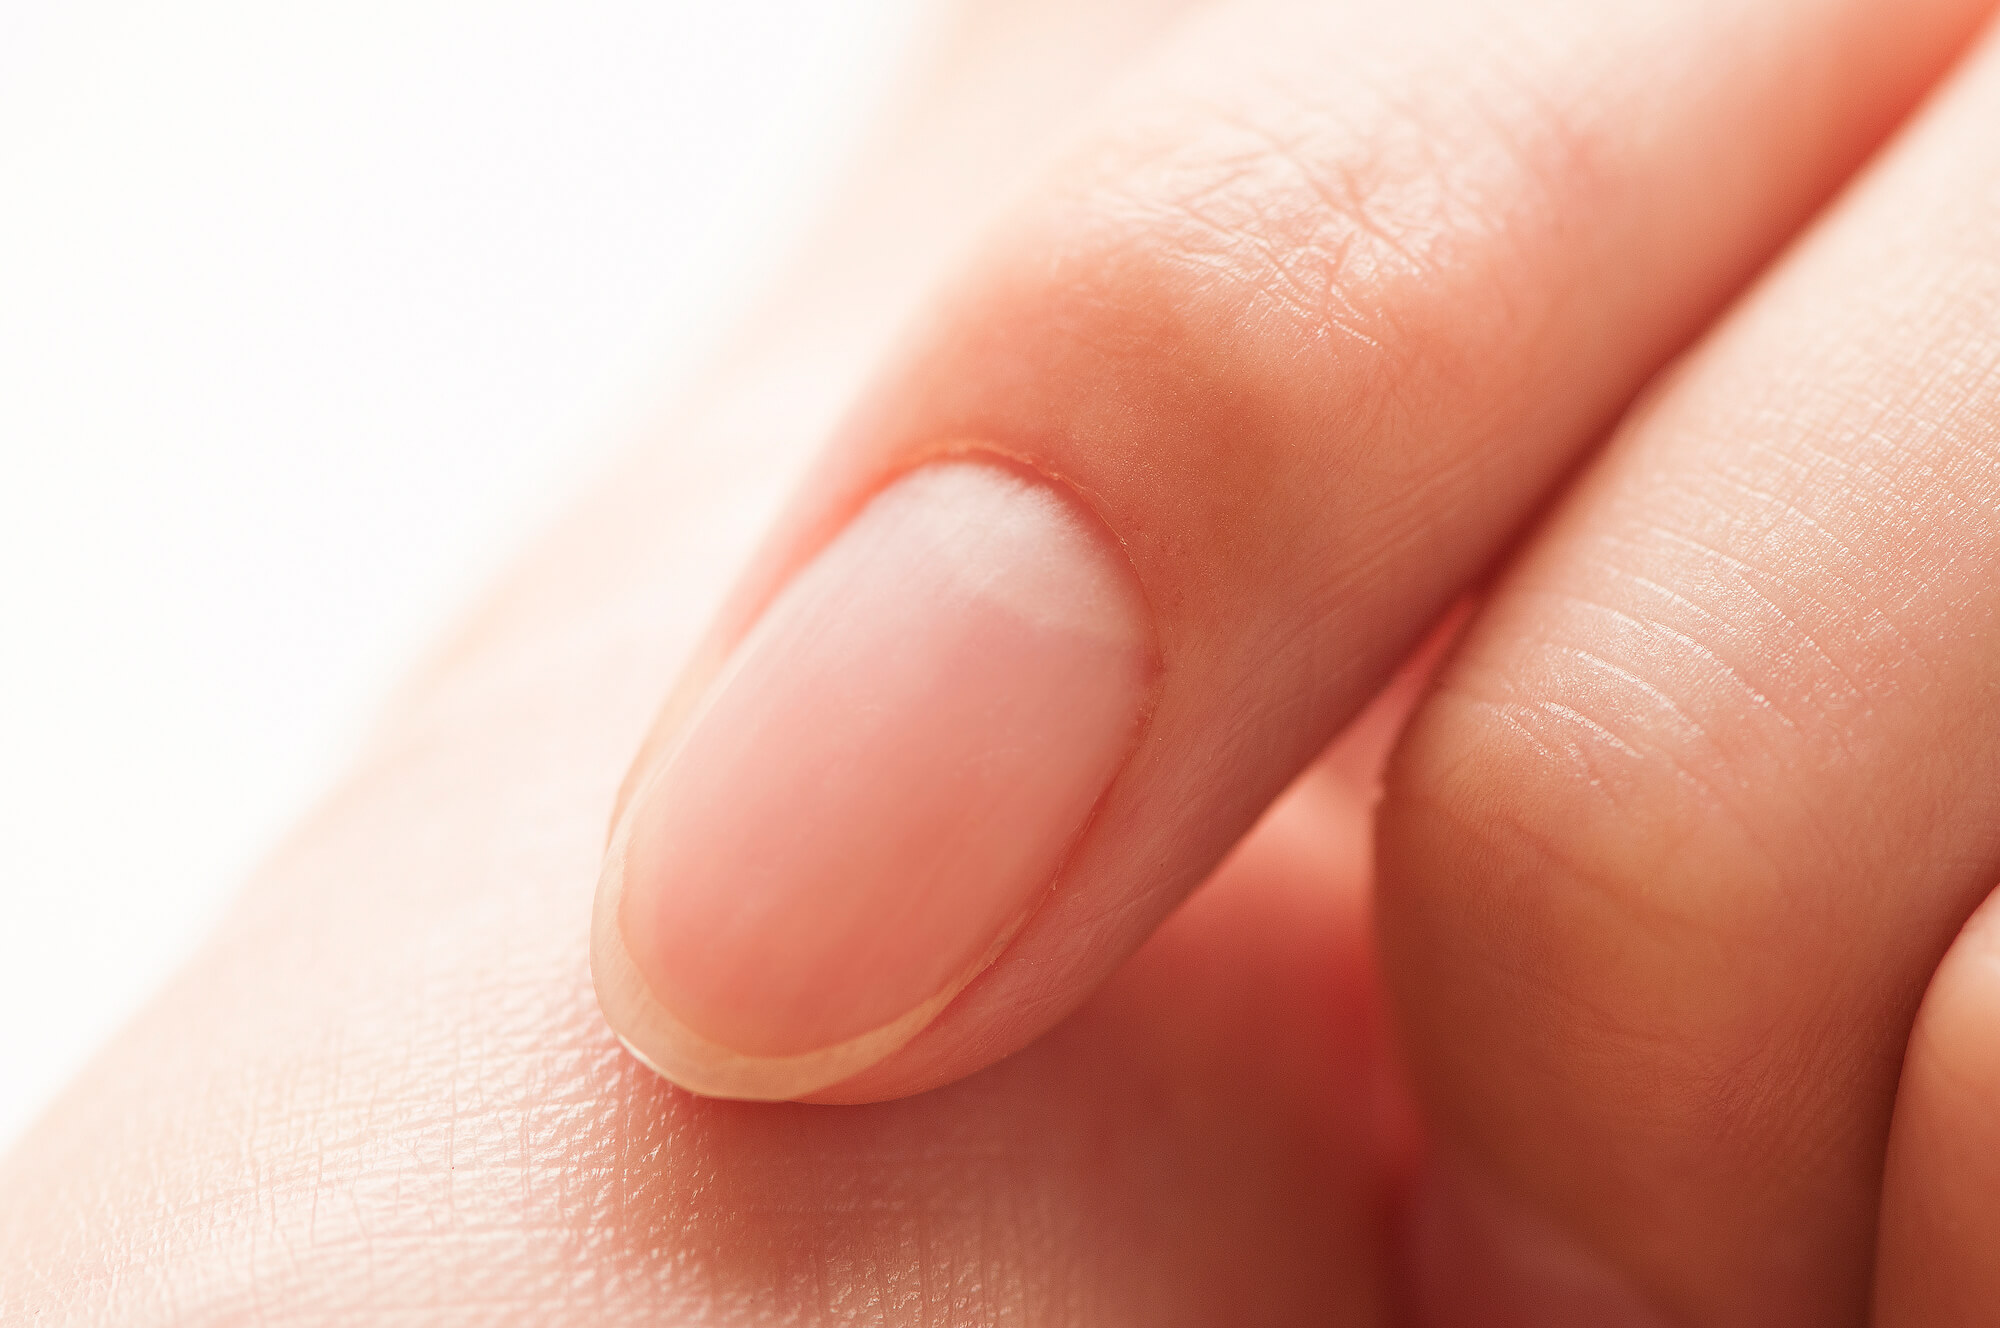
長さ出しは爪の一部が欠ける/折れてしまったときに使う
 ジェルネイル実践記 編集部
爪を伸ばしていても、うっかり何かに引っ掛けてしまって爪が折れたり、自爪が元々弱く伸ばしてもすぐに割れてしまう方は多くいらっしゃいます。また、自爪が伸びても思うようにきれいな形で伸びてくれないという方もいます。
 Ami
Ami爪が折れたり、割れたりしてしまうとネイルはできません。伸びてもきれいな形じゃないとネイルの仕上がりがイマイチになってしまいます。このような問題は、長さ出しによって解決することができます。
長さ出しのメリットは主に4つ
 ジェルネイル実践記 編集部
ジェルによる長さ出しのメリットとして、以下4つがあげられます。
4つのメリット
- 樹脂素材なので爪に優しい
- ピンチを入れることで自爪の形をきれいにする効果が期待できる
- ジェルで厚みを持たせることで爪を丈夫にできる
- ソークオフタイプのジェルを使用すれば簡単にオフできる
Amiまた、普段からセルフジェルネイルをする方であれば、いつも使っている道具で長さ出しできるというメリットもあります。
長さ出しによって丈夫な爪にできる
 ジェルネイル実践記 編集部
もともと自爪が弱く、爪が折れやすいという方にはジェルでの長さ出しが特におすすめです。ジェルは爪に優しい樹脂素材です。オフが簡単なソークオフタイプのものを選べば、自爪が弱い方でも気軽に使えます。
Amiジェルで爪の長さ出しをすることによって、爪と皮膚の間の薄皮が育ちやすくなり、ネイルベッド(爪のピンク色の部分)も伸びるといわれています。
 Ami
Amiさらに、ジェルによって爪に厚みを持たせることで割れにくい丈夫な爪になったり、Cカーブ(爪先を正面から見たときの爪のアーチ)がつきやすくなったり、自爪の形をきれいにする効果を期待できます!
ジェルの硬化によって長持ちする
ジェルネイル実践記 編集部ジェルを硬化させることによって自爪に密着させるので単純に長持ちするのもメリットの一つです。
Ami通常、ジェルネイルはリフトしなければ3~4週間は持ちます。しかし、そのころには自爪が伸び、生え際の隙間が目立ってきます。そういった生え際が目立ってきた頃にジェルオフすると良いです。
ジェルネイル実践記 編集部ただし、1~2週間目で落としてしまうと、ジェルオフによる自爪へのダメージが大きくなるので早すぎるオフはおすすめしません。
Amiジェルがリフトした状態を放置すると「グリーンネイル」と呼ばれる症状が起こりえます。リフトした際はすぐにでもジェルオフするようにしましょう。
ネイルサロンで長さ出しを施術する費用
 ジェルネイル実践記 編集部
ネイルサロンでの長さ出しの施術はメニューが多岐にわたり、価格もお店によってさまざまです。
Ami長さ出しのみだと、1本あたり400~1,000円ほどに価格を設定しているサロンが多いようです。
 ジェルネイル実践記 編集部
長さ出しの方法で価格も変わり、ネイルサロンによっては長さ出しやワンカラー、デザインネイルのセットメニューが用意されています。サロンで施術する場合は価格や口コミなどを参考に自分に合ったお店を探しましょう。
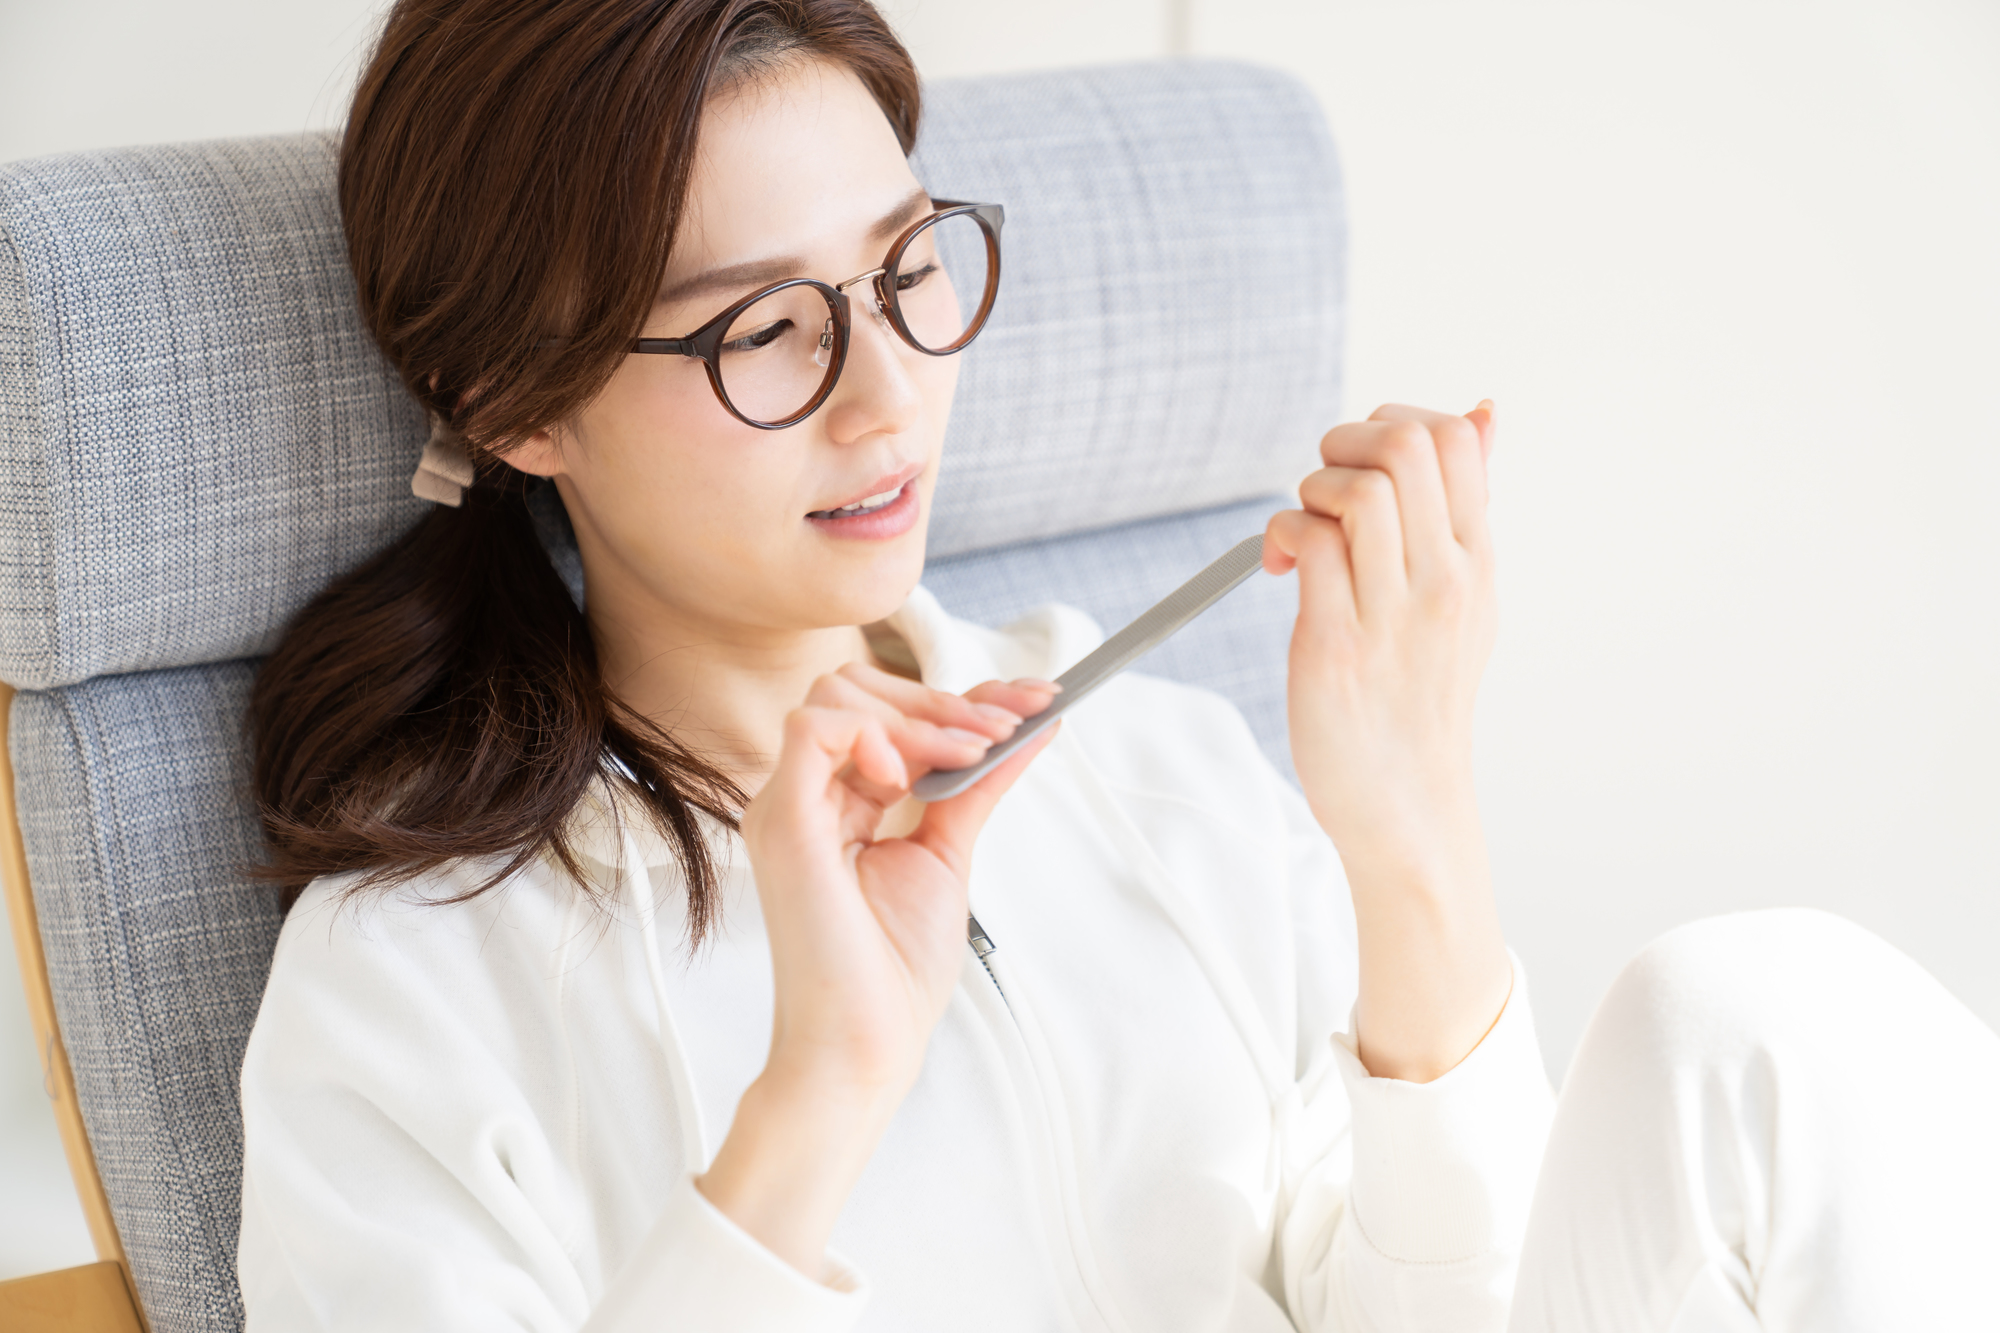
セルフで長さ出しを行う方法/手順
ジェルネイル実践記 編集部アクリルやジェル、ハーフチップを使った長さ出しは道具をそろえれば自宅で簡単に行えます。
Ami初期費用は掛かりますが、そろえてしまえばサロンへ行かなくても長さ出しができるようになるので、セルフネイルをする方にはぜひそろえてみてほしいです。
【準備編】長さ出しする前に必要な道具
 ジェルネイル実践記 編集部
自宅で長さ出しをするために必要な道具を紹介していきます。まず、下準備(プレパレーション)に必要な道具が以下の5つです。
下準備に必要な道具一式
- ファイル
- バッファー
- プッシャー
- ワイプ
- クレンザー
ジェルネイル実践記 編集部さらに、ジェルで長さ出しに必要な道具は以下の5つです。
長さ出しに必要な道具一式
- 小さめのハサミ
- ネイルフォーム
- クリアジェル(ハードまたはソフト)
- ジェル用ブラシ
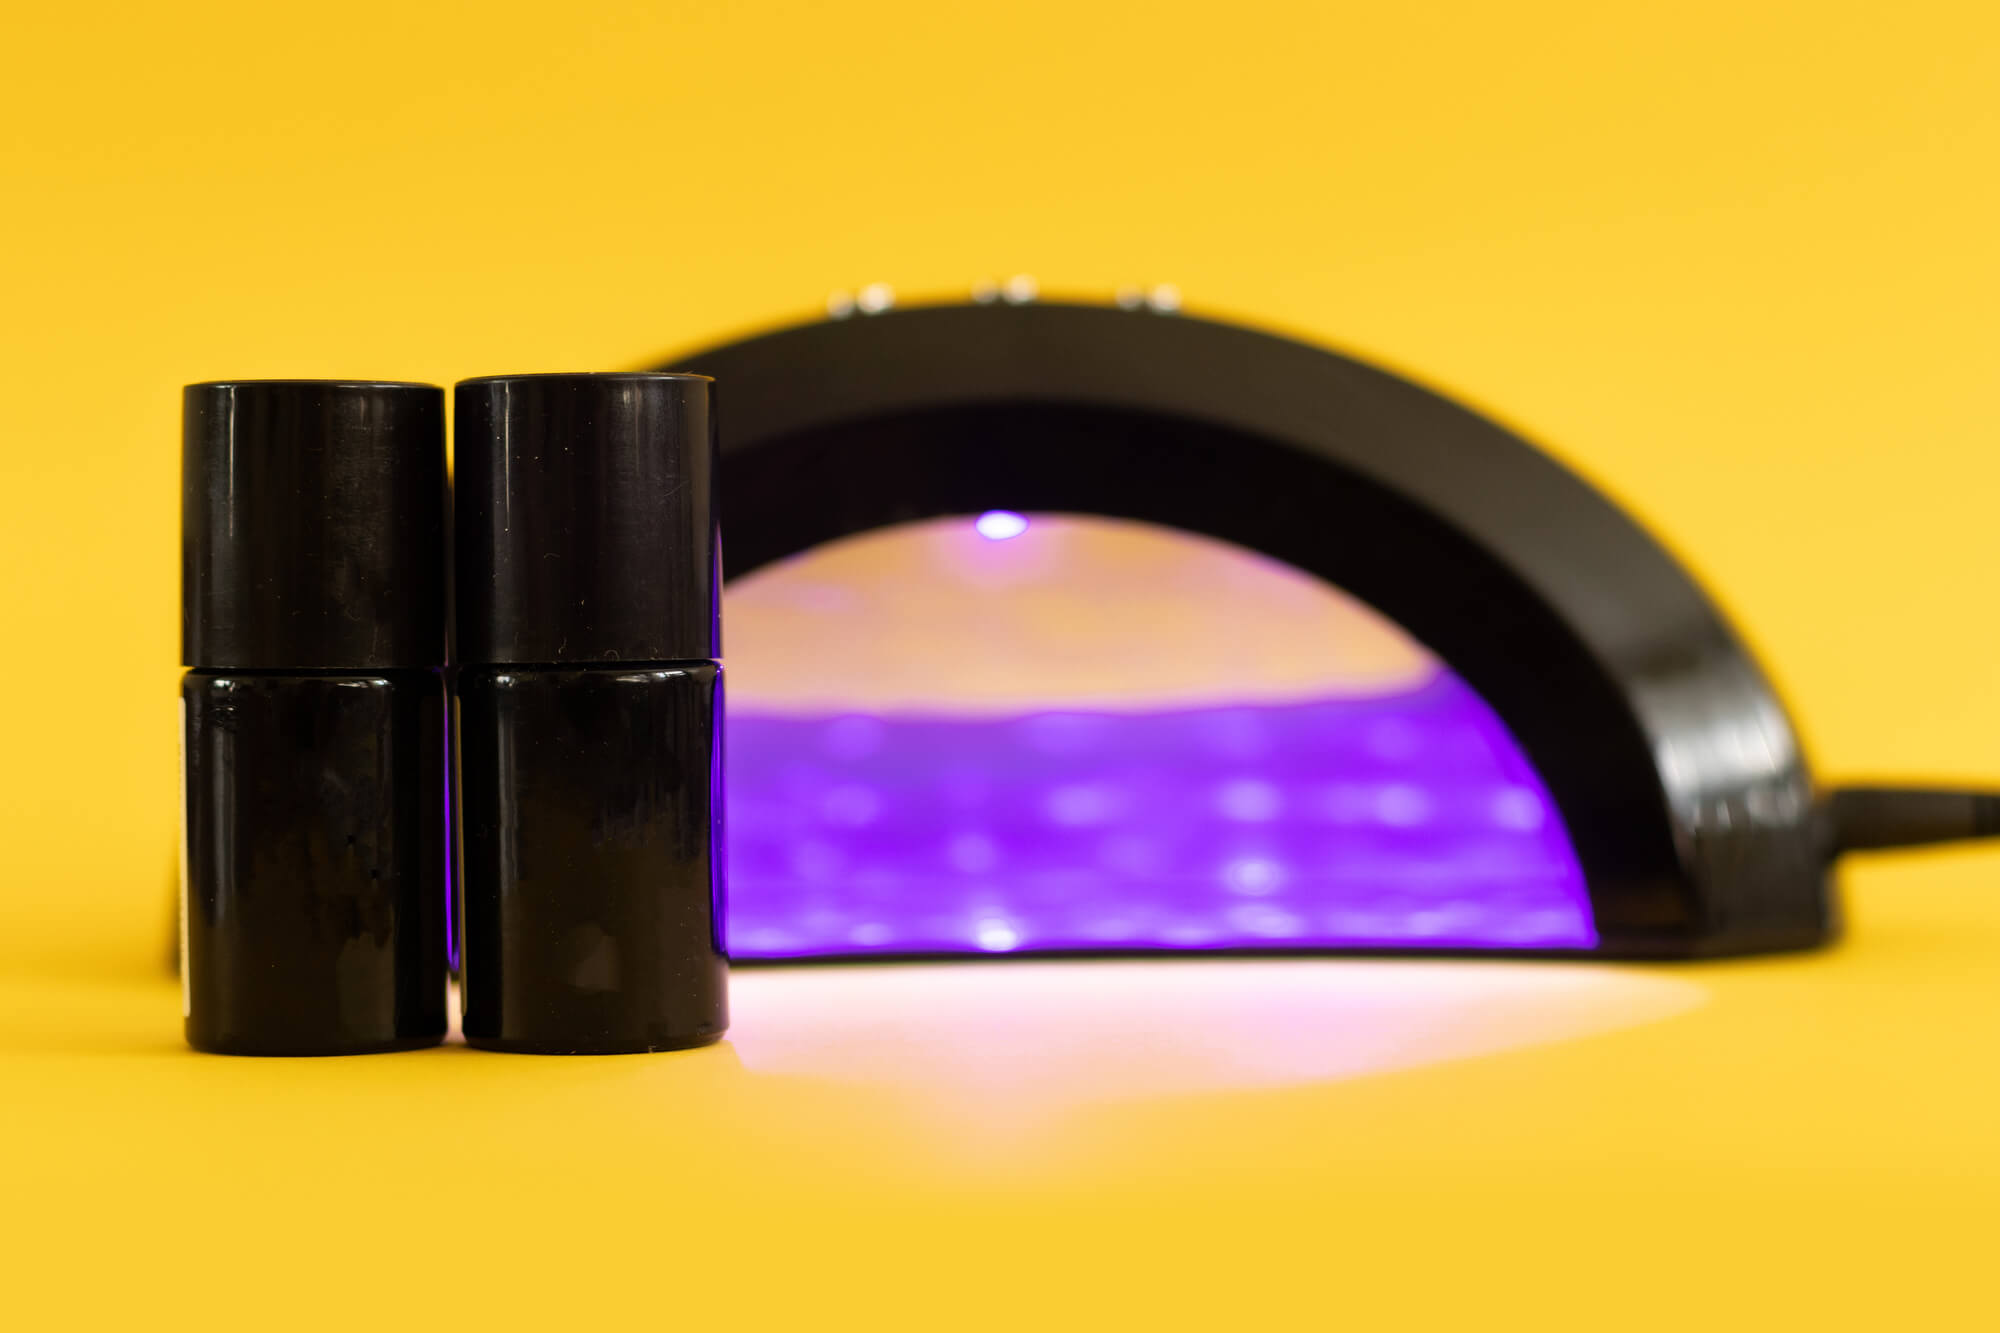
- UVまたはLEDライト
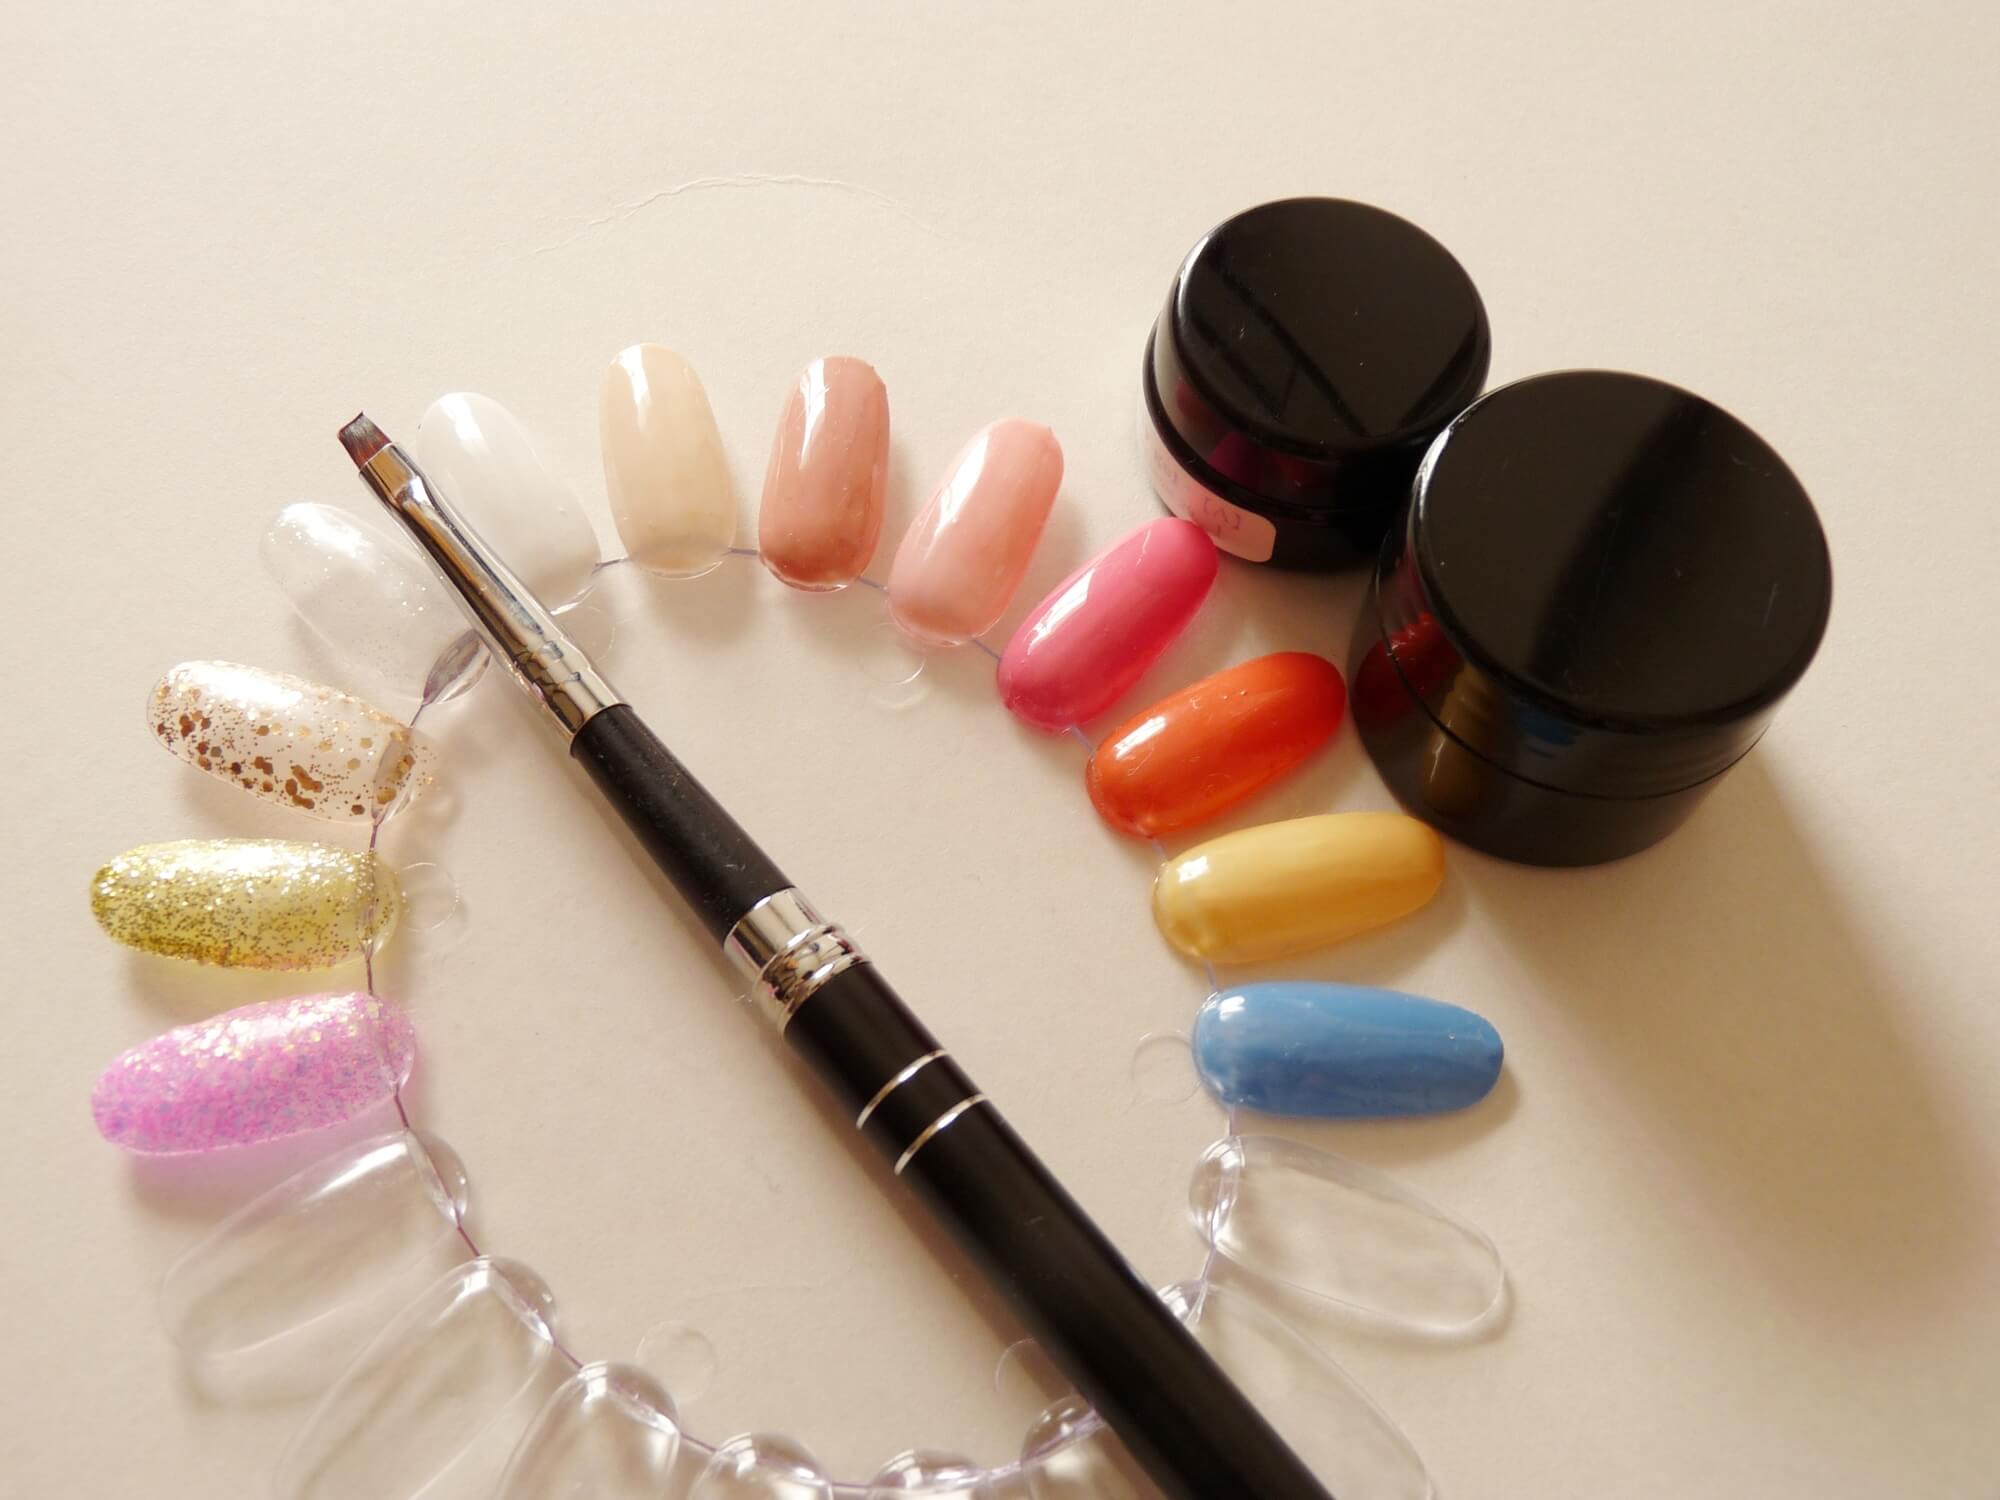
Ami長さ出しに使用するジェルはお好みのもので問題ありませんが、セルフネイルなら強度のあるソークオフタイプのジェルが良いでしょう。ソークオフタイプのなかでも、長さ出しだけでなくフローター(爪の厚み出し)にも使えるビルダージェルがおすすめです。
ビルダージェル
 ジェルネイル実践記 編集部
ビルダージェルとは、ハードジェルと同程度の強度があるソークオフタイプのクリアジェルです。粘度が高いため、初心者でも比較的簡単に長さ出しや厚み出しができます。
Ami通常のジェルと同じく、硬化にはUVまたLEDライトが必要です。さまざまなメーカーから販売されているので、価格や口コミを参考に自分に合ったものを選びましょう。
ジェルネイル実践記 編集部長さ出しと合わせてカラーを施す場合はカラージェルのメーカーと合わせると相性も良く、なじみやすいです。
ビルダージェルの見本商品


各種道具一式がそろうジェルネイルキットもおすすめ
 ジェルネイル実践記 編集部
そろえなければいけない道具はさまざまありますが、下準備やジェルでの長さ出しに必要なものは「ジェルネイルキット」でほとんどそろえられます。
Ami一から道具をそろえるよりも、簡単に道具をそろえられるジェルネイルキットは「これからネイルを始めたい」という方に特におすすめです。
ジェルネイル実践記 編集部ただし、必要な道具はもちろんですが、使わない道具も入っている場合があるので、ジェルネイルキットの内容には注意するようにしましょう。
ジェルネイルスターターキット/ジェルネイルキットの見本商品


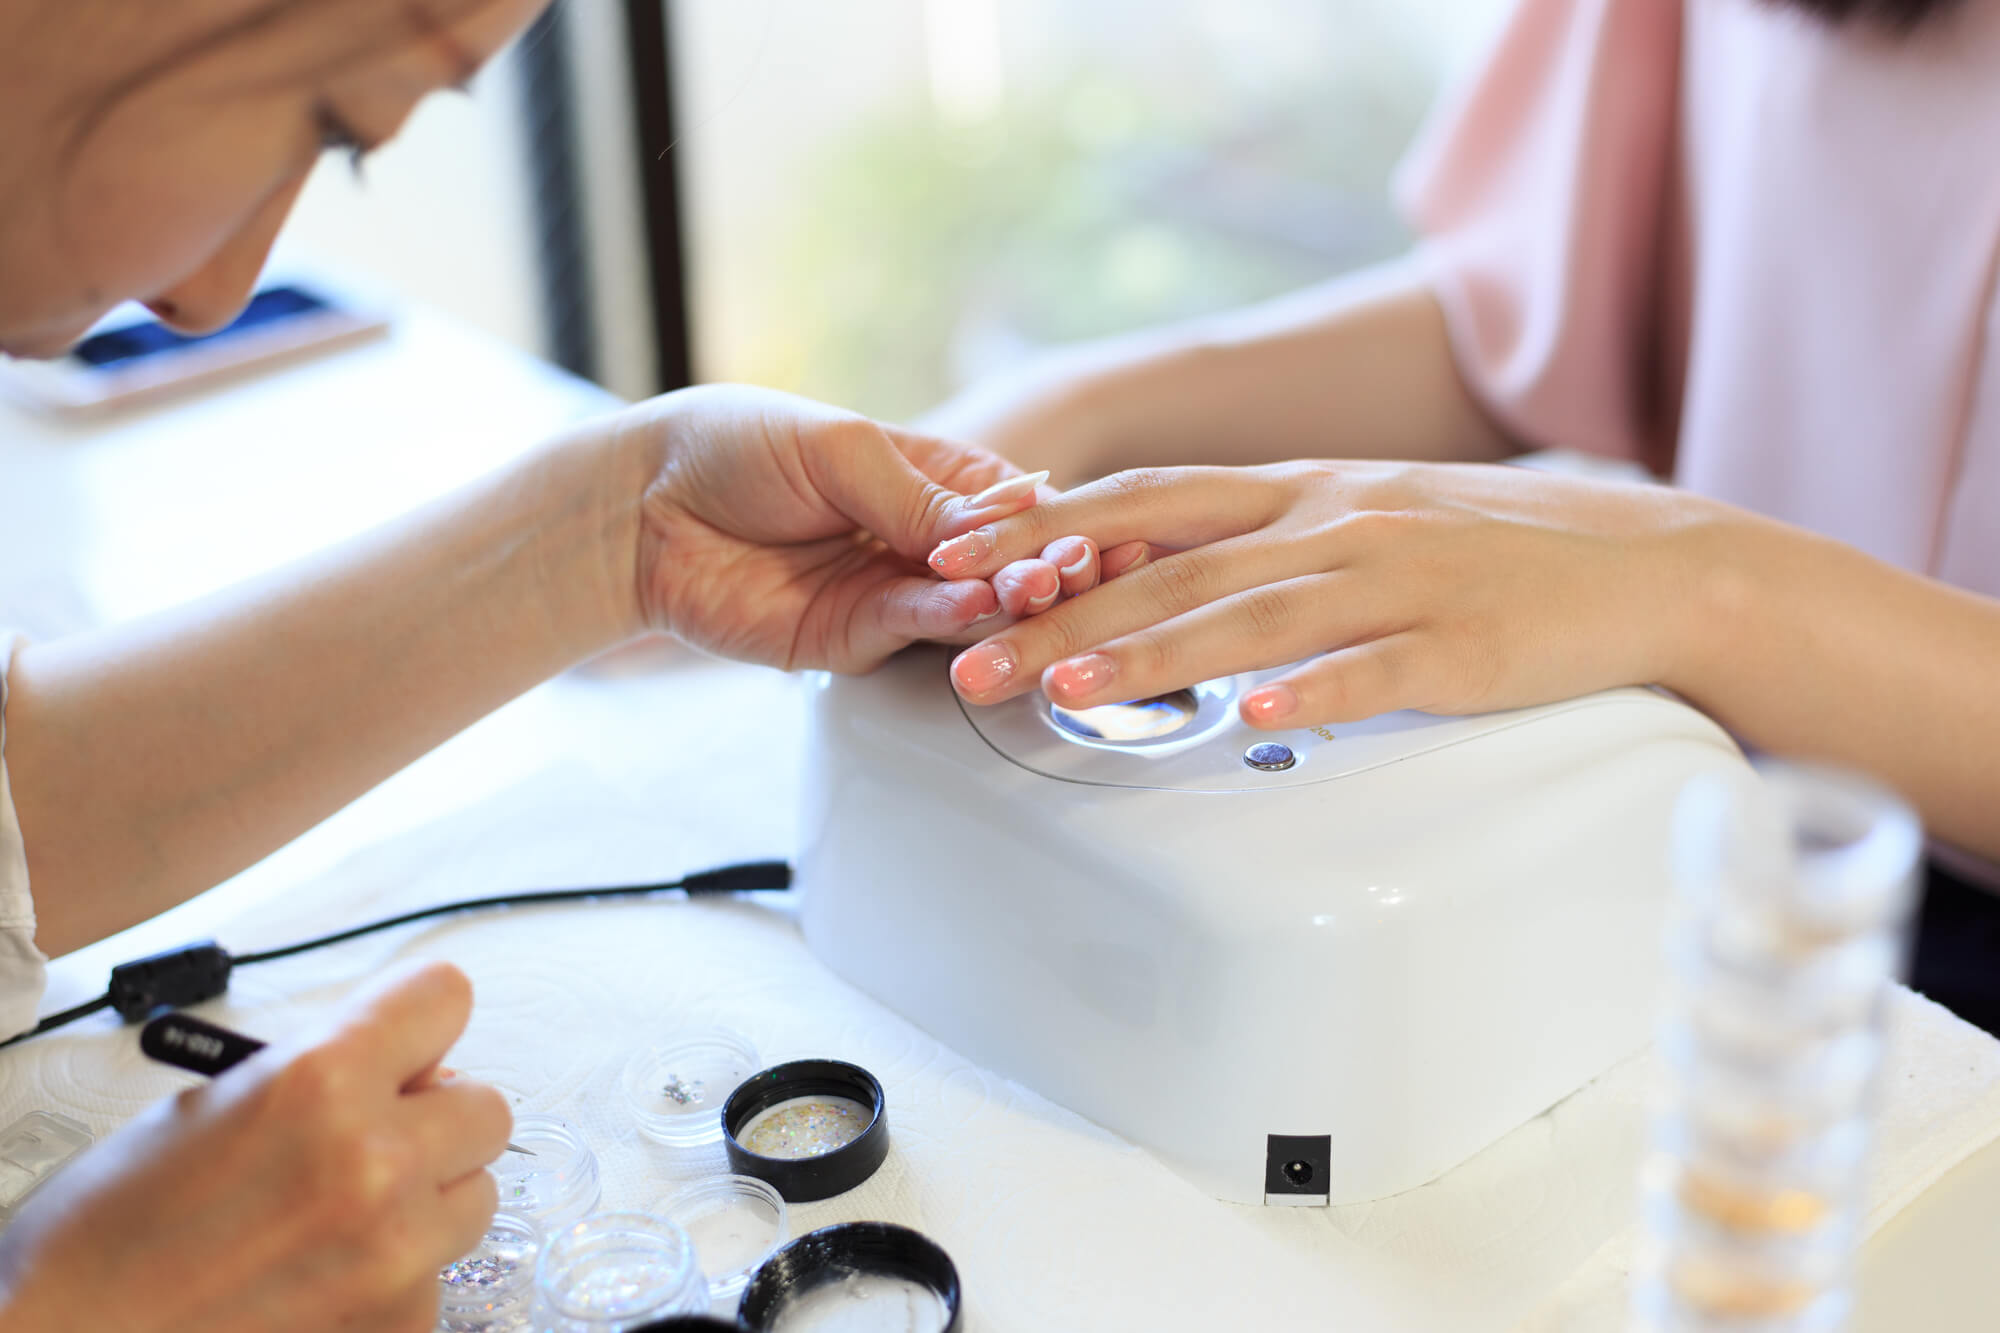
【実作業】実際に長さ出しをする方法・手順・やり方
 ジェルネイル実践記 編集部
ここからはネイルフォームを使った長さ出しについて詳しく紹介していきます。方法だけでなく、間違えやすいポイントについても知り、失敗のない長さ出しを行いましょう。
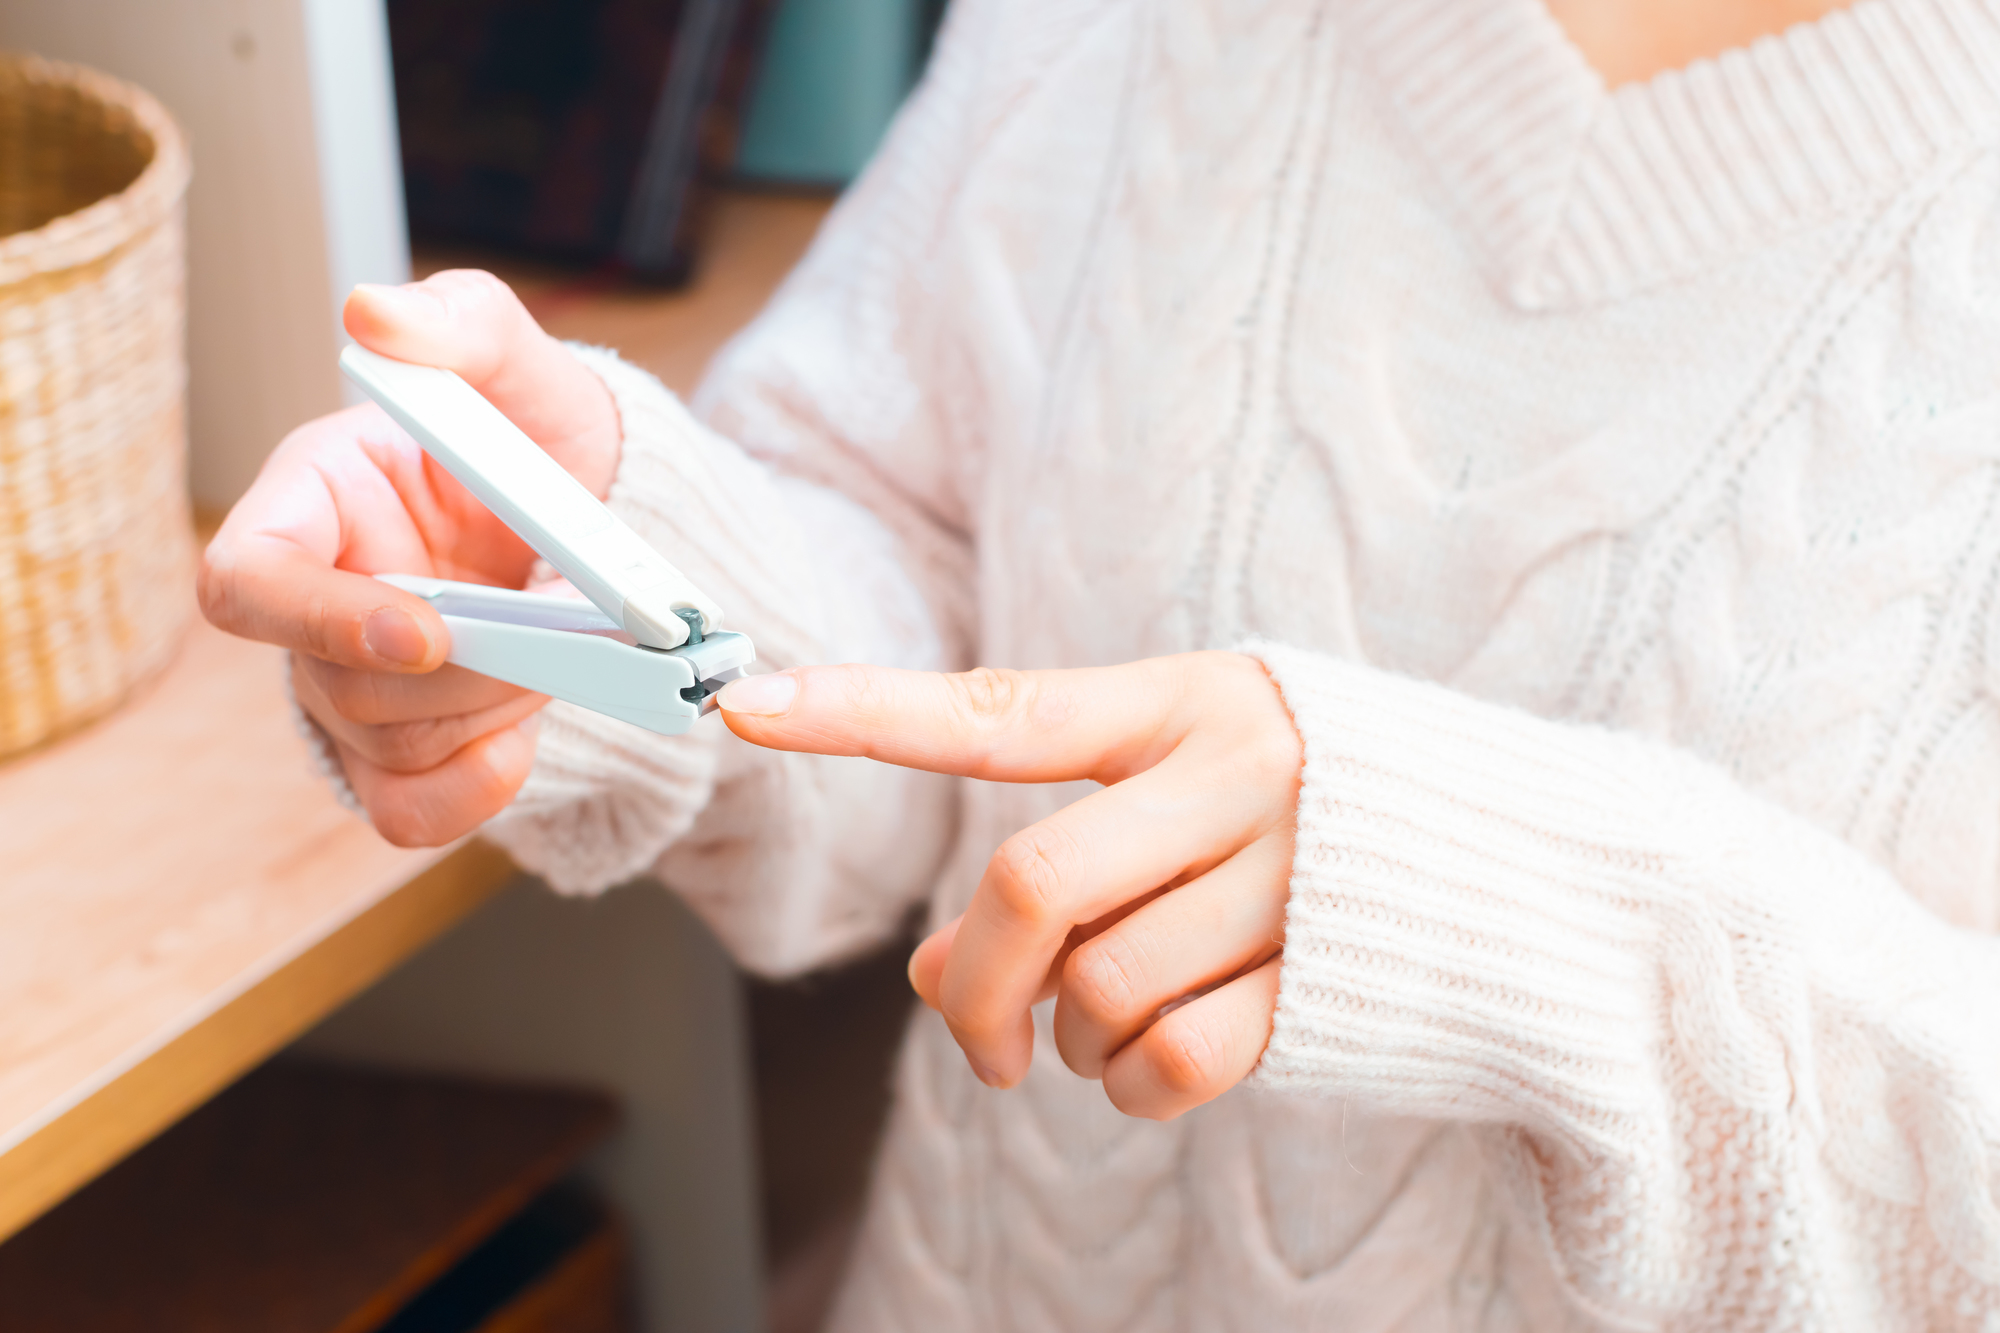
手順1:下準備(プレパレーション)
 ジェルネイル実践記 編集部
まず、ファイルで爪表面の凹凸をきれいにするバッフィングし、バッファーで自爪とジェルの密着度を高めるサンディングを行います。
Amiその後、プッシャーで甘皮の処理をしたのちに、ワイプとクレンザーでダストをきれいに拭き取ります。下準備はこれで終了です。リフトの原因になったり、仕上がりに影響してしまったりするので丁寧に行いましょう。
ネイルファイルセットの見本商品


キューティクルニッパー・プッシャーセットの見本商品


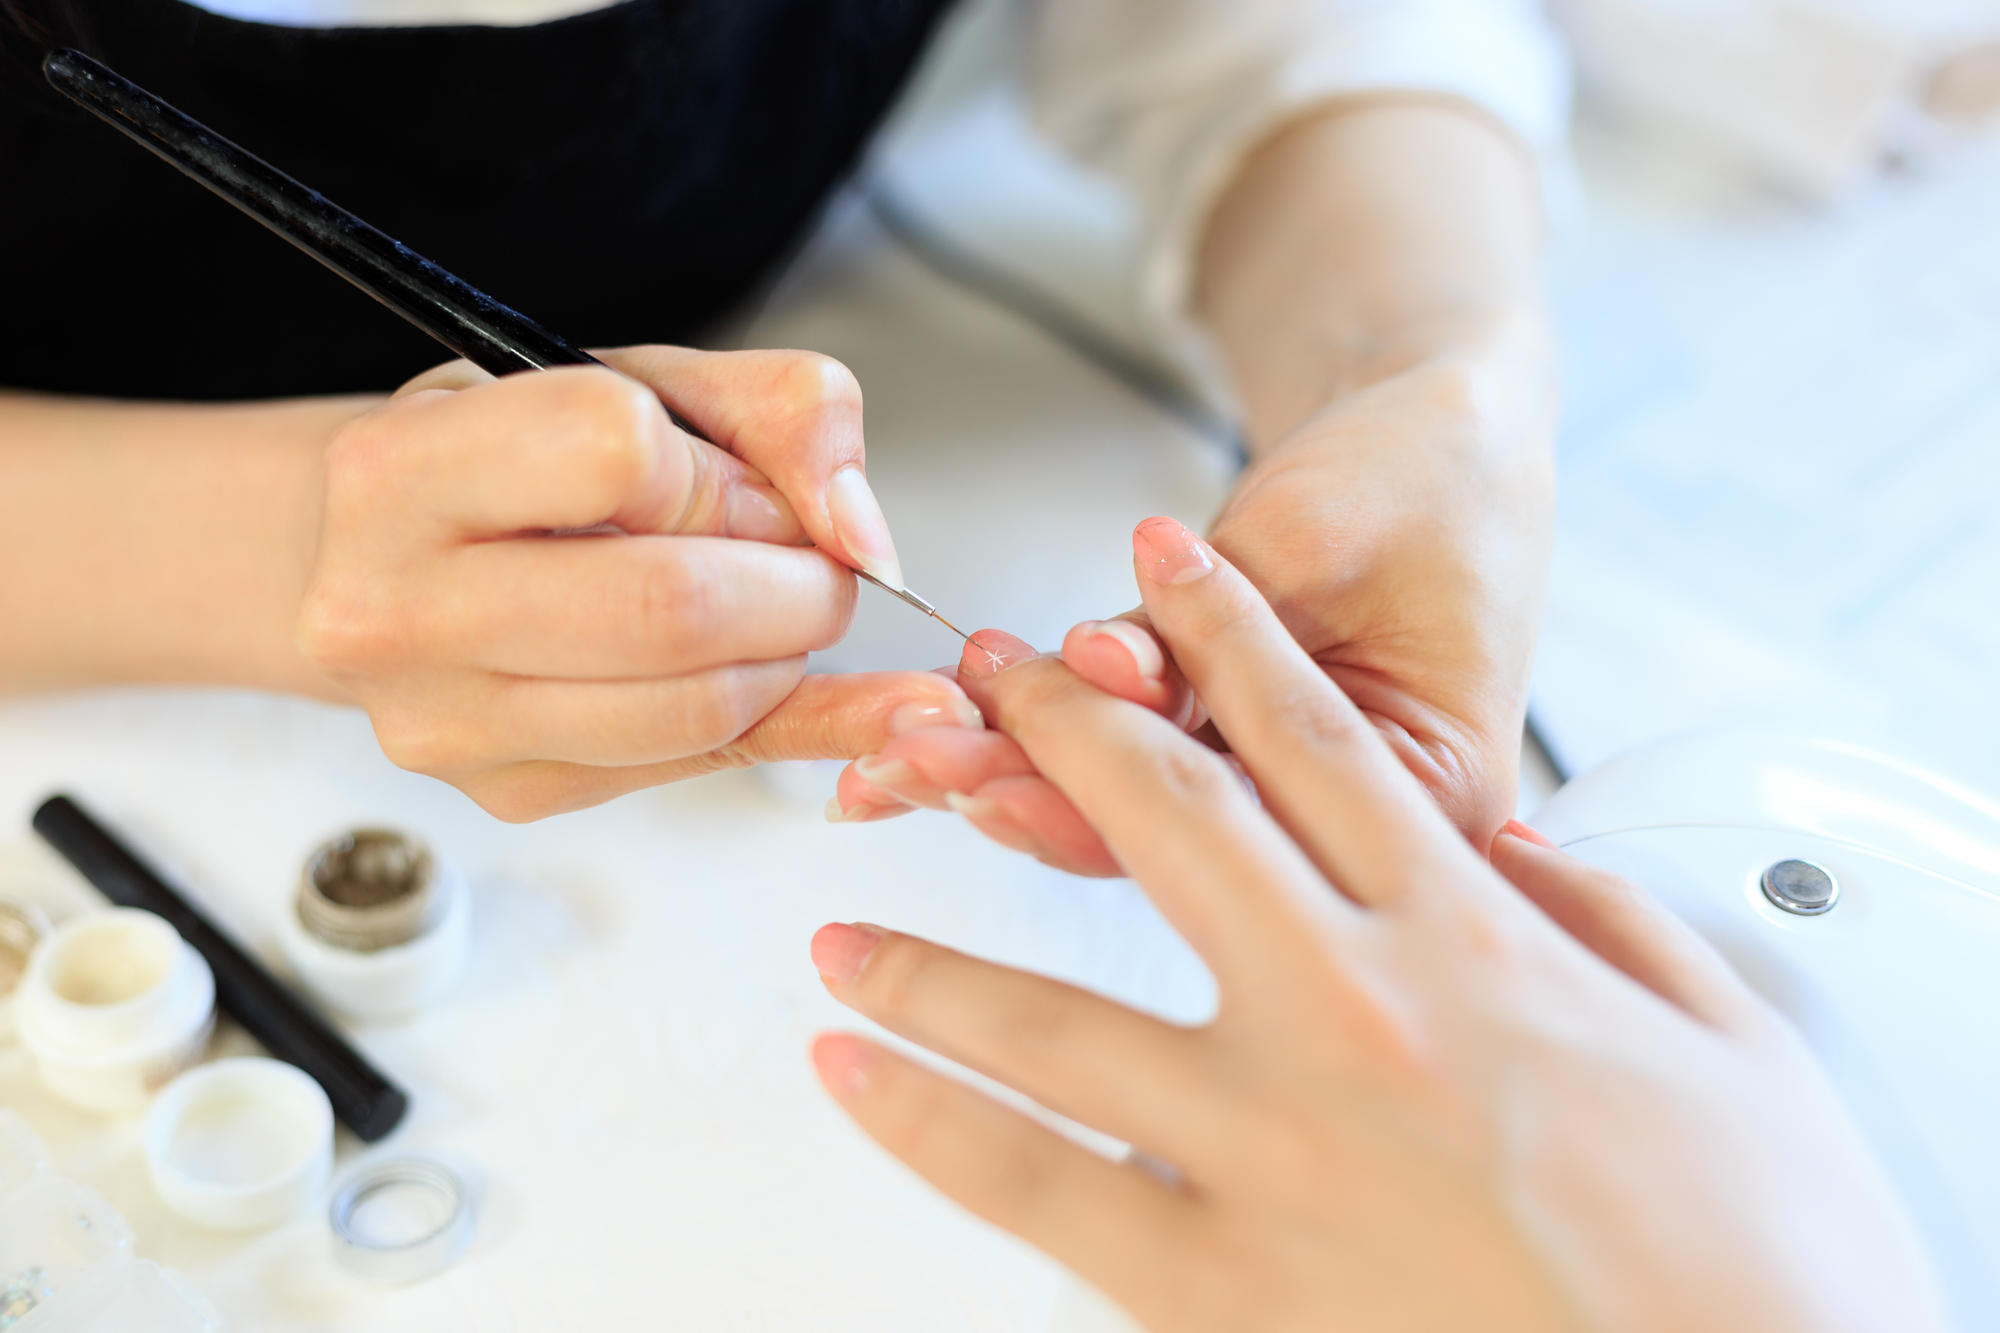
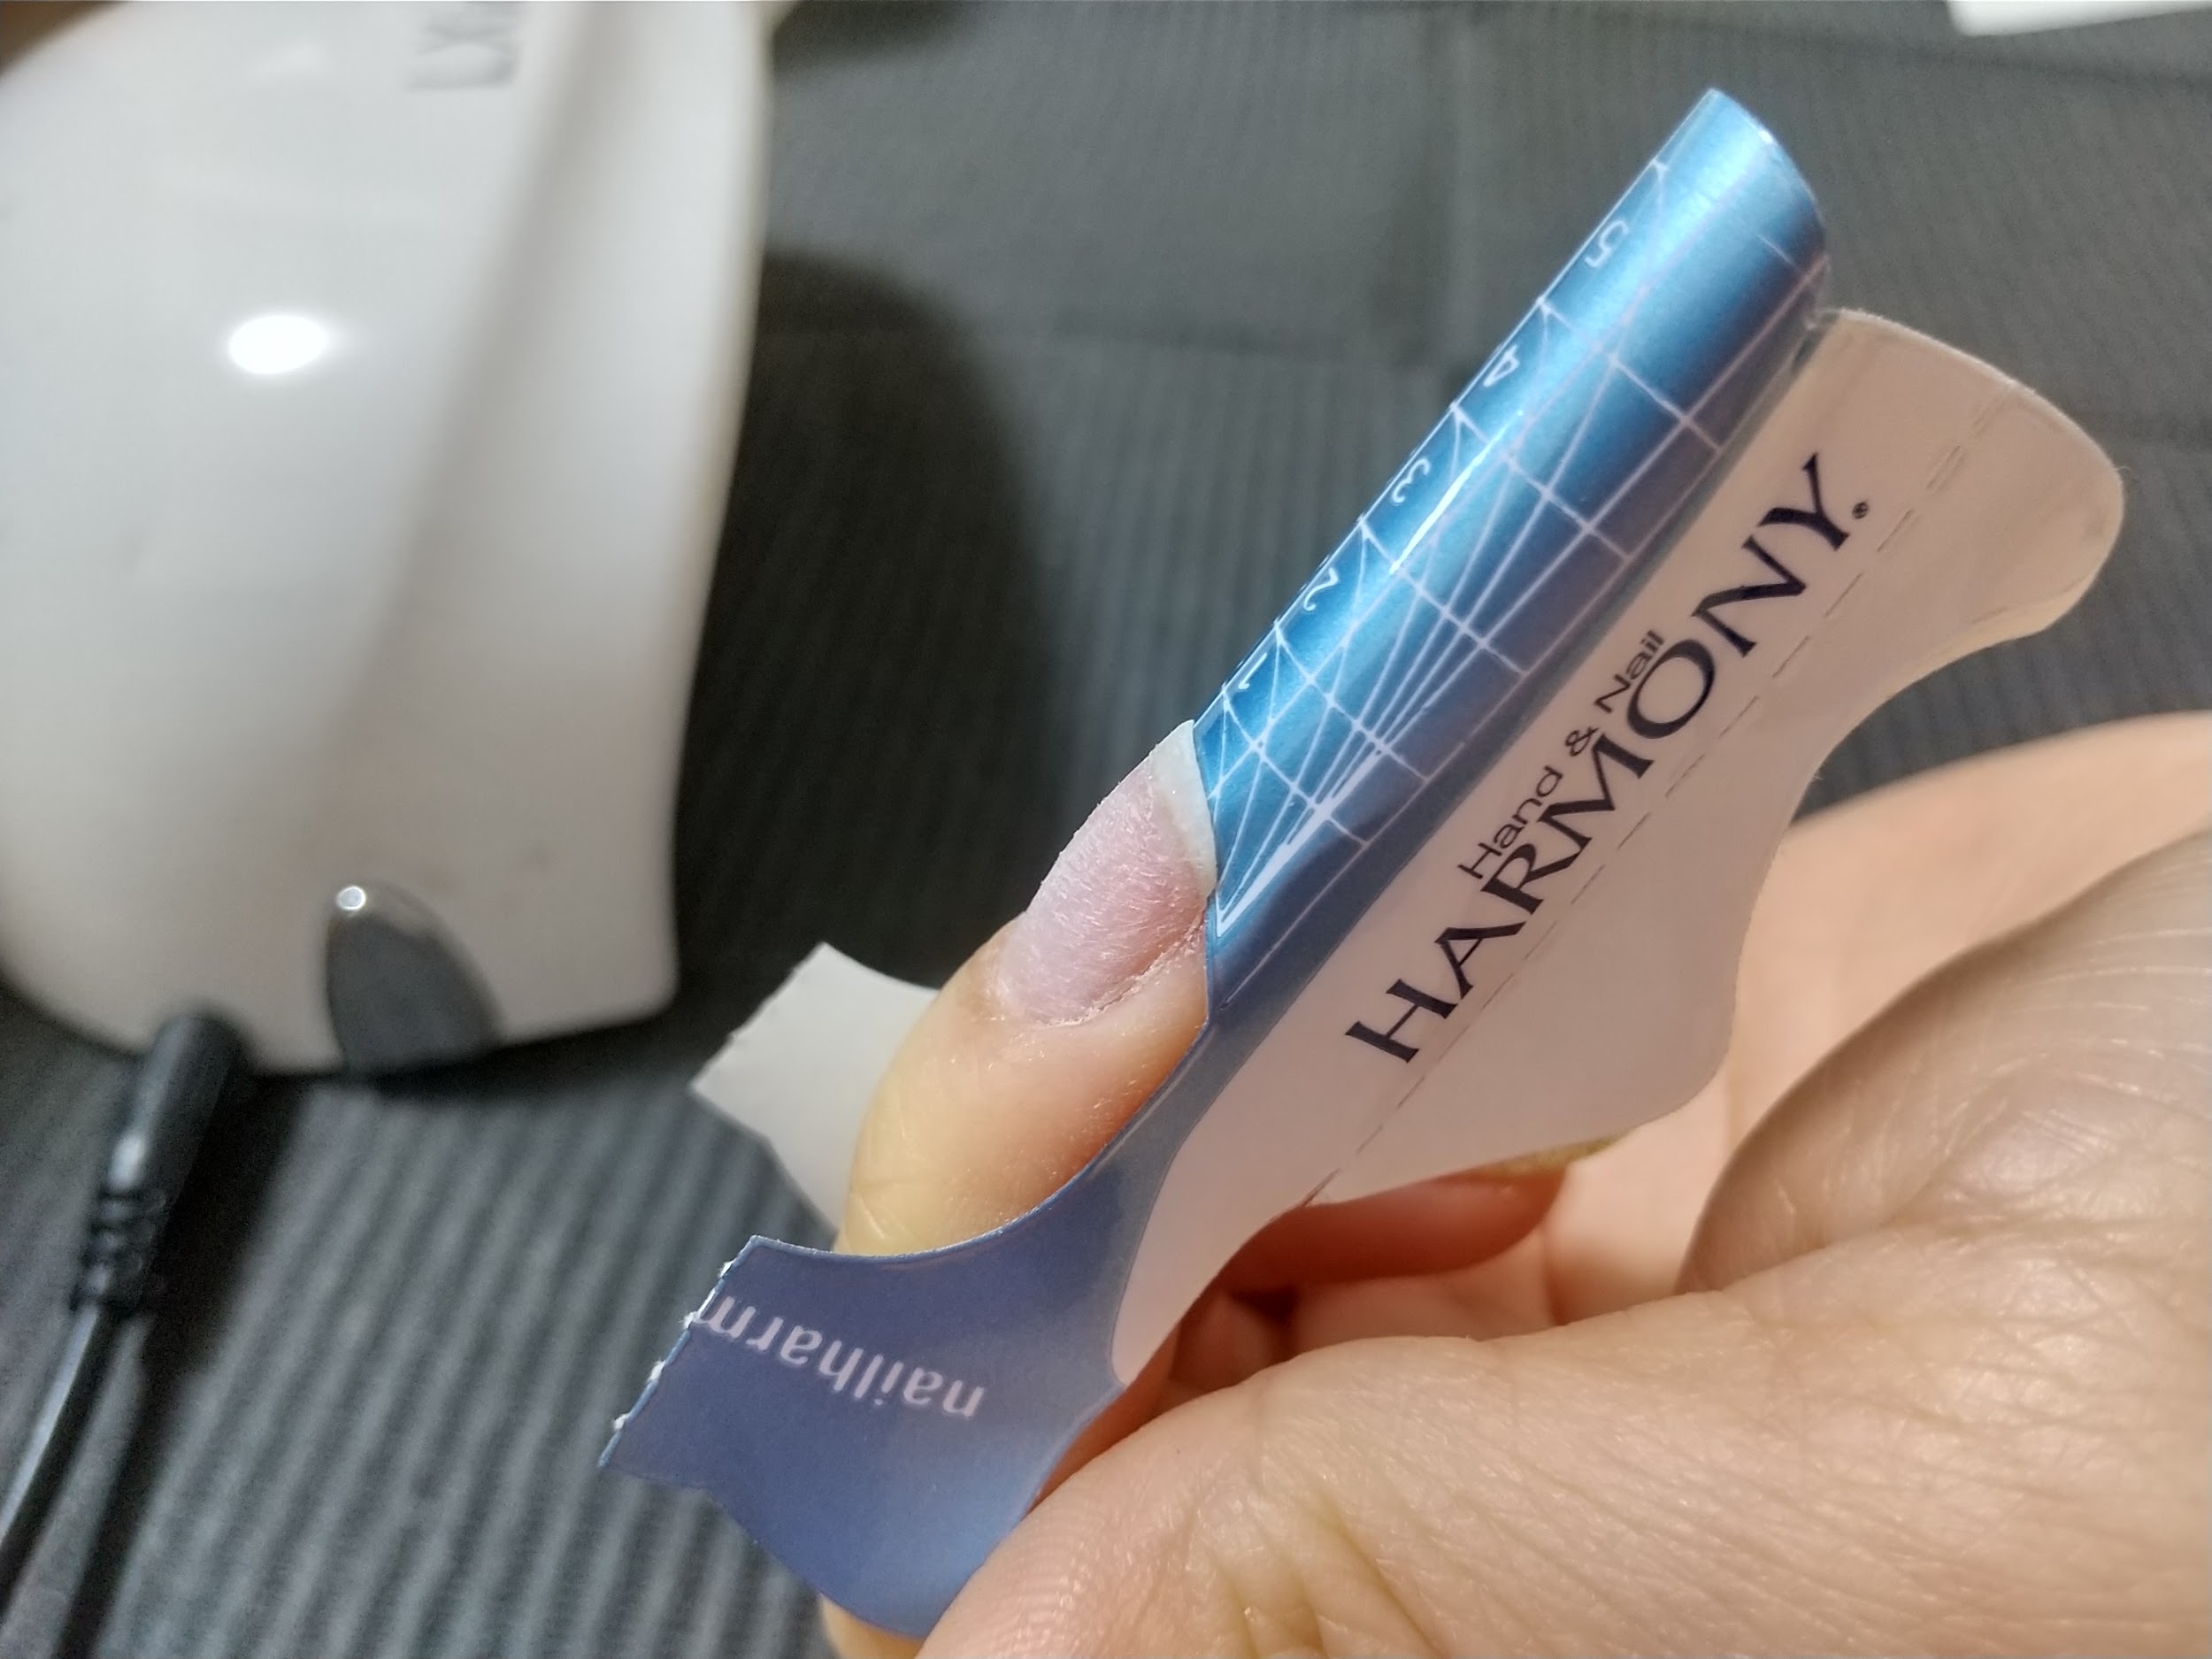
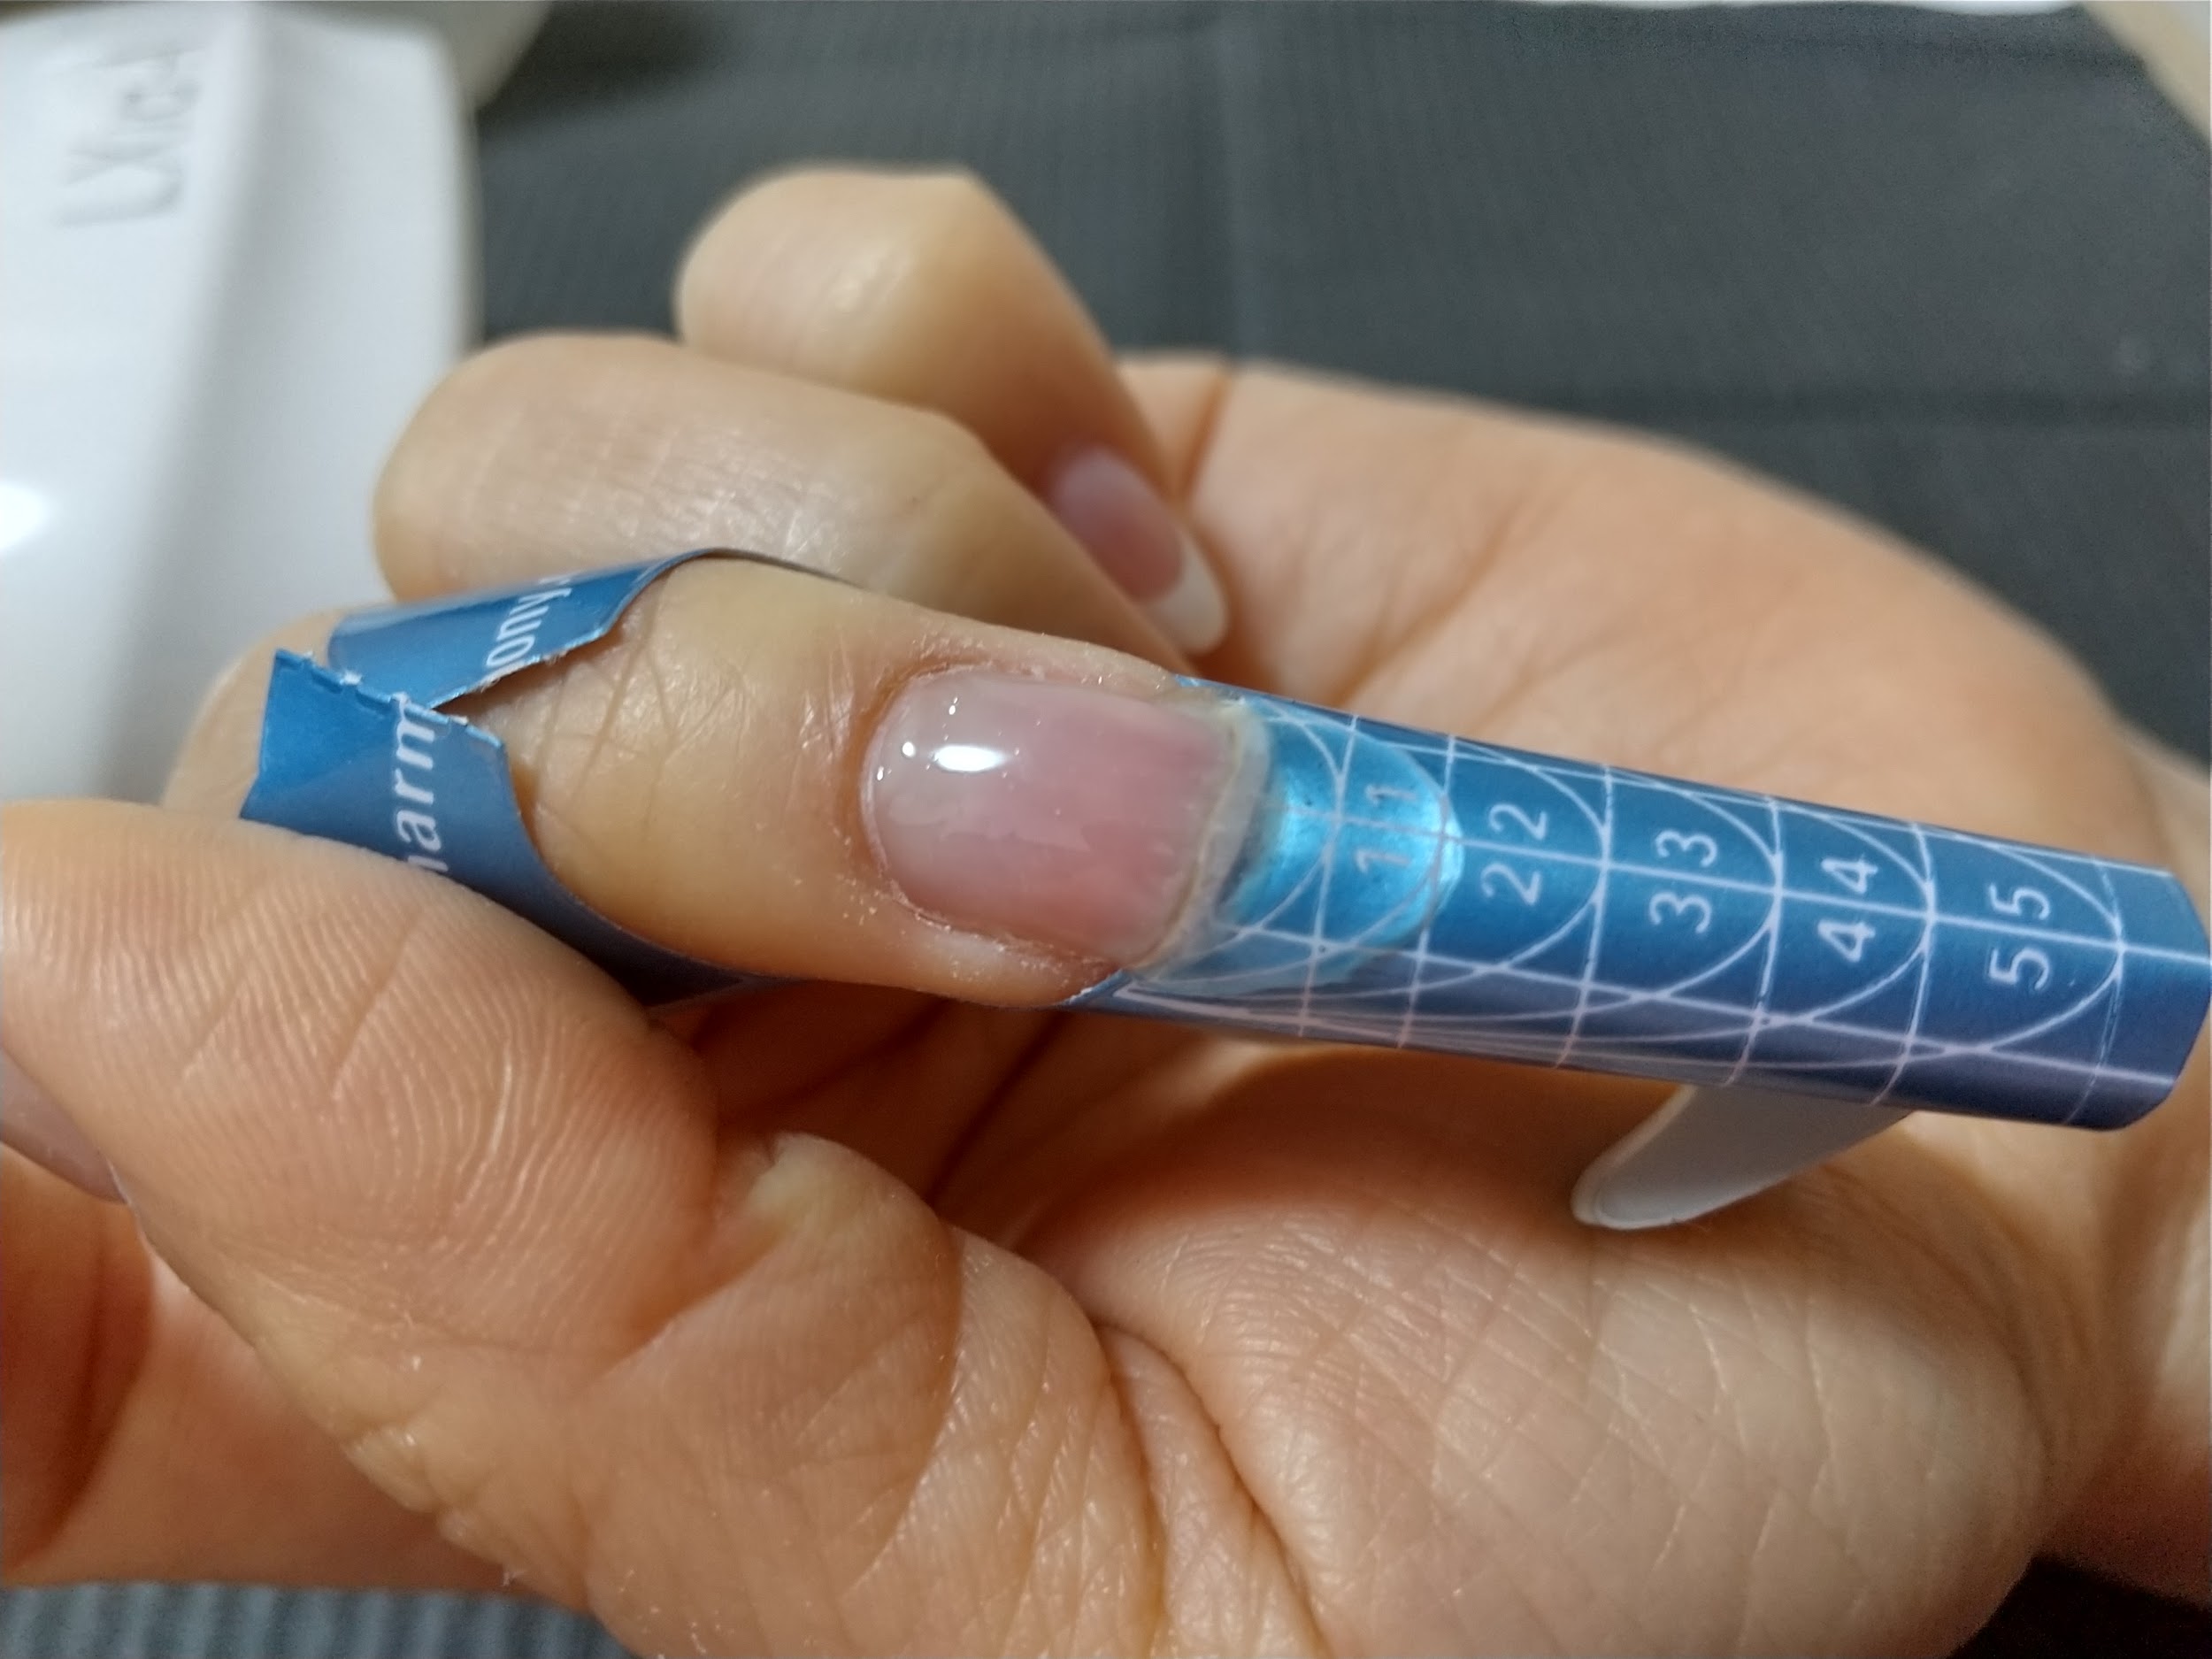
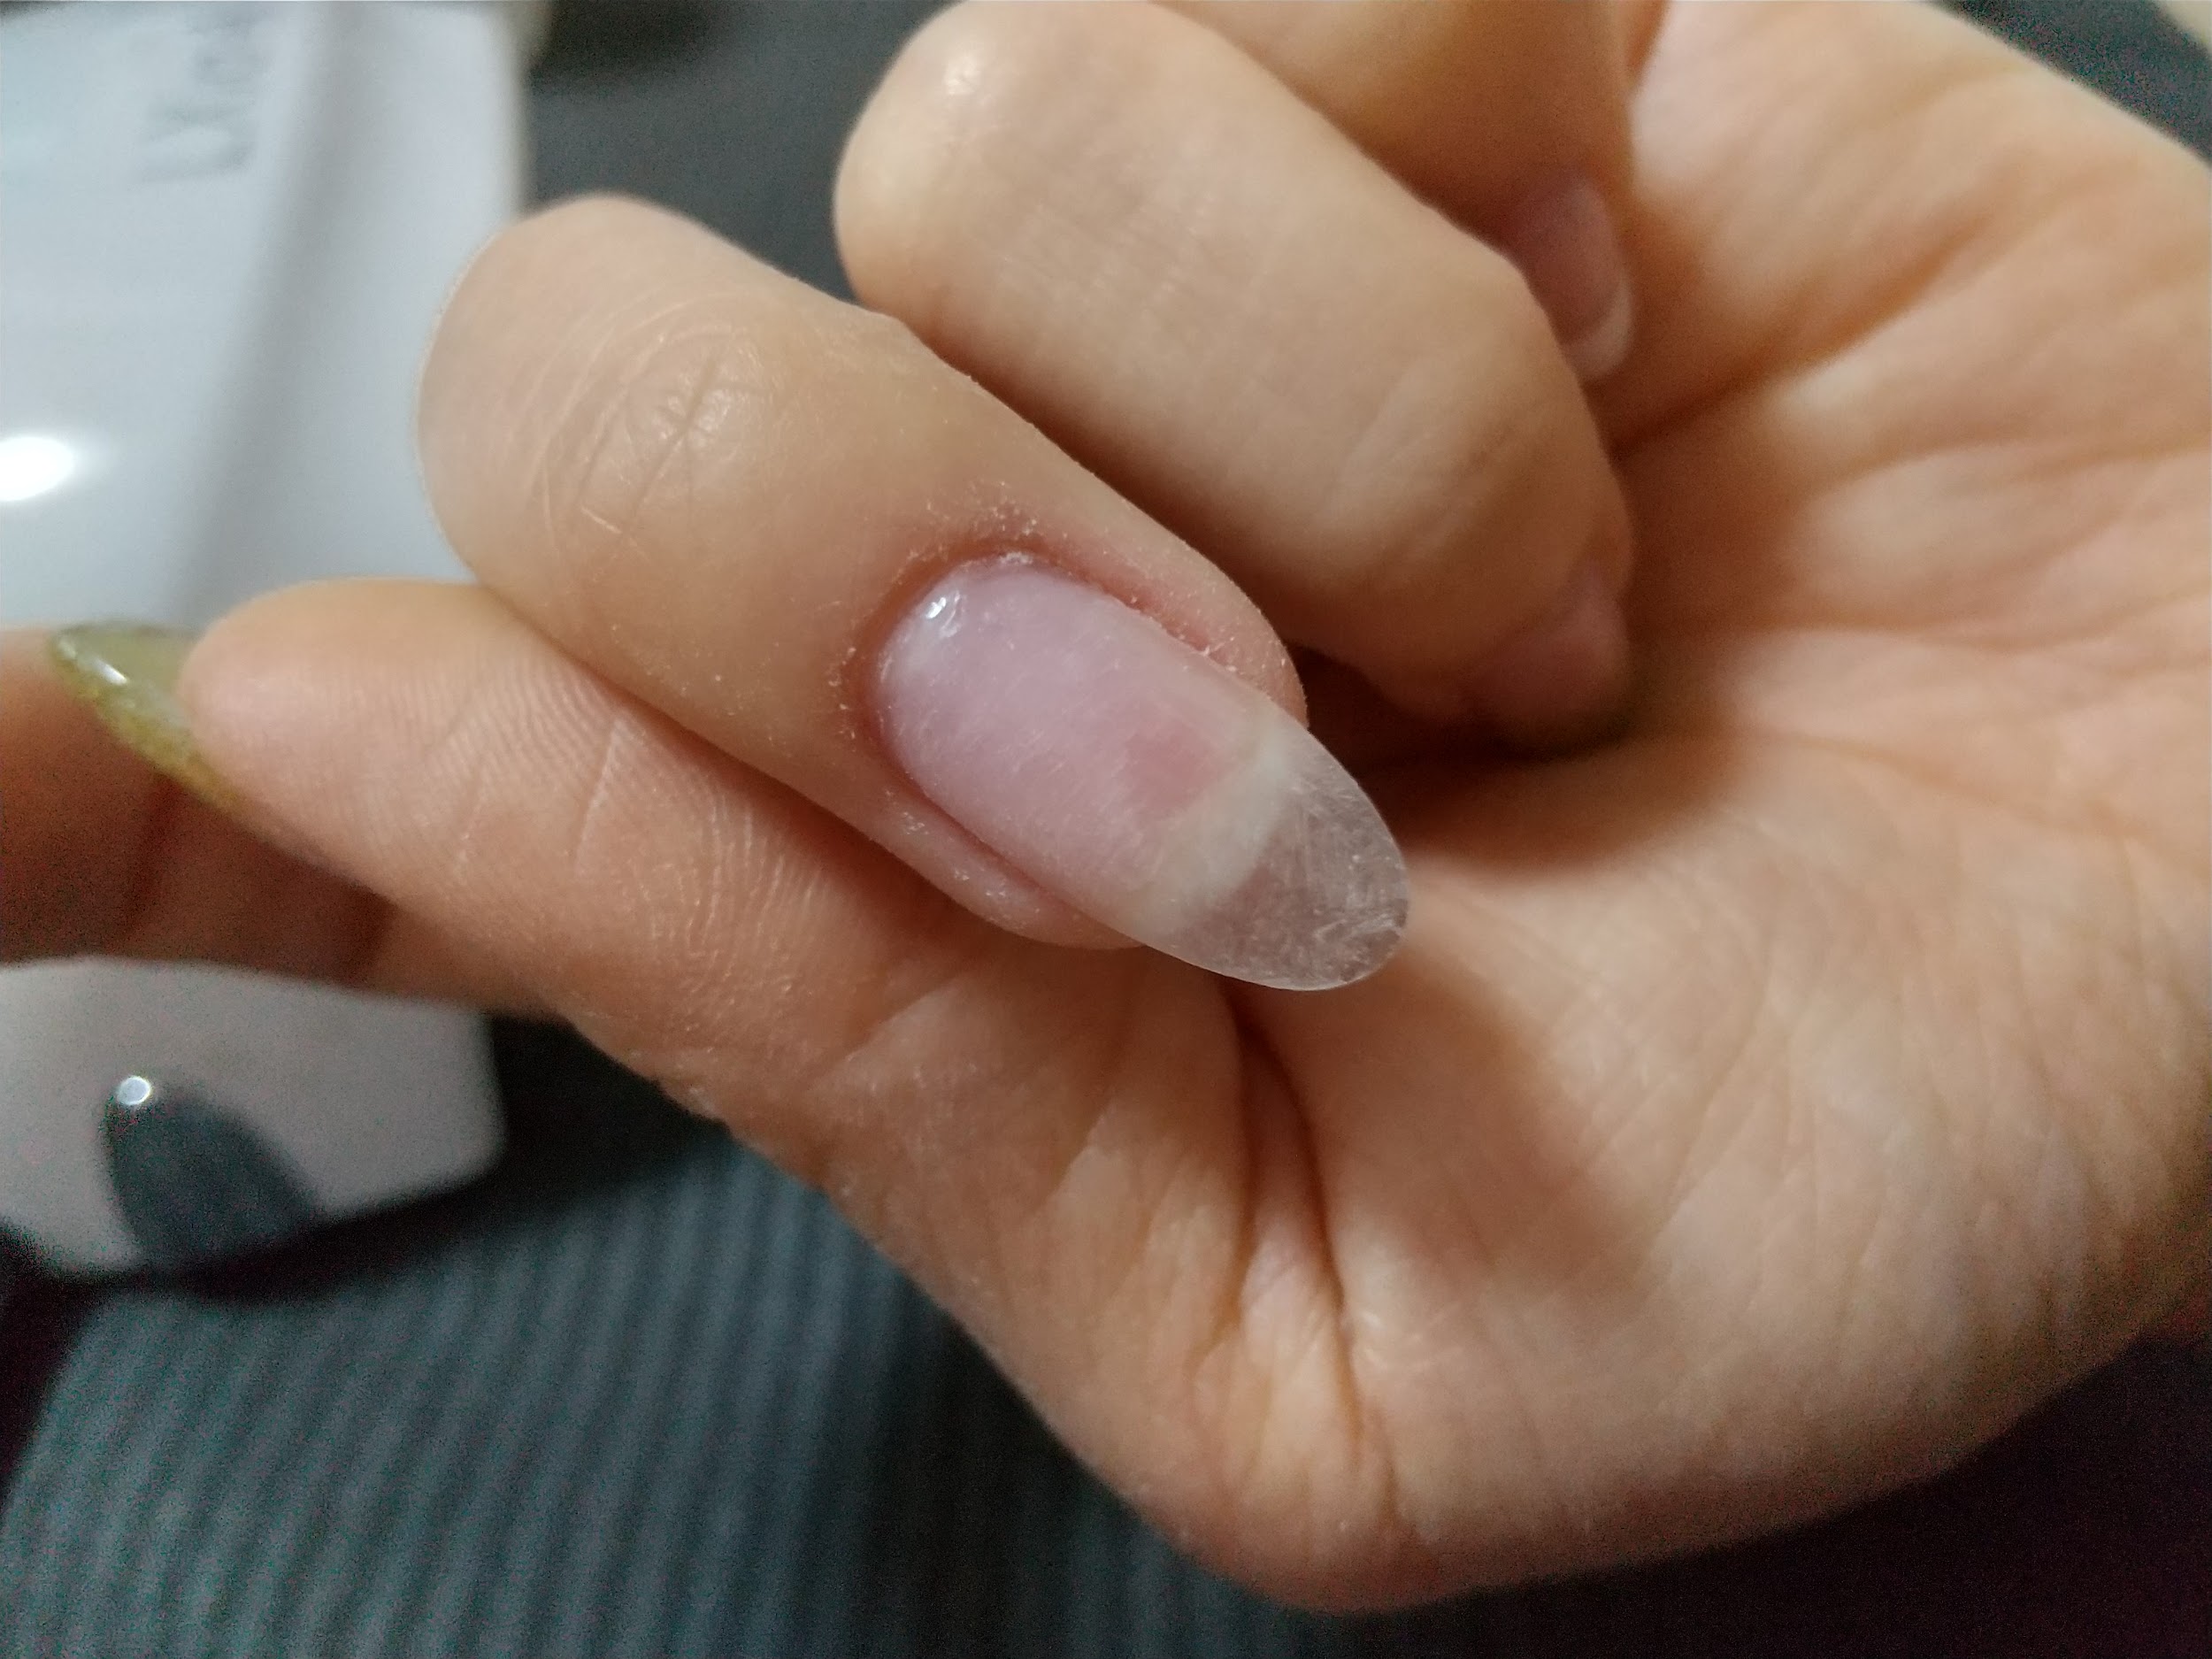
手順2:ネイルフォームを使った方法・手順・やり方
Amiまずはネイルフォームを自爪のイエローライン(白とピンクの境目のライン)の形に切り取ります。
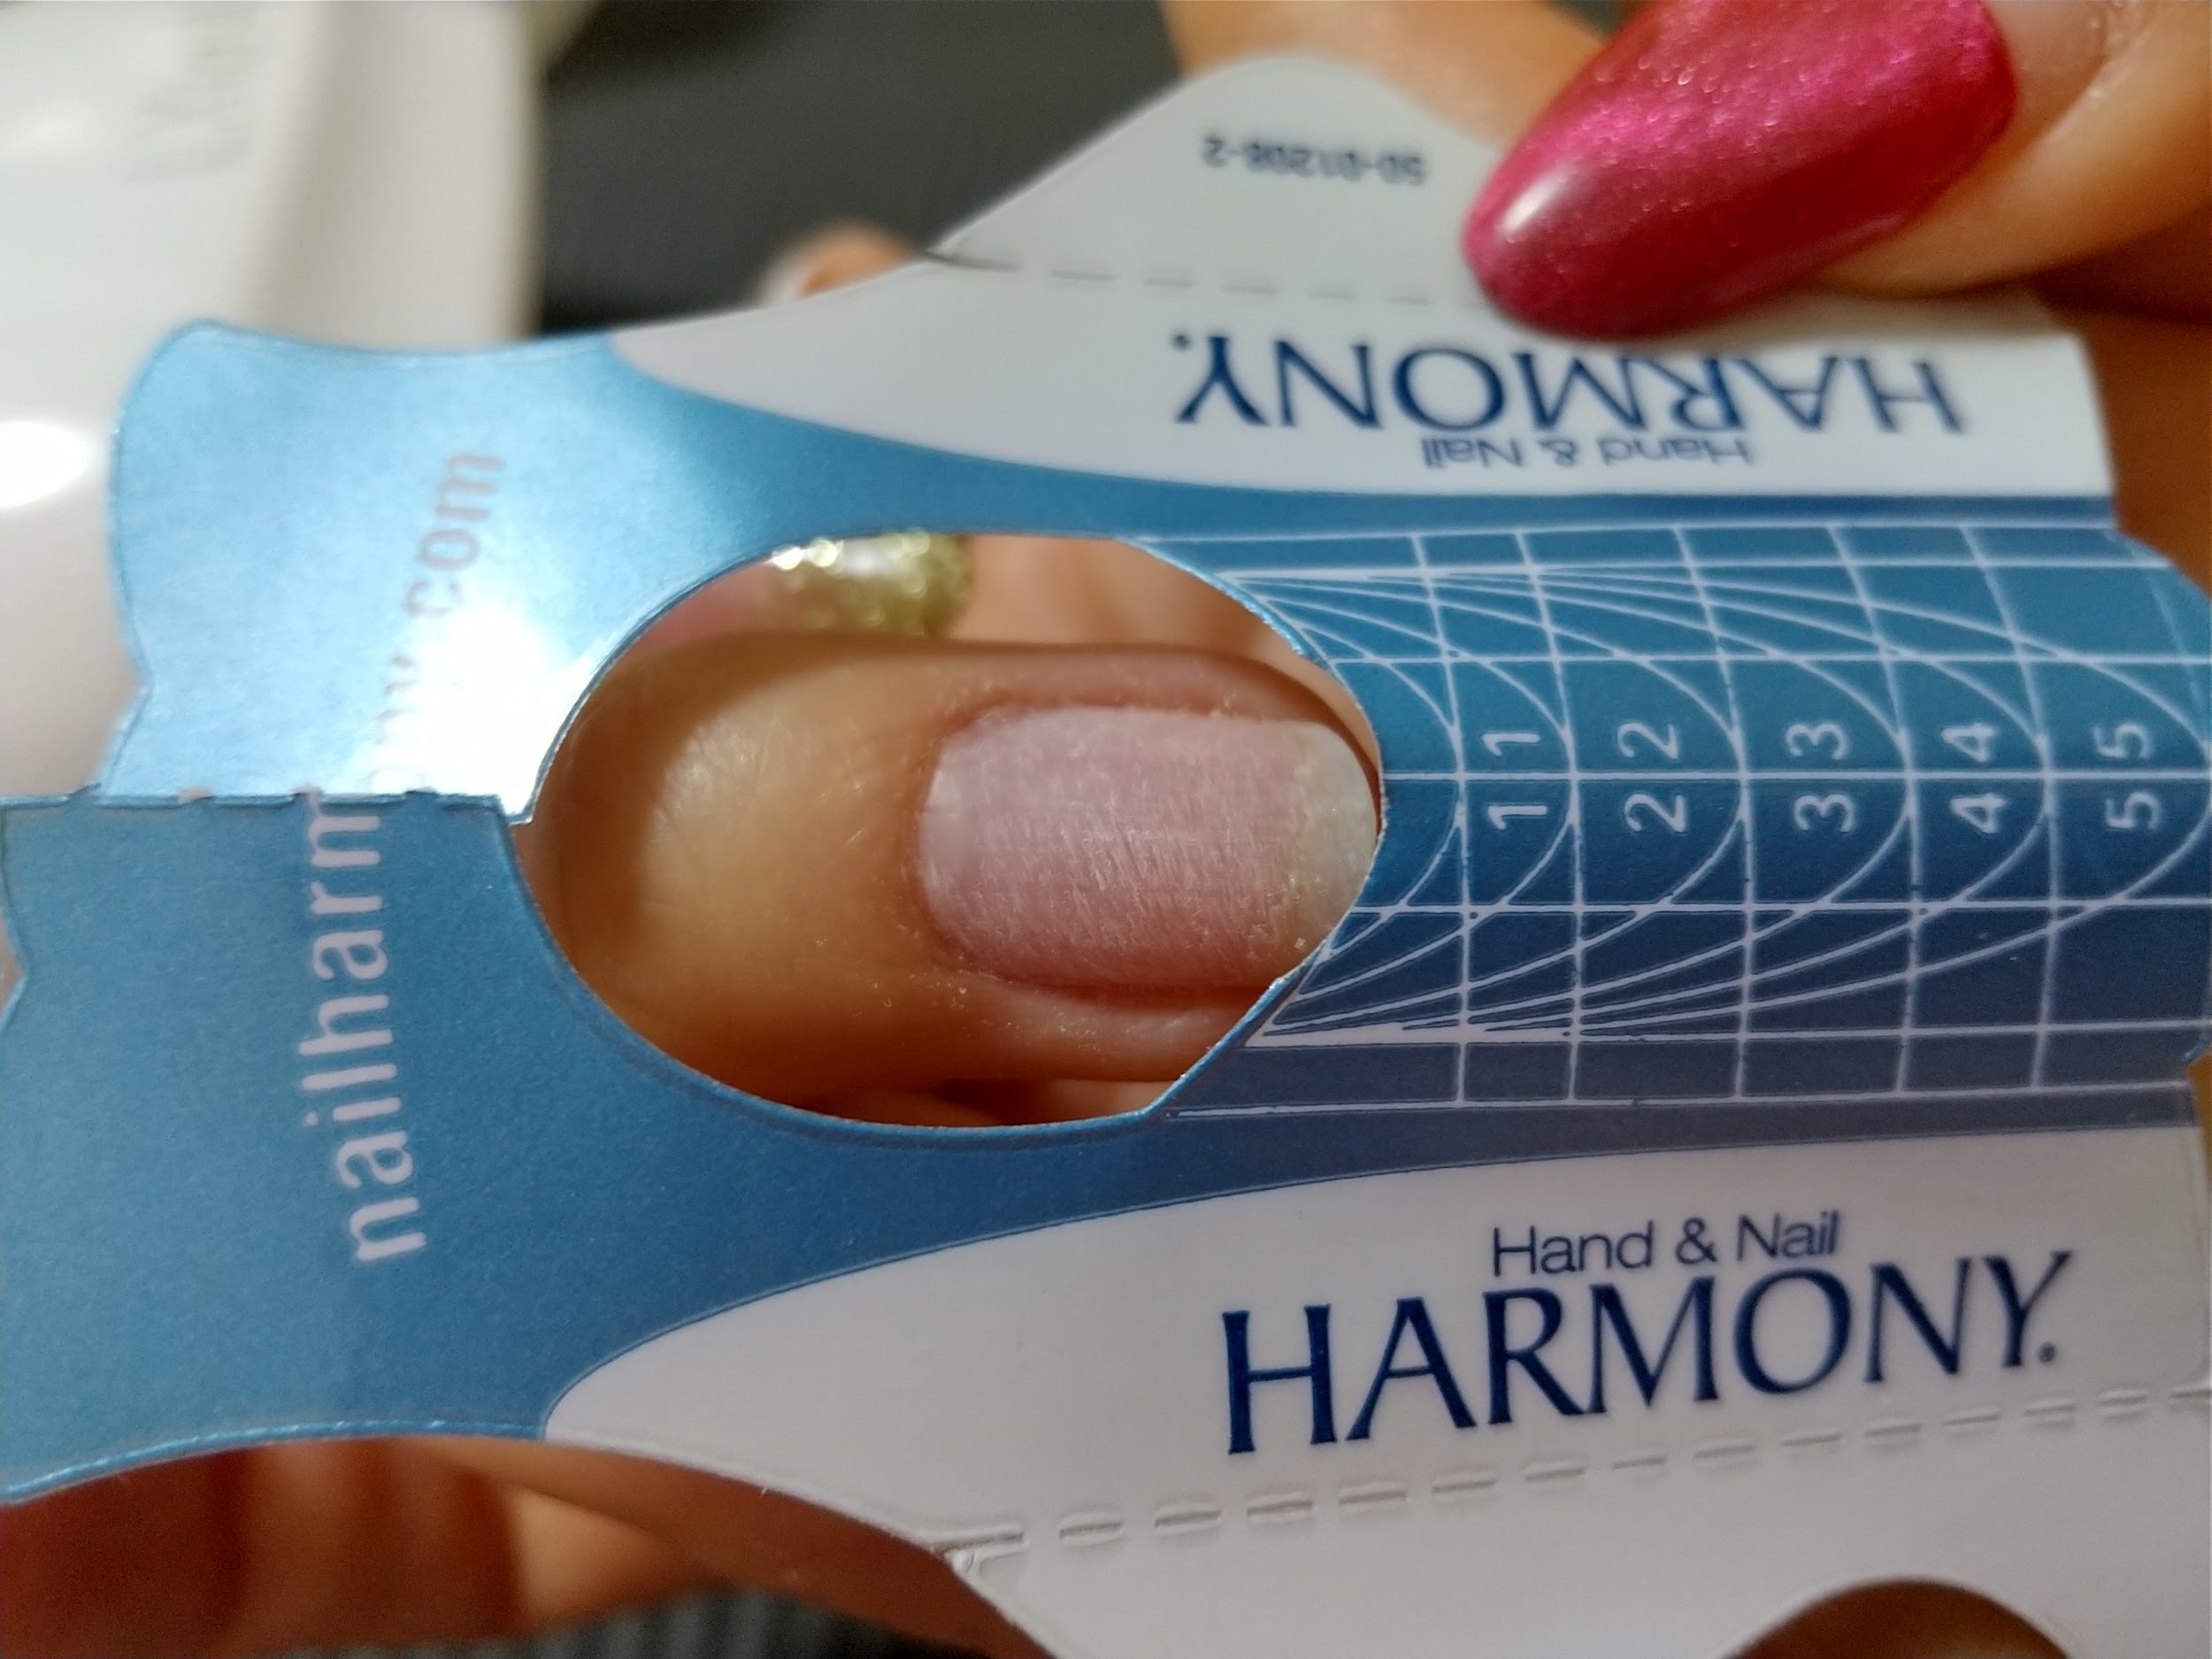
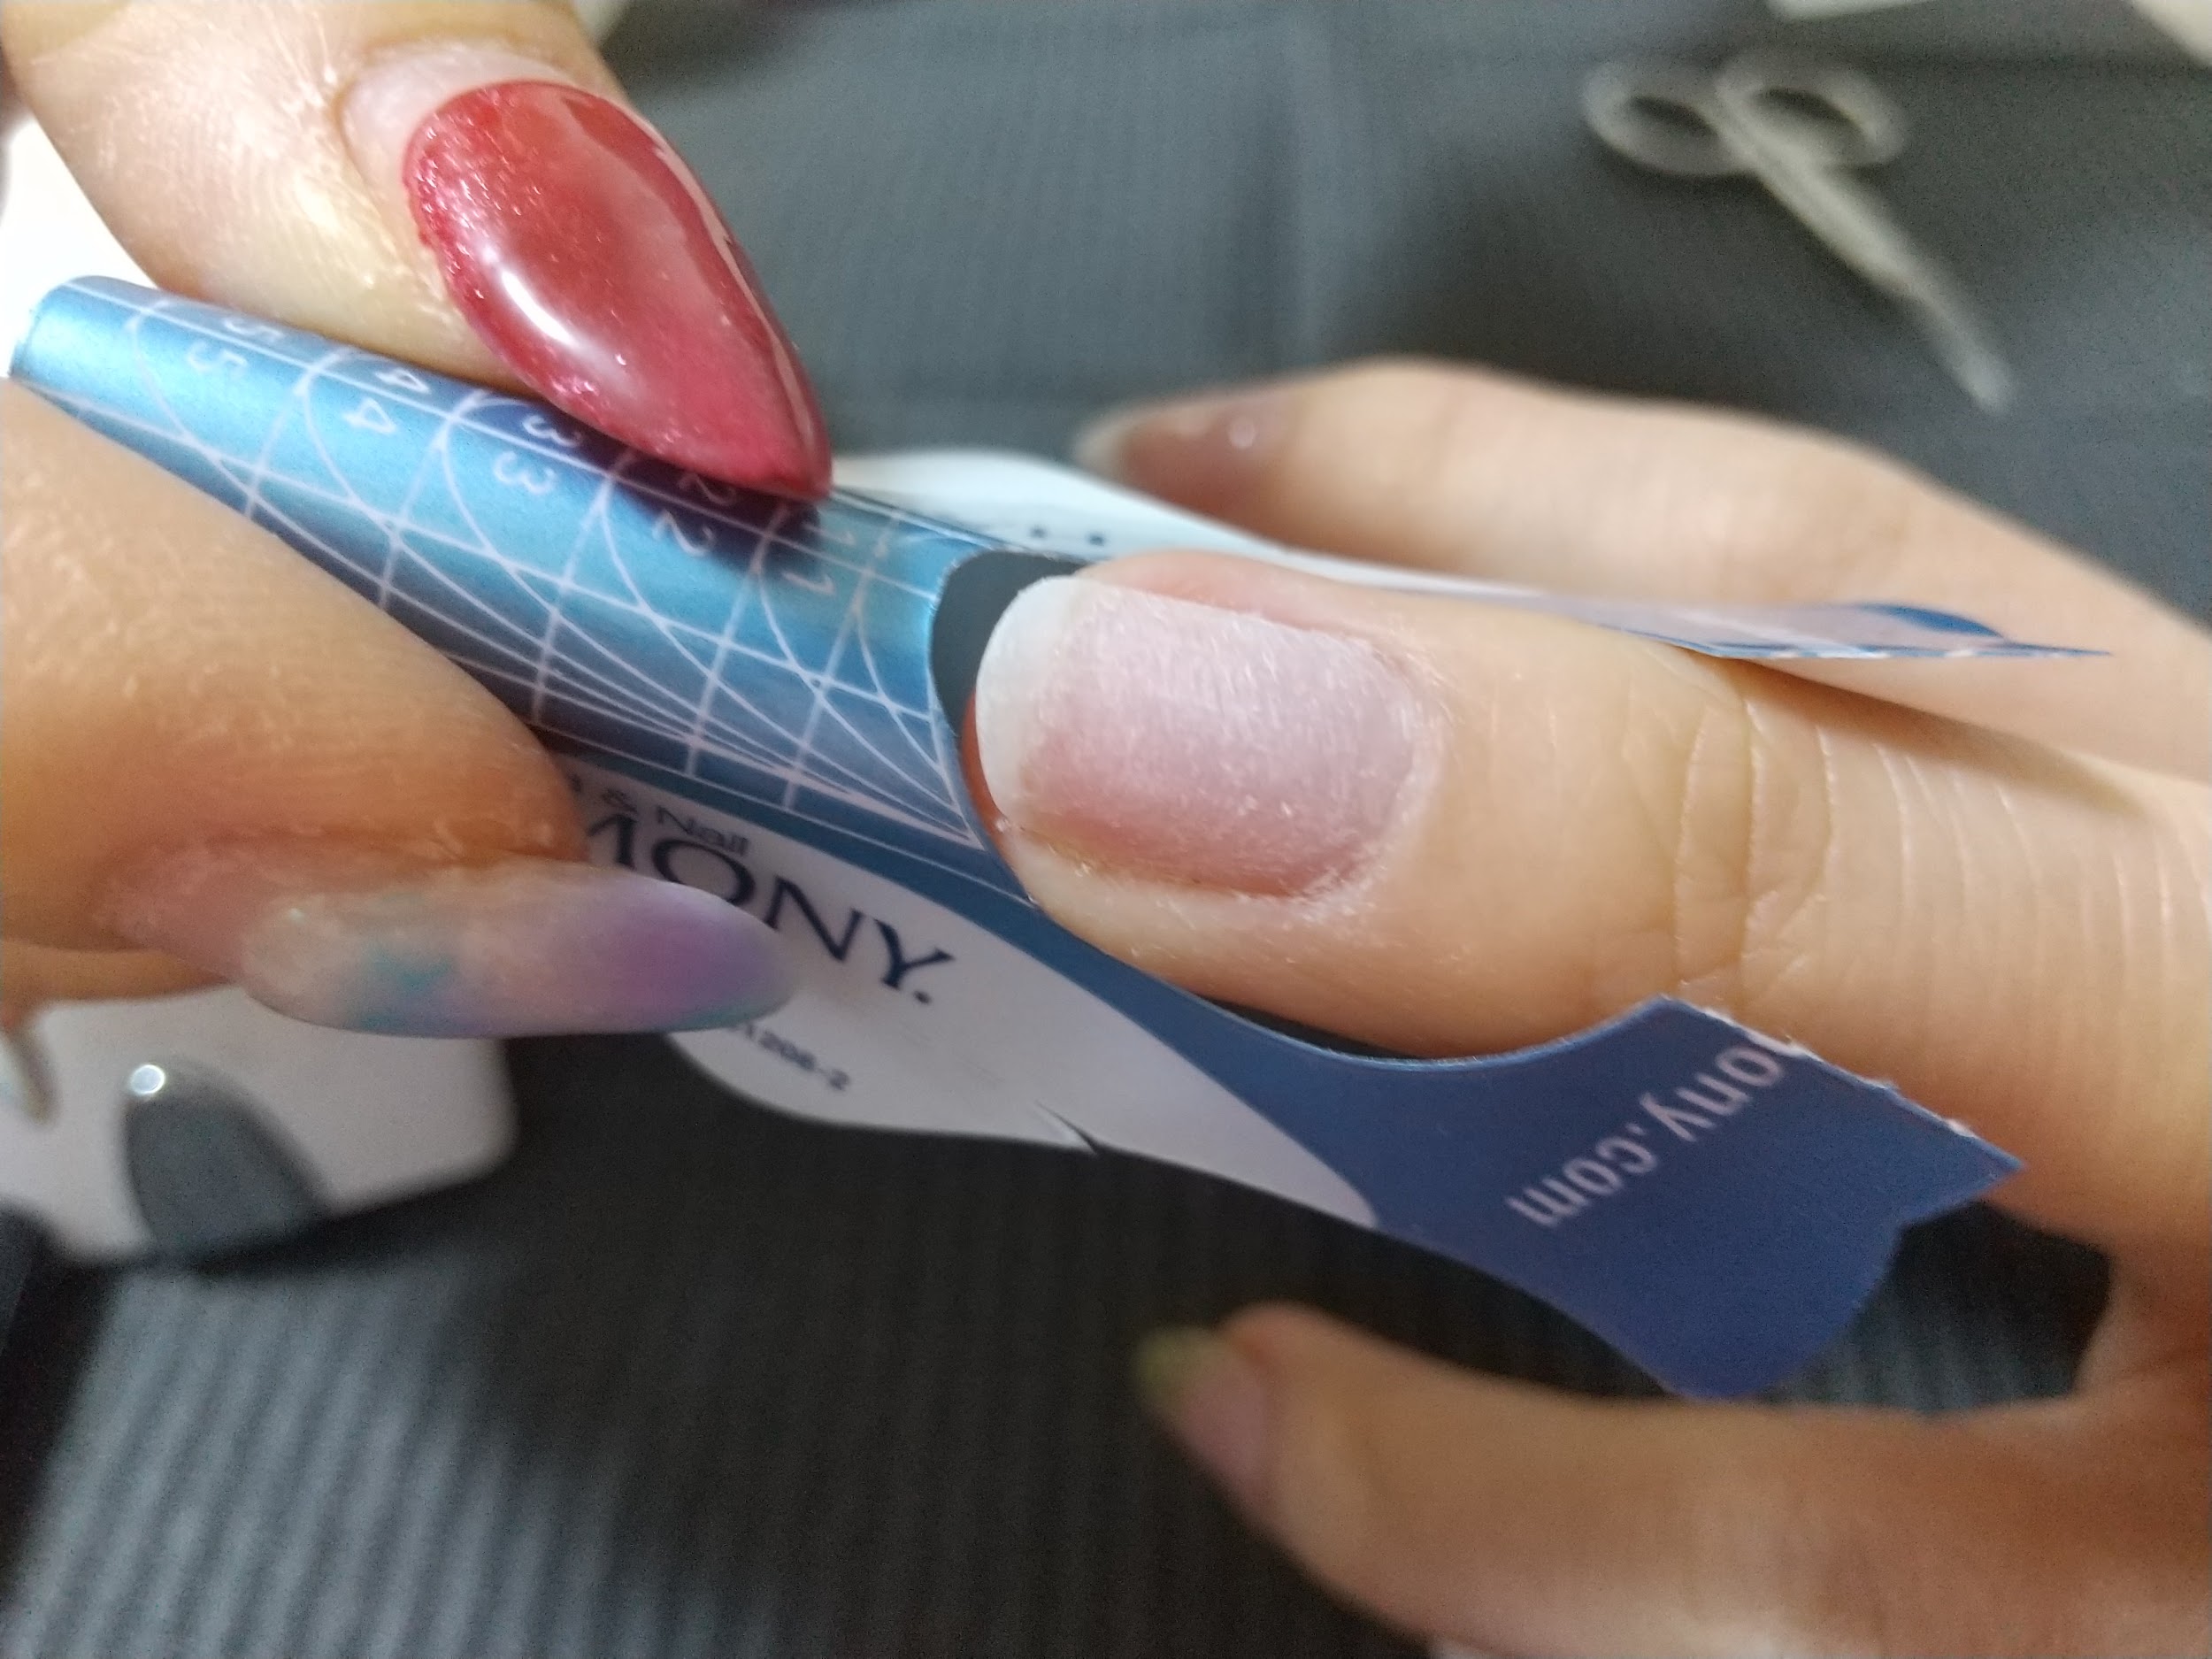 Ami
Amiしっかりフィットさせて、下のテープ部分を貼り付けて固定します。
 Ami
Ami横から見て上向き下向きになっていないか必ず確認しましょう。
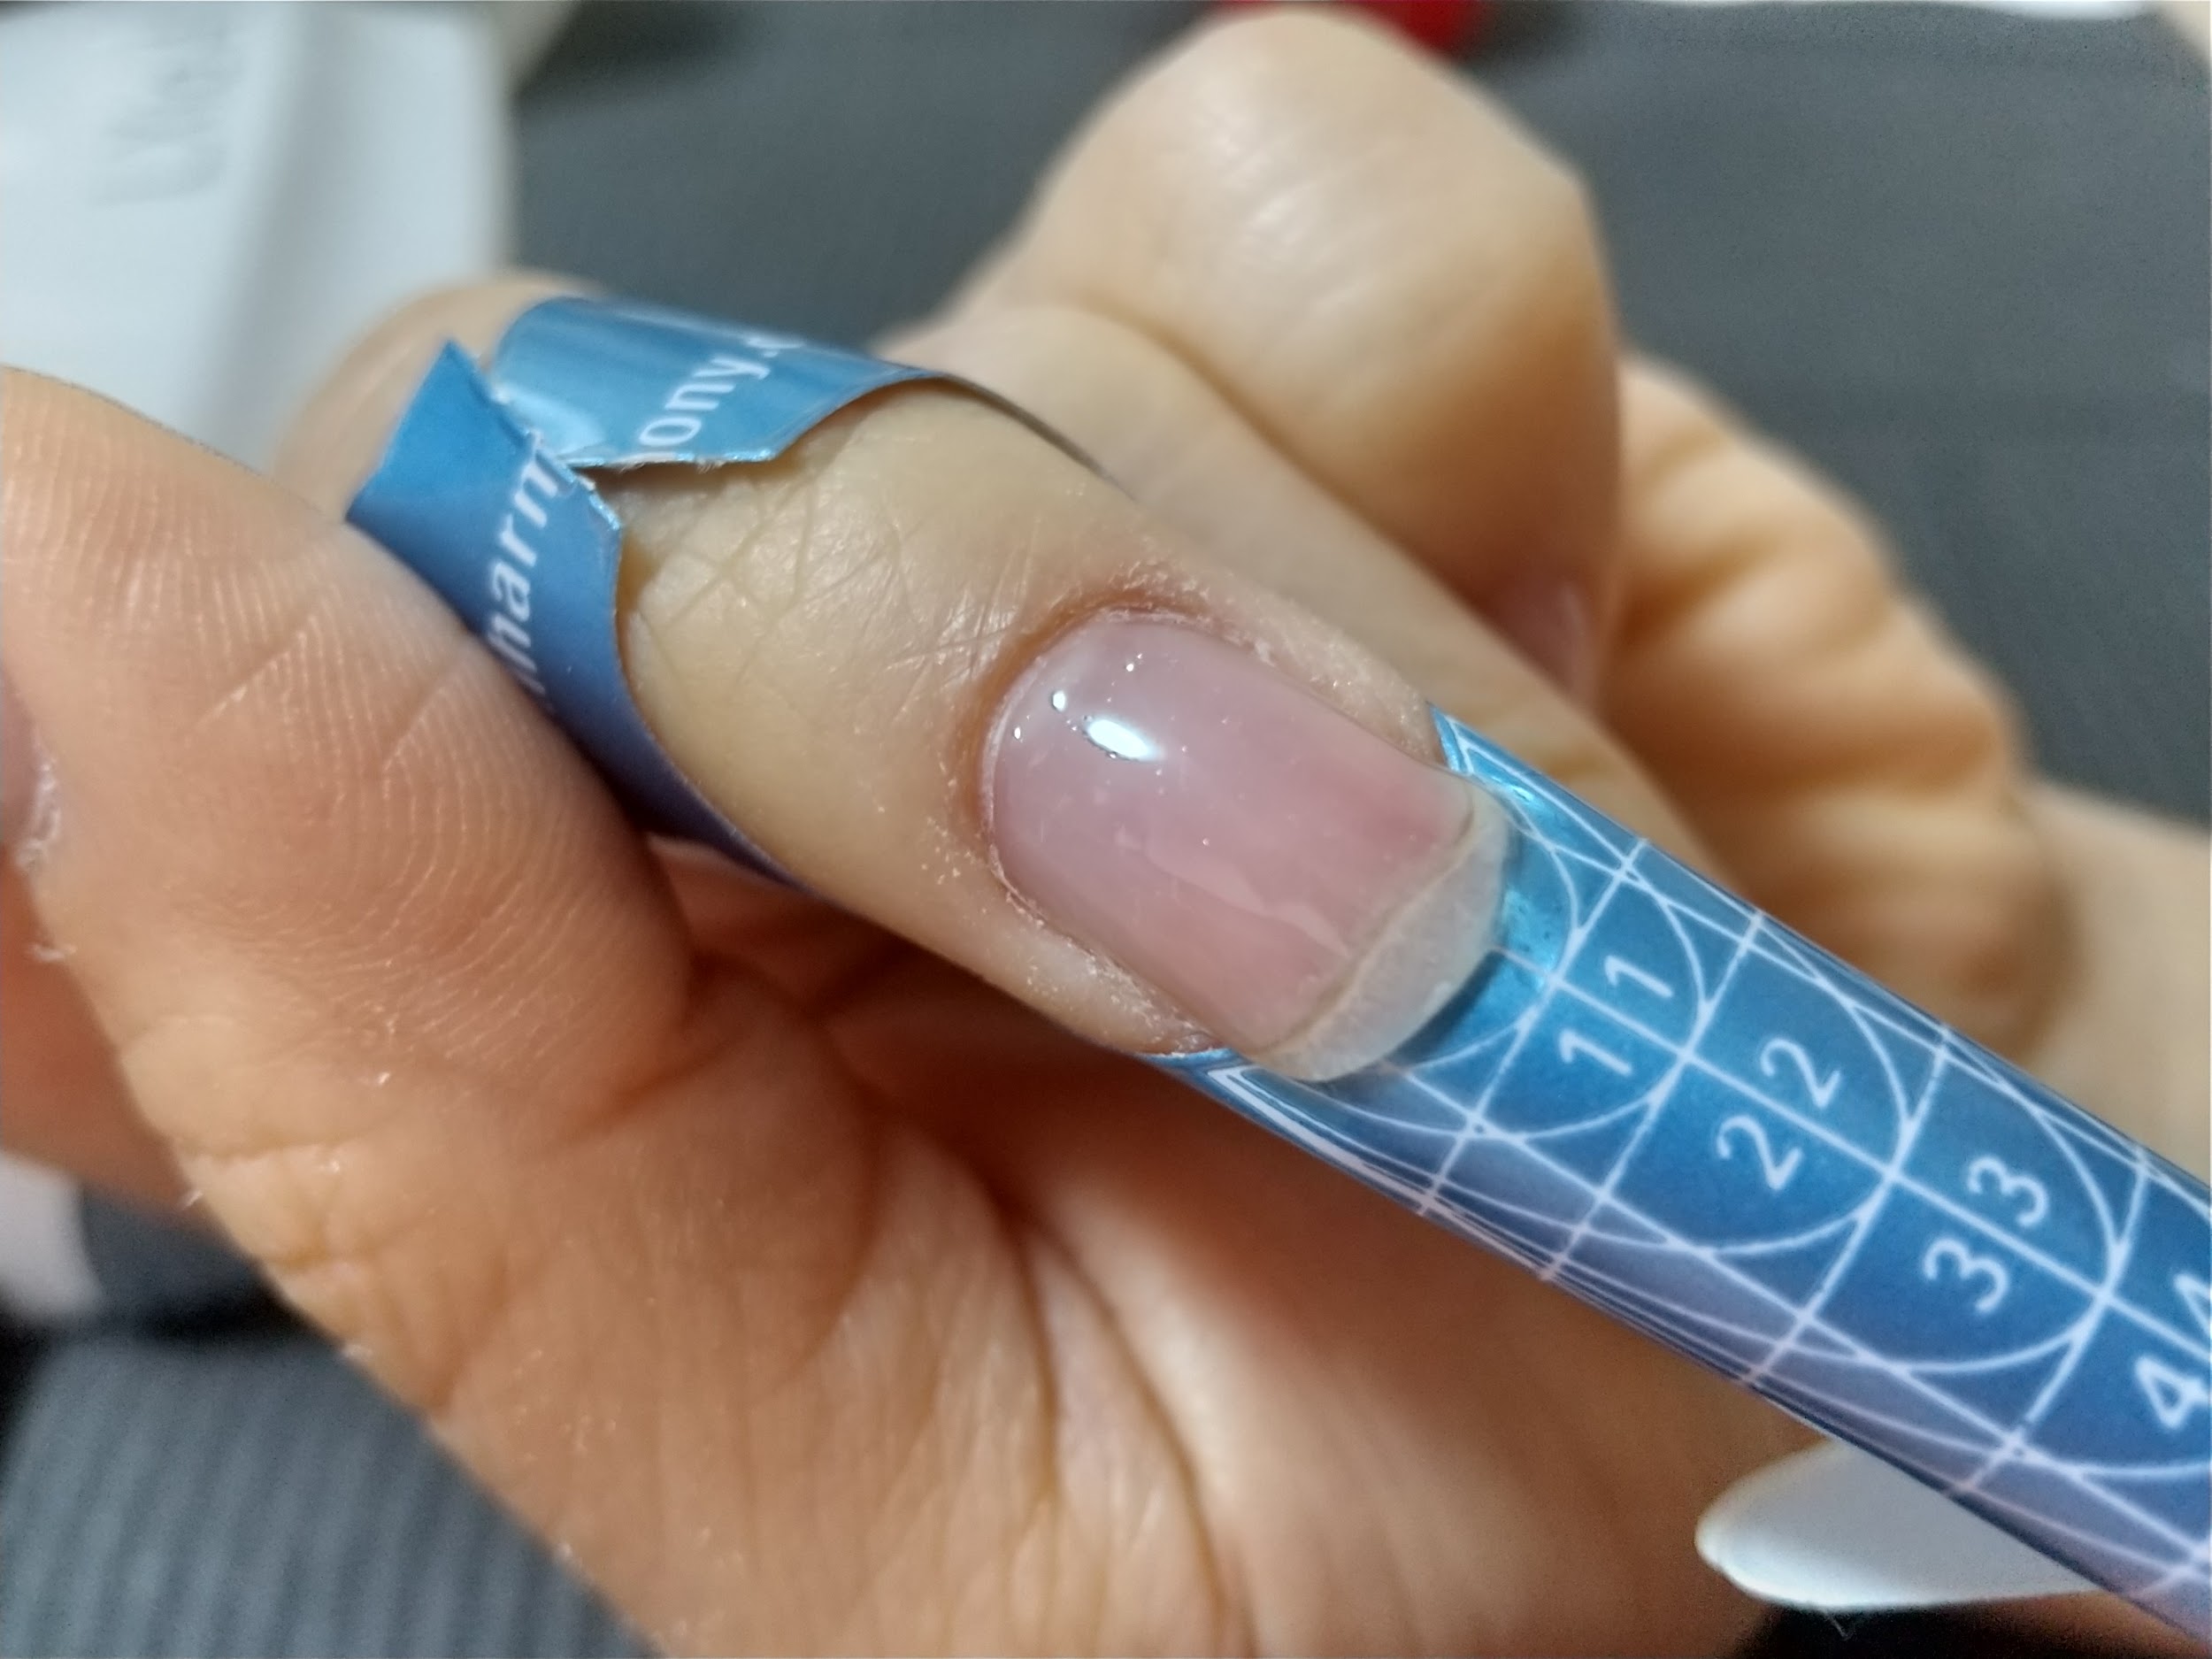 Ami
Ami自爪部分にベースジェルを塗って硬化させます。
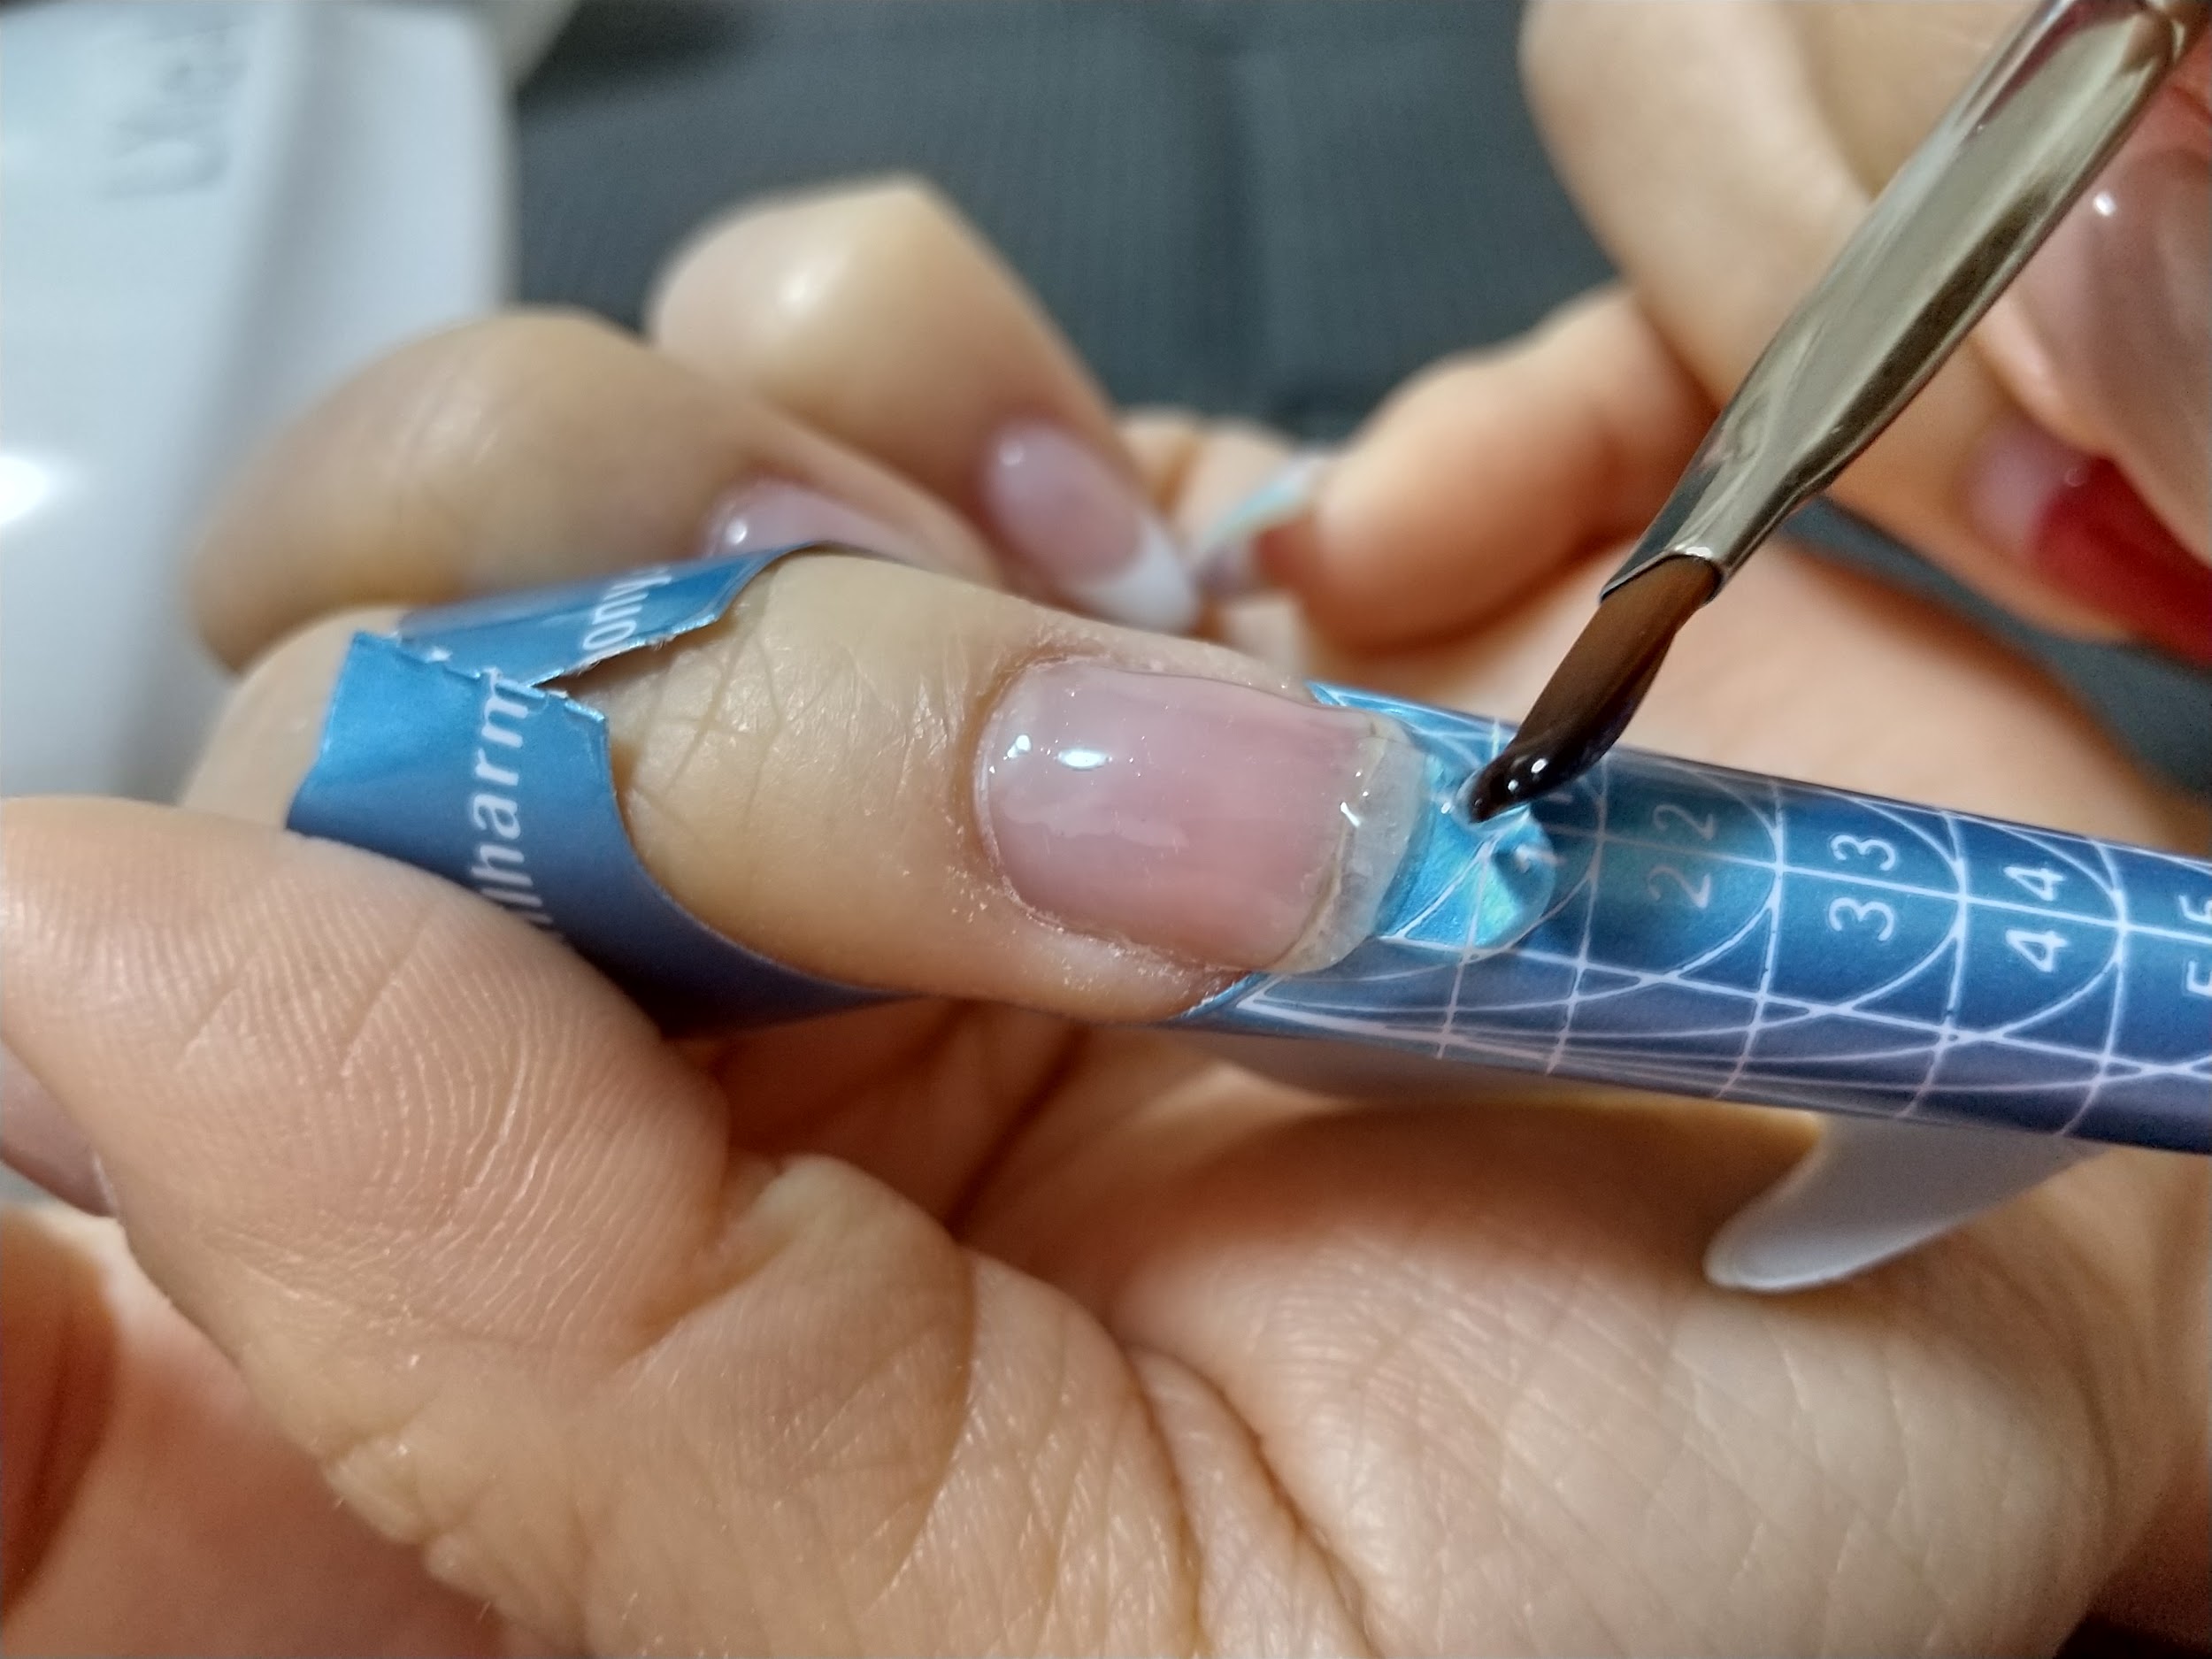 Ami
Amiセミハードジェルや長さ出し用のジェルを自爪の先端から作りたい長さ・形に乗せます。
 Ami
Ami形を整えたら硬化させます。この後のピンチを入れやすくするため、完全に硬化させず流れないように仮止めする程度で大丈夫です。
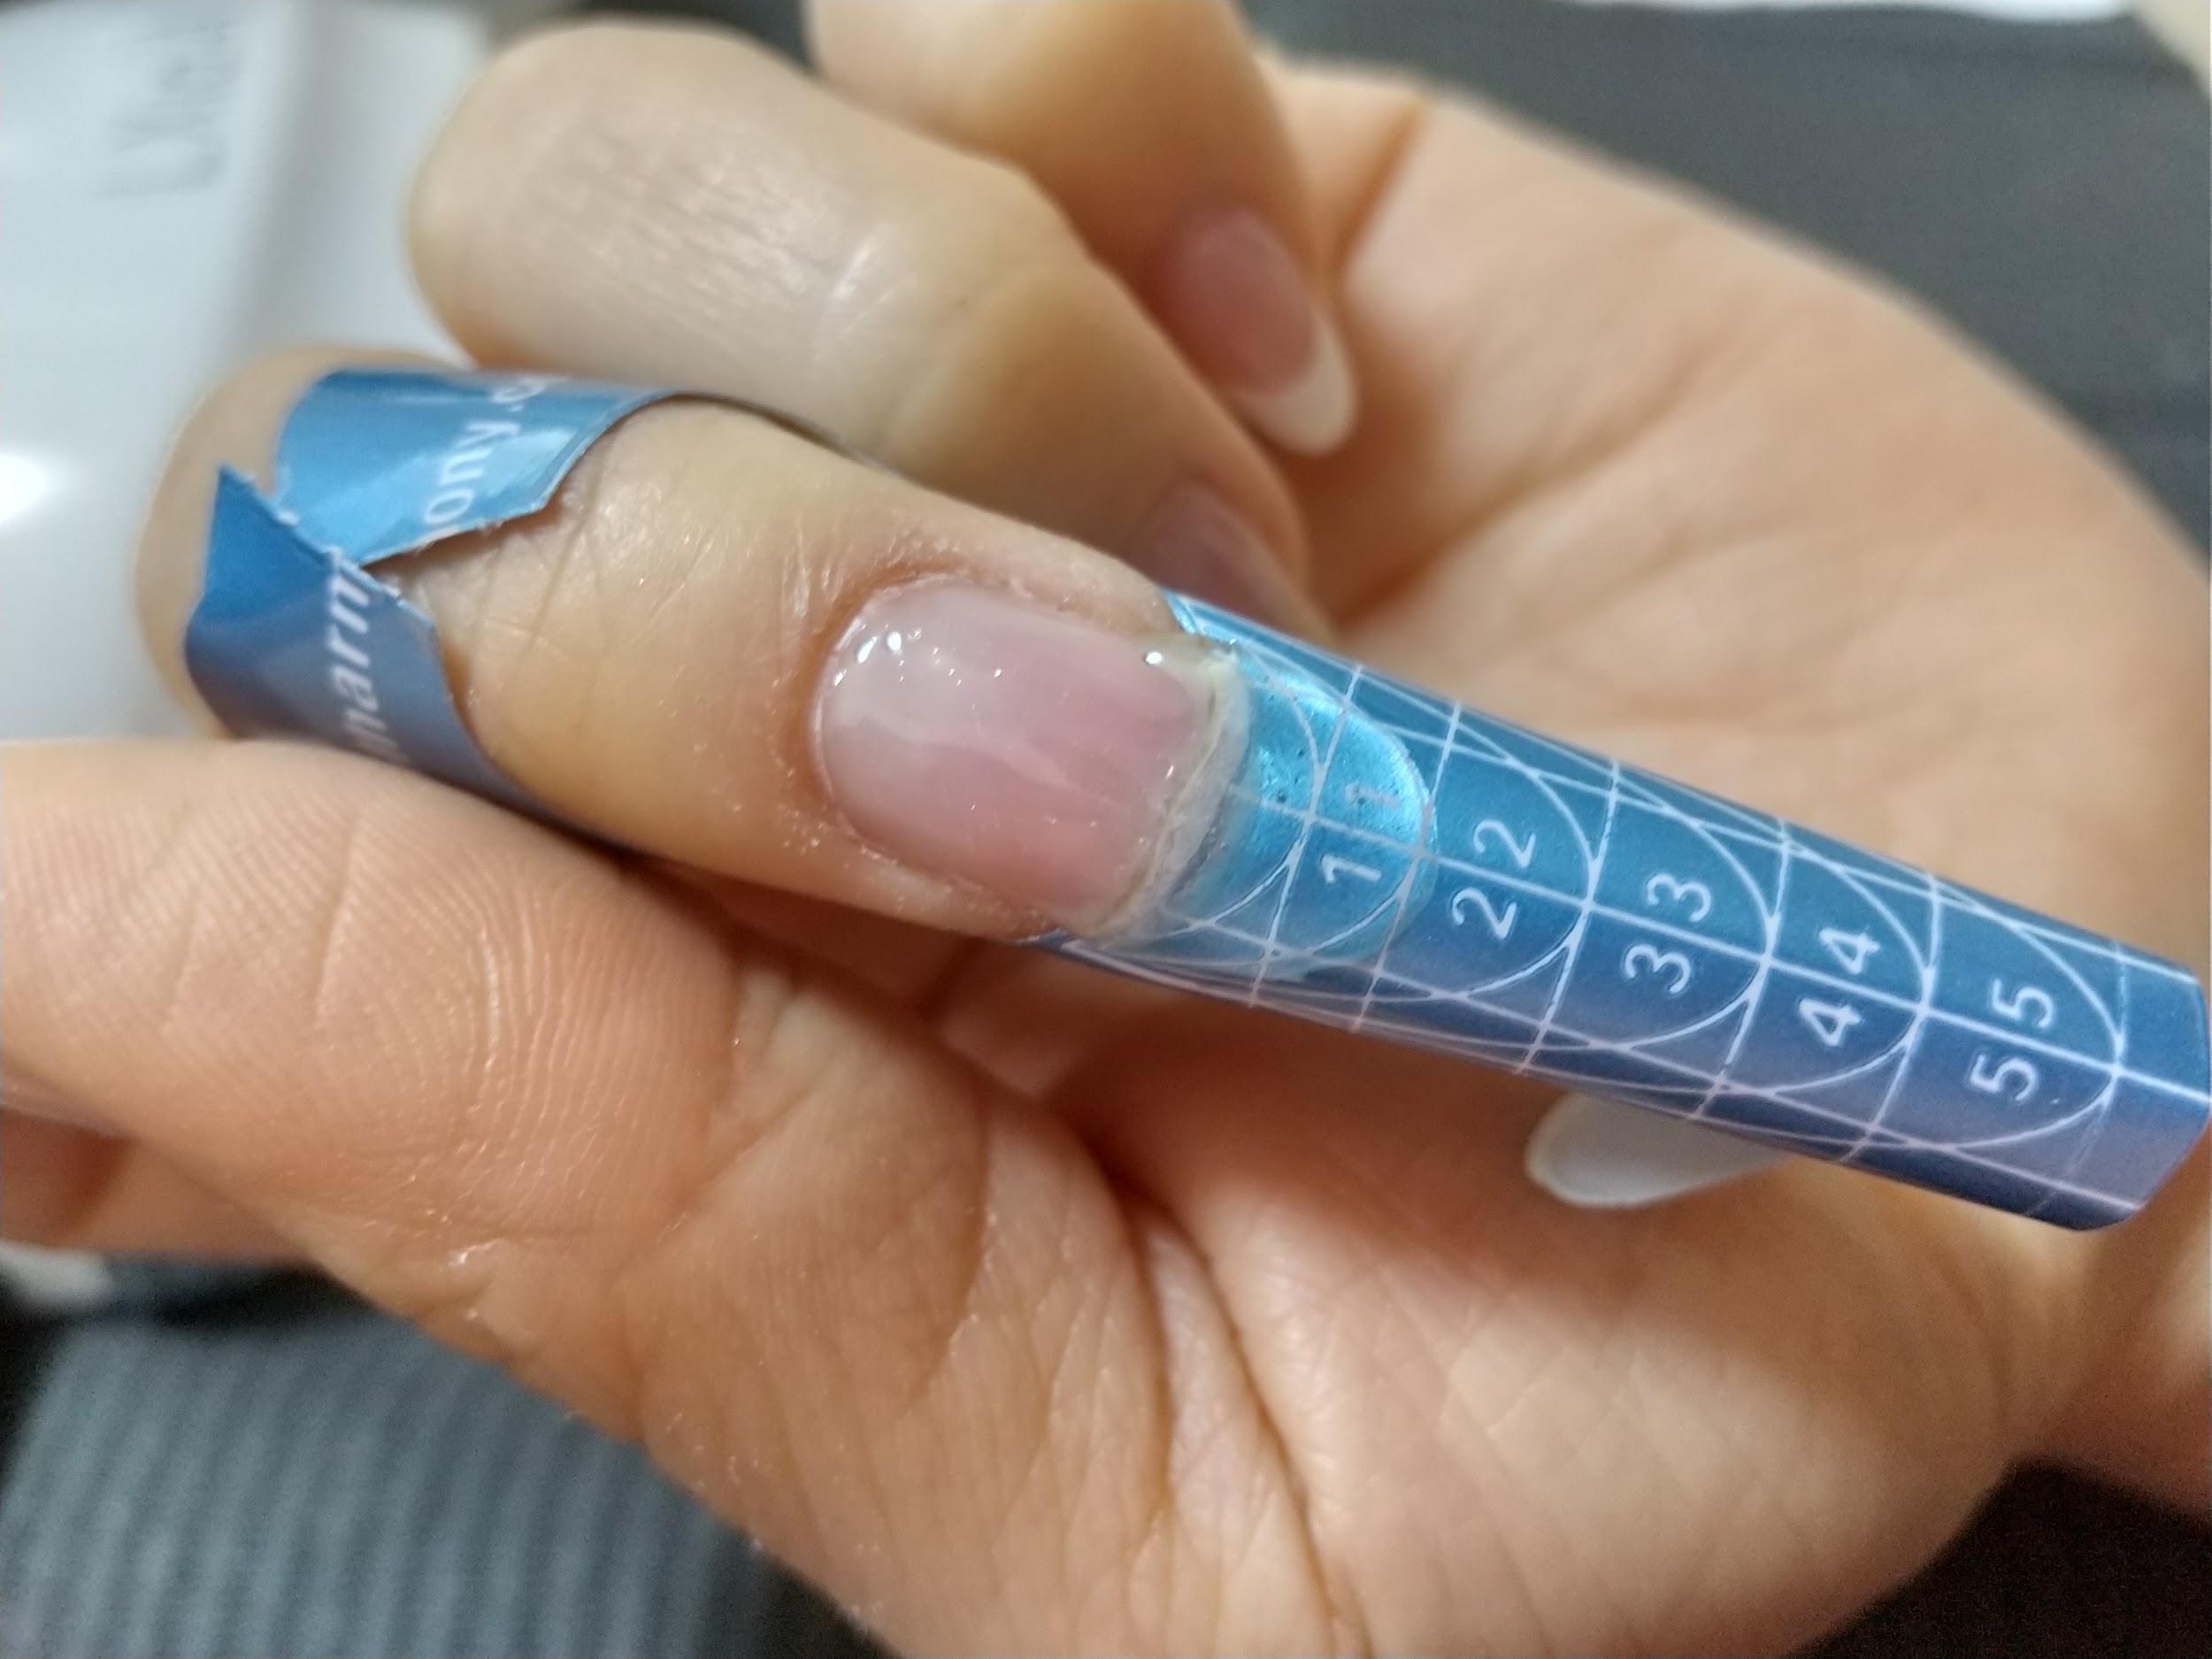
 Ami
Ami同じジェルで根元から先端まで塗って厚みを出して整えます。
 Ami
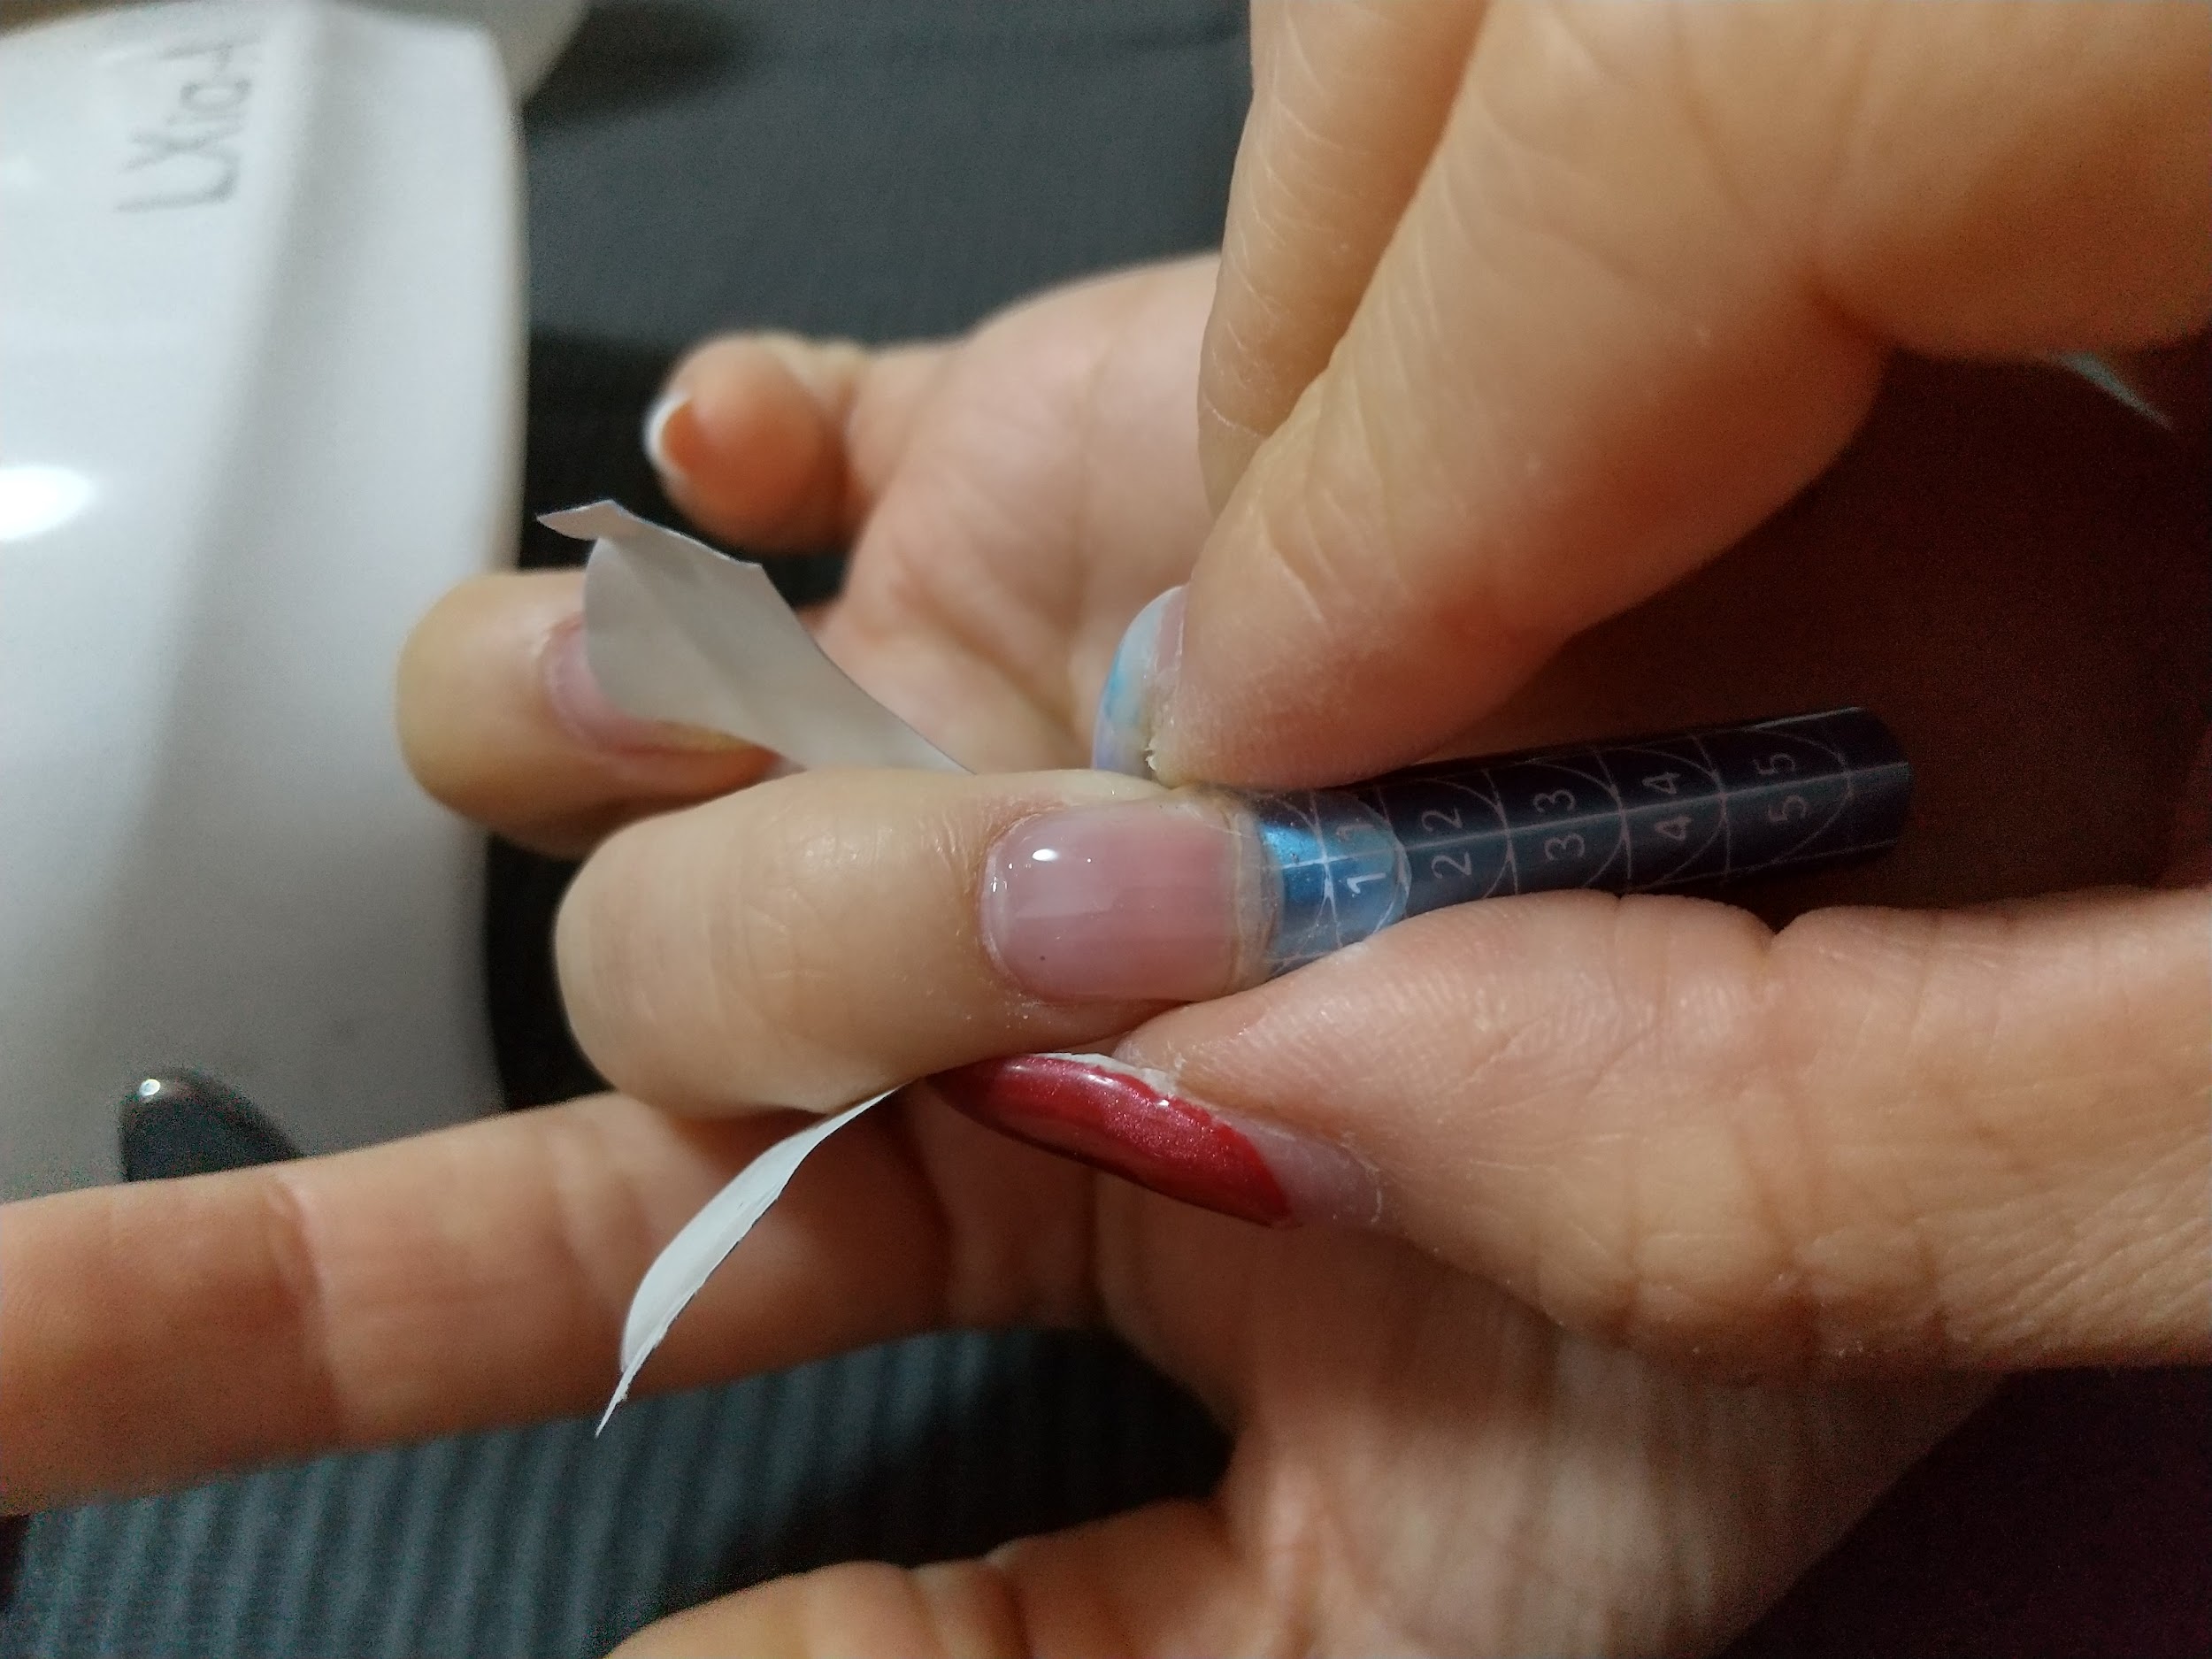
Amiあらためて硬化させます。硬化する際、半硬化(3〜5秒程)でライトから出して、ピンチ(ギュッと力を加え細くする事)を入れてカーブを整えます。カーブがきれいに入ったら完全に硬化させます。
 Ami
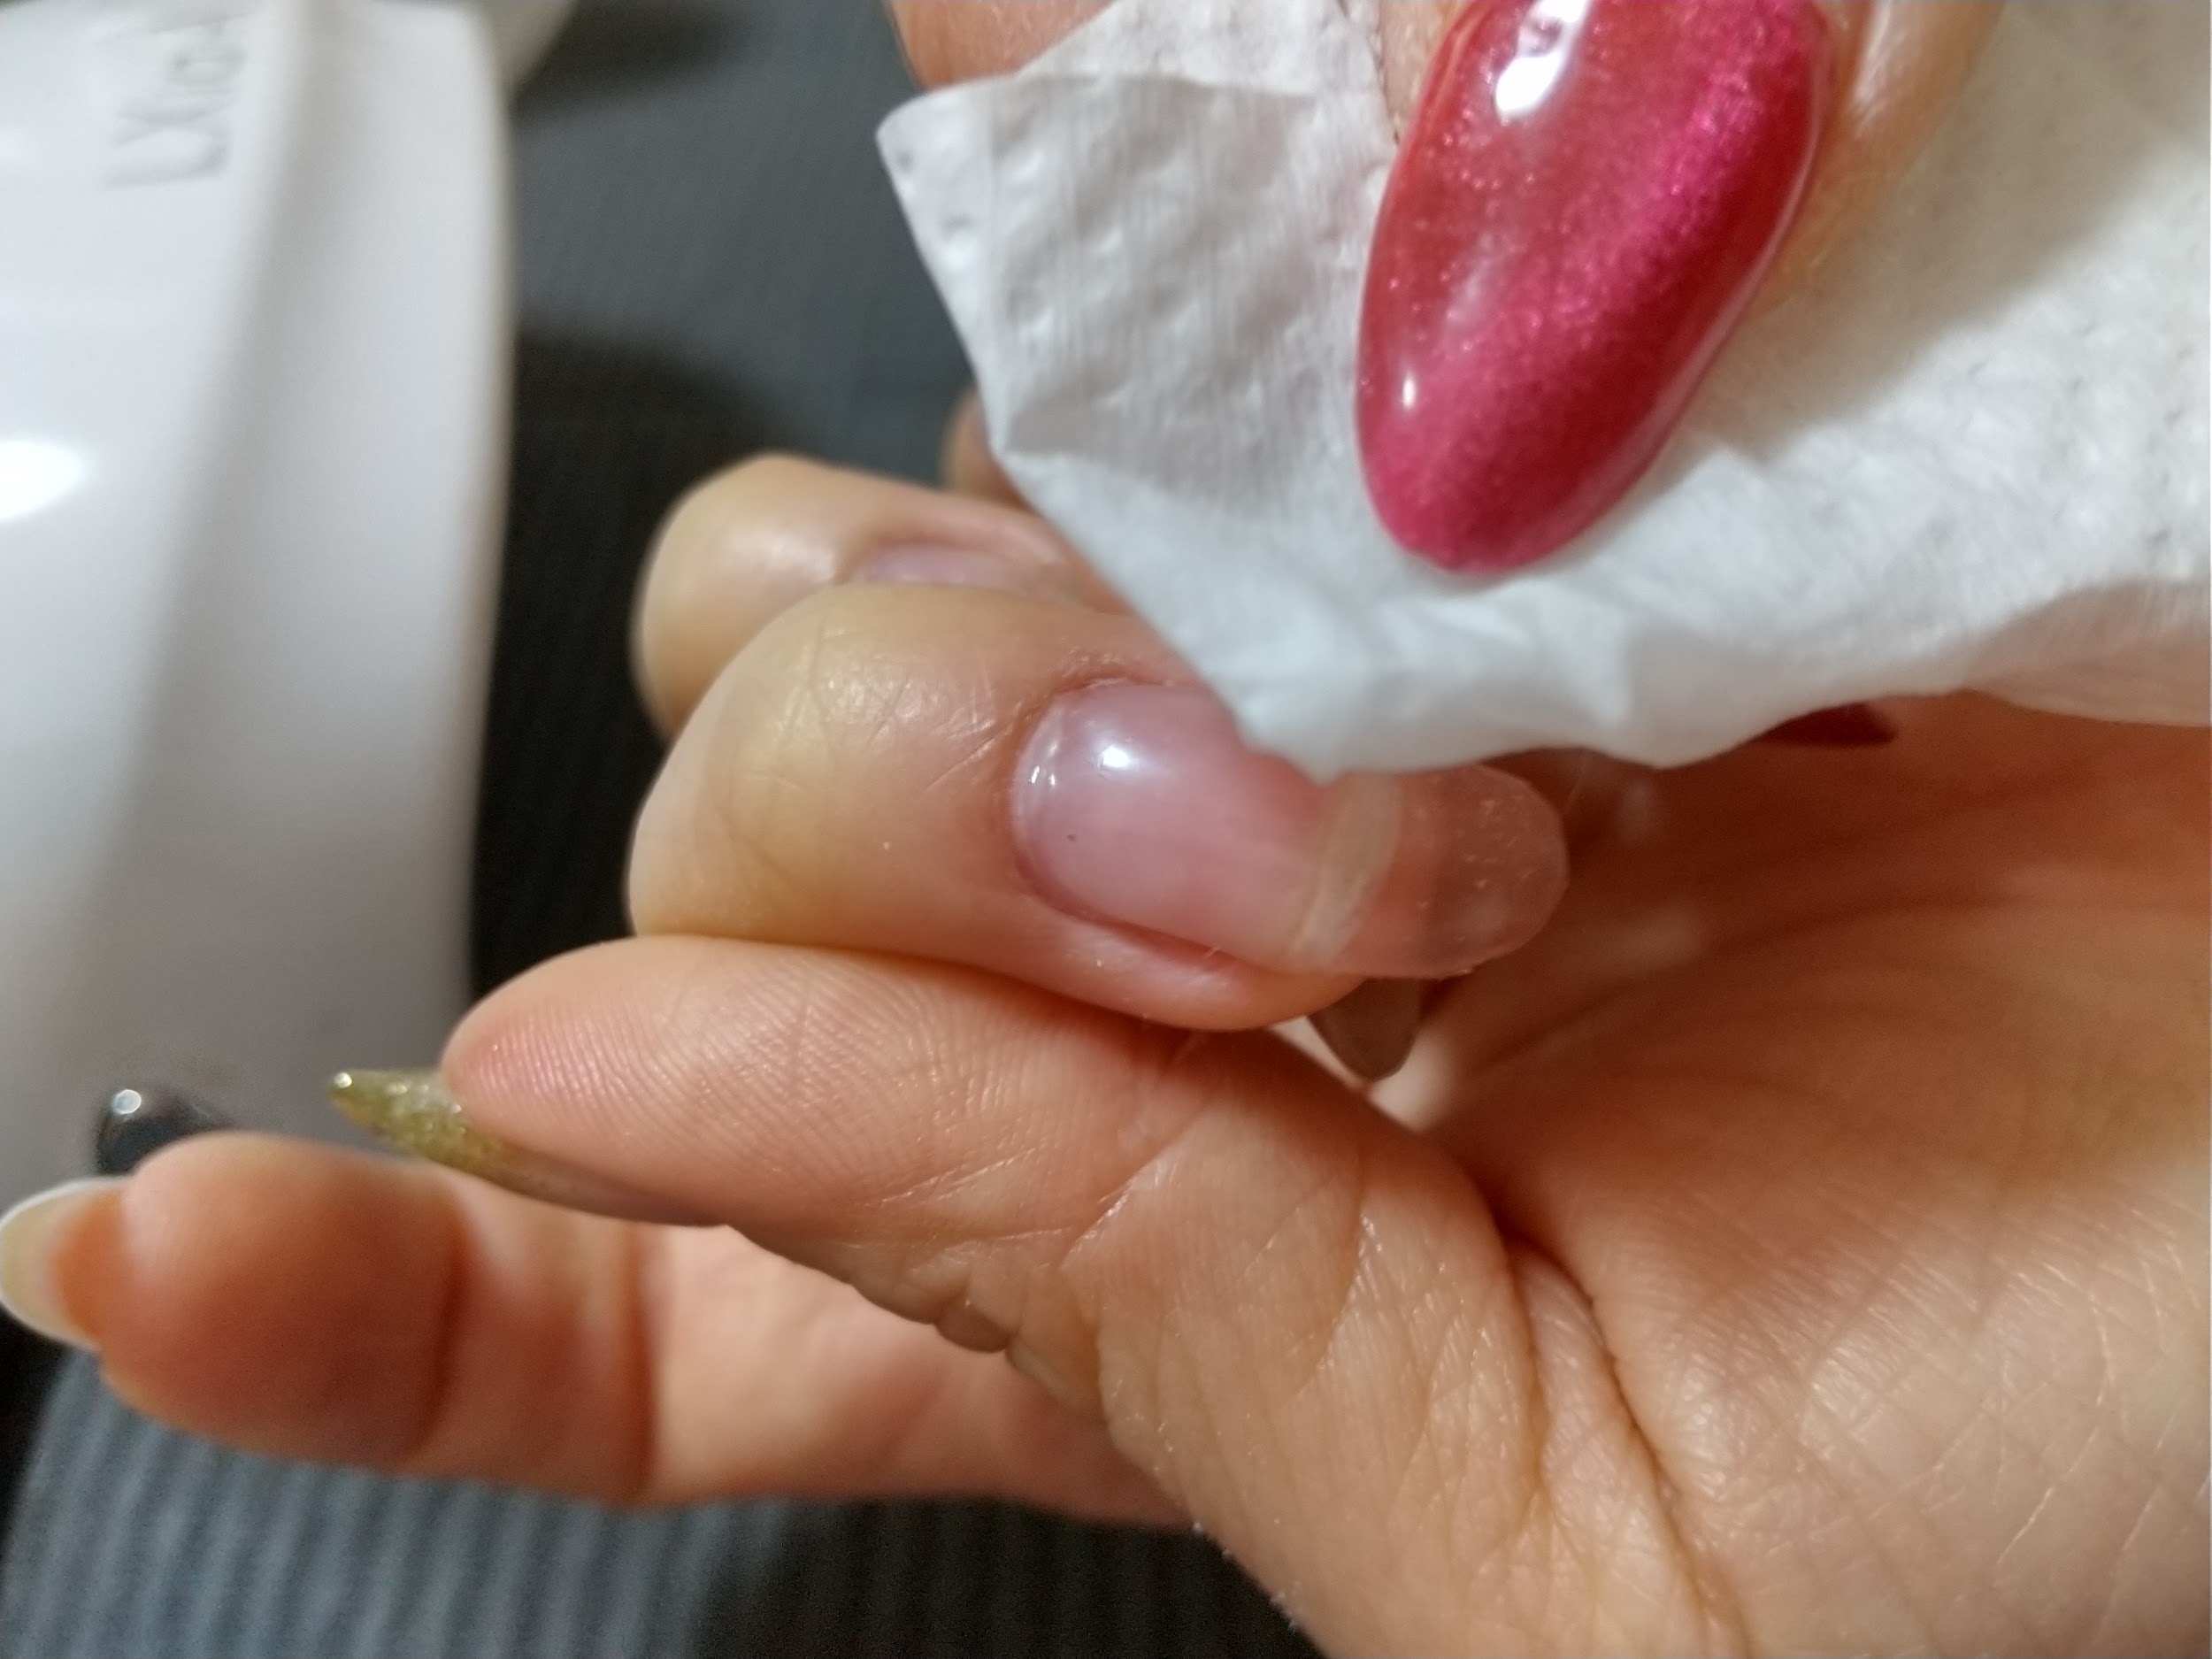
Ami未硬化ジェルを拭き取り、ファイルで形を整えて完成です。
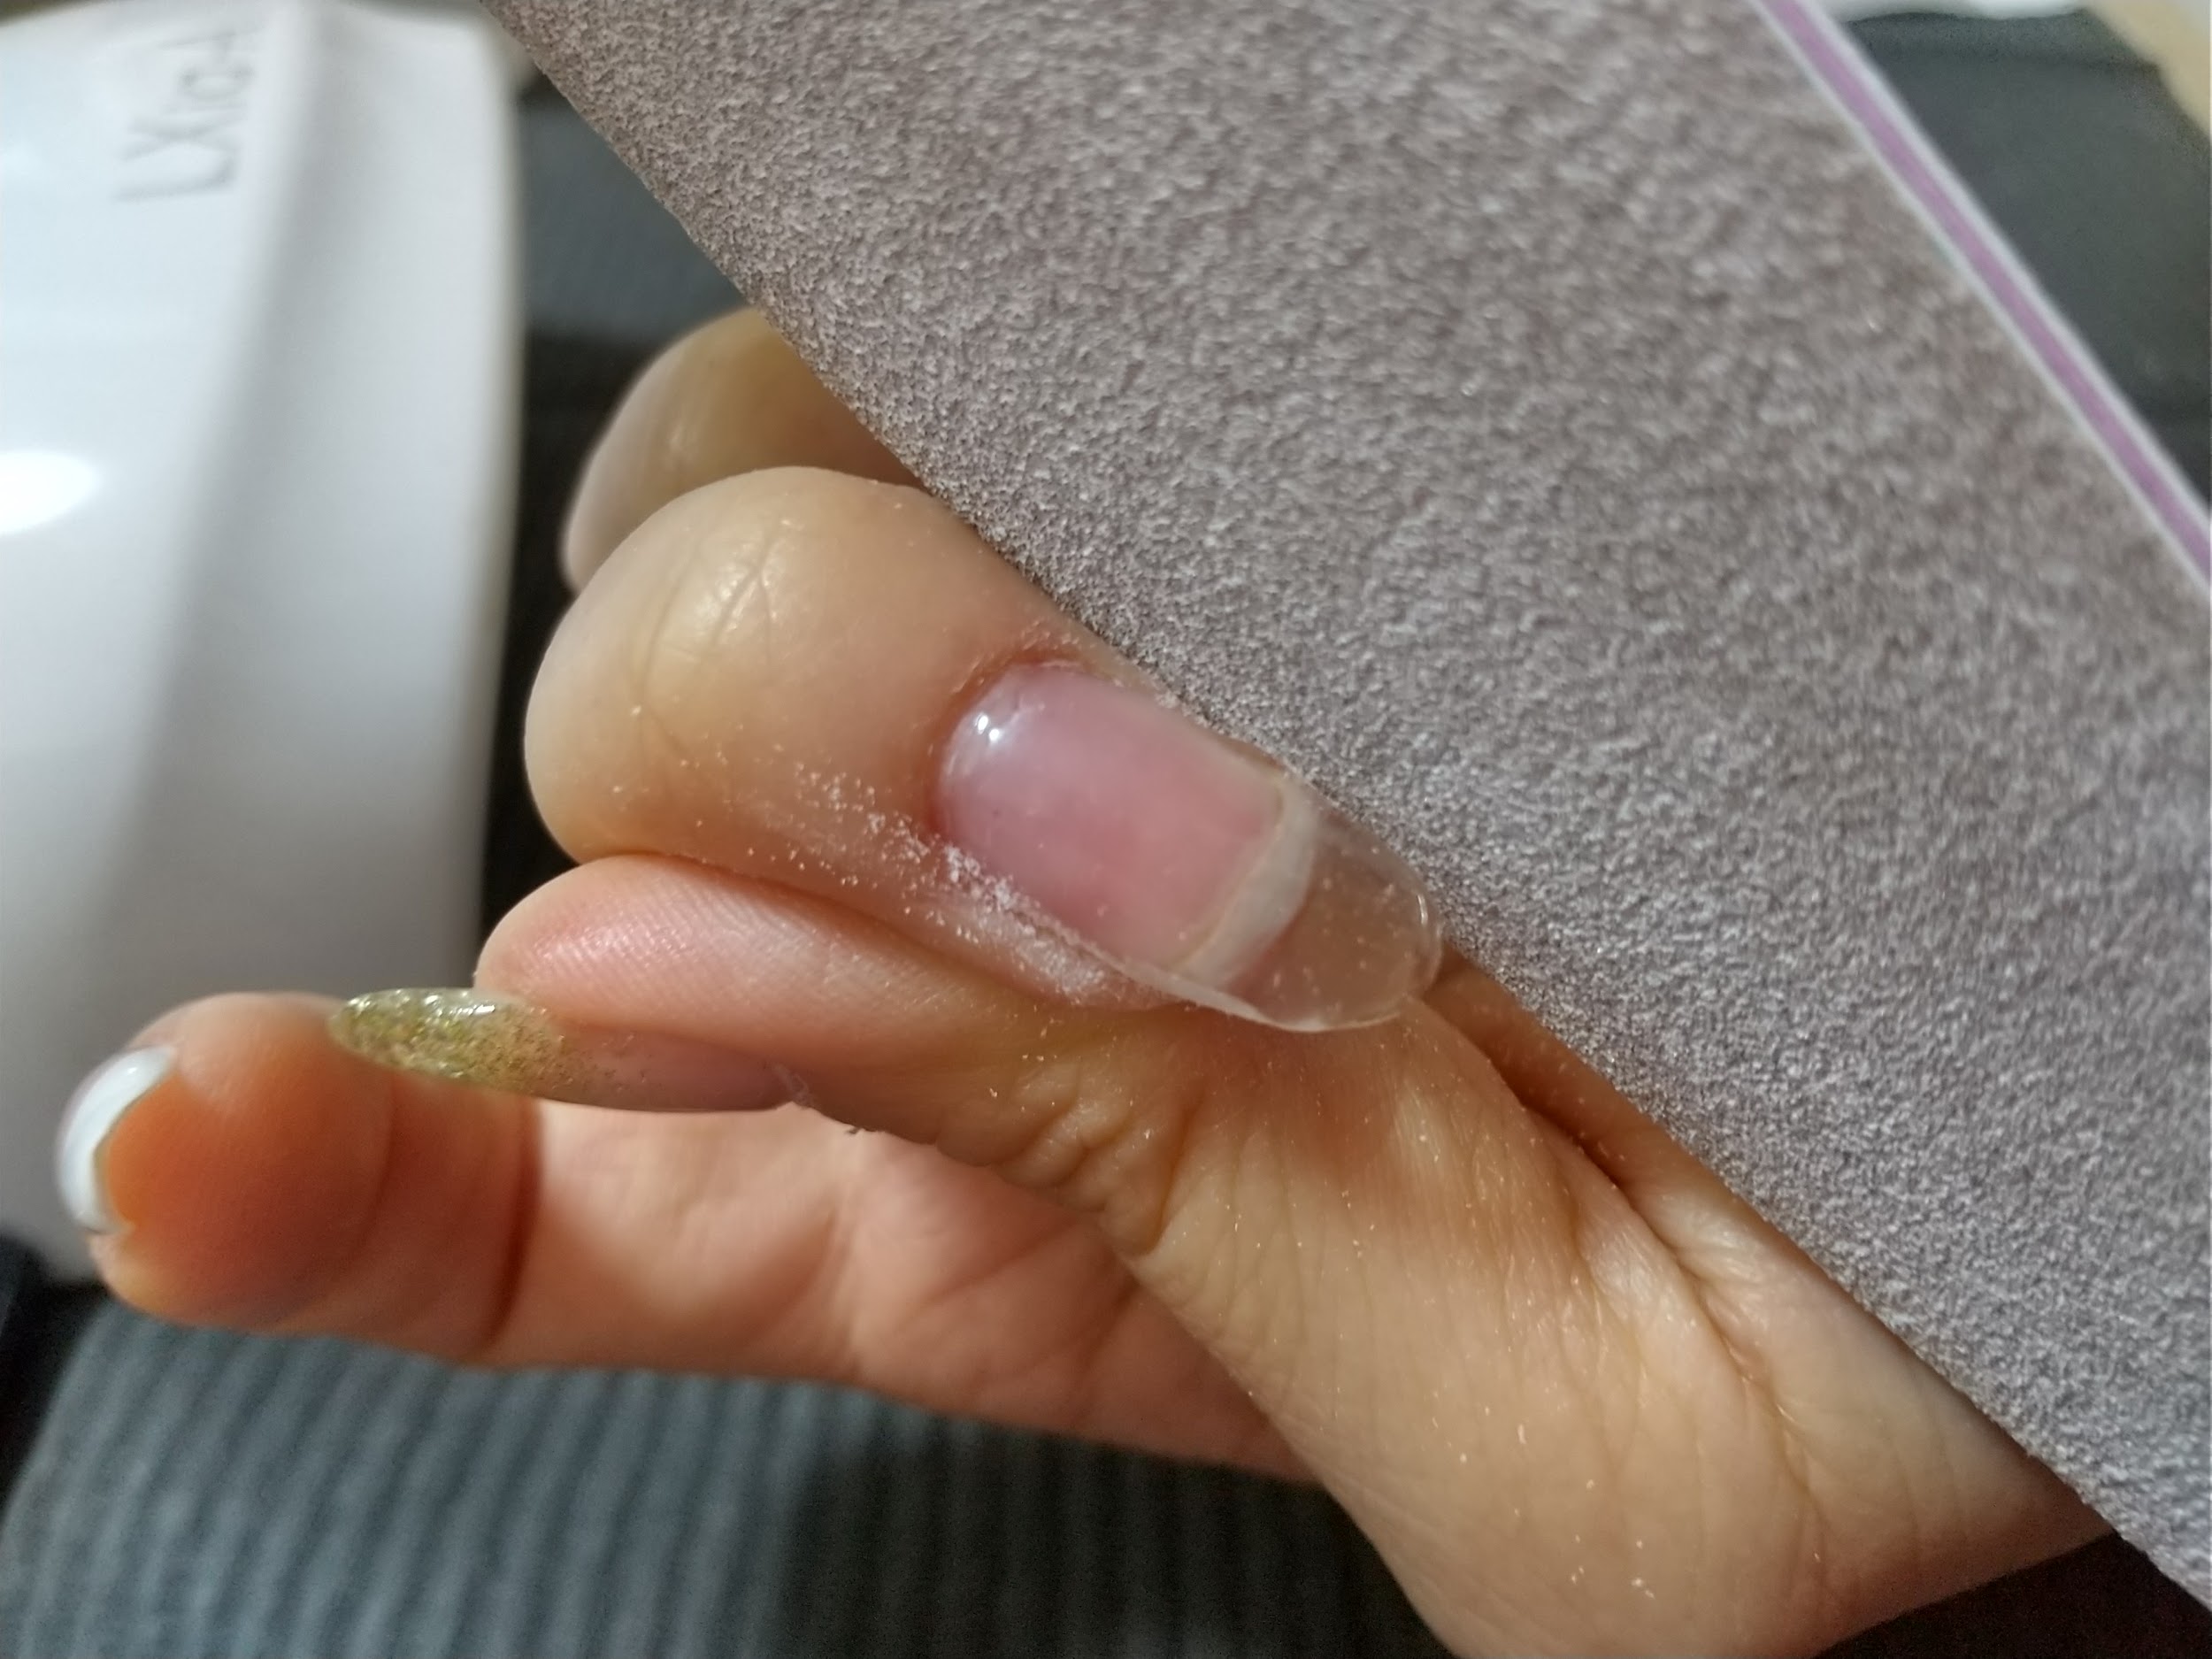
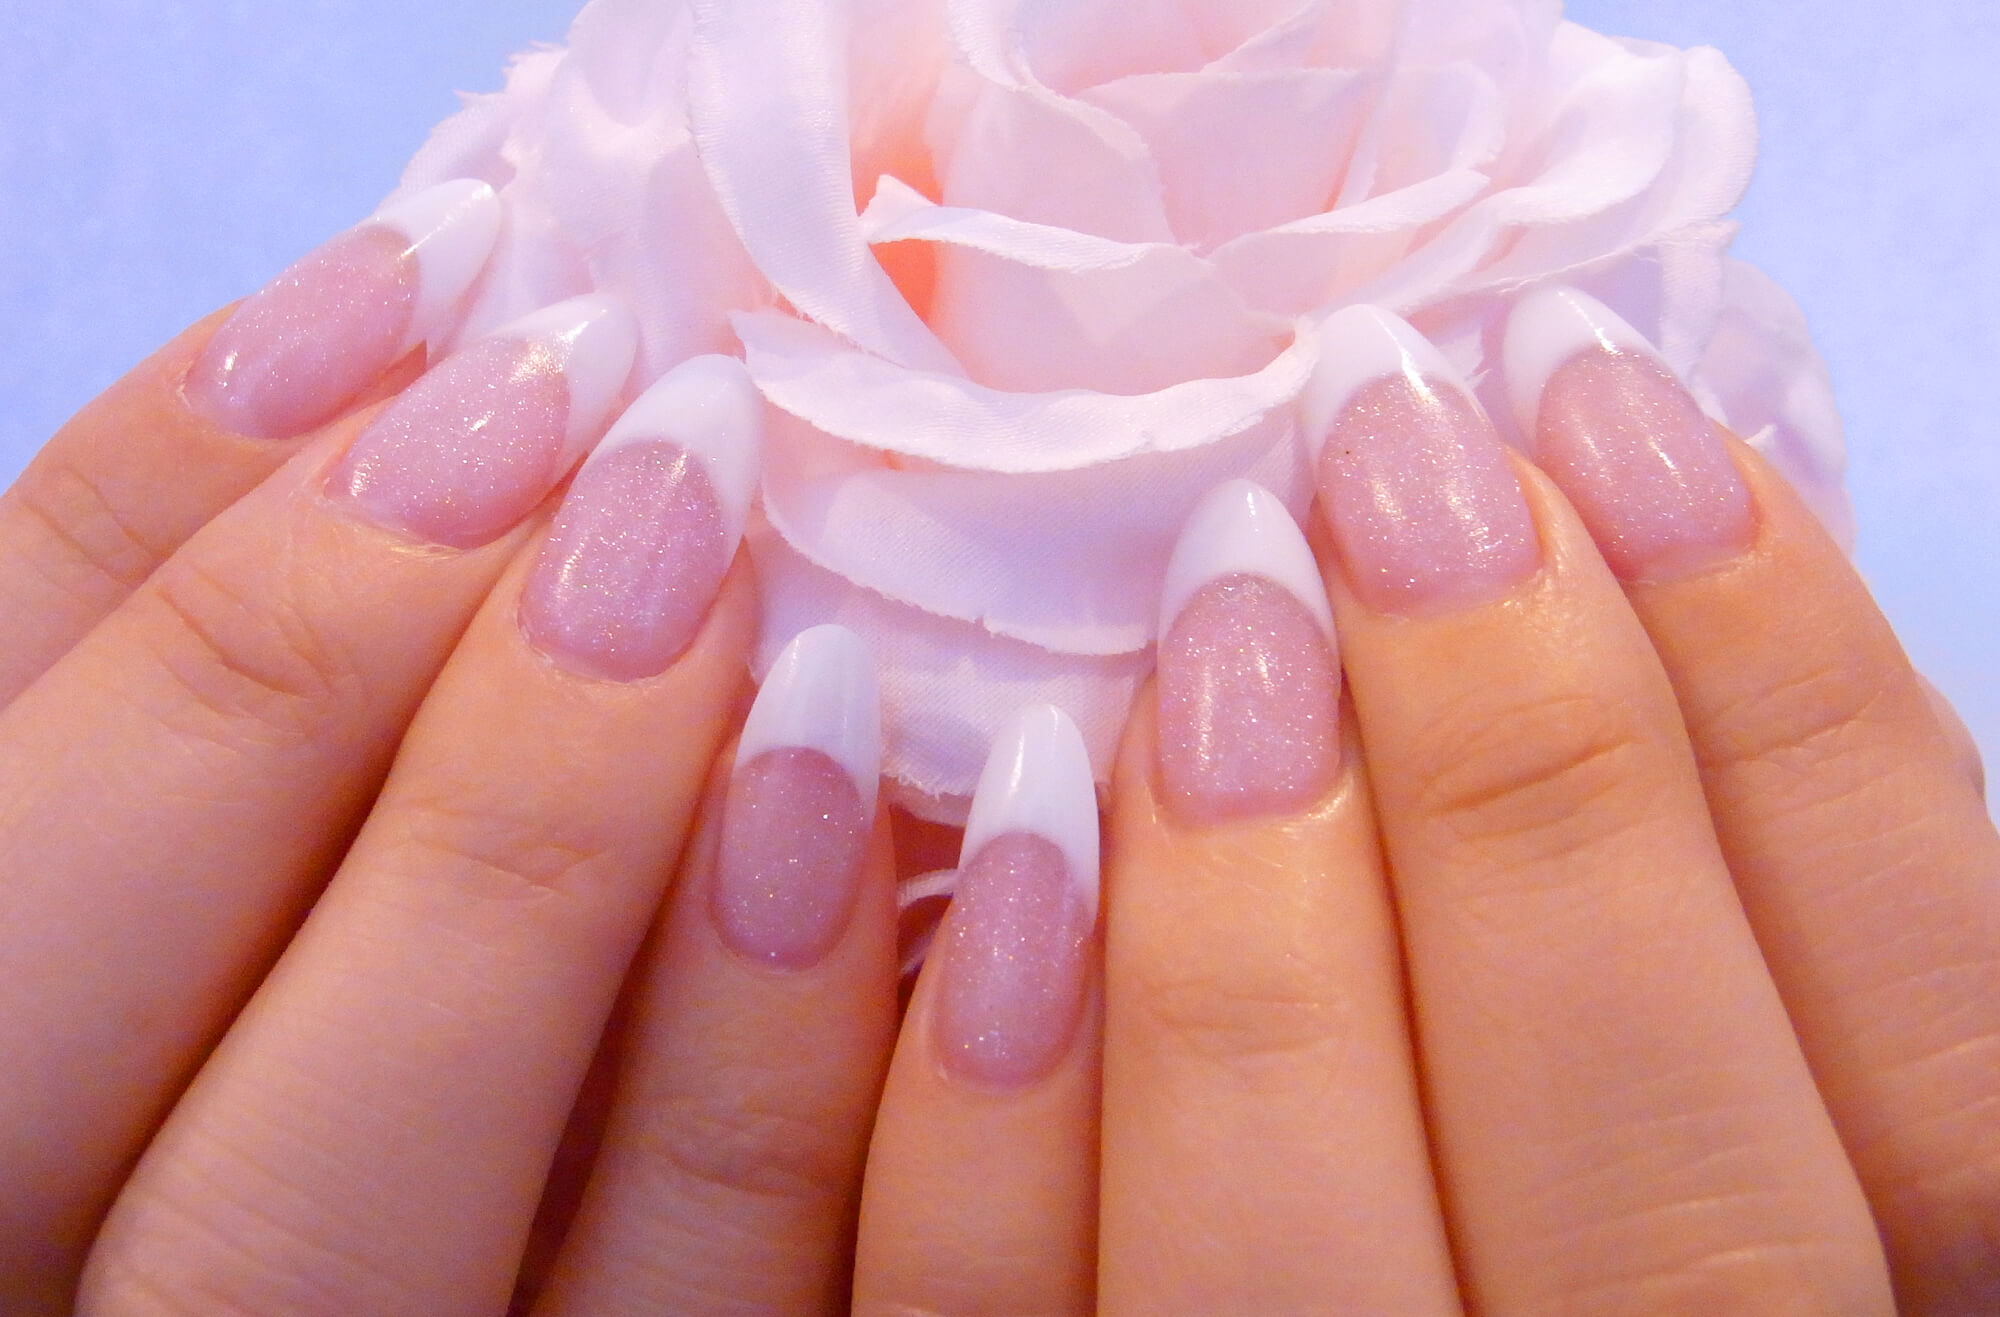
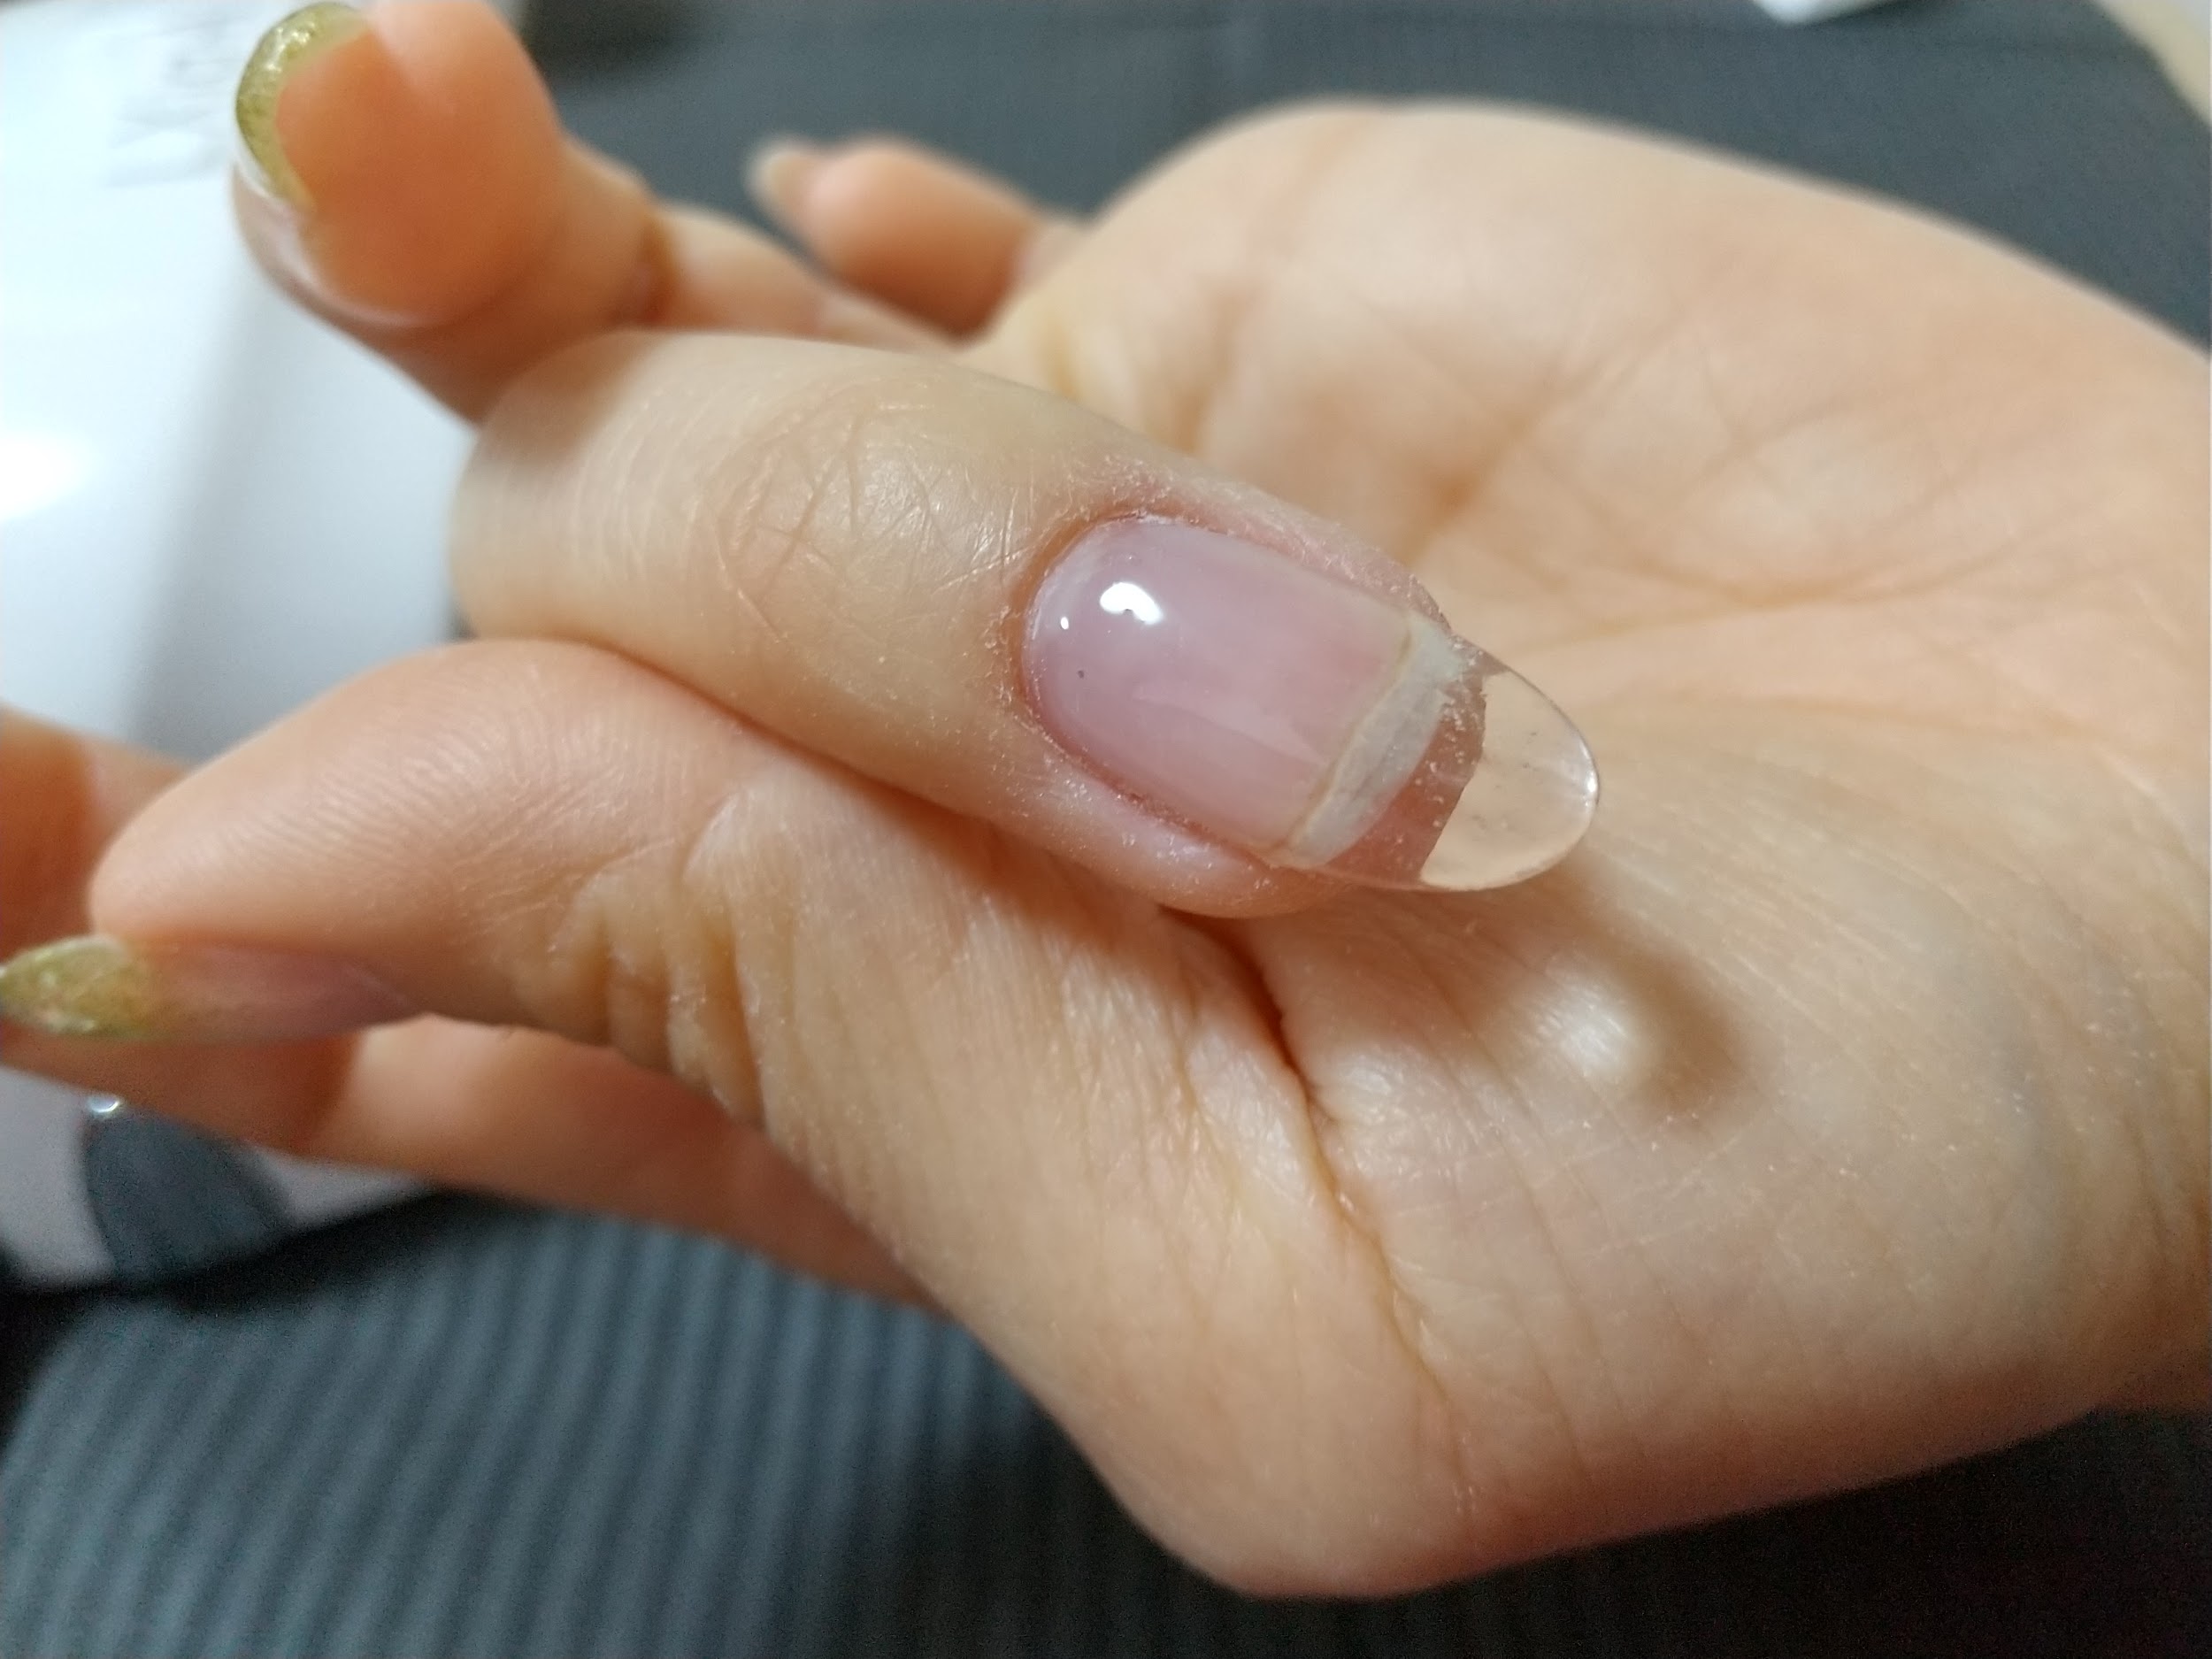
長さ出し後のファイリング
※正面から見た長さ出しの完成画像
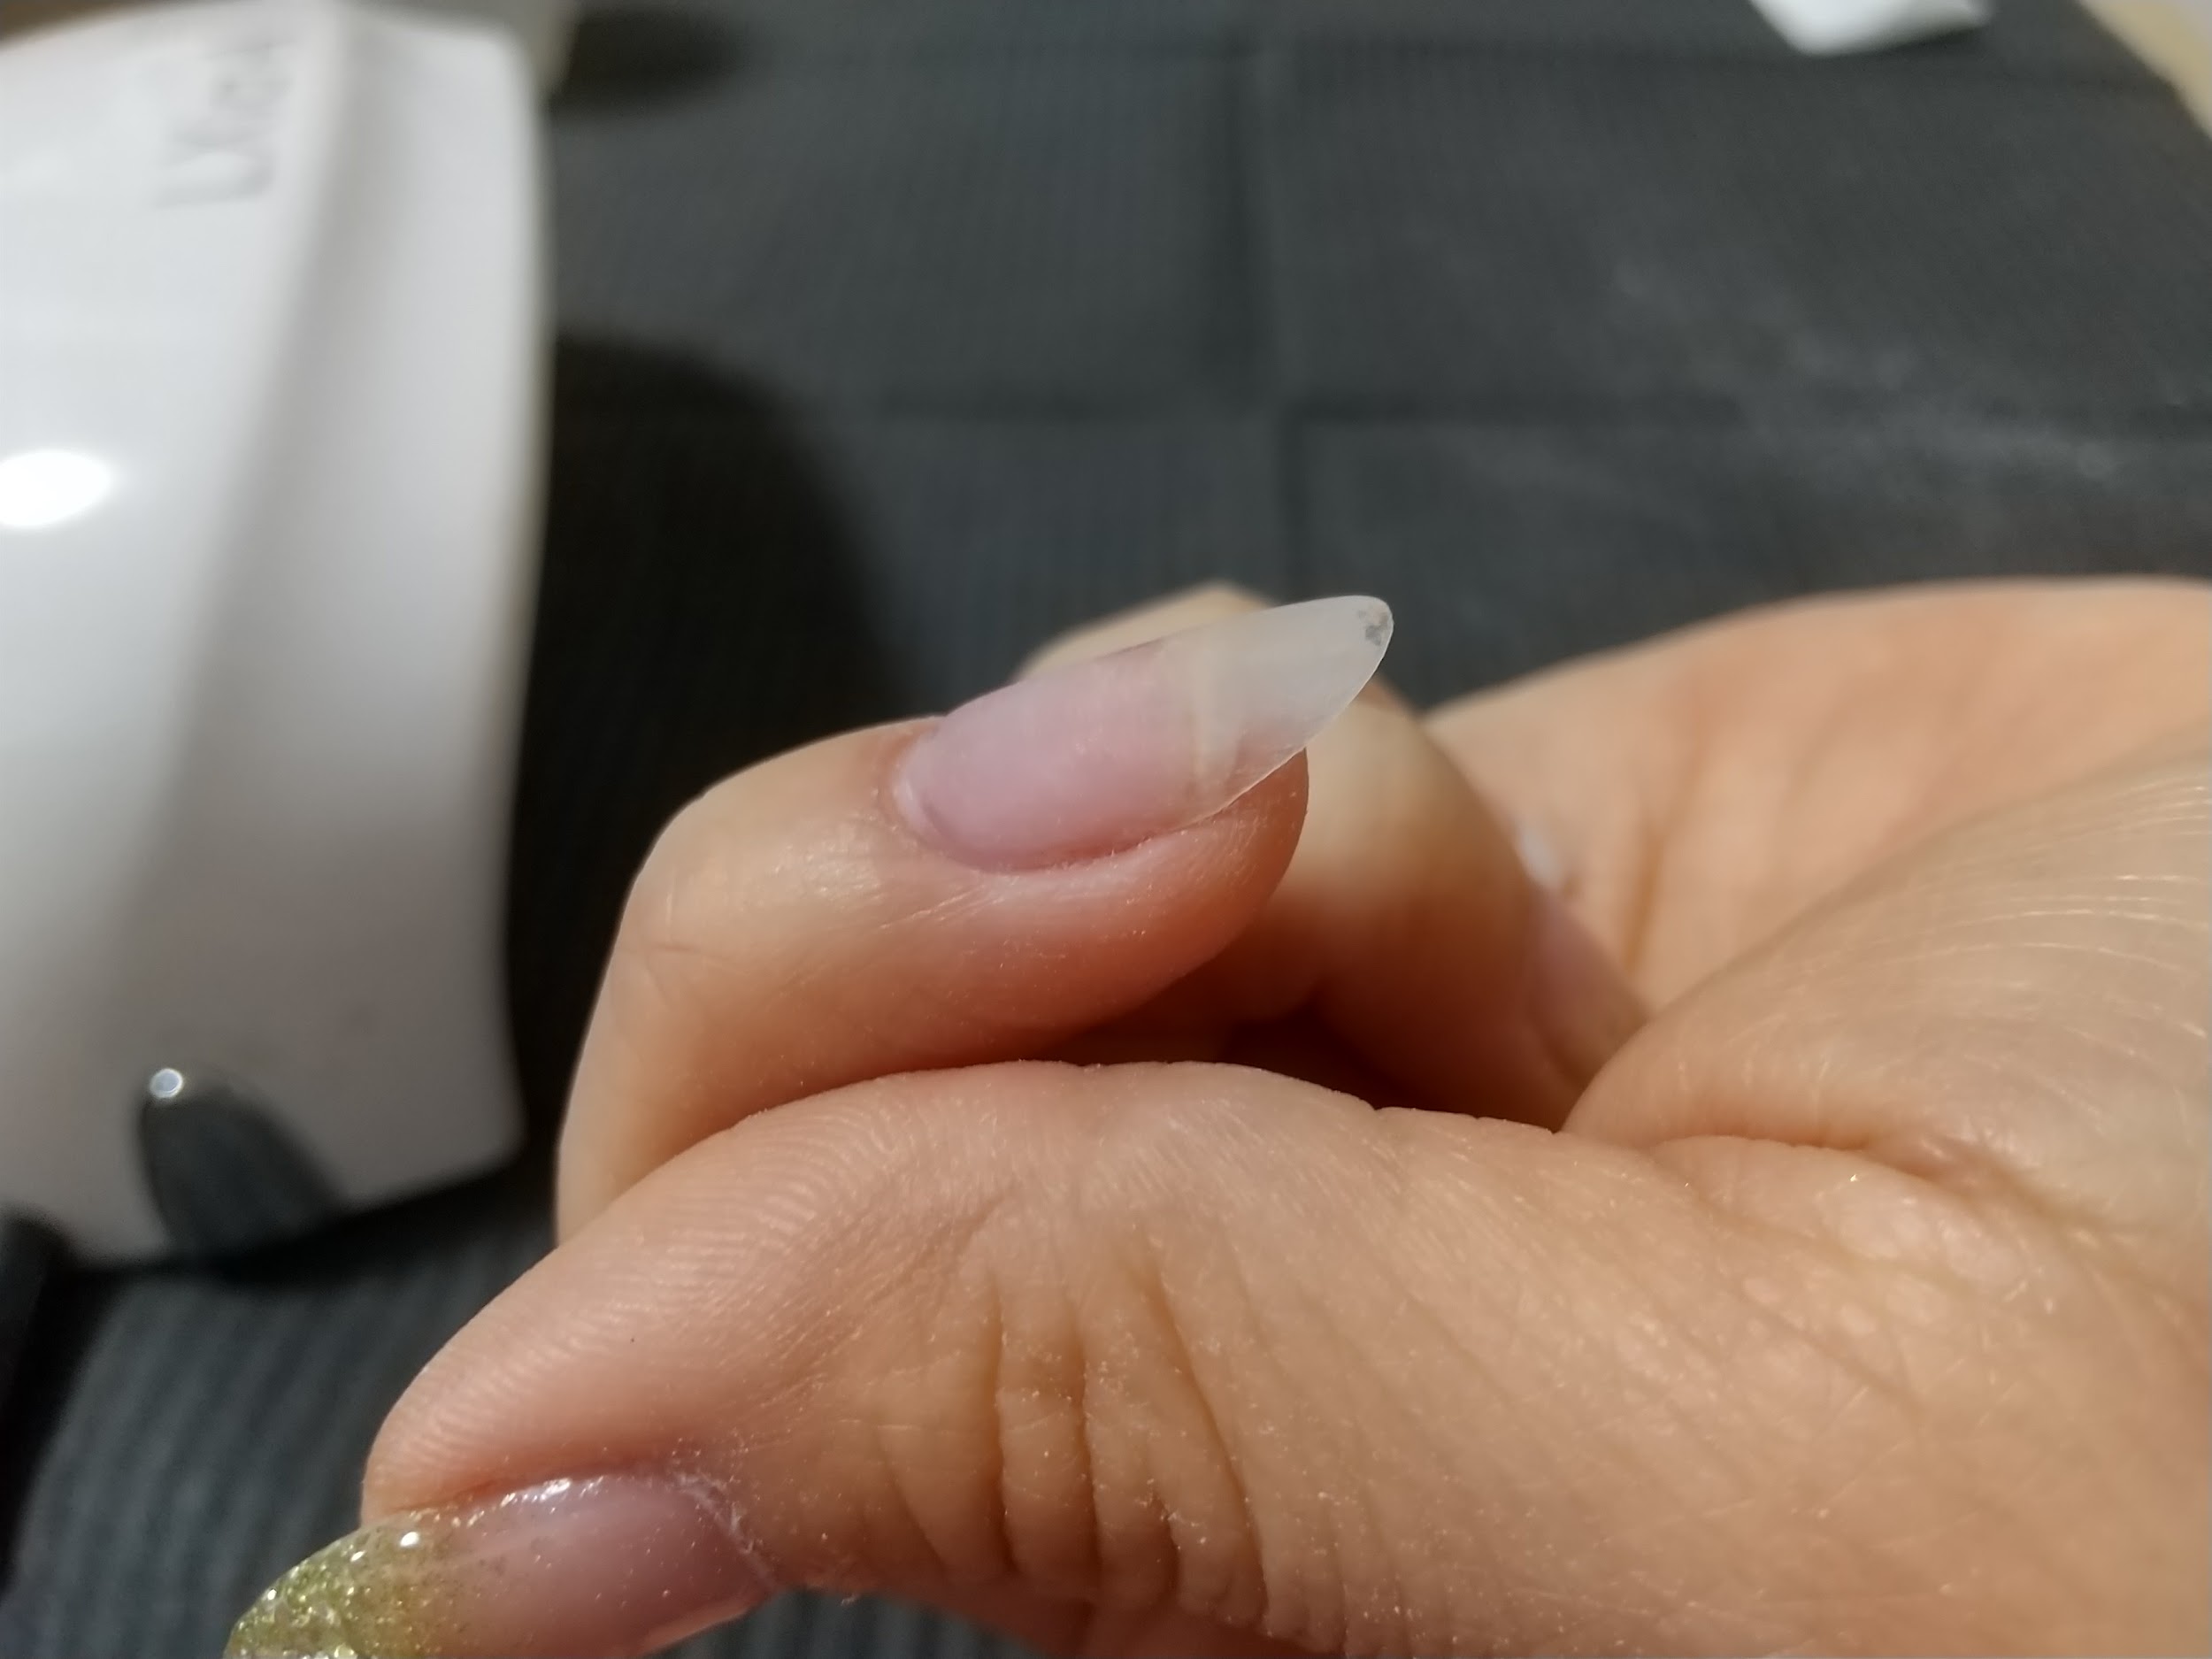
※横から見た出来上がりの長さ出し

 Ami
Ami長さ出しに必要なネイルフォームを購入してセルフでやってみましょう!
ネイルフォームの見本商品


ネイルブラシセット見本商品


きれいに長さ出しを行うコツやポイント
 ジェルネイル実践記 編集部
きれいに長さ出しを行うポイントは以下のとおりです。
- 爪表面をさまざまな角度から見てジェルが均一に塗れているか
- 変な凹凸がないかをチェック
Amiまた、目的の長さよりも少し長めにジェルを塗布することできれいな形に仕上げやすいです。
爪が折れても長さ出しで簡単に修復
 ジェルネイル実践記 編集部
自宅でジェルでの長さ出しができれば、爪が折れても簡単に修復できます。
Ami「うっかり爪を折ってしまい、ネイルが行えず困った」というときや「自爪が弱いので丈夫にしたい」という場合にも、ジェルでの長さ出しがおすすめです。
ジェルネイル実践記 編集部自宅で簡単に長さ出しはできますのでぜひ、道具をそろえて実践してみてください。