 ジェルネイル実践記 編集部
セルフでジェルネイルをされている方は「セルフレベリング」というワードを聞いたことがあると思います。
 Ami
Amiこのセルフレベリングをうまく使うと、ジェルネイルがつるんと美しく仕上がります。
今回はセルフレベリングについて詳しく解説していきます。
コンテンツリード・編集

ジェルネイル実践記編集部
ジェルネイル実践記の編集部です。編集部では、主にネイリスト様とやり取りをして記事の編集や商品選定を行っています。おかげさまでジェルネイル実践記は4年目を迎え、少しずつ成長しています!これからもどうぞよろしくお願いいたします。
コンテンツの監修含む手順・ポイント・画像提供等

ami
【JNECネイリスト検定1級】と【JNAジェルネイル検定上級】保持。ネイリスト資格取得後、現場では6年勤務。新店舗の立ち上げや指導等も経験。現在は専業主婦で友人などにネイルを施す日々を過ごす。
セルフレベリングとは
Amiジェルの粘度によって動いたり広がったりすることをセルフレベリングと呼びます。
ブラシやハケでジェルを塗ると、100%きれいなカーブやフォルムにするのはとても難しいです。
でこぼこやブラシ跡による表面の偏りを、自然につるっと馴染ませてくれるのがセルフレベリングです。
 Ami
Amiジェルを塗ったあと少し時間を置くだけで勝手に馴染んでくれるので、ブラシで操作する必要はありません。
ジェルの粘度や質によって馴染むスピードが異なりますので、使用するジェルに合ったレベリングを施しましょう。
ジェルネイル実践記 編集部大体5〜10秒ほどで馴染みます。
セルフレベリングはいつ使う?
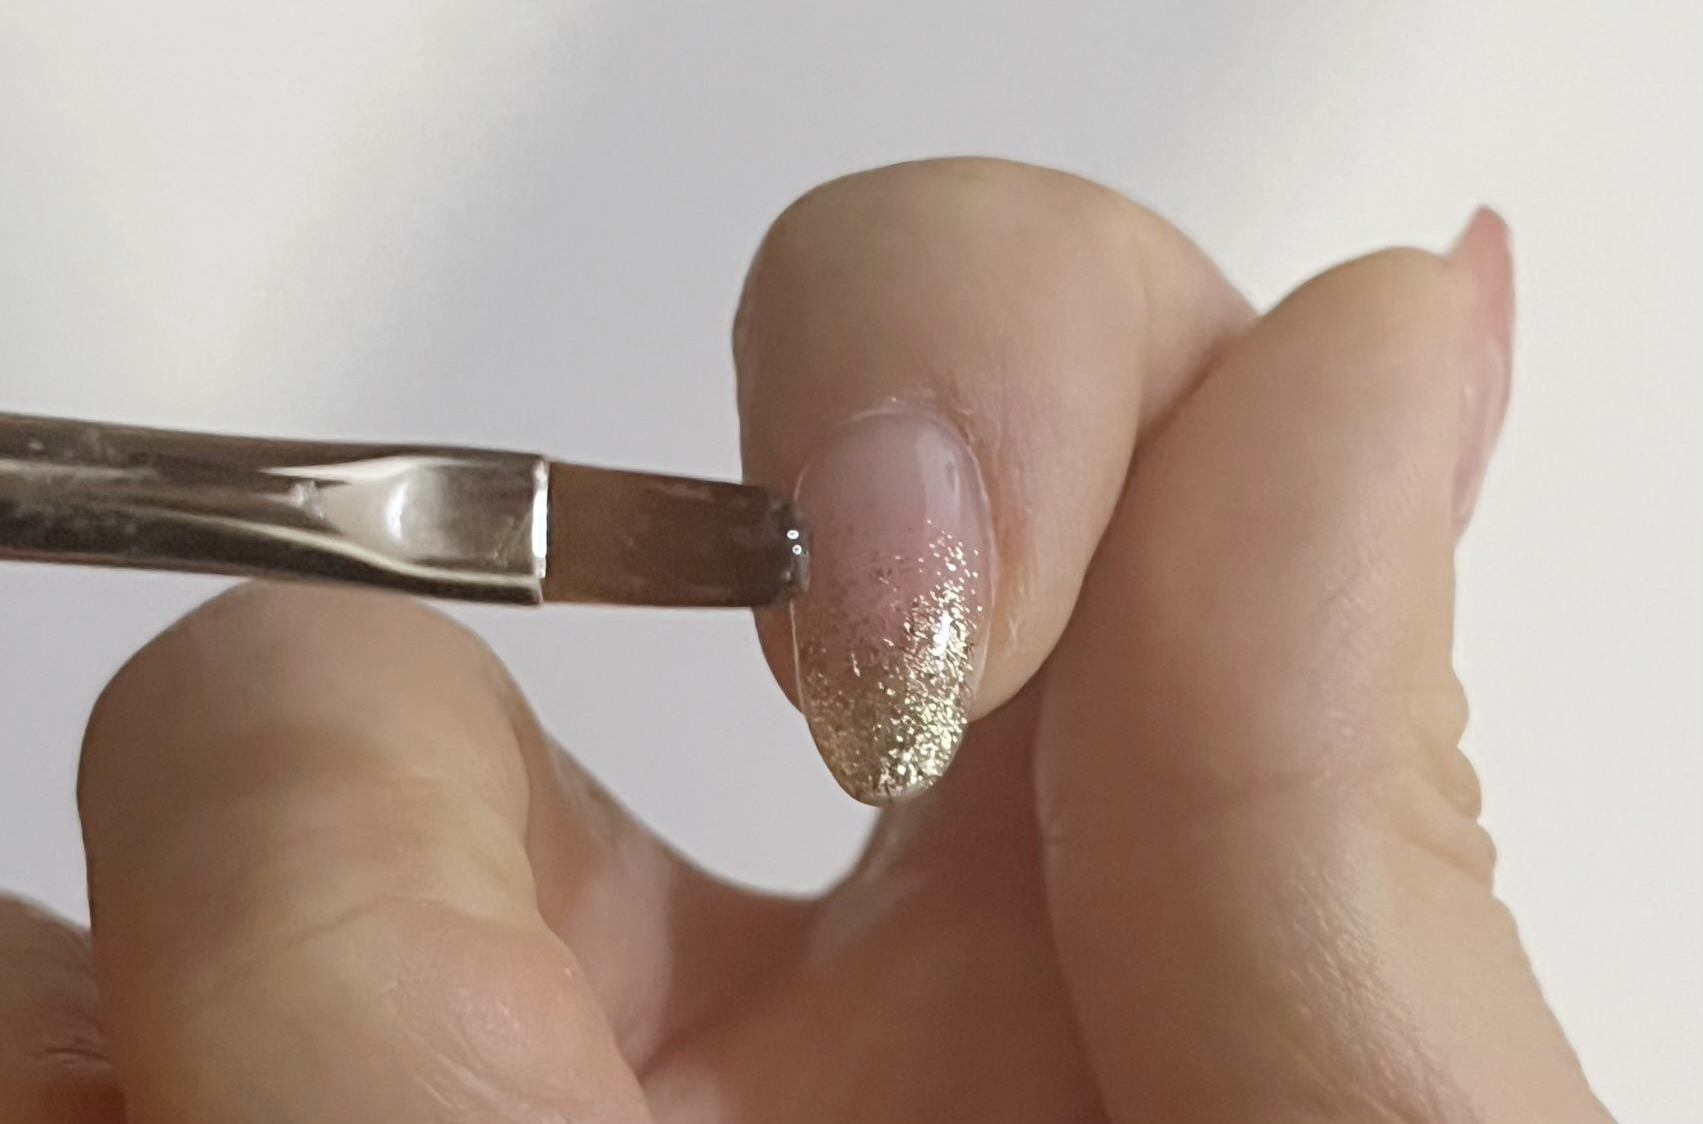
Amiセルフレベリングを利用する工程は、主にベースジェルとトップジェルでのコーティングです。
ベースジェル
 Ami
Amiベースジェルは凹凸なくフラットな表面に仕上げておかないと、次に塗布するカラージェルにムラができます。
ベースジェルが美しく塗れているだけで、カラージェルが格段に塗りやすくなります。
必ずベースジェルの際にセルフレベリングを利用しましょう。
ベースジェルは粘度の低い柔らかいジェルが多いので、広がって馴染んでいく時間が早いです。
サイドに流れやすく皮膚に付着しやすいので、時間の置き過ぎには注意が必要です。
全体にベースジェルを塗布したあと数秒待って、表面がつるんとしてから硬化しましょう。
ジェルネイル実践記 編集部ベースの丁寧さは仕上がりにも影響しますね!
トップジェル
 Ami
Amiコーティングは厚みが必要になるので、表面をなだらかにするのが難しいです。
ここでもセルフレベリングを使いましょう。
コーティングのジェルは、ベースジェルよりも粘度が高く硬めのジェルが多いです。
粘度の高いジェルは動きが遅くなり、広がって馴染むのに時間がかかります。
厚みがある分動き方に偏りがでやすいため、待っている間の爪の角度に注意しましょう。
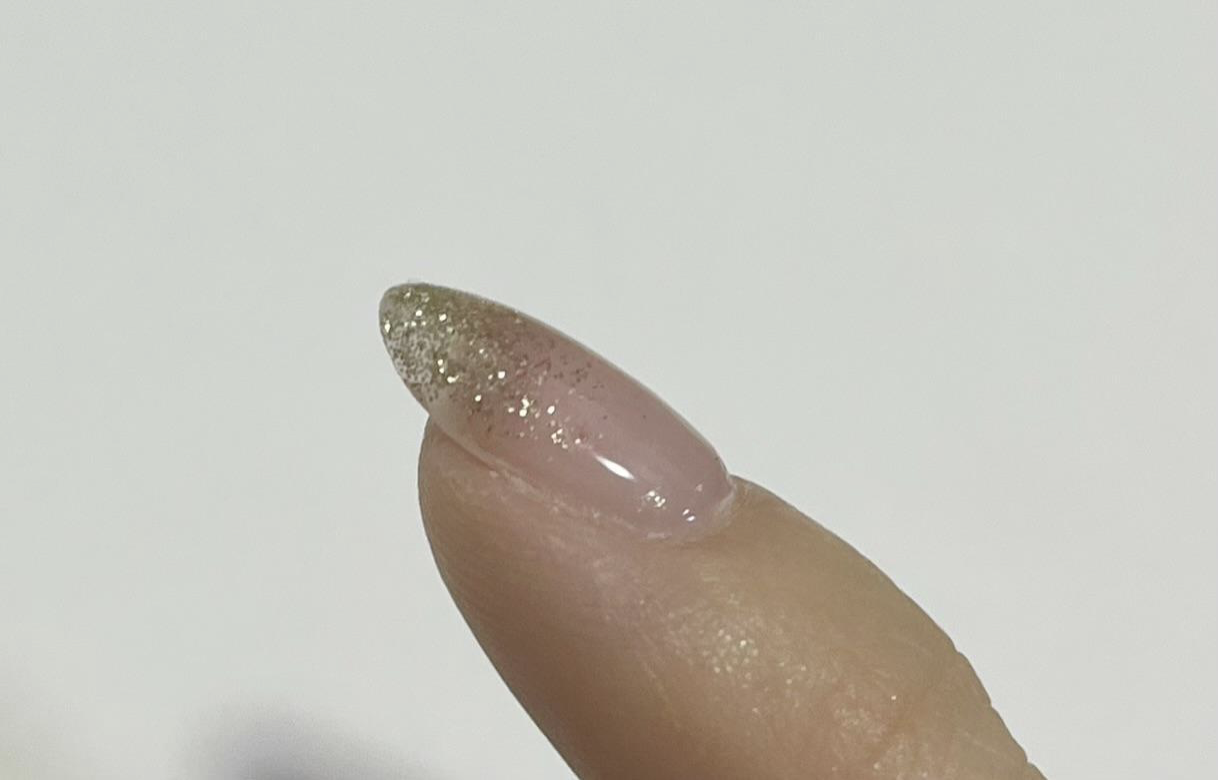
必要な厚みをなるべくきれいなカーブに整え、数秒待って高さの位置を調節、表面もつるんとしてから硬化します。
厚みのあるジェルをセルフレベリングすると、内側からぷっくりと膨らむような美しいフォルムが出来上がります。
ジェルネイル実践記 編集部セルフレベリングでジェルネイル特有のぷっくり感を出しましょう!
セルフレベリング中の爪の角度
ベースジェル
Amiベースジェルはそこまで分厚く塗らないため、爪をまっすぐ上向きにしておくだけできれいな表面に仕上がります。
色々な角度から目視して、光の屈折がなければフラットに仕上がっていると判断します。
サイドに付着していないかの確認は必ず行いましょう。
ジェルネイル実践記 編集部硬化前の確認は大切ですね!
トップジェル
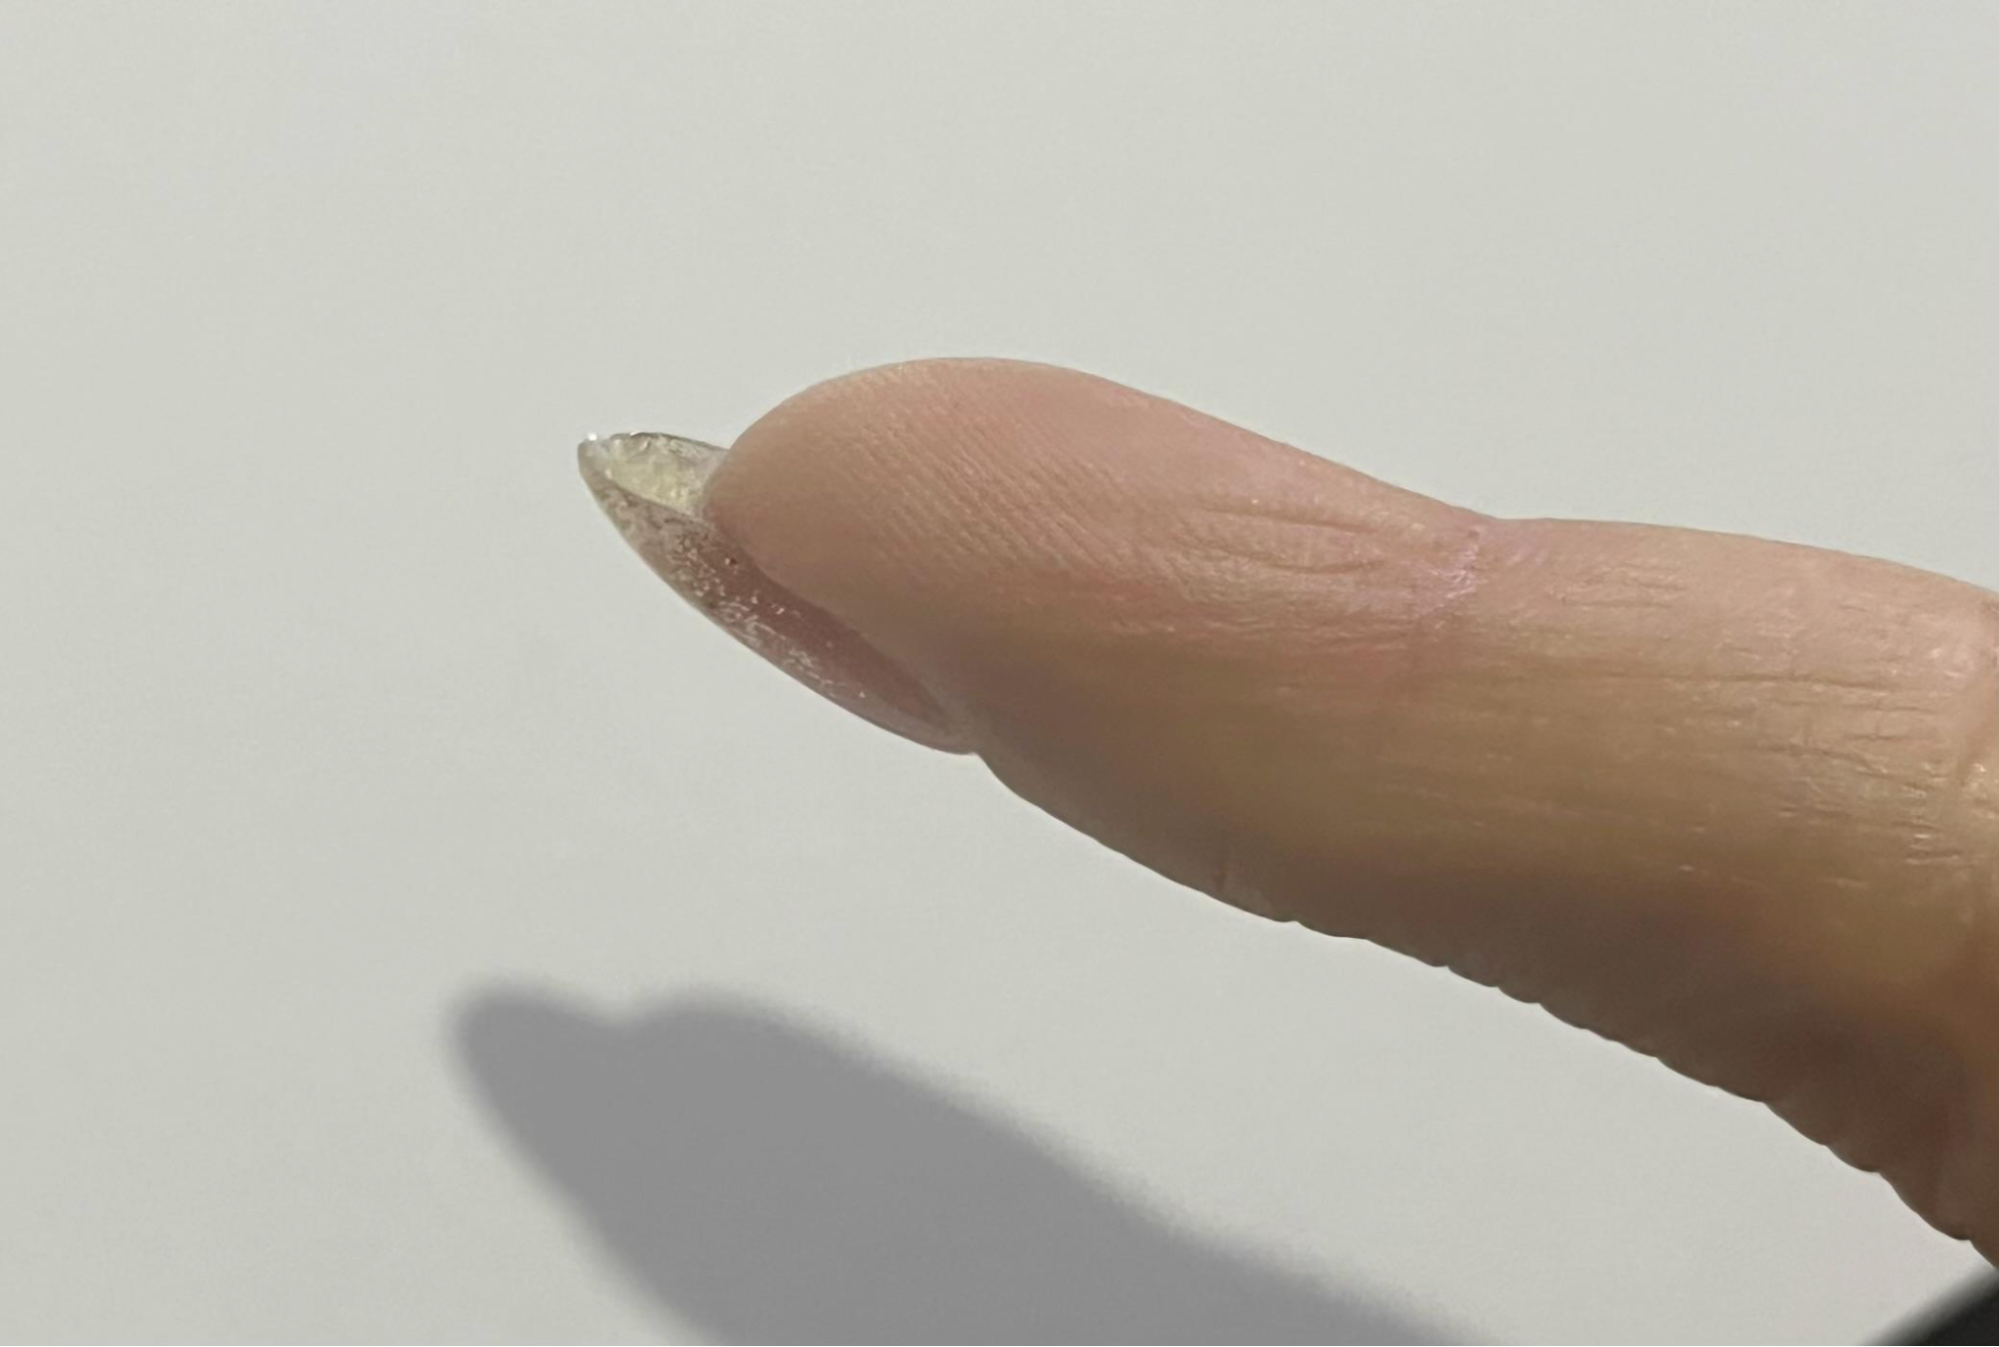
Amiコーティングは厚みがあるため、少しでも左右どちらかに傾いていると、そちらにジェルが溜まります。
1本ずつセルフレベリングをしてから硬化するのがおすすめです。
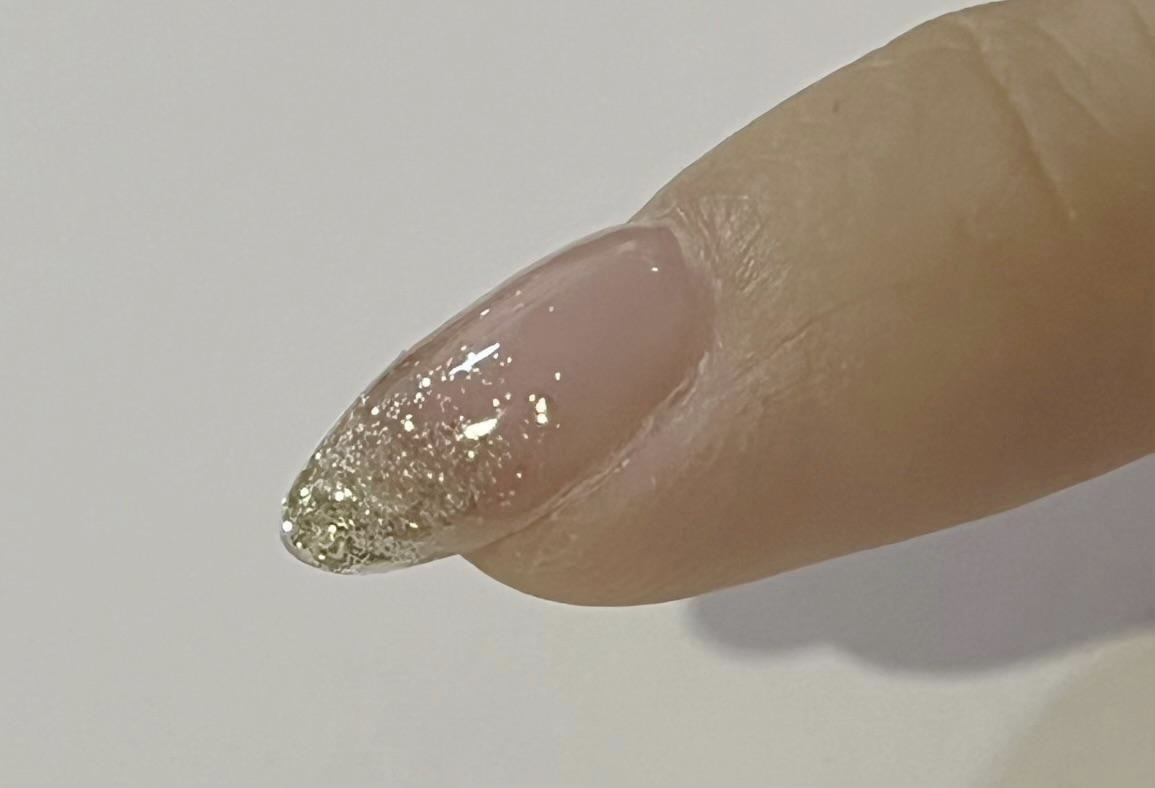
横から見たときのハイポイント(爪の一番高い位置)がブレないように気を付けましょう。
ハイポイントをブラシでうまく作れないという方は、手のひらを裏返し爪を下向きにしてハイポイントにしたい位置を一番下にくるように持ってきて固定します。
 Ami
Ami数秒待ってハイポイントが定まったら爪を上向きに戻し、色んな角度から確認してから硬化します。
ハイポイントも表面も滑らかに整えたいときにおすすめのやり方です。
ジェルネイル実践記 編集部この方法なら初心者さんでも簡単に実践できますね!
セルフレベリングするときの注意点
- 待ちすぎによる皮膚付着に注意
- 過度な凹凸は馴染まない
- 途中で触らない
- 適度な量のジェルが必要
待ちすぎによる皮膚付着
Amiジェルのメーカーや粘度によって、動くスピードが変わります。
流れやすいジェルはサイドの際に付着しやすく、一度付着すると取り除くのが大変です。
ジェルネイル実践記 編集部付着したままにすると、リフト(浮き)の原因になるので、付着していないかの確認は必ず行うようにしてください。
過度な凹凸は馴染まない
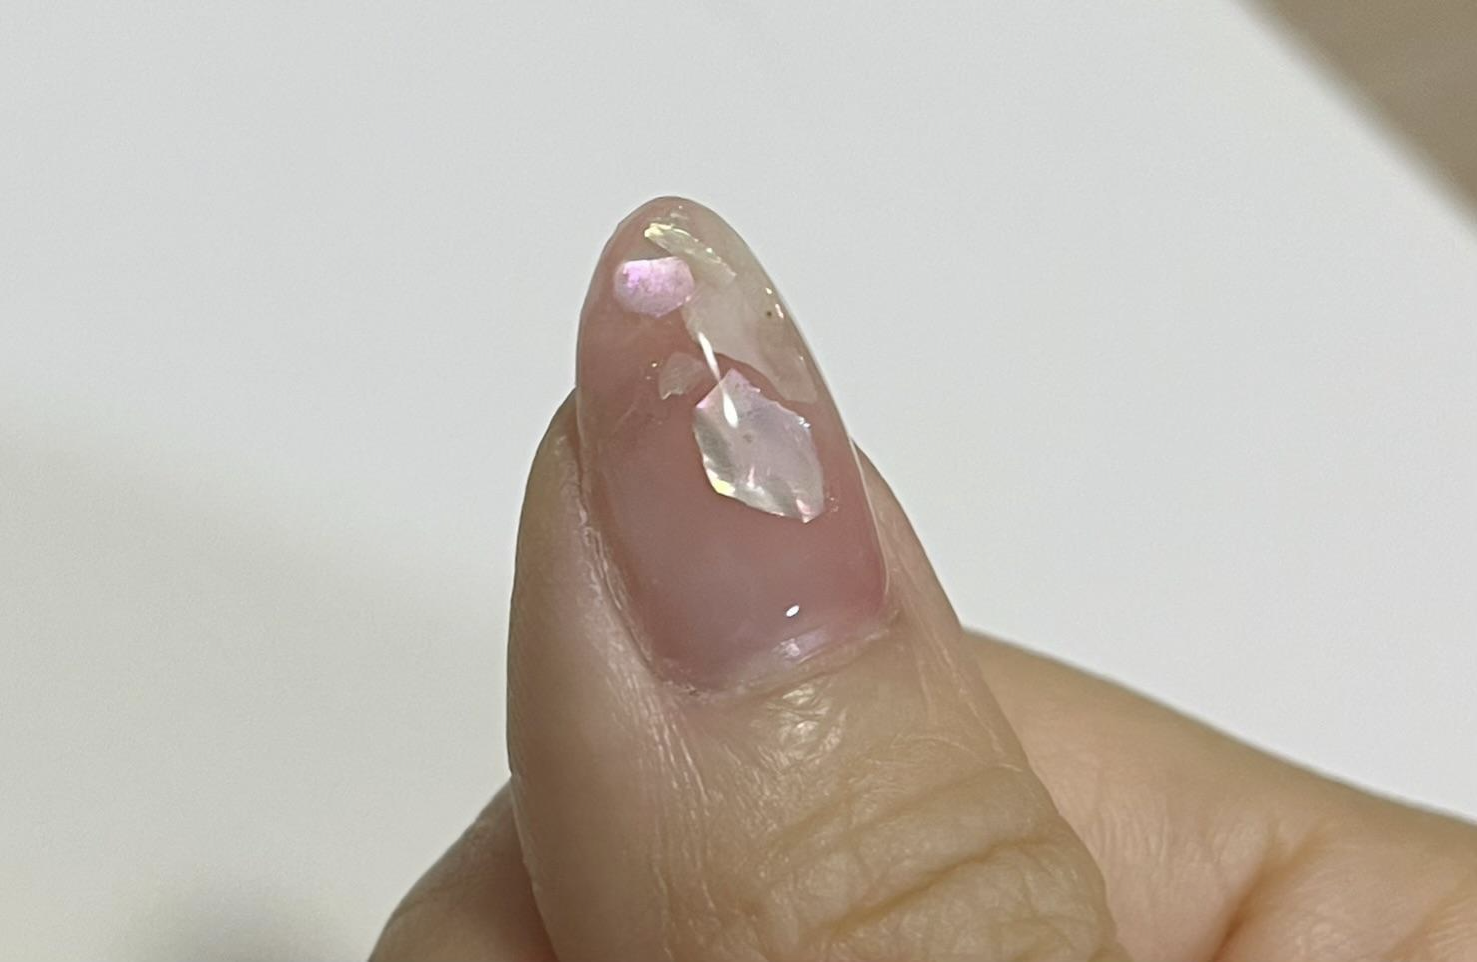
Amiセルフレベリングは、ブラシ跡や少しの凹凸を馴染ませる役割です。
どれだけ時間を置いても明らかな凹みやムラまで直すことはできません。
ジェルネイル実践記 編集部セルフレベリングをする前に、ブラシでなるべくフラットにしておくことが大切です。
途中で触らない
Amiセルフレベリングしている間にブラシなどで表面を触って動かそうとすると、凹みができてセルフレベリングのやり直しになってしまいます。
あまりにも足りない部分をブラシで誘導したいときは、筆先で優しく動かしてからまた少し時間を置いてセルフレベリングしましょう。
ジェルネイル実践記 編集部途中で触ってしまいたくなる気持ちをグッと堪えましょう。
適度な量のジェルが必要
Ami薄く塗ったジェルは自然に動くほどの量がなく、セルフレベリングすることができません。
緩やかに馴染んでいけるようなジェルの量が必要です。
 Ami
Ami待ってもうまくセルフレベリングできないときは、ジェルの量を見直してみましょう。
ジェルネイル実践記 編集部使っていくうちに適度な量がわかってきます。
まとめ
ジェルネイル実践記 編集部最後に、ジェルネイルのセルフレベリングについてまとめます。
- セルフレベリングすると表面が美しくフラットに仕上がる
- 使うジェルによって馴染むスピードが異なる
- ベースとコーティングに利用するのがおすすめ
- 適度な厚みと適切な待ち時間を意識する