 ジェルネイル実践記 編集部
「セルフネイルを始めて、そろそろグラデーションに挑戦してみたい」「自爪っぽく仕上げてオシャレにしたい」など、セルフネイルを始めたての頃はいろいろと挑戦してみたいですよね。
 Ami
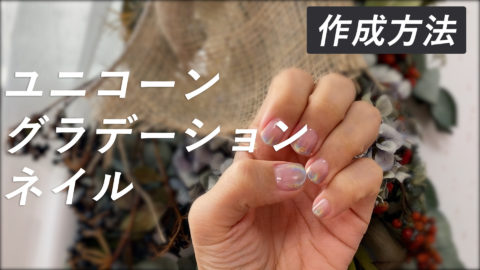
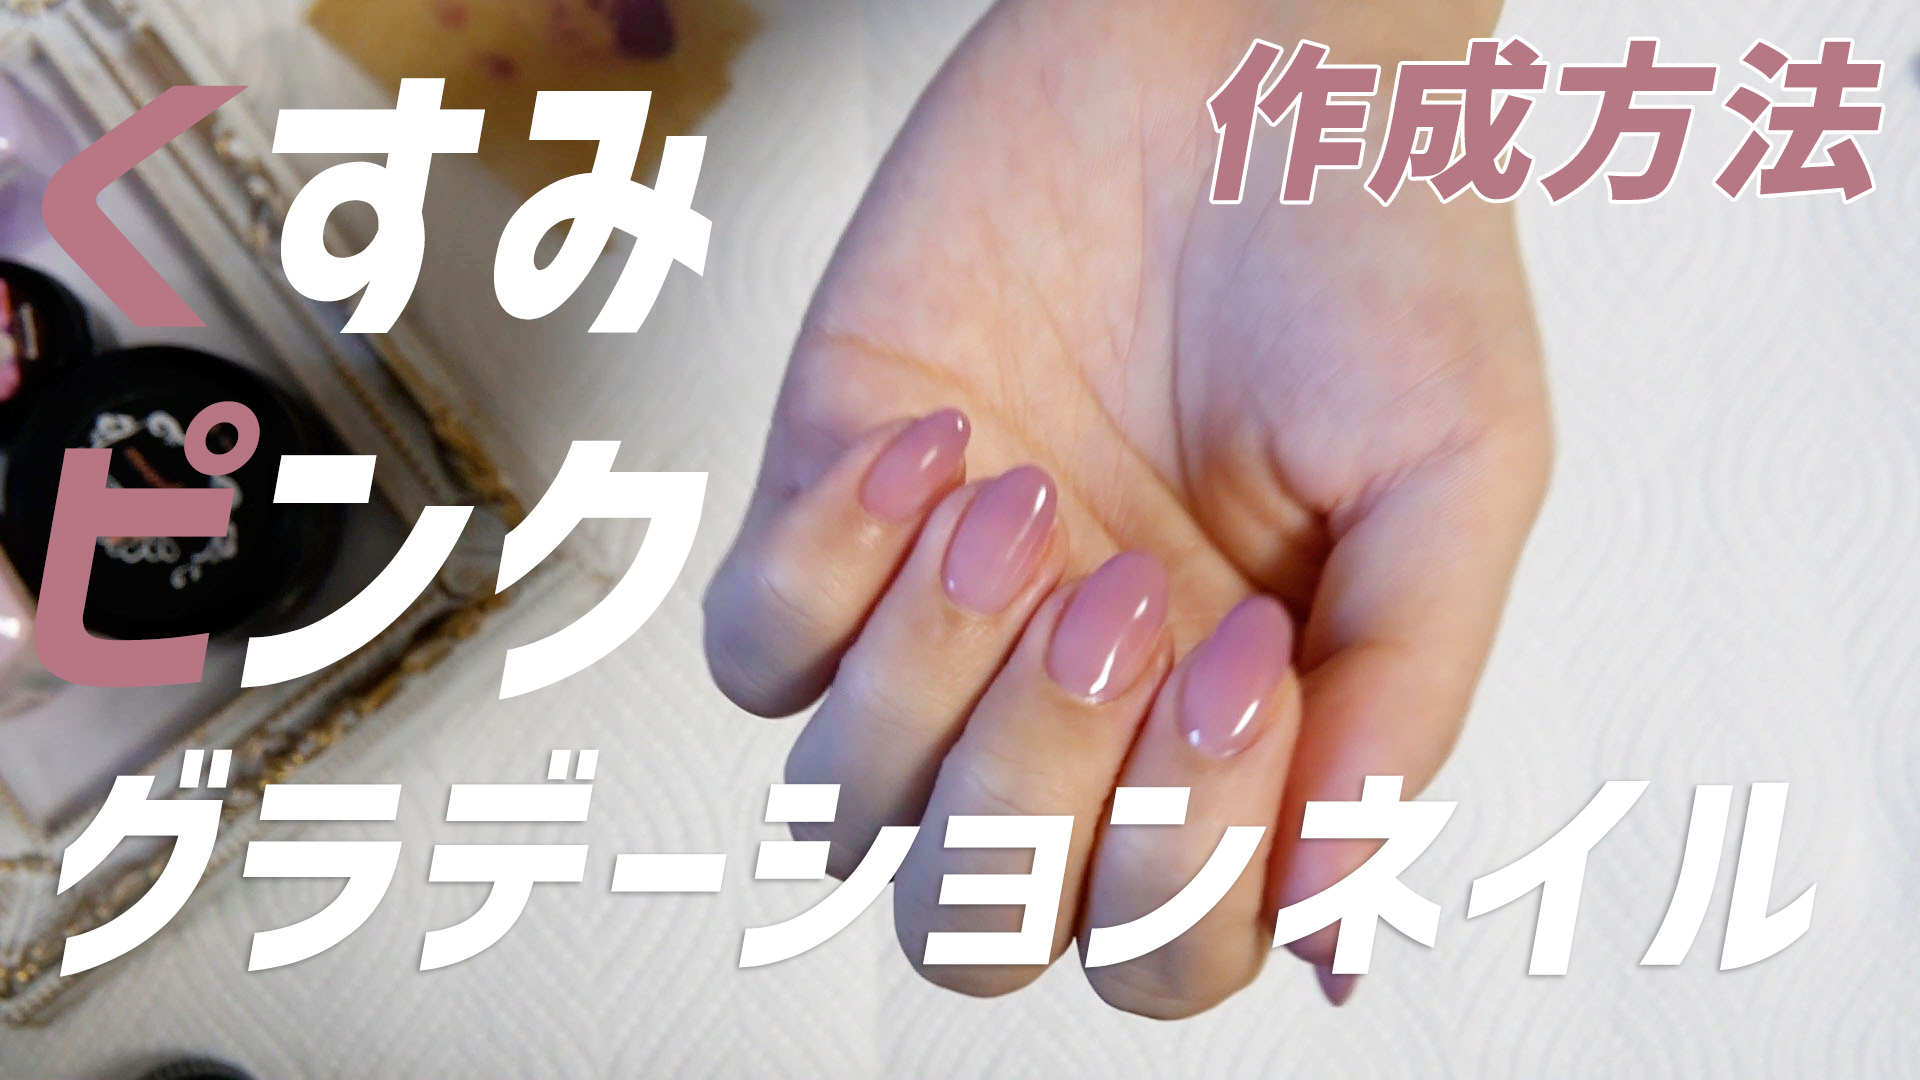
Amiそうですね。セルフネイルだからこそ、いろんなデザインに挑戦してほしい気持ちはあります。今回はそのような悩みを持っている方に向けてオフィスやパーティ用でも使用できるくすみピンクのグラデーションネイルを実践させていただきました。
ジェルネイル実践記 編集部実際に行っているところを撮影していただき、この記事では画像で解説していきます。動画で見たい方は下記Youtube動画からご覧ください!それでは本編へどうぞ!
▼今回撮影頂いたYoutuhe動画
コンテンツリード・編集

ジェルネイル実践記編集部
ジェルネイル実践記の編集部です。編集部では、主にネイリスト様とやり取りをして記事の編集や商品選定を行っています。おかげさまでジェルネイル実践記は4年目を迎え、少しずつ成長しています!これからもどうぞよろしくお願いいたします。
コンテンツの監修含む手順・ポイント・画像提供等

ami
【JNECネイリスト検定1級】と【JNAジェルネイル検定上級】保持。ネイリスト資格取得後、現場では6年勤務。新店舗の立ち上げや指導等も経験。現在は専業主婦で友人などにネイルを施す日々を過ごす。
くすみピンクのグラデーションネイル作成方法
Amiでは早速ですが、くすみピンクのグラデーションネイルを作成していきましょう。主な工程は以下のとおりです。
5つの工程
- 準備する道具
- プレパレーション
- ベースジェル
- カラー塗布
- トップジェル
準備する道具
Ami改めましてよろしくお願いします!ジェルネイルを行うには必要な道具があります。これから始める方もそうでない方も道具の準備だけはしっかり行いましょう。
プレパレーション用具
- キューティクルニッパー
- ファイル
- プッシャー
- 石鹸等
ジェル
- ベースジェル
- カラージェル(ピンク系)
- トップジェル
道具
- ブラシ
- コットン等
ジェルネイル実践記 編集部道具の説明ありがとうございます。これらは単品購入でもジェルネイルキット等を購入すれば、すぐに準備できます。初めての方はジェルネイルキットも視野に入れて準備しましょう!持っている方は早速作成方法に移りましょう!
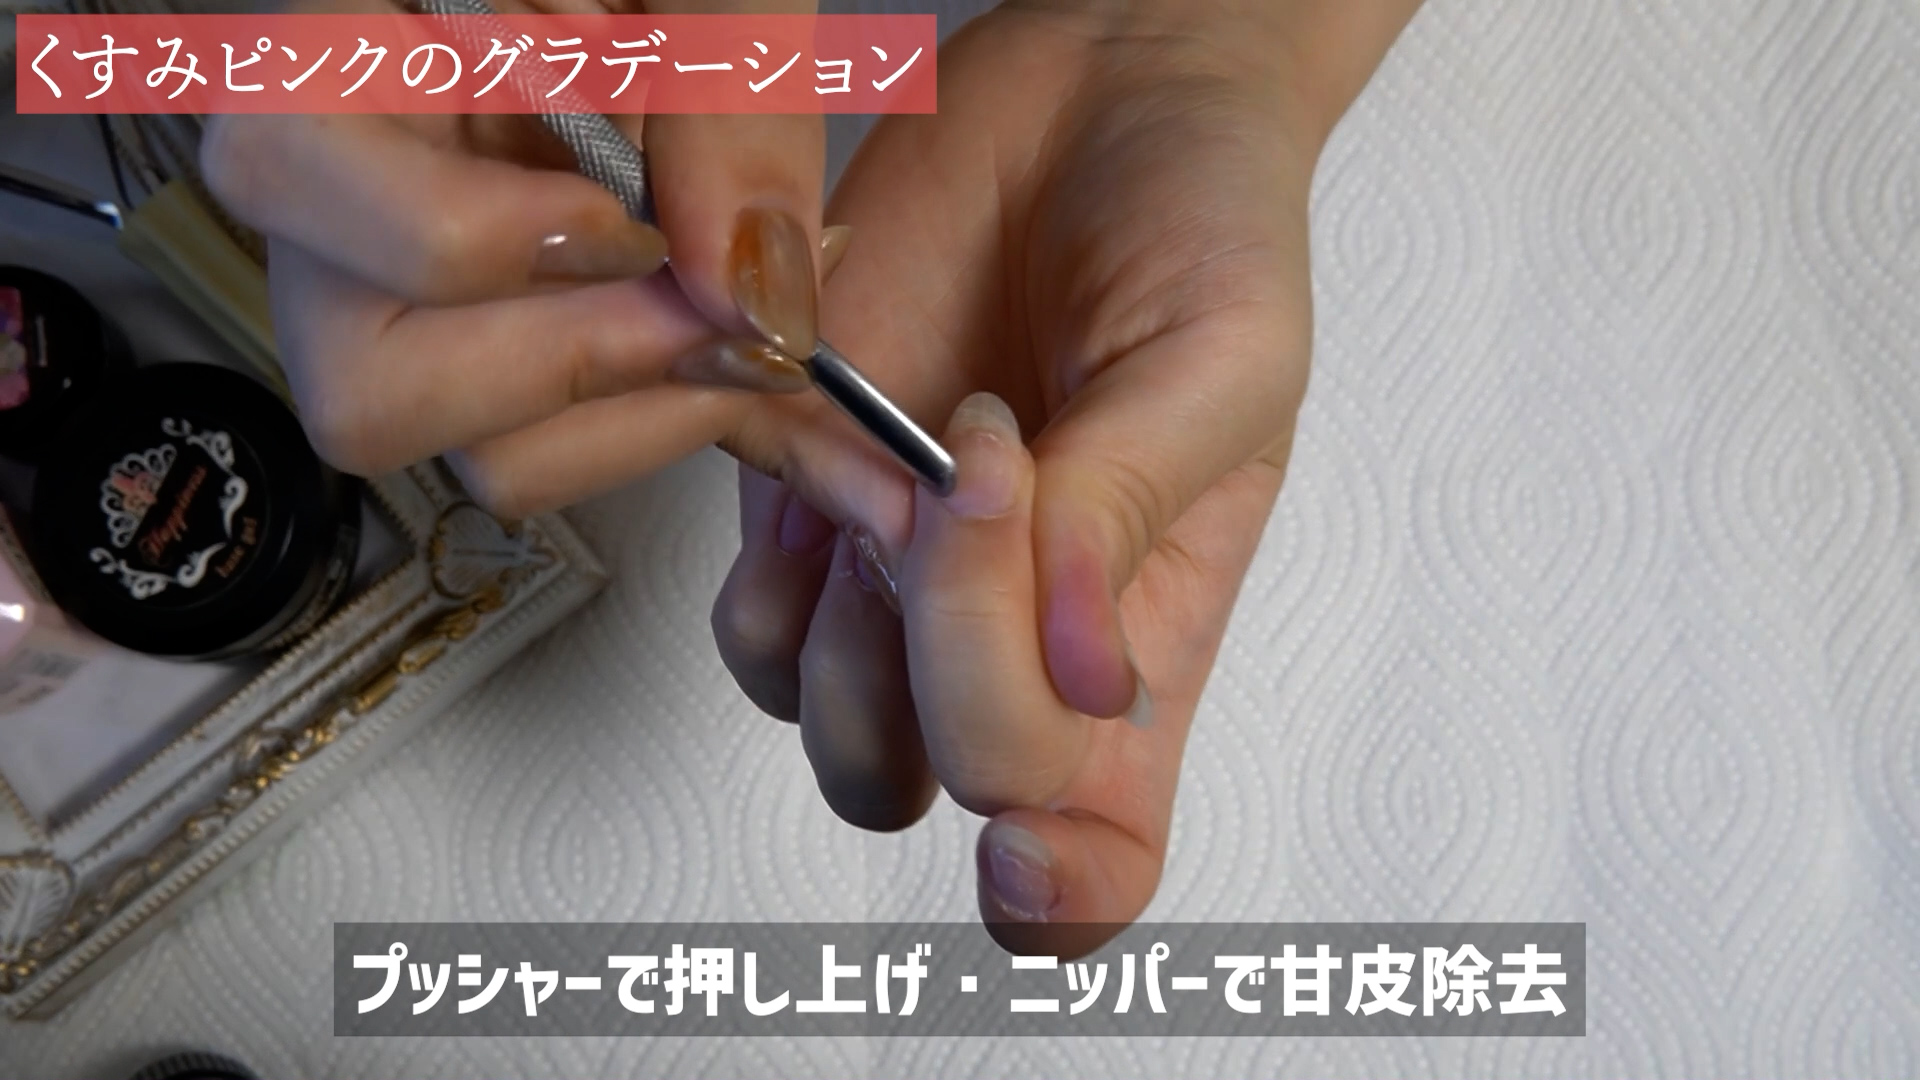
プレパレーション
Ami今回は自爪に行いますのでプレパレーションから始めます。
 Ami
Amiプレパレーションの方法に関しては別記事で動画とともに解説していますので、詳しい説明はそちらからご覧ください。ジェルネイルが初めての方は必ずプレパレーションを理解したうえで行いましょう!
[temp id=44]
[temp id=46]
ネイルファイルセットの見本商品


キューティクルニッパー・プッシャーセットの見本商品


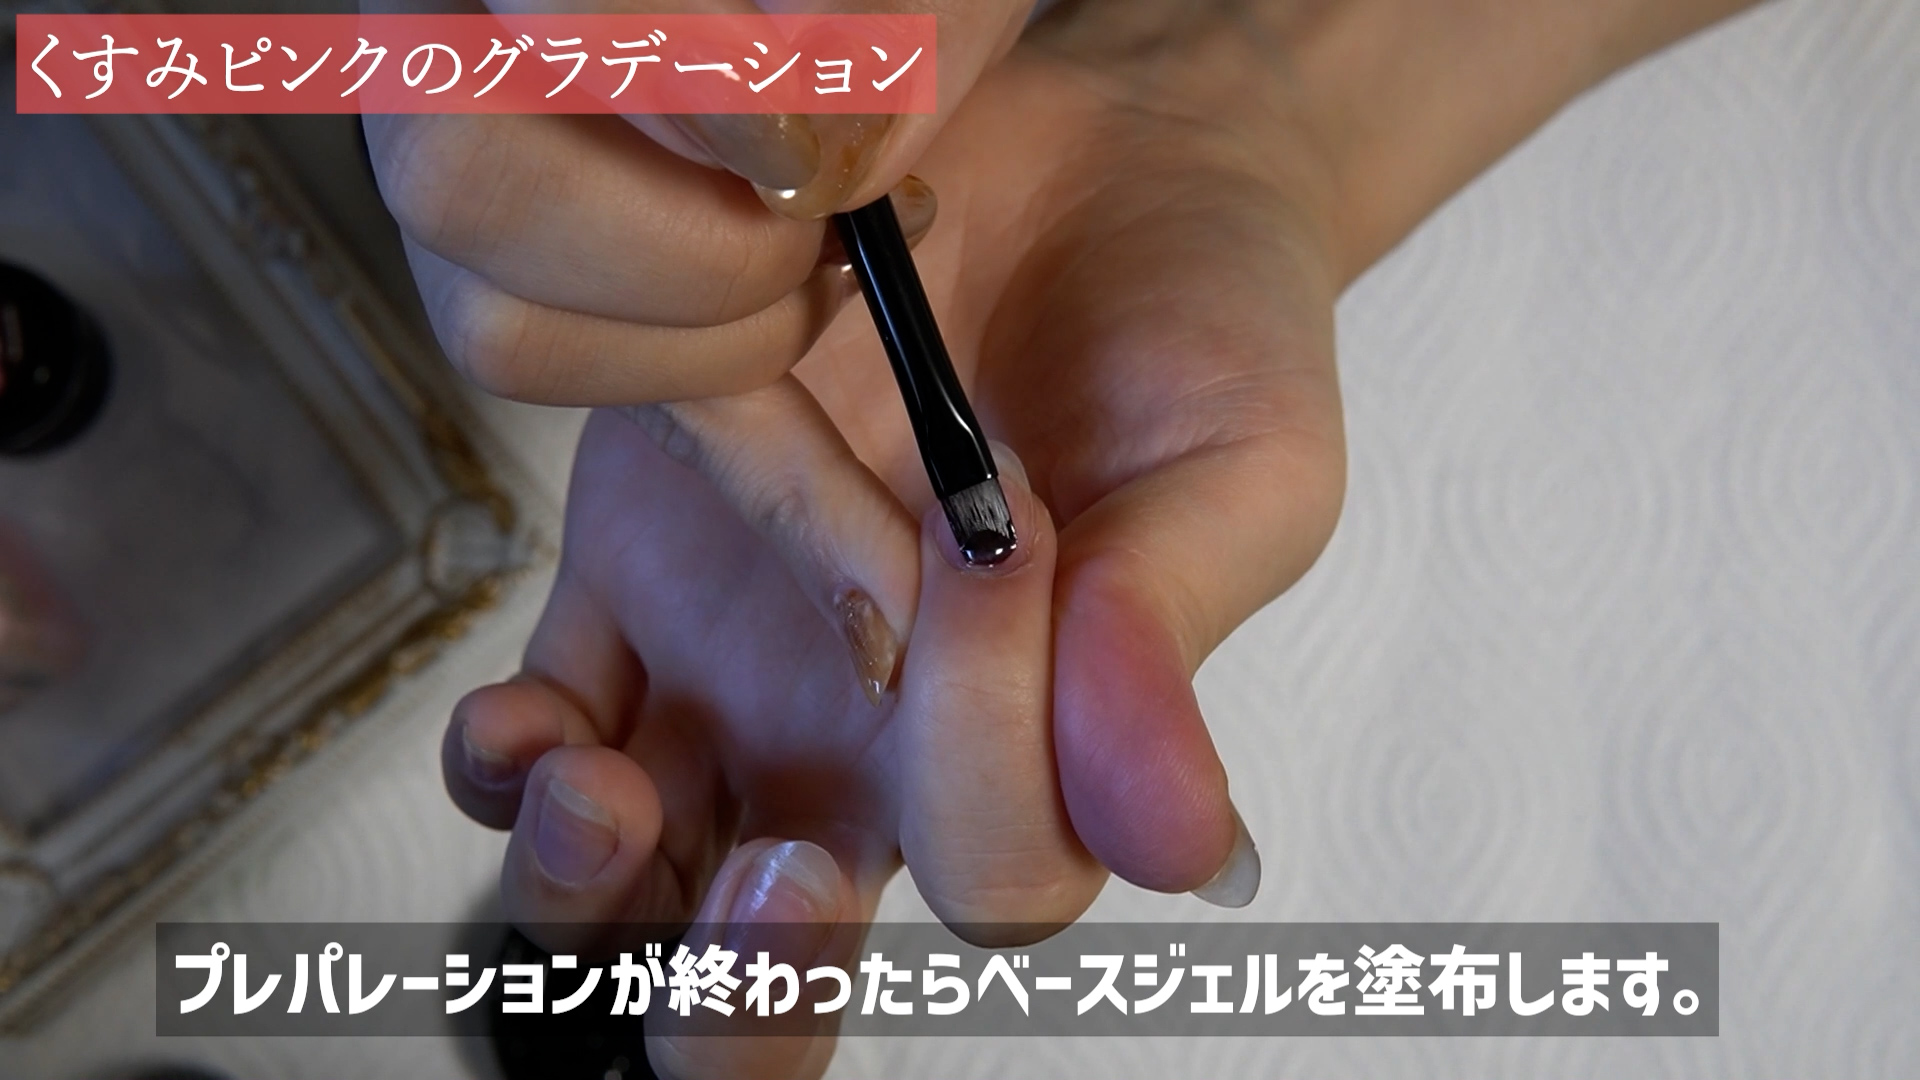
ベールジェル
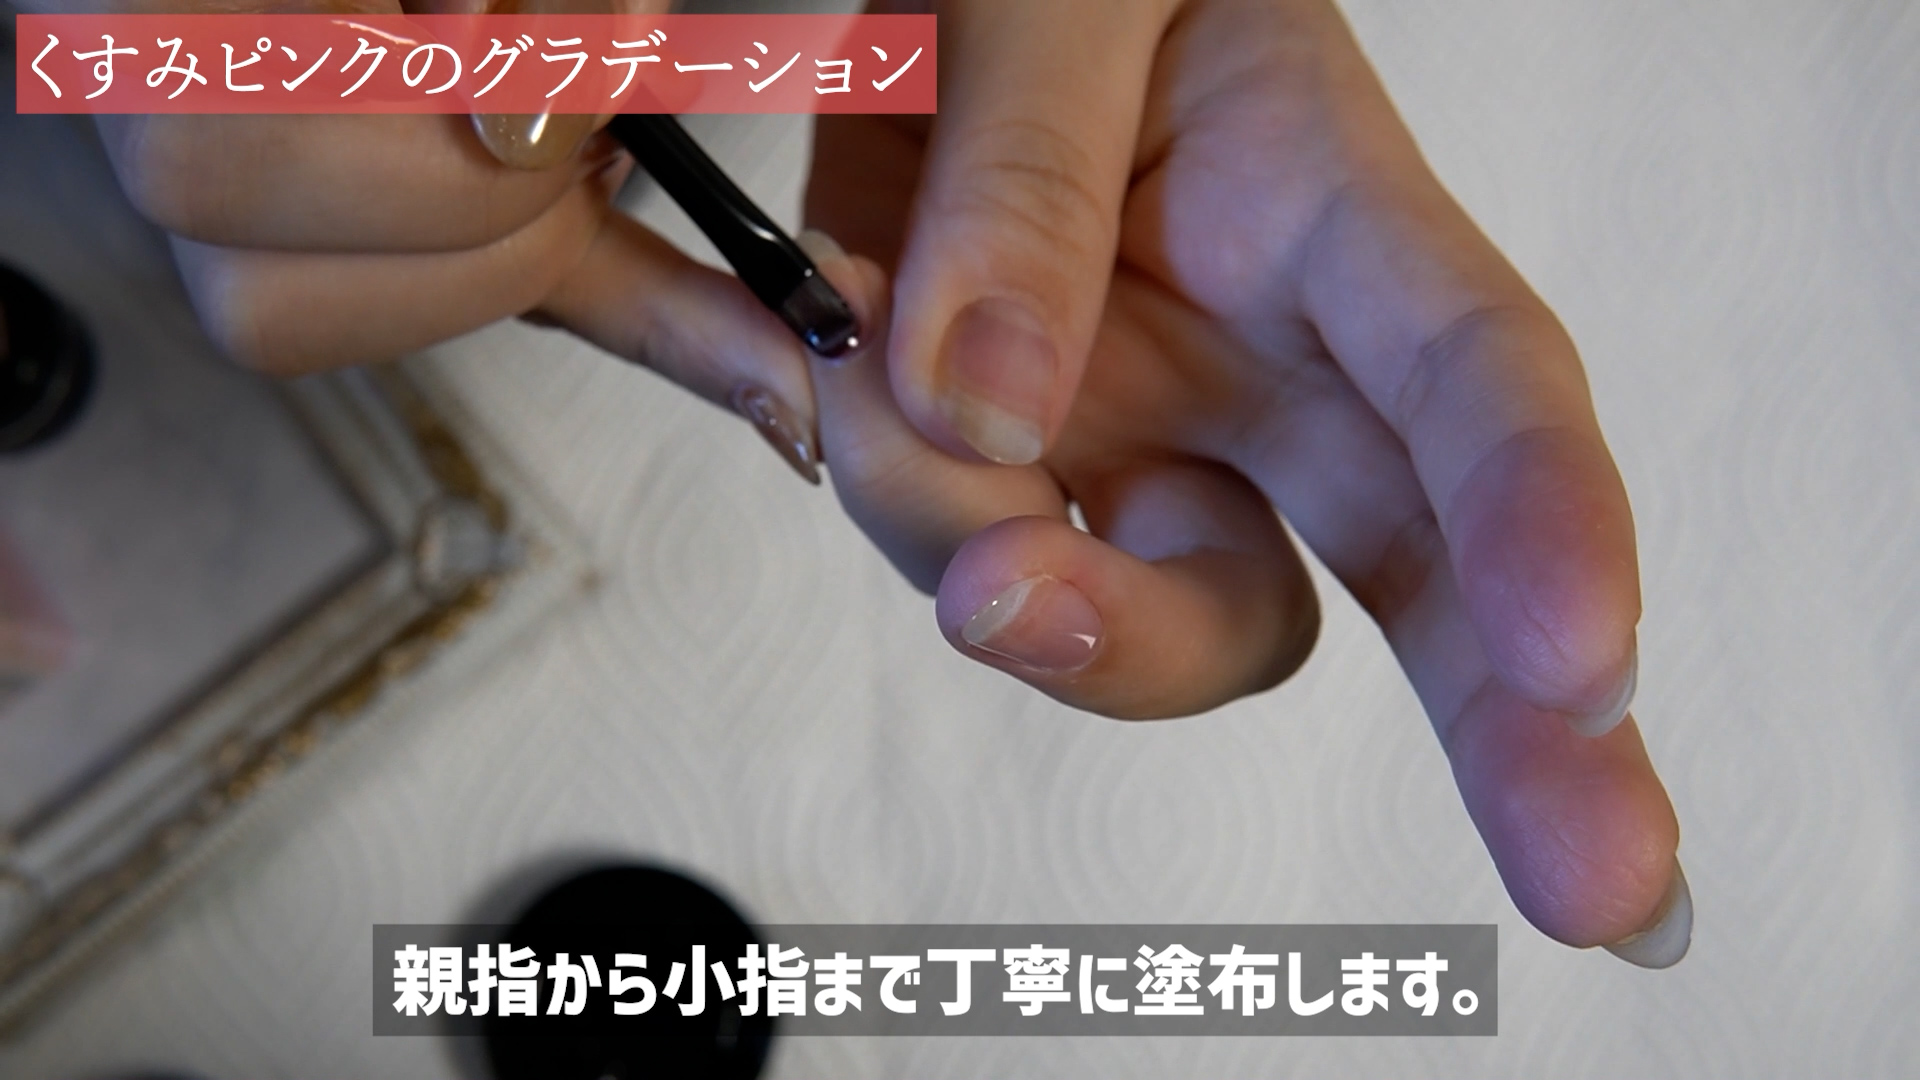
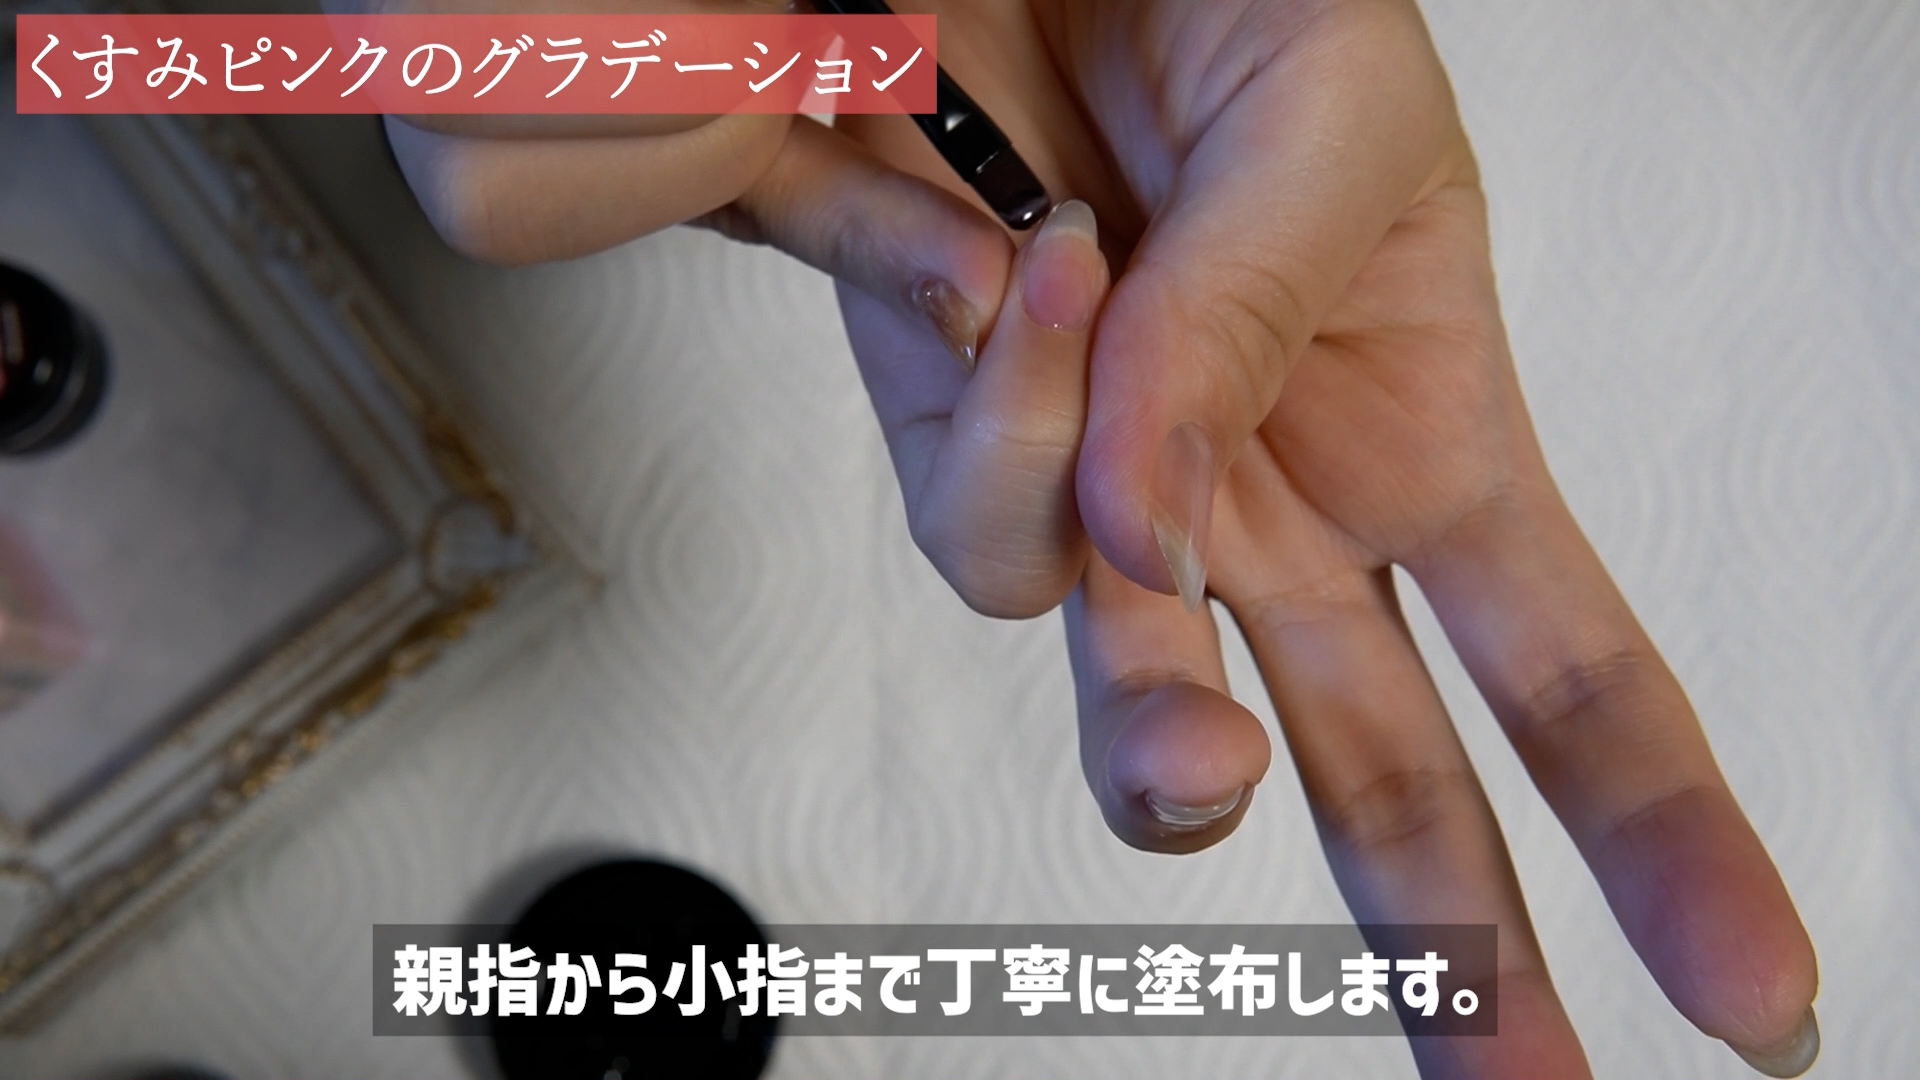
Amiプレパレーションが終わりましたら、ベースジェルの工程に移ります。
 Ami
Amiベースジェルはたっぷりジェルを取りましょう!取ったジェルを親指から小指まで順番に塗布していきます。
ベースジェル・ベースコートの見本商品


[temp id=34]
 Ami
Amiベールジェルの塗布が終わりましたら硬化させましょう。硬化させて違和感がないようでしたらカラー塗布に移ります!もし、違和感があればベースジェルを塗りなおして再度硬化させましょう!
カラー塗布
Ami続いてカラー塗布に移ります。
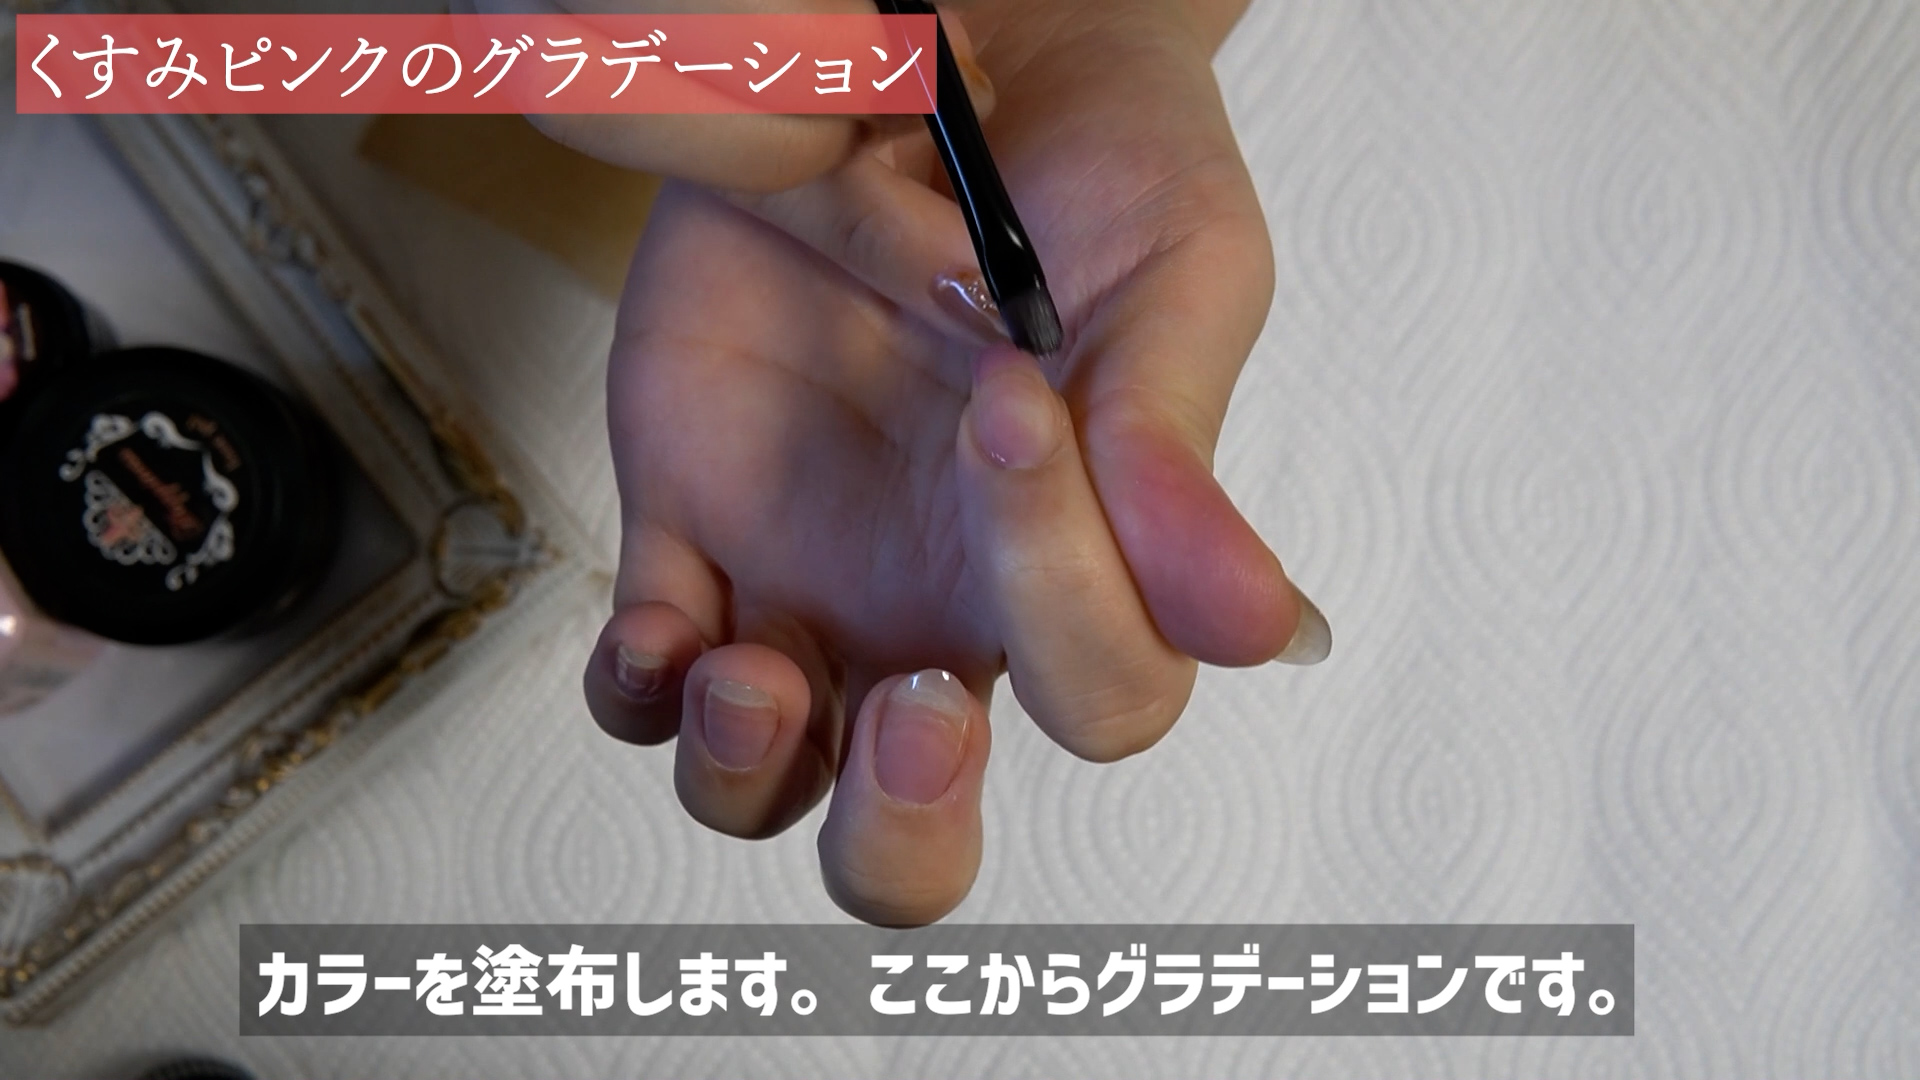 Ami
Amiここでピンクのカラージェルを使用してグラデーションを施します。
カラージェル(コンテナ型)の見本商品


 Ami
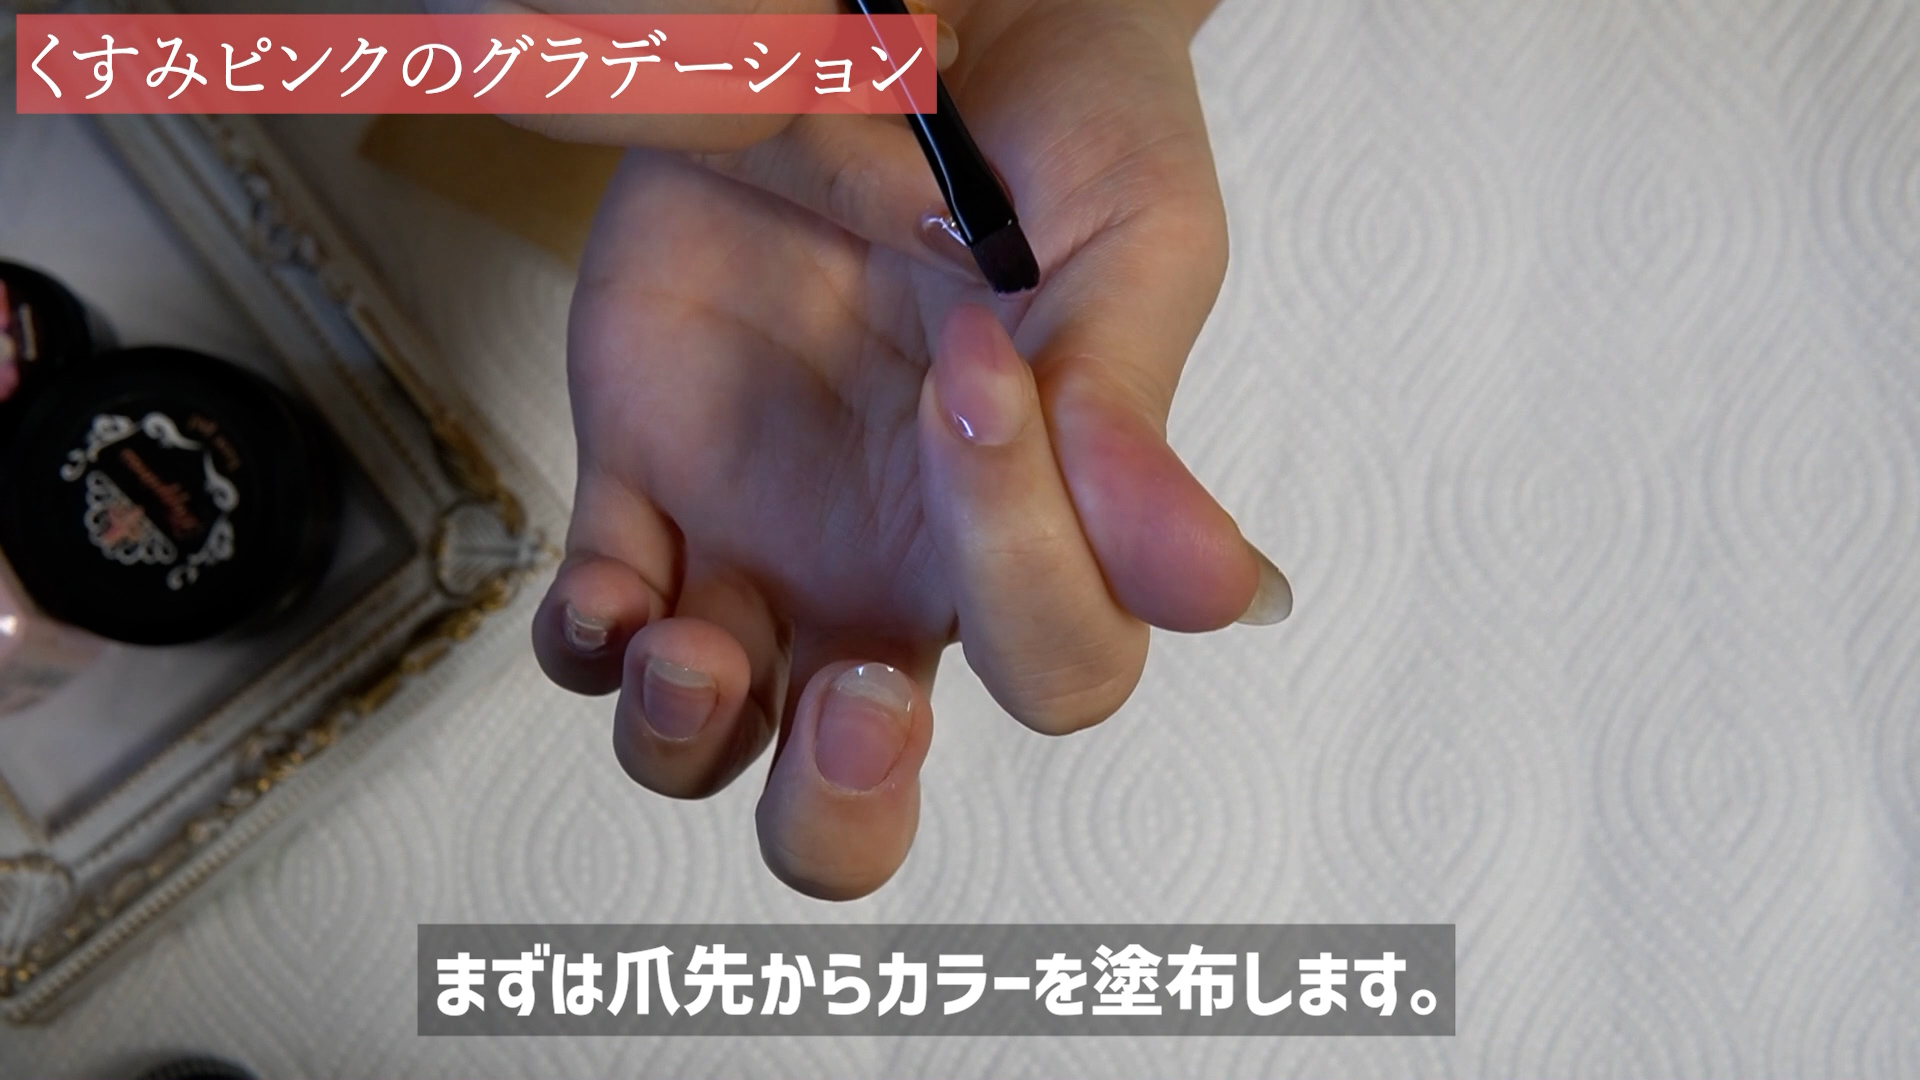
Amiまずは爪先からカラーを塗布していきます。ブラシにカラージェルを取り、爪先に塗っていきます。
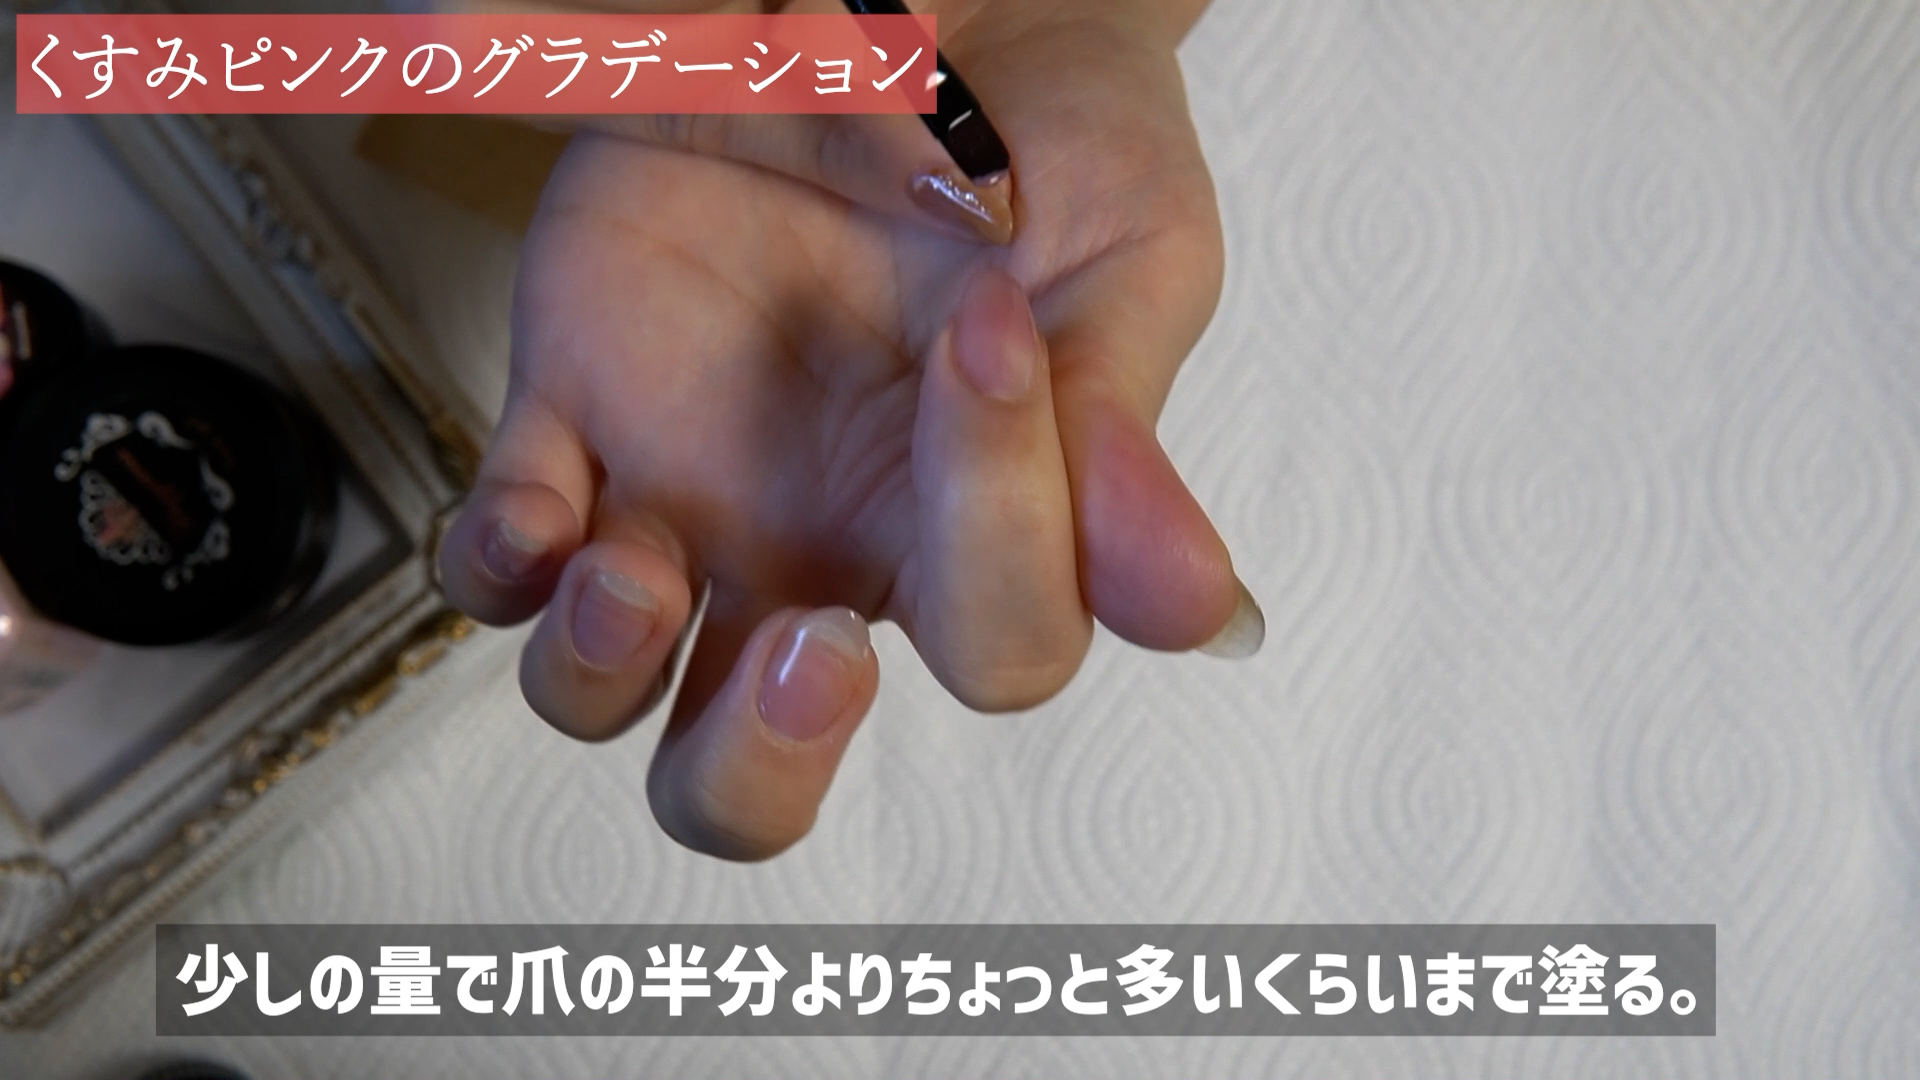 Ami
Ami少量のジェルを爪先から真ん中あたりぐらいまで塗ります。ここでは根本に塗る必要はありません。グラデーションを作るために爪先から行います。
 Ami
Ami1回目の塗布なのでジェルの量は少なくてOKです。この後、複数回同じ作業を行いますので、薄く塗りましょう!
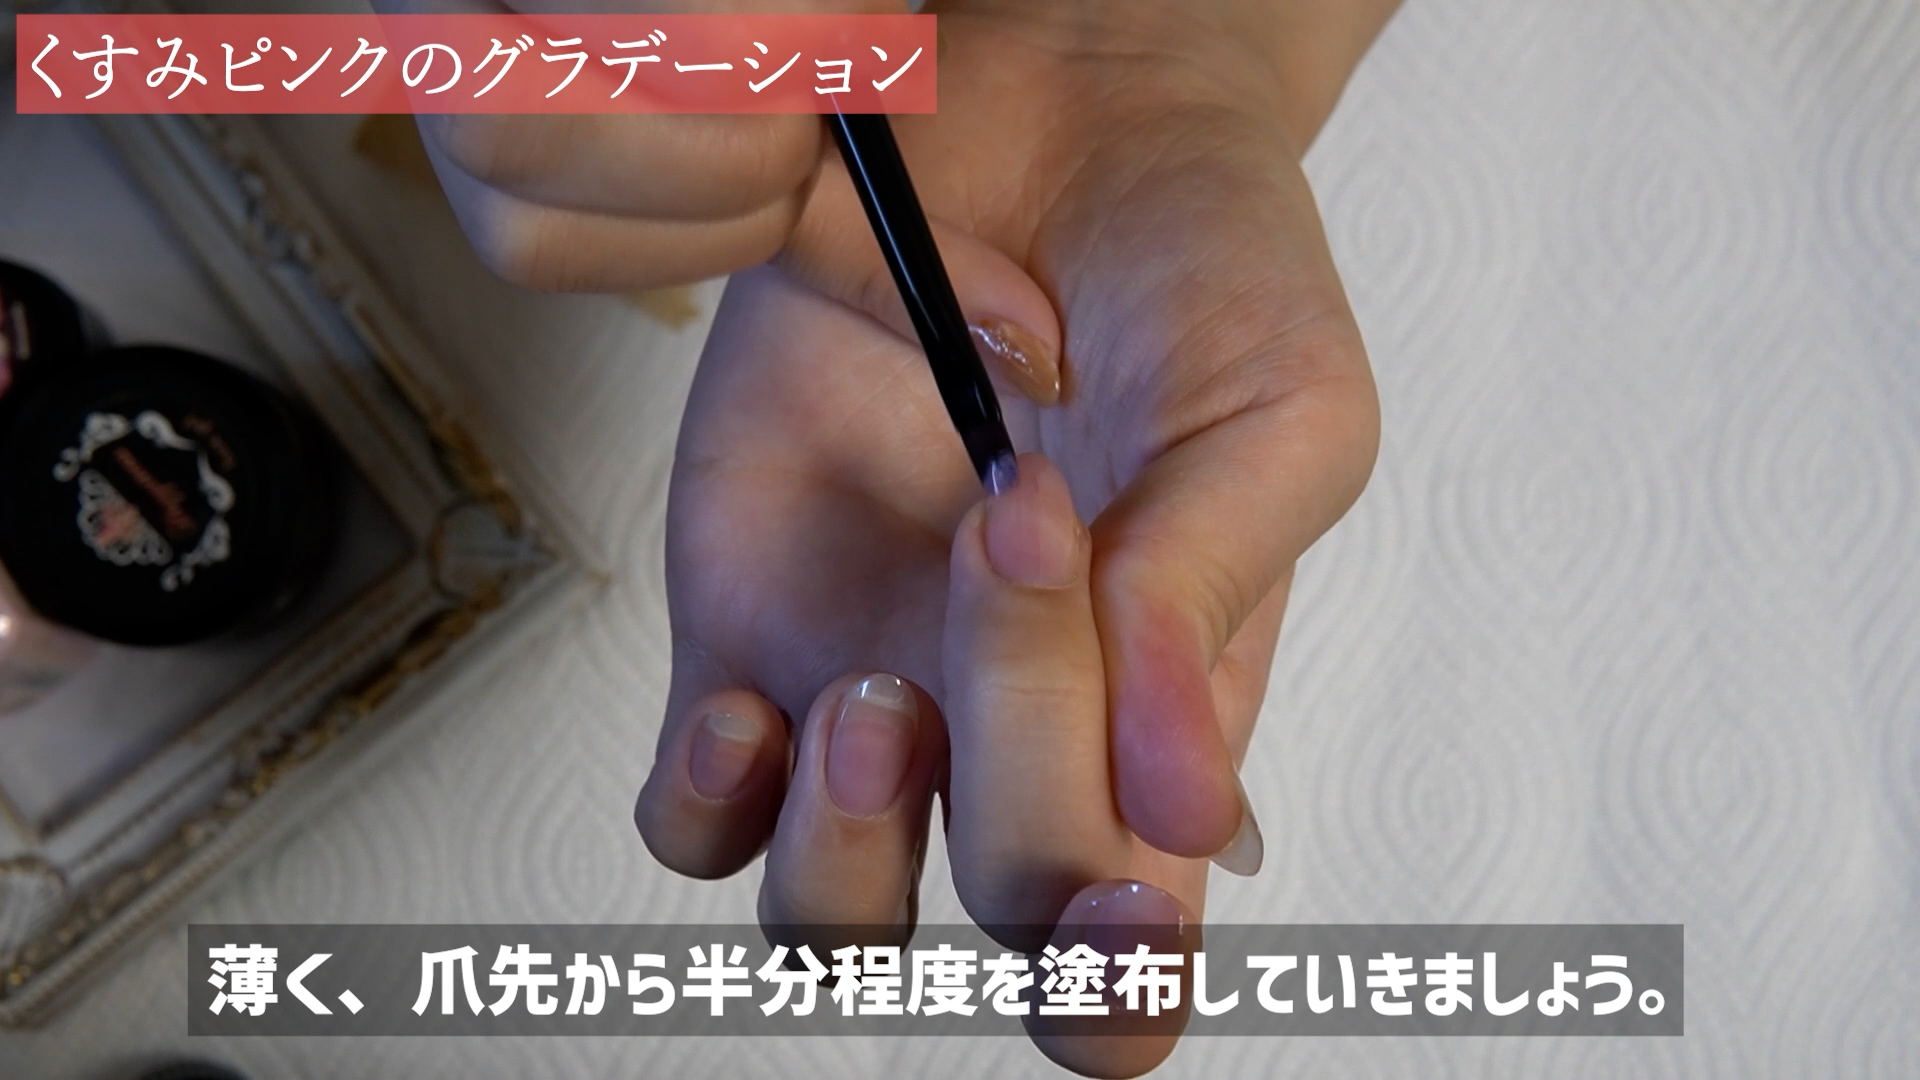 Ami
Ami各指の爪先から真ん中まで塗布していきます。
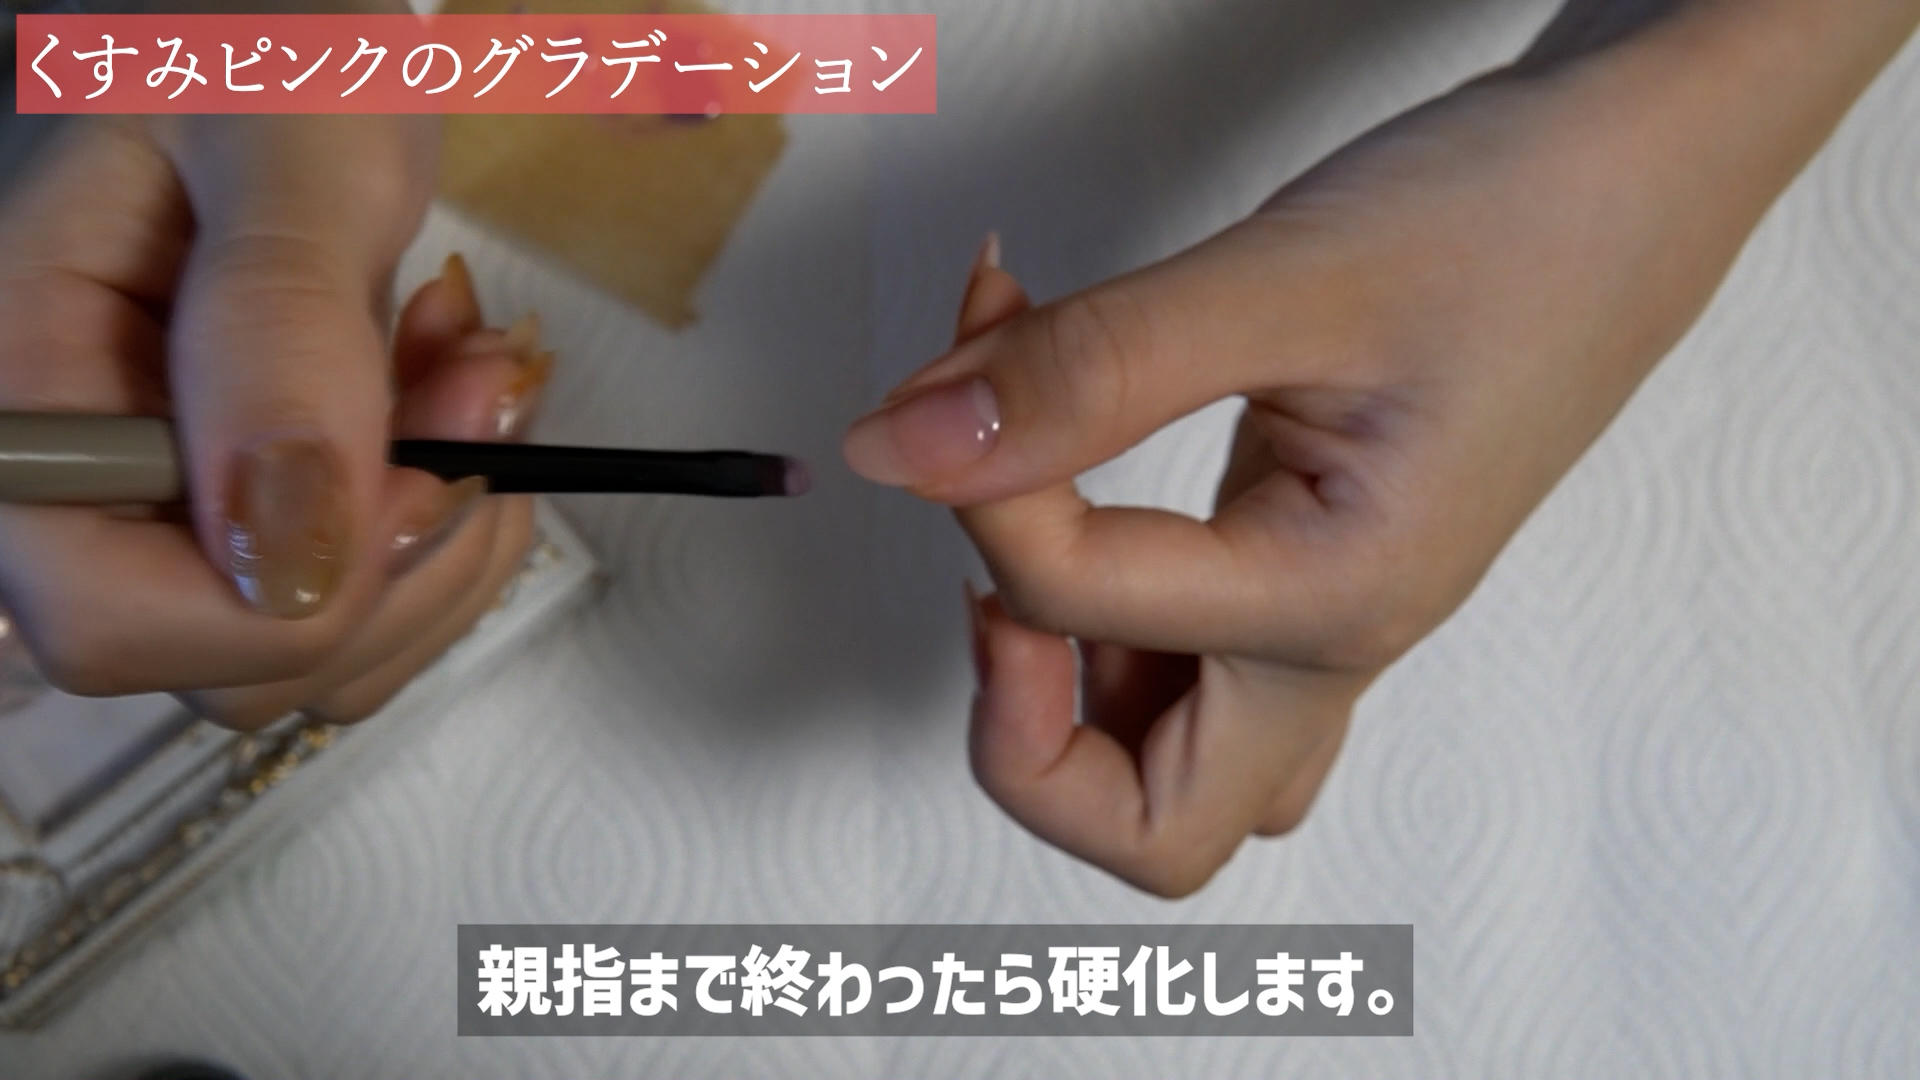 Ami
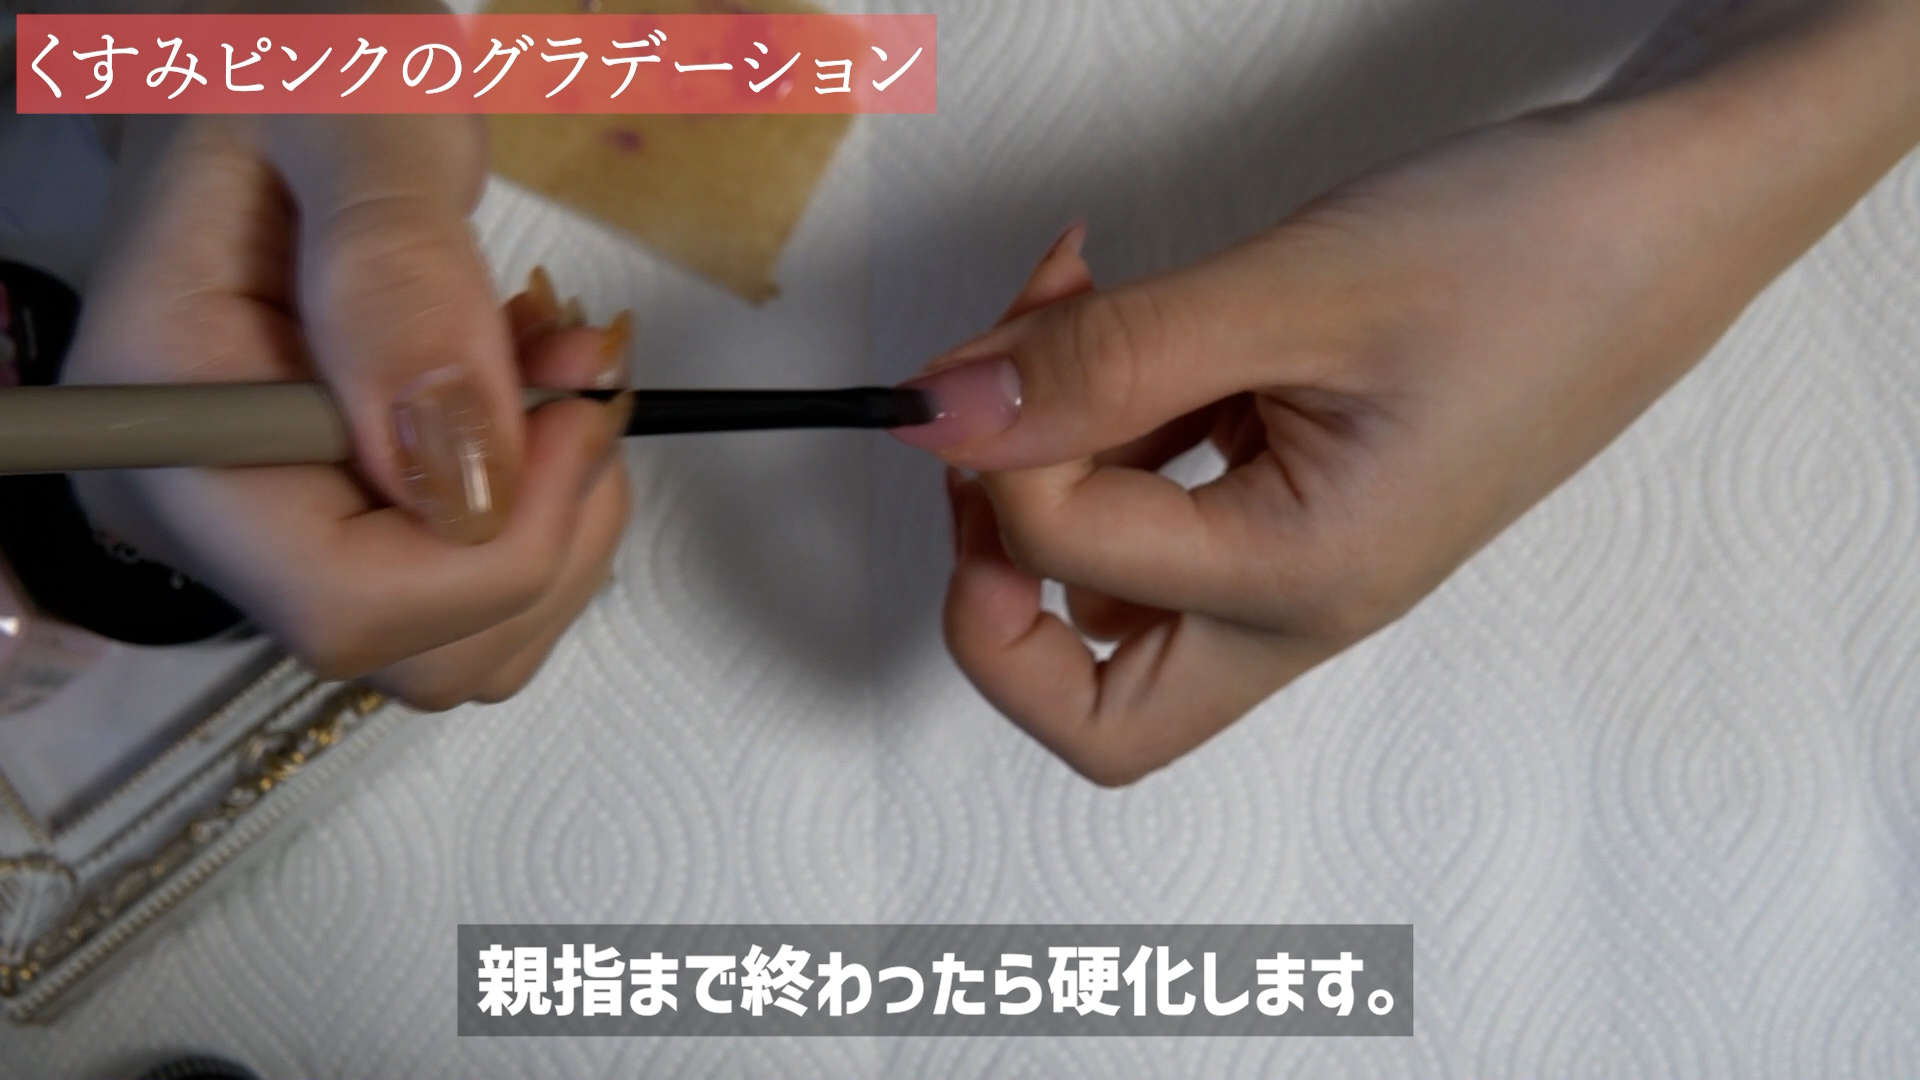
Ami親指から小指まで薄く塗ったらいったん硬化させます。硬化後、2度塗りをしていきます。
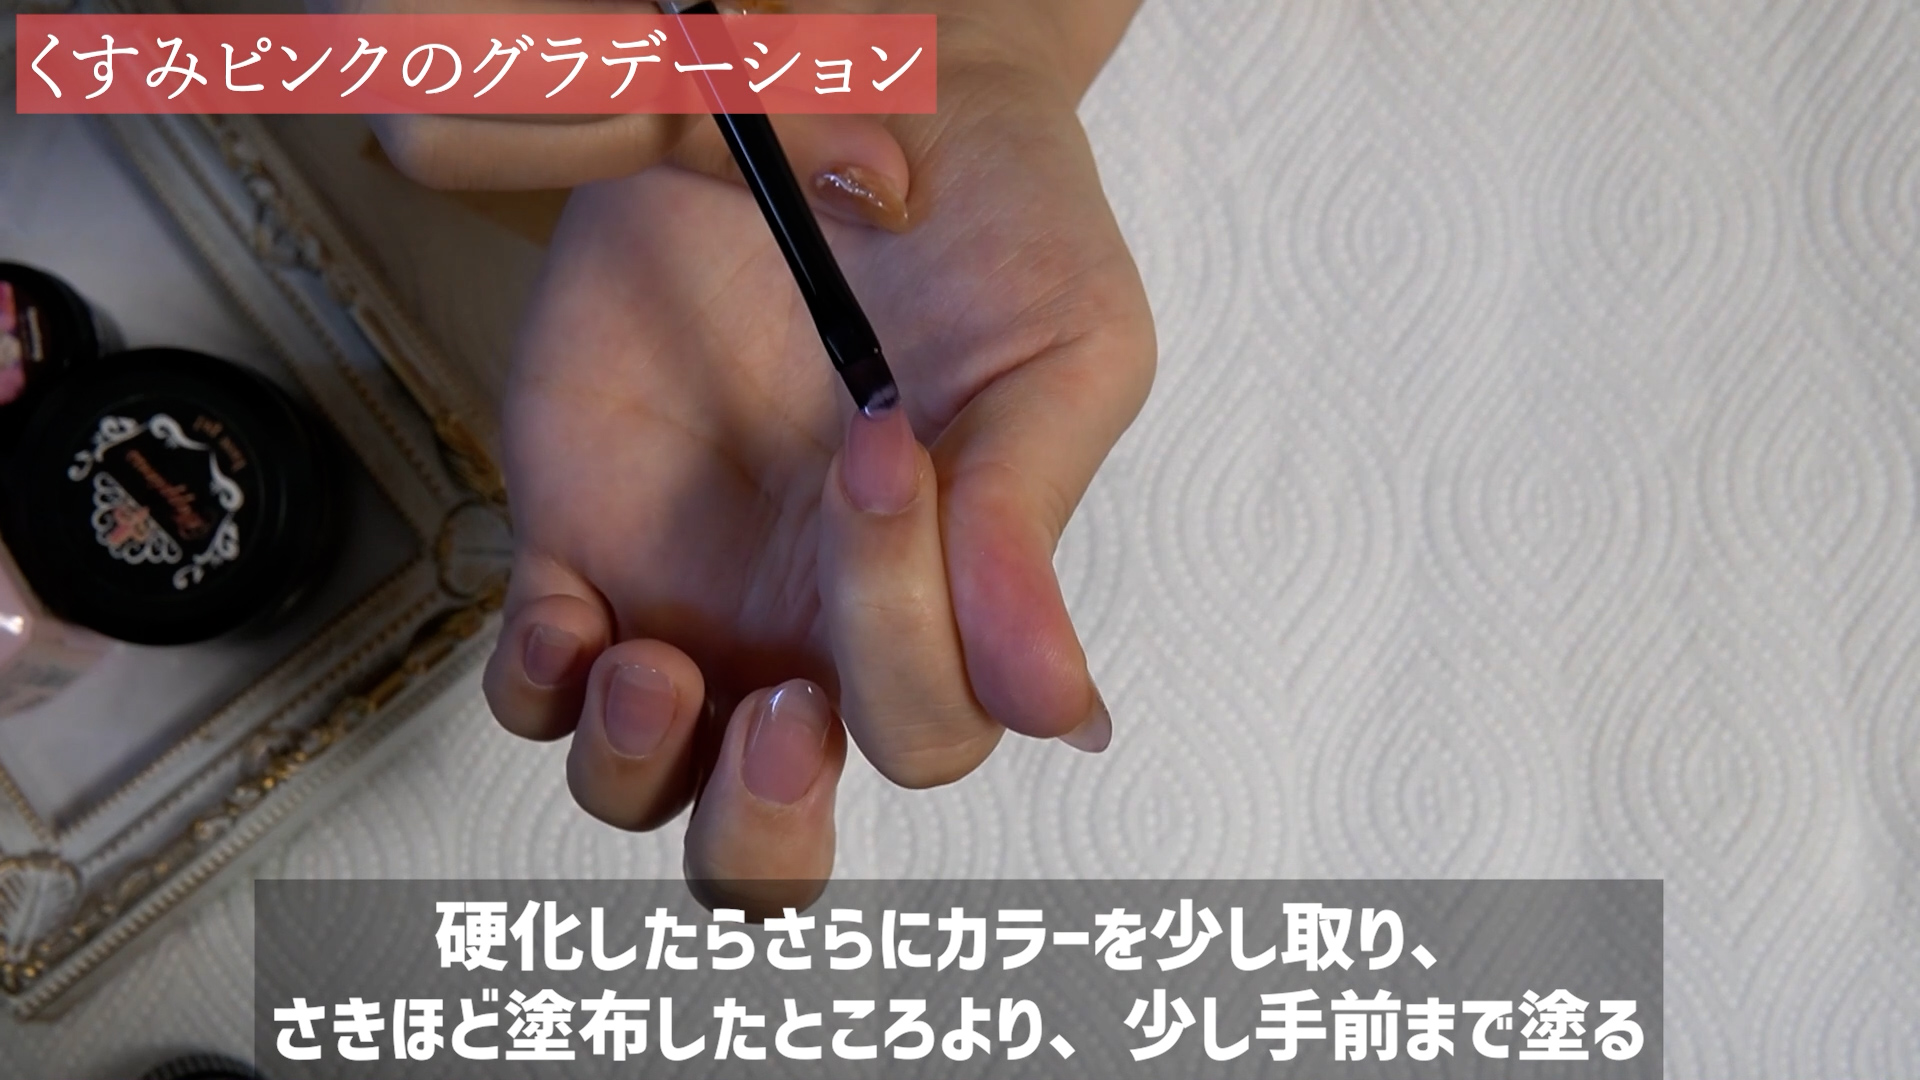 Ami
Ami2度塗りです。ブラシにジェルを取り、先ほどよりかさらに根本(手前)まで塗っていきます。ここでもグラデーションを意識して根本まで塗らないようにします。
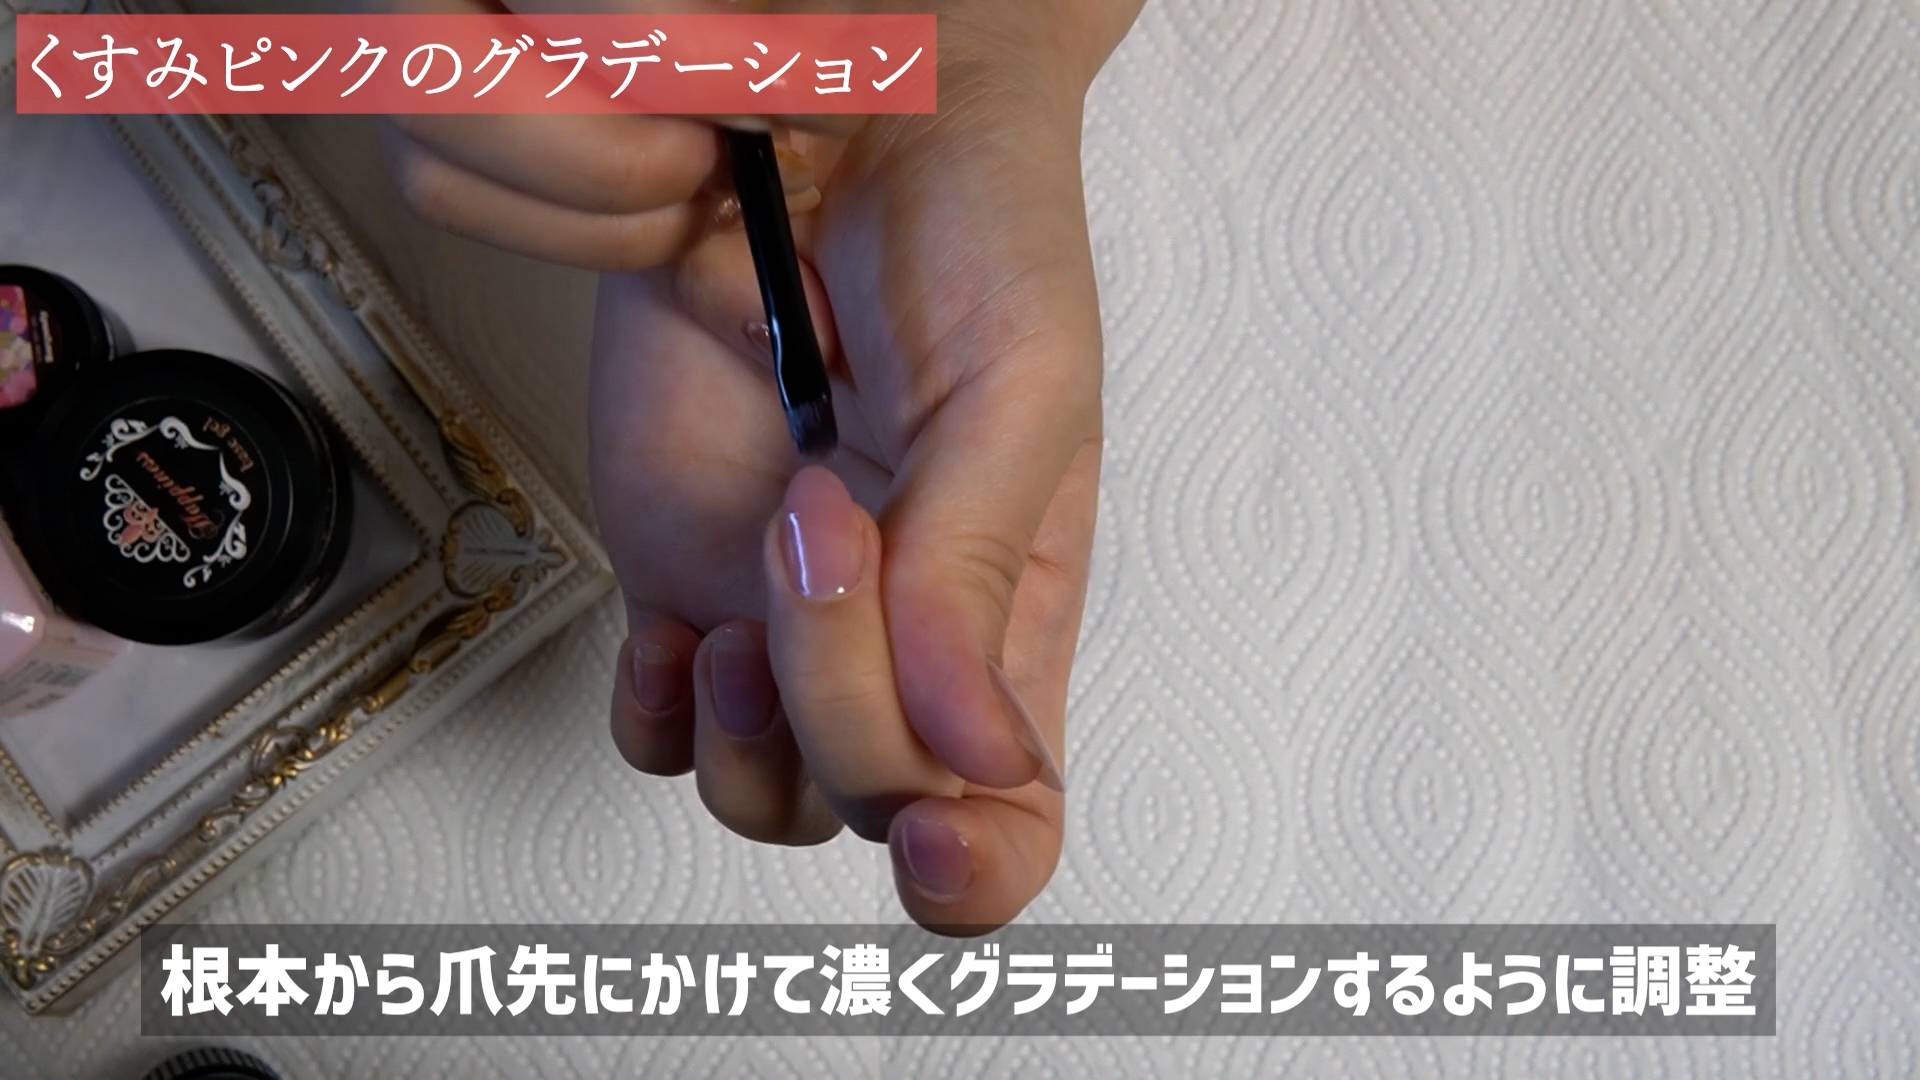 Ami
Amiイメージは爪先は濃く、根本は薄くのような感じです。
 Ami
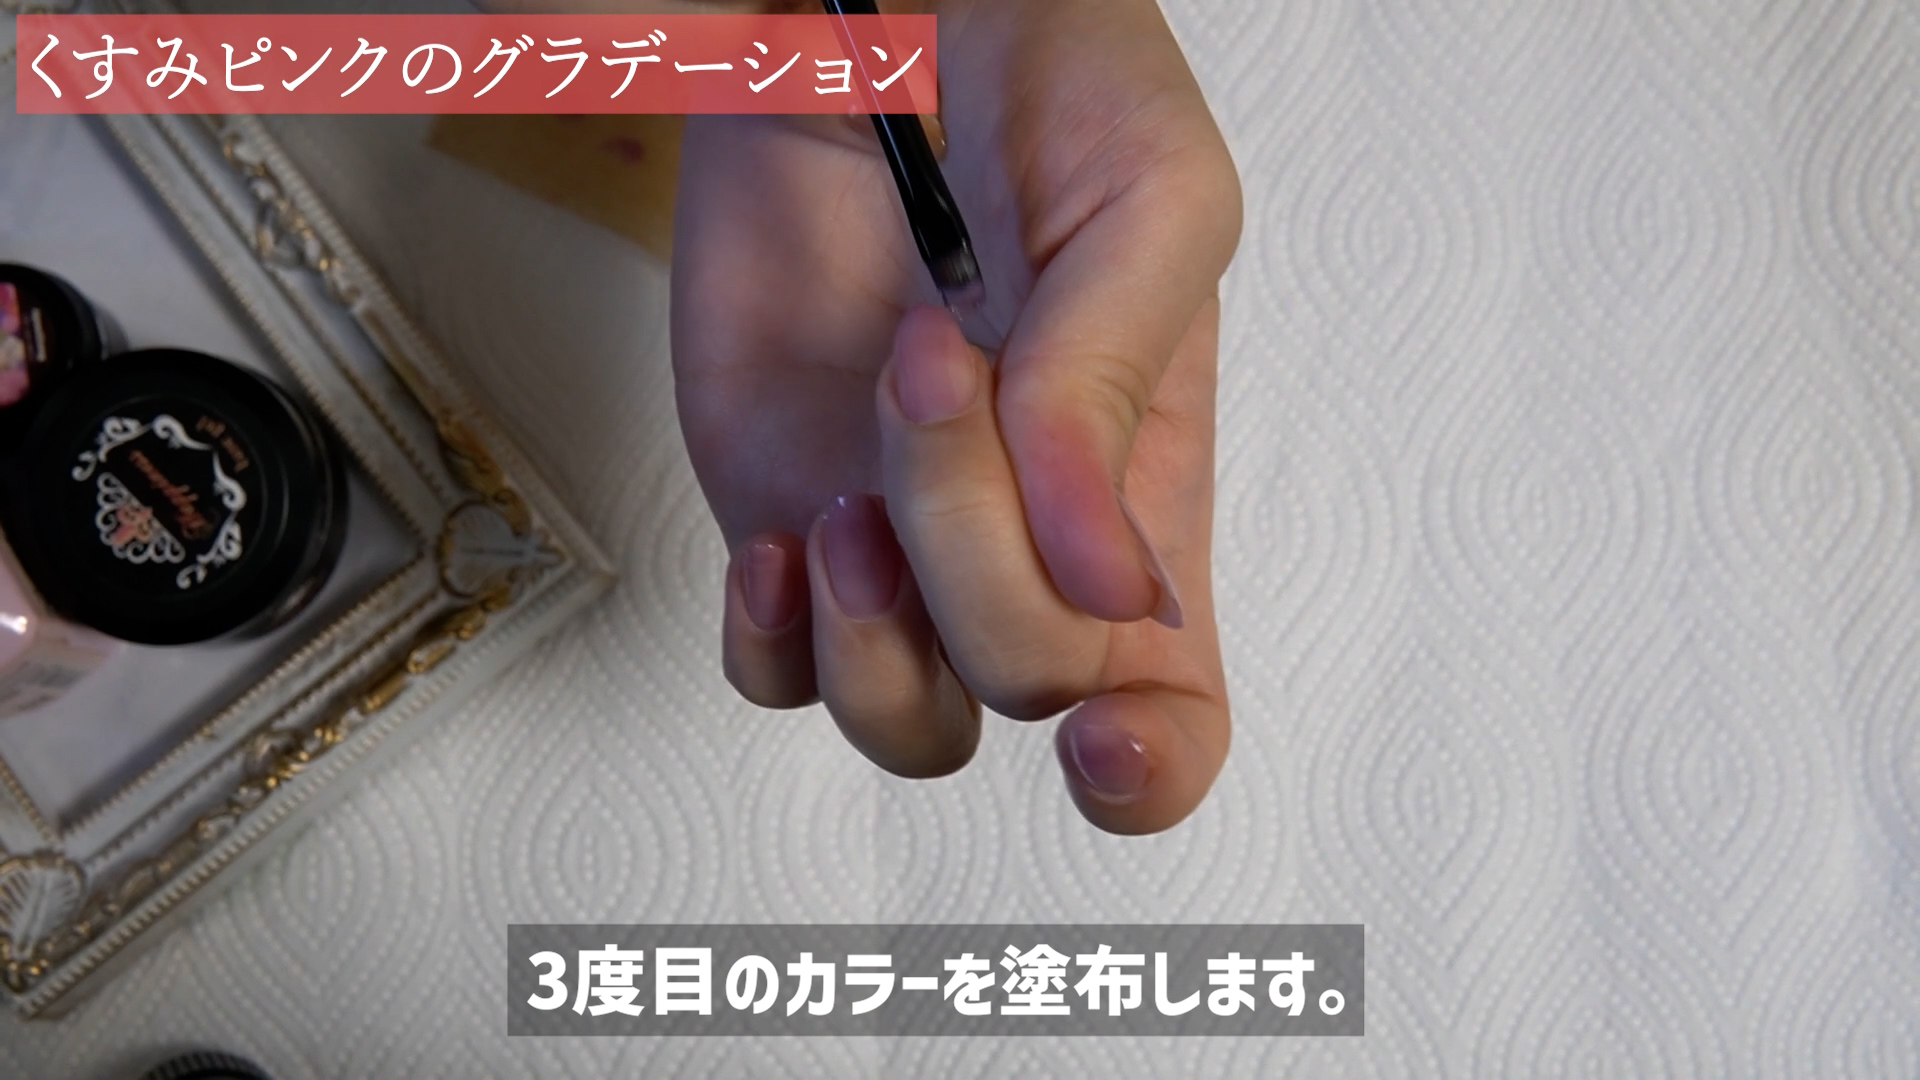
Ami各指の2度塗りが終わったら、3度目もカラーを塗布します。硬化作業も忘れずに。
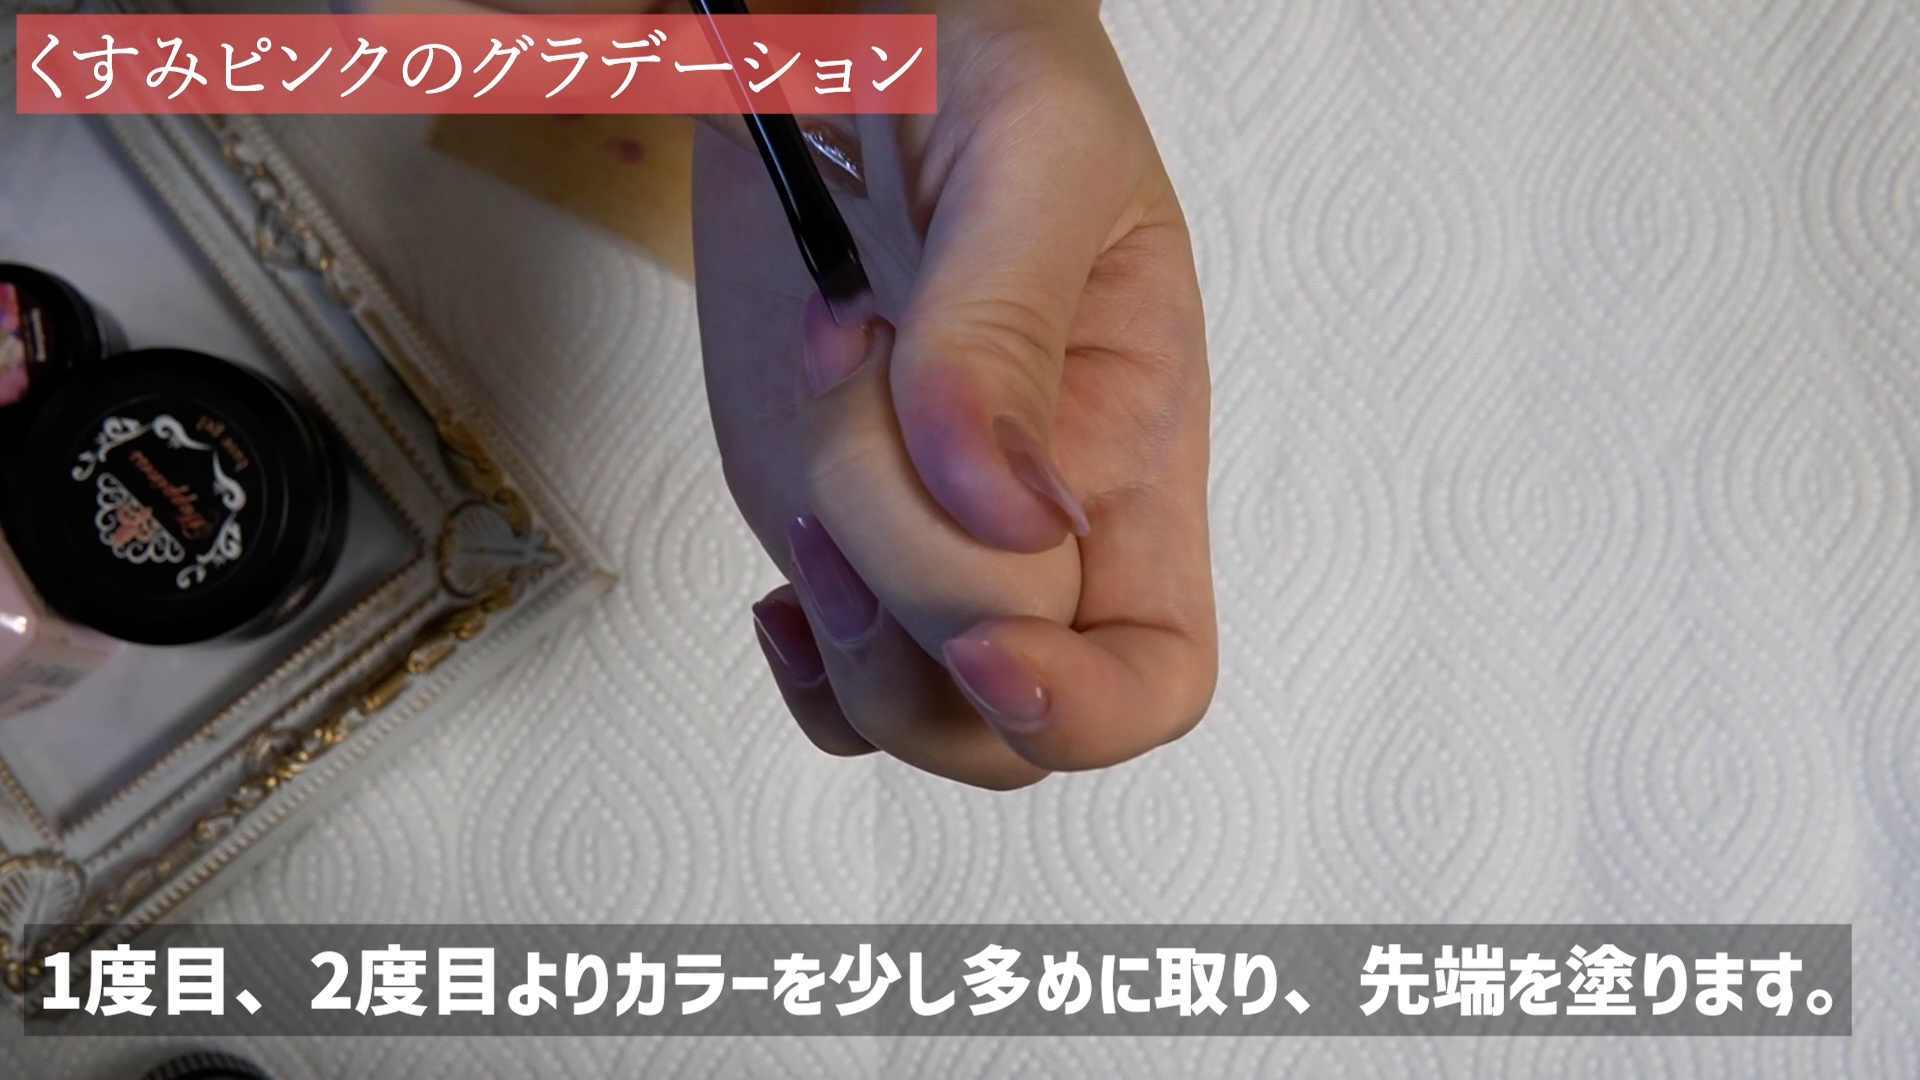
 Ami
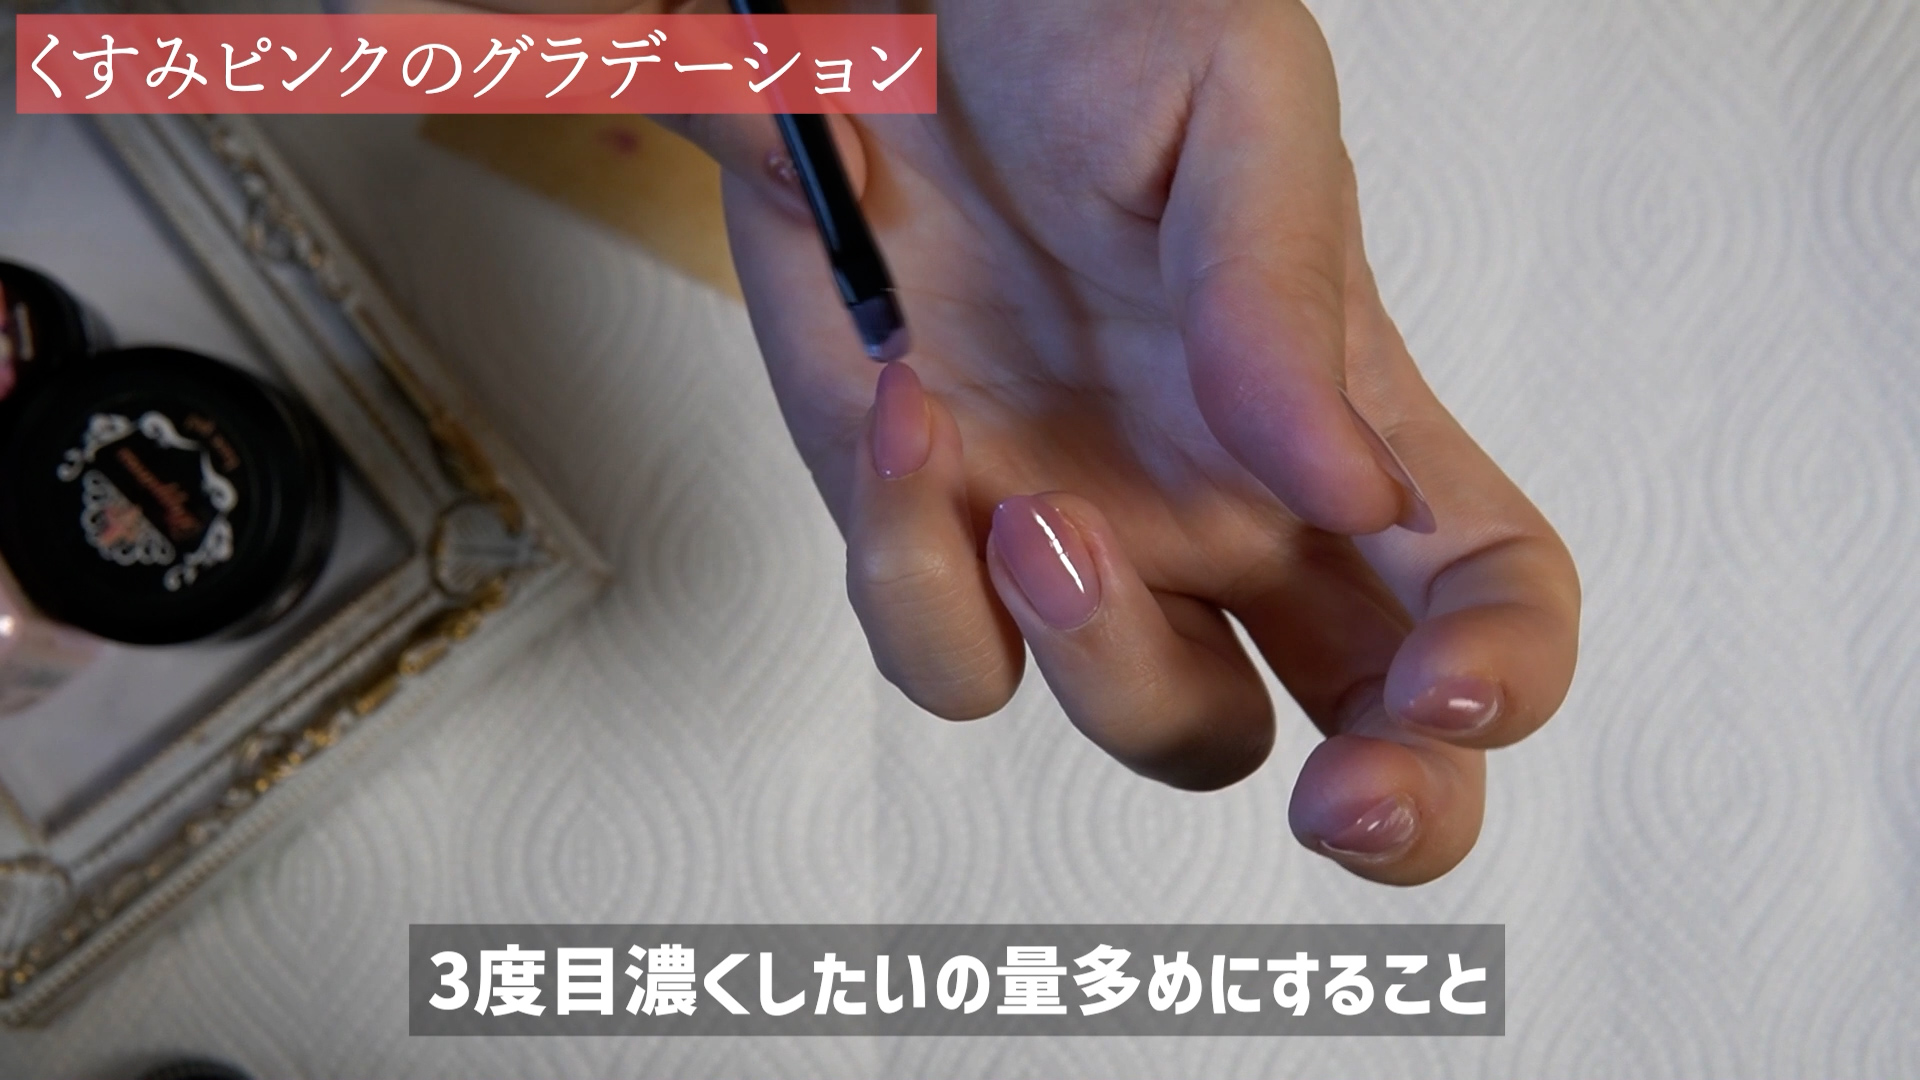
Ami3度目の塗りでは、カラーを多めに取り、先端から塗っていきます。先端を濃くしていきましょう。
 Ami
Ami3度目の塗布も終わりましたら、硬化させます。この時点でうっすらとグラデーションはできています。
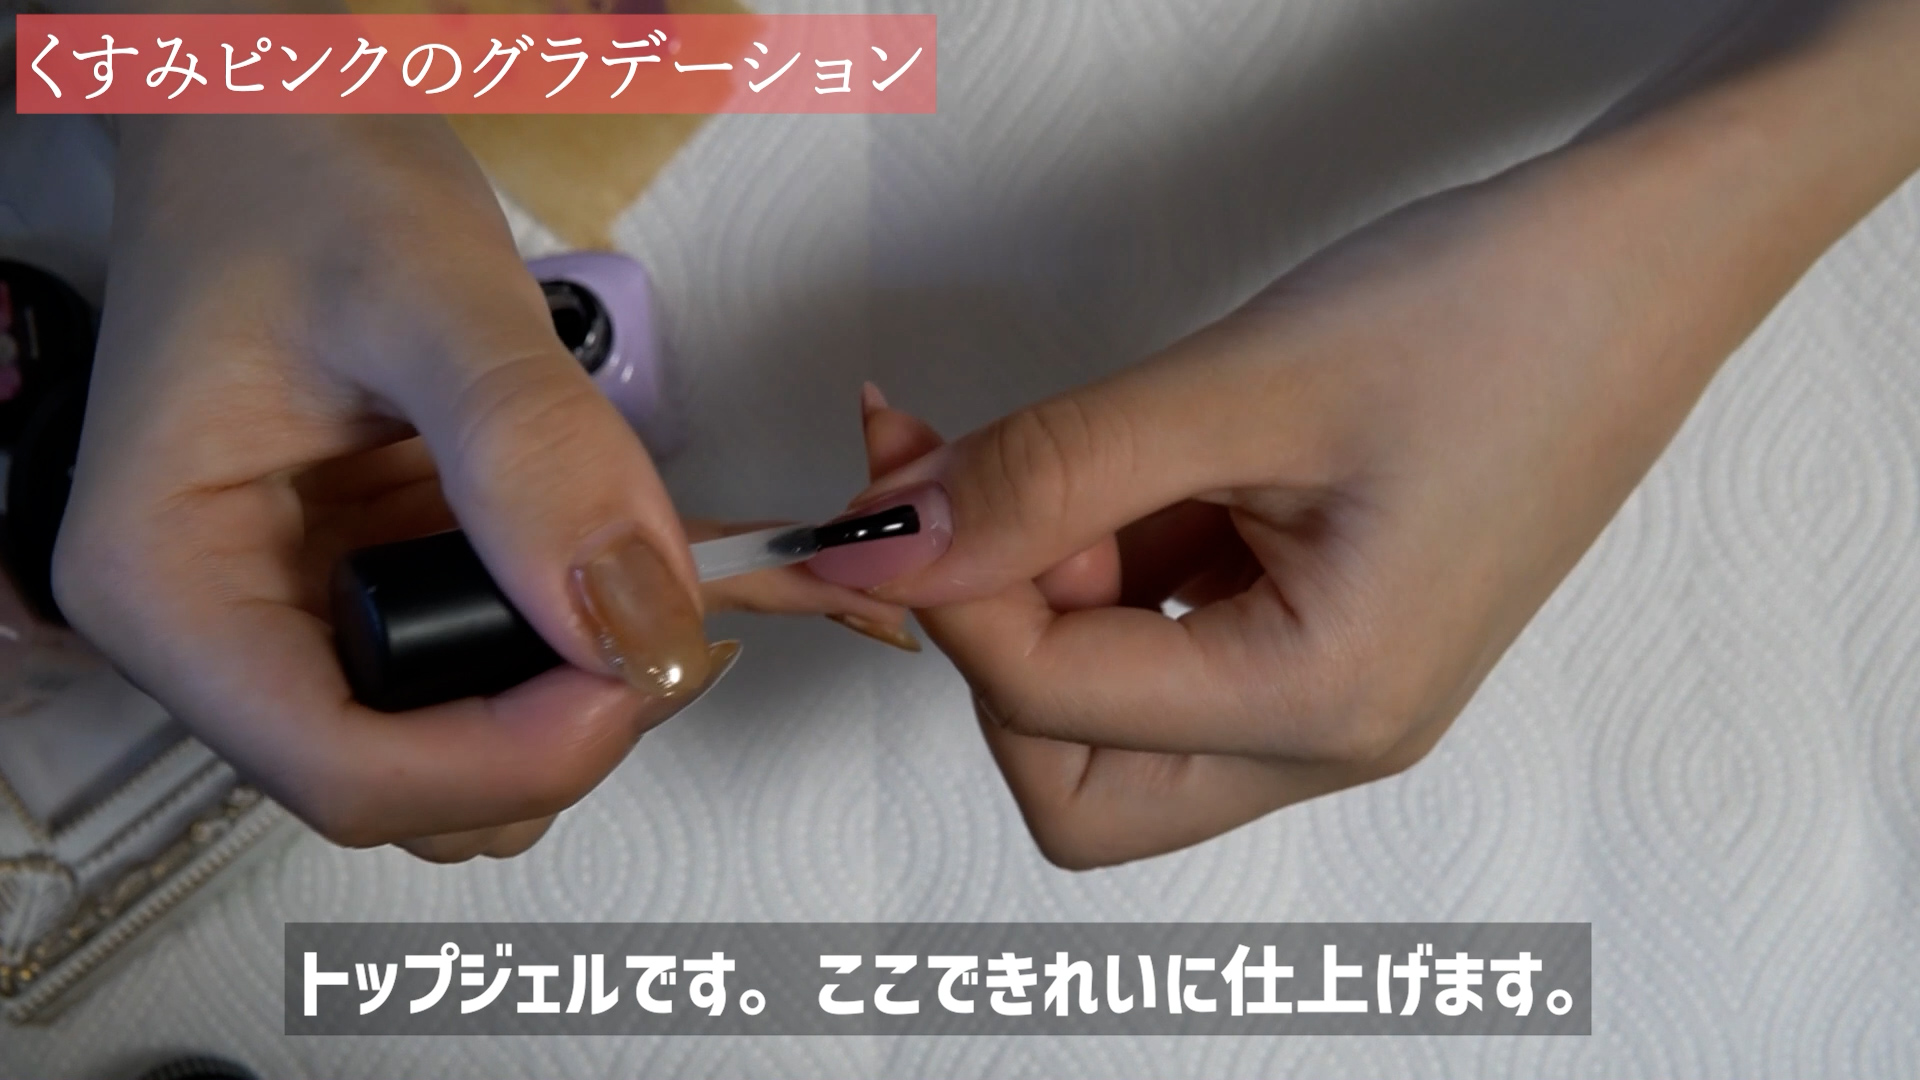
トップジェル
Ami最後にトップジェルの工程です。
 Ami
Ami今回くすみピンクなのでキラっとしたグラデーションではなく、自爪風のグラデーションです。
 Ami
Amiトップジェルを各指の爪に塗り、仕上げていきます。
 Ami
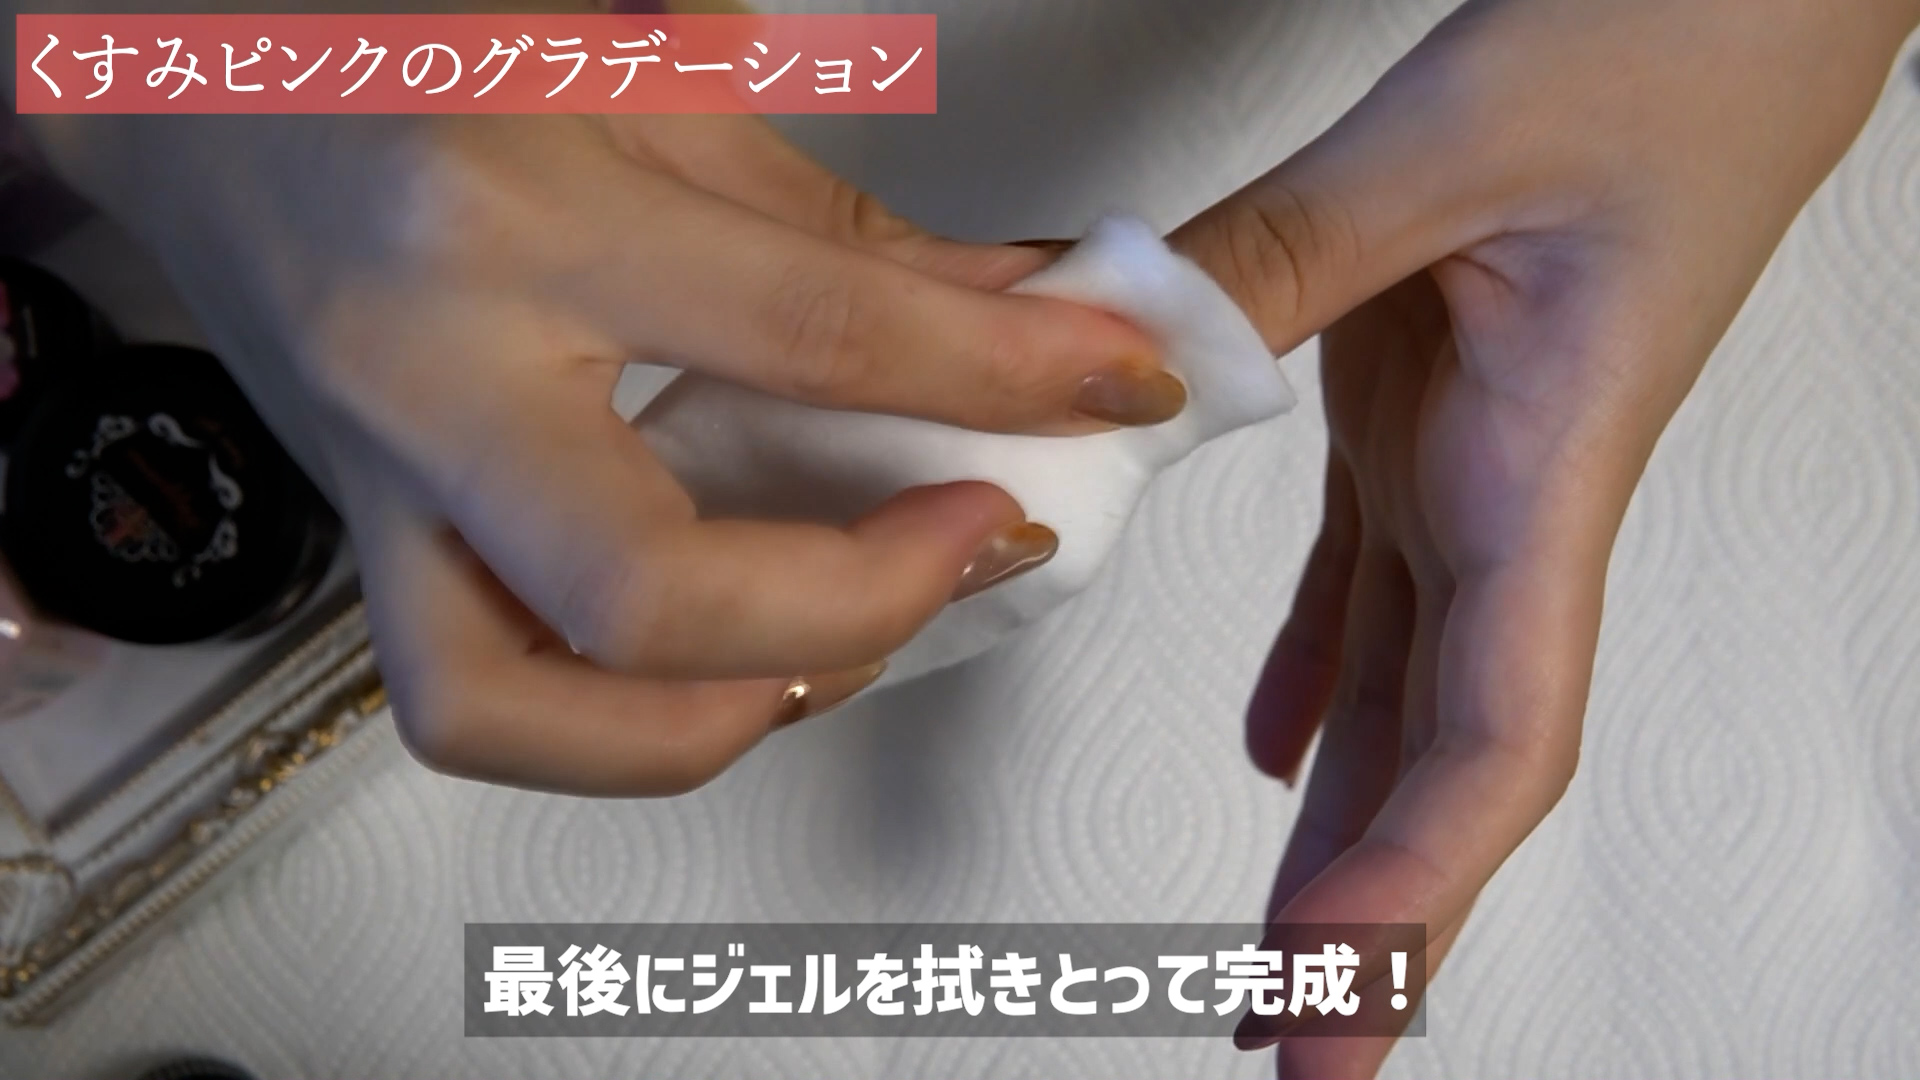
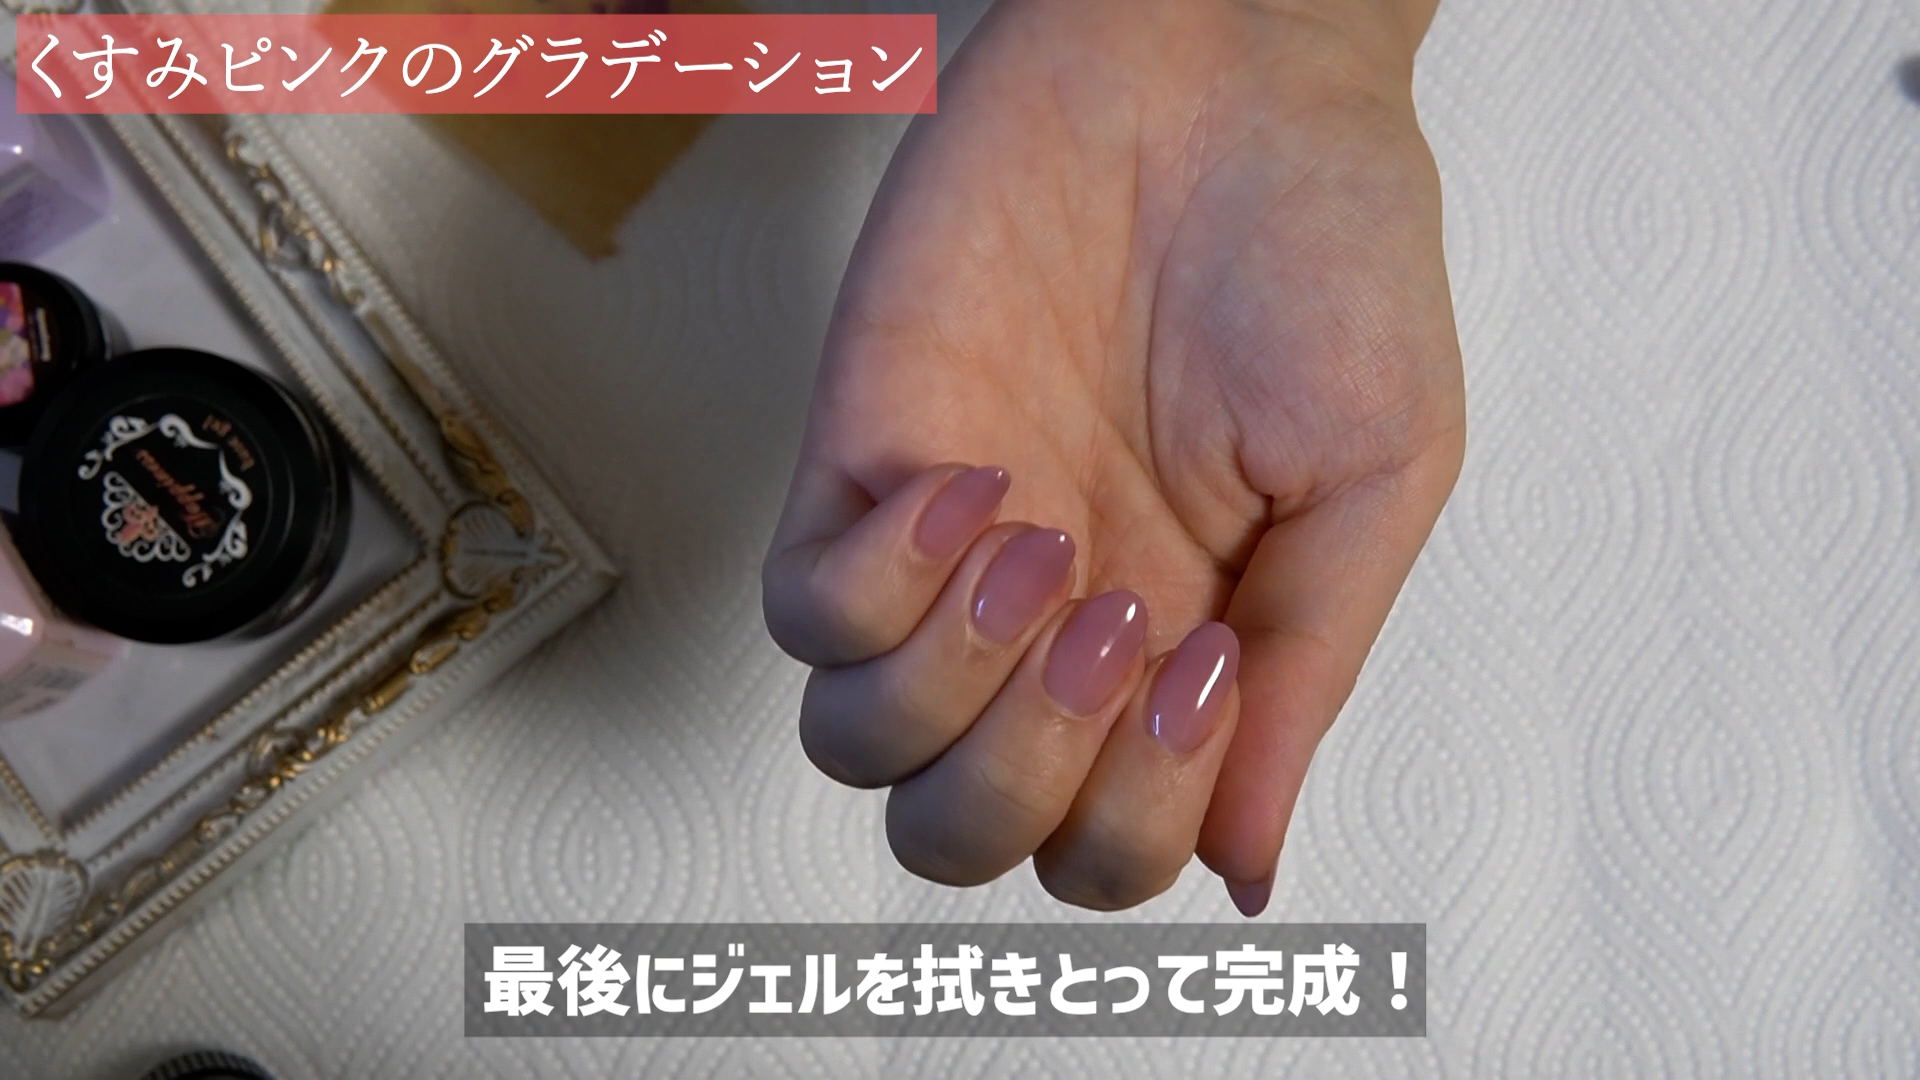
Ami最後にトップジェルを塗り終えたら、硬化させます。その後にワイプ・コットン等で未硬化ジェルを拭き取って完成です!
 Ami
Ami出来上がりイメージはこんな感じです!派手過ぎないくすみのあるグラデーションです!
ジェルネイル実践記 編集部解説ありがとうございました!カラージェルも1色しか使わないので、グラデーションのコツさえ掴めば、誰でも簡単にできそうですね!
グラデーションに挑戦しよう
ジェルネイル実践記 編集部改めて今回は実践から撮影、解説までありがとうございました!とても有意義な解説でした!
Amiグラデーションは数あるデザインのなかでも基本でありながら、人気のデザインです。多くのネイルデザインでも採用されています。今後、セルフネイルに挑戦されるならぜひ押さえておきたい作成方法ですよ!
ジェルネイル実践記 編集部グラデーションのデザインはたくさんありますよね!道具は比較的簡単に揃えられそうなので、手順を覚えれば簡単にできそうですね!ぜひ記事を見ている方は試してみてください~!それでは!