 ジェルネイル実践記 編集部
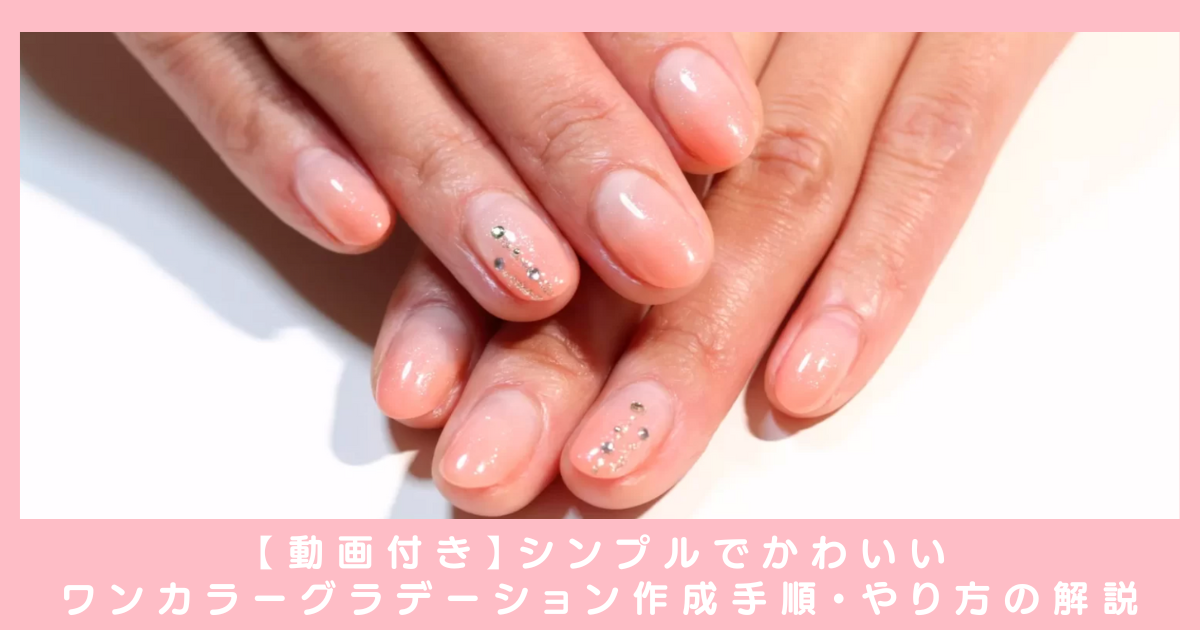
グラデーションはジェルネイルのなかでも人気のデザインです。濃いめのグラデーションから自爪に近い色合いまでさまざまなデザインがあります。
 Ami
Amiグラデーションにもいくつか種類がありますが、簡単なのはワンカラーグラデーションです。カラージェルを1色しか使わないので、道具も集めやすいです。
今回は初心者の方でも簡単にできるワンカラーグラデーションの作成方法・手順について解説します。
コンテンツリード・編集

ジェルネイル実践記編集部
ジェルネイル実践記の編集部です。編集部では、主にネイリスト様とやり取りをして記事の編集や商品選定を行っています。おかげさまでジェルネイル実践記は4年目を迎え、少しずつ成長しています!これからもどうぞよろしくお願いいたします。
コンテンツの監修含む手順・ポイント・画像提供等

ami
【JNECネイリスト検定1級】と【JNAジェルネイル検定上級】保持。ネイリスト資格取得後、現場では6年勤務。新店舗の立ち上げや指導等も経験。現在は専業主婦で友人などにネイルを施す日々を過ごす。
ワンカラーグラデーションとは
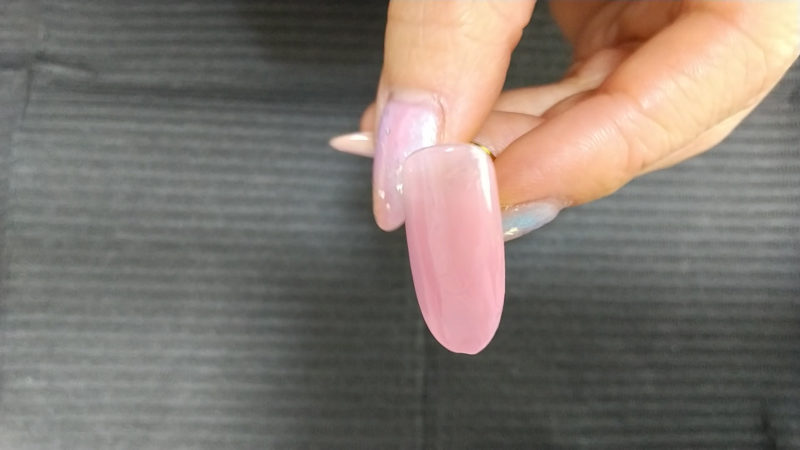
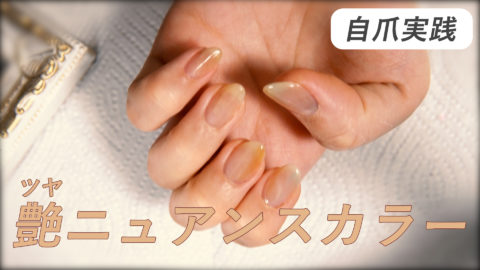
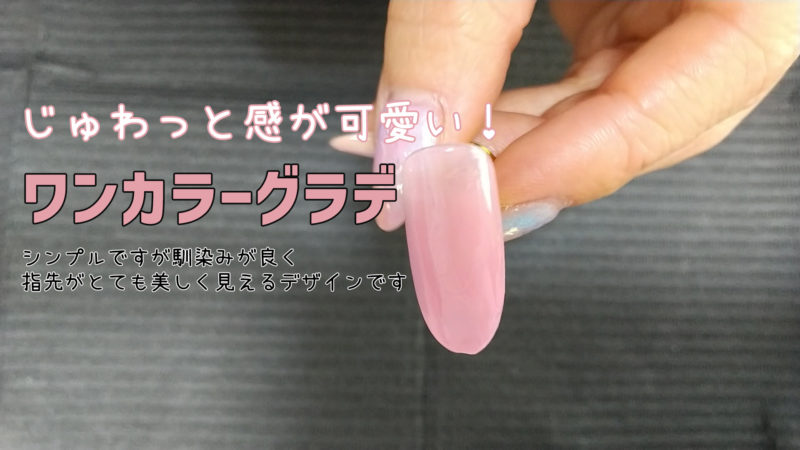
ワンカラーグラデーションとは、1度塗りを根元から薄くワンカラーにして、2度塗りを深めのグラデーションにするネイルデザインです。根元から色が入っているのに、しっかりと先端が濃くなることで、「じゅわっと感」が強調されます。
ジェルネイル実践記 編集部ワンカラーグラデーションはカラーによってはオフィス用からパーティ用まで幅広く利用できるネイルデザインですよね。特に自爪風の色合いだと、さまざまなシーンで使えそうです!
Amiワンカラーグラデーションは、根元がクリア仕上げの一般的なグラデーションよりも、カラーの発色が良く見えます。根元から先端まで自然に馴染む塗り方なので、初心者の方でも挑戦しやすく、きれいに仕上がります。
ジェルネイル実践記 編集部どんなカラーでも施せるデザインで、指先がきれいに上品に見えるのが、ワンカラーグラデーションの魅力ですね!
Amiクリア感の強いカラーを選ぶと、透明感と「ぷるっと」感がプラスされて、トレンド感あふれる雰囲気のネイルが出来上がりますよ!
ワンカラーグラデーションのデザイン・種類
ワンカラーグラデーションは、季節によってカラーを変えるのがおすすめです。春夏秋冬に合わせたデザインを見ていきましょう!
春デザイン
 Ami
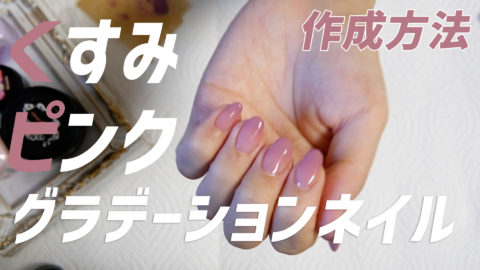
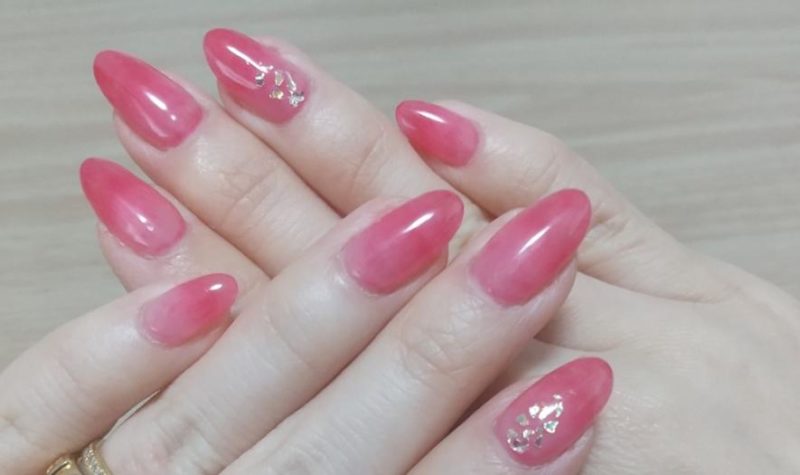
Ami春デザインは、春らしいピンク系やオレンジ系などの明るいパステルカラーがぴったりです。お花やオーロララメ、ホロとの相性が良く、華やかに仕上げると春らしさが楽しめます。
カラージェル商品
| 商品画像 | (楽天商品ページ) |
|---|---|
| 商品名 | irogel 特別カラー ミルキータイプ |
| 価格 | 242円(税込み) |
| 内容量 | 約3g入り |
| その他 | 全24色から選べます。 |
夏デザイン
 Ami
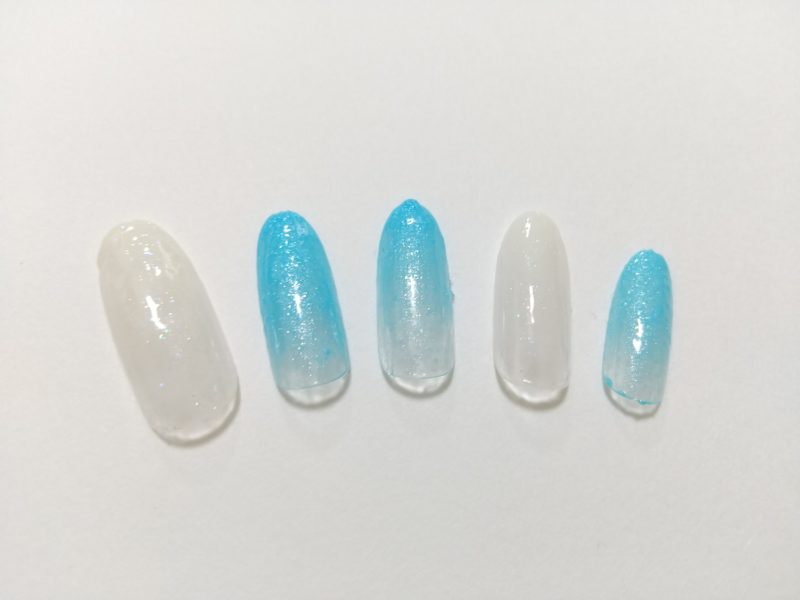
Ami夏デザインは、涼しげで爽やかなカラーがおすすめです。海っぽいブルー系やイエローなどの明るいビタミンカラーで夏らしくなります。シルバーや大粒のラメ、シェルなどを取り入れると、煌びやかな夏デザインが楽しめます。
カラージェル商品
| 商品画像 | (Amazon商品ページ) |
|---|---|
| 商品名 | ル―ナ―ズ ミスティーカラージェル |
| 価格 | 1,425円(税込み) |
| 内容量 | 4g |
| その他 | 原産国:日本 |
秋デザイン
 Ami
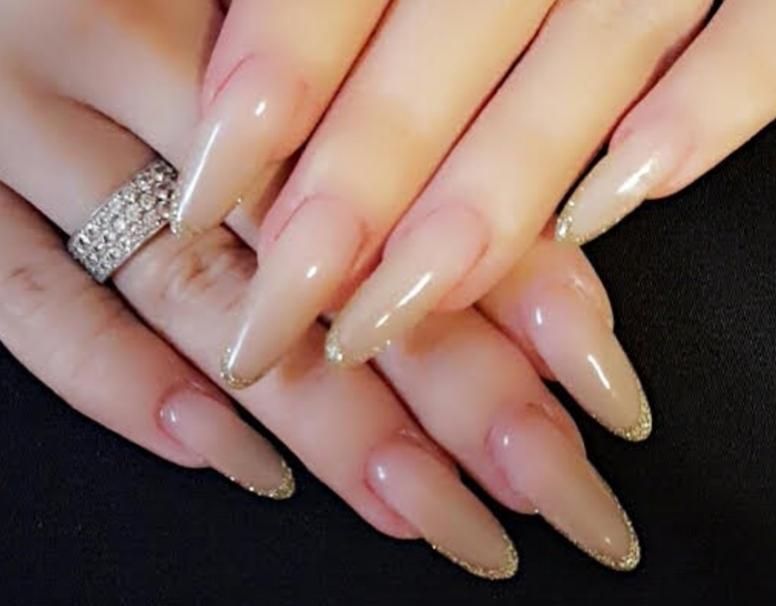
Ami秋デザインは、落ち着いたベージュブラウンカラーやカーキ、深みのあるボルドー、ネイビーカラーがおすすめです。アニマルやツイード柄とも相性が良いです。
カラージェル商品
| 商品画像 | (楽天商品ページ) |
|---|---|
| 商品名 | ベトロナンバージューク |
| 価格 | 1,320円(税込み) |
| 内容量 | 4ml |
| その他 | ピンクベージュ系 |
冬デザイン
 Ami
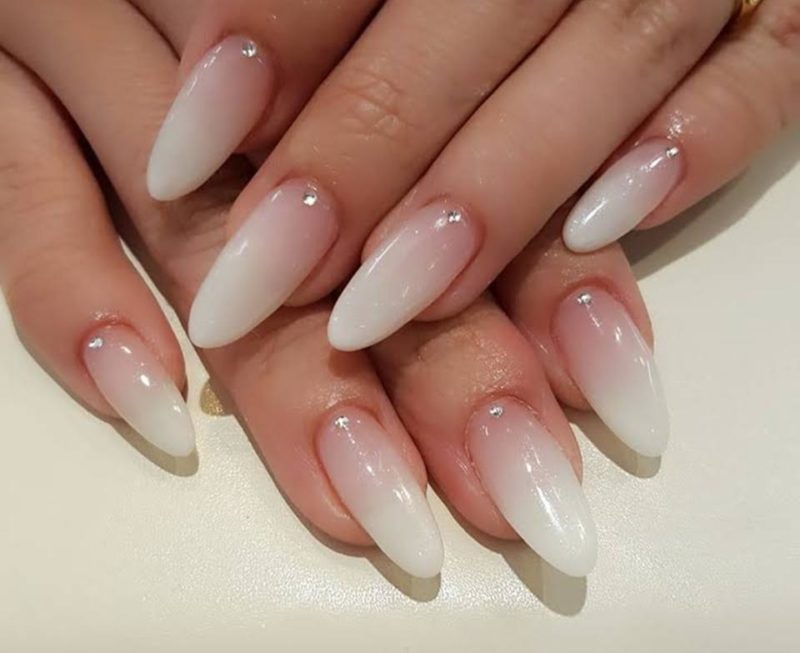
Ami冬デザインは、ホワイトやラメが人気です。ホワイトのワンカラーグラデーションは季節問わず活躍しますが、特に冬は雪っぽく見えておすすめ。結晶パーツやラメと組み合わせて、キラキラと光るイルミネーションのように仕上げるとかわいいです。
カラージェル商品
| 商品画像 | (楽天商品ページ) |
|---|---|
| 商品名 | ベトロナンバージューク |
| 価格 | 1,320円(税込み) |
| 内容量 | 4ml |
| その他 | マットなホワイト |
ワンカラーグラデーションの作成方法
ここからは動画と画像を用いて作成方法を解説します。
▼Youtube動画はこちらからご覧いただけます。
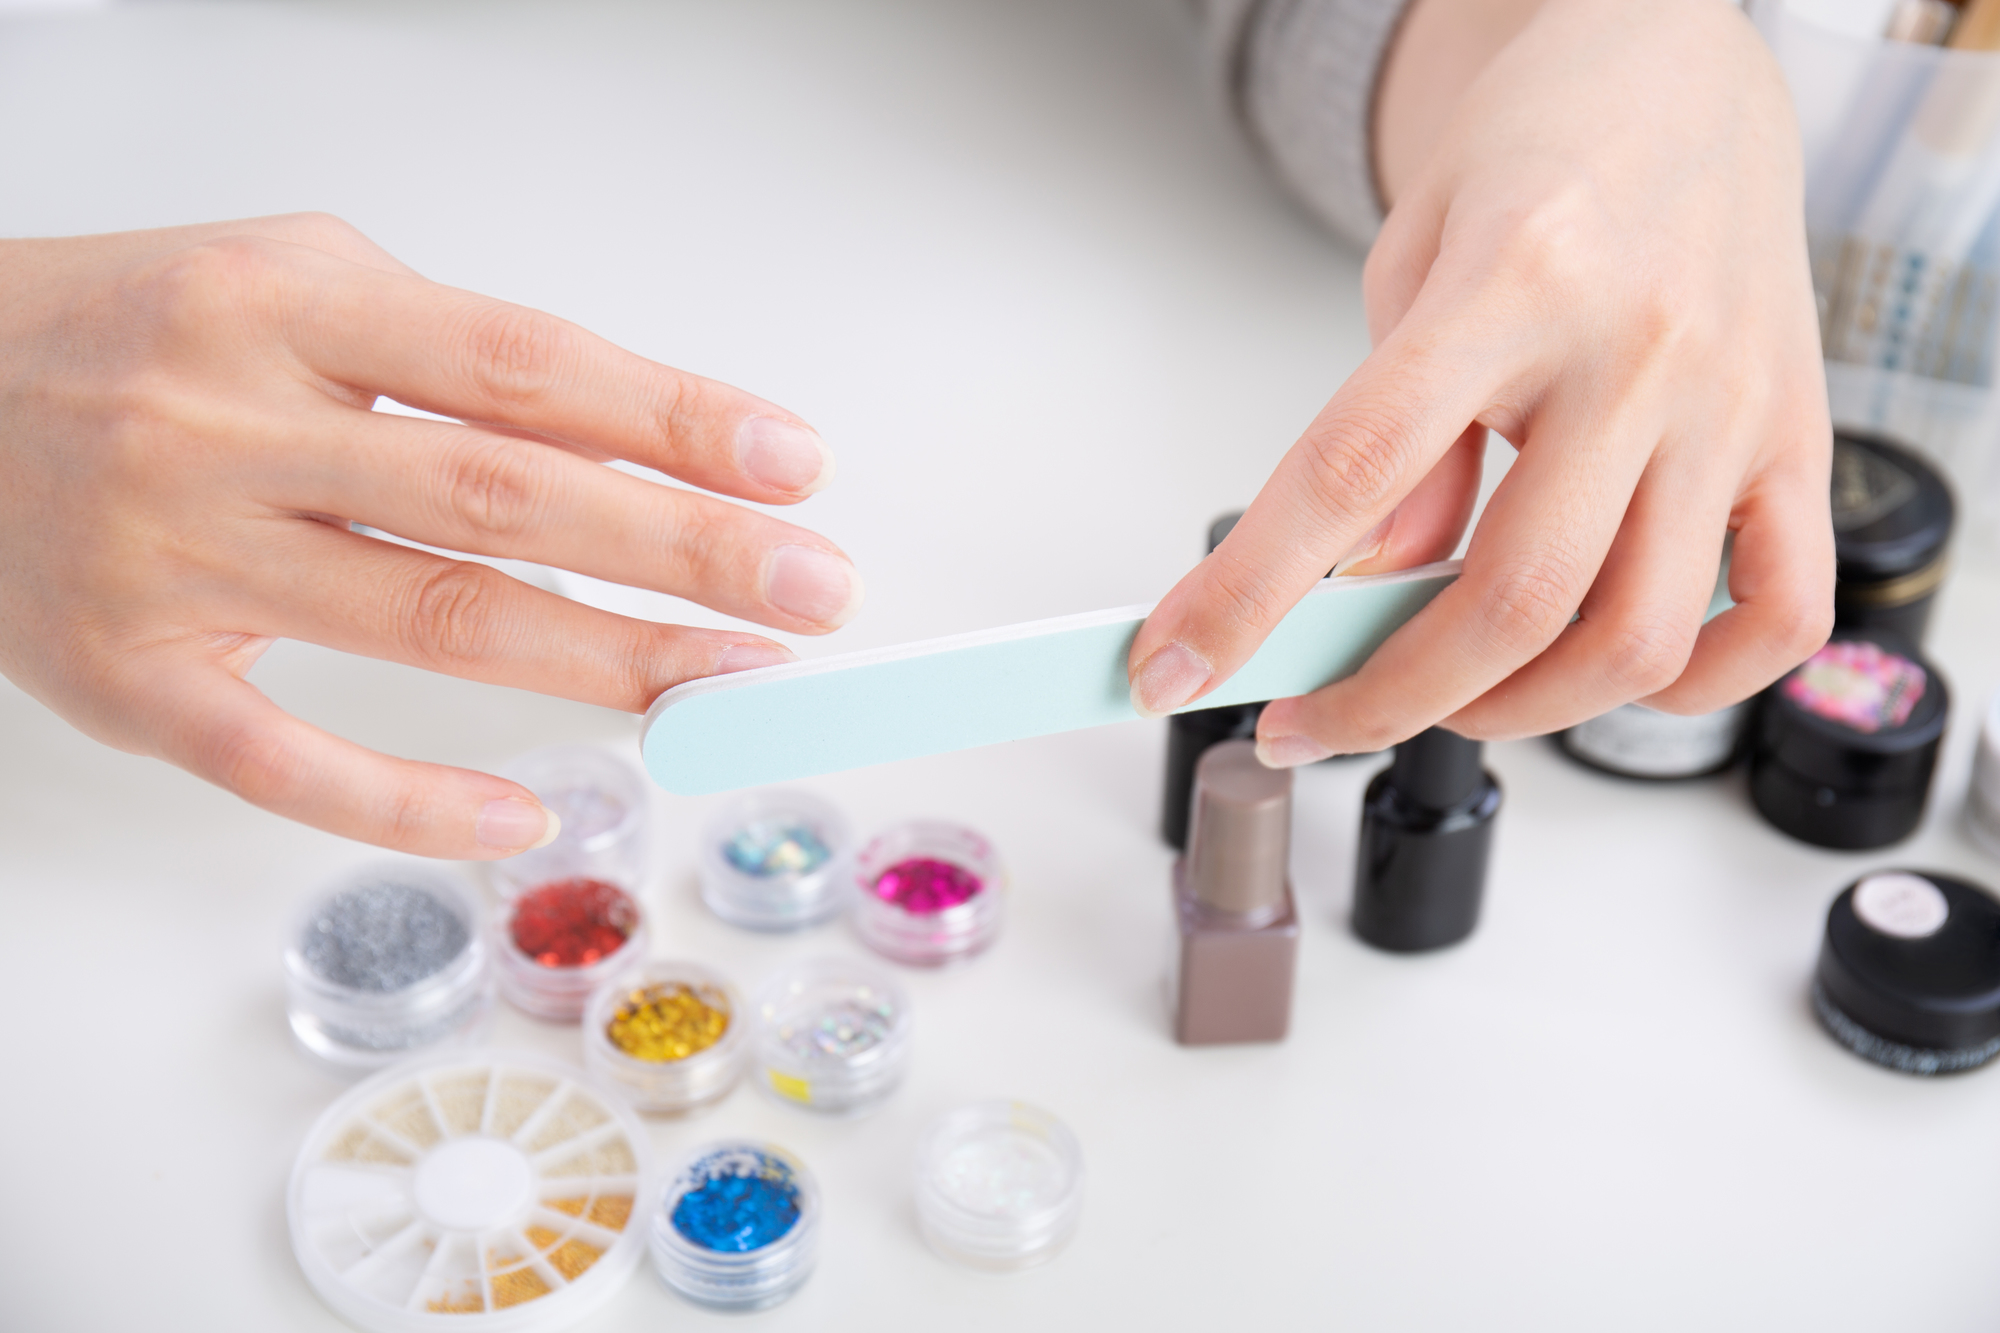
準備する道具
Ami今回作成した際に使用した道具は以下のとおりです。普段ジェルネイルをされる際に使用するものばかりなので、集めやすいと思います。
ジェル
- ベースジェル
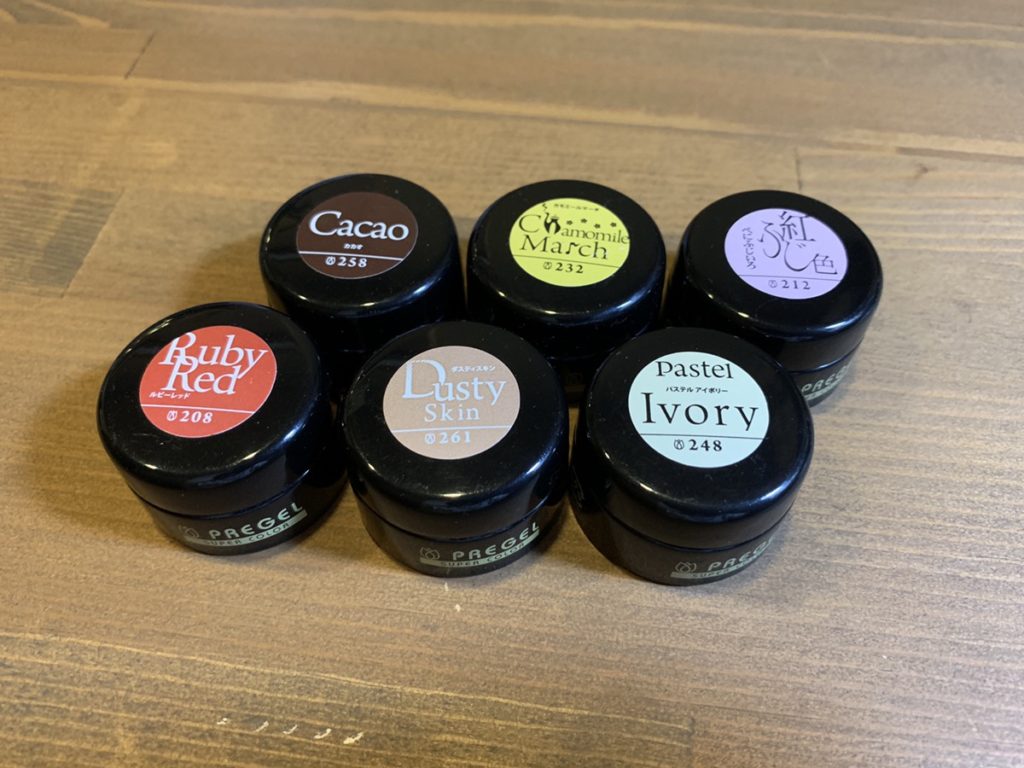
- カラージェル
- トップジェル
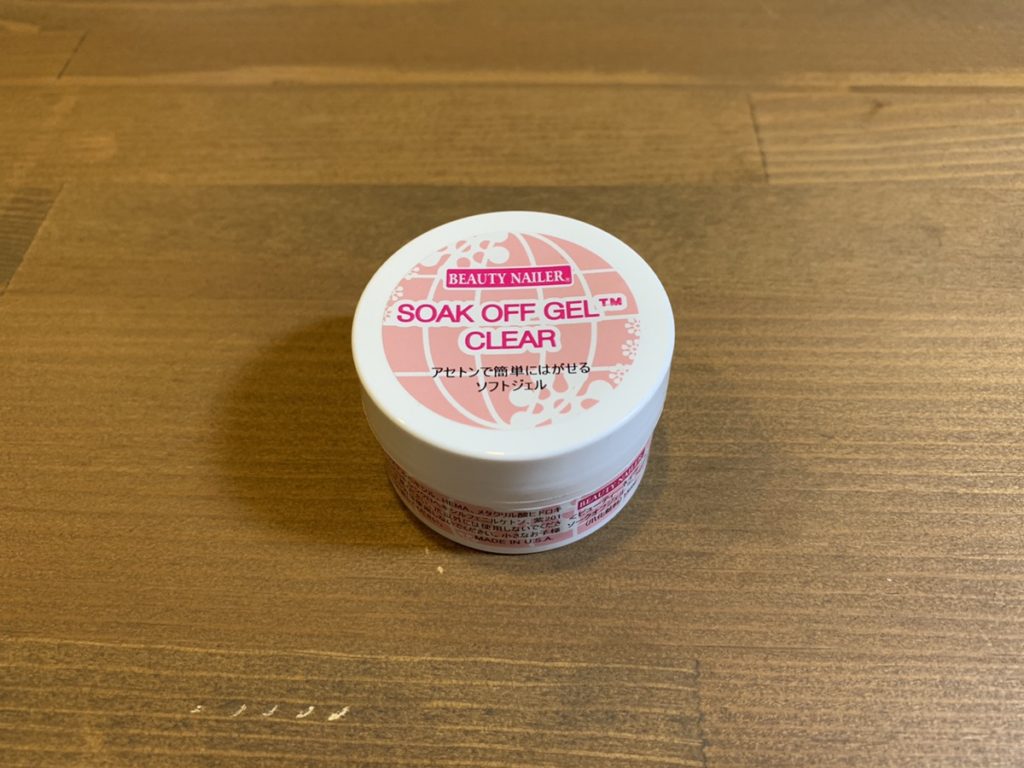
- クリアジェル
道具系
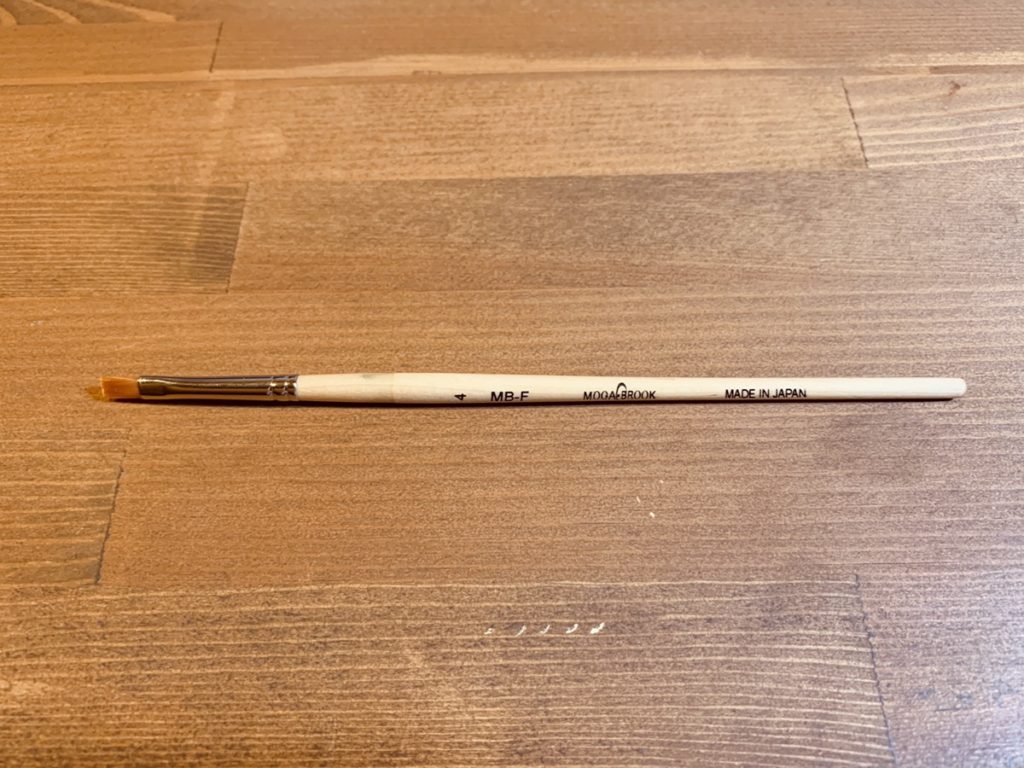
- ブラシ
- ネイルチップ
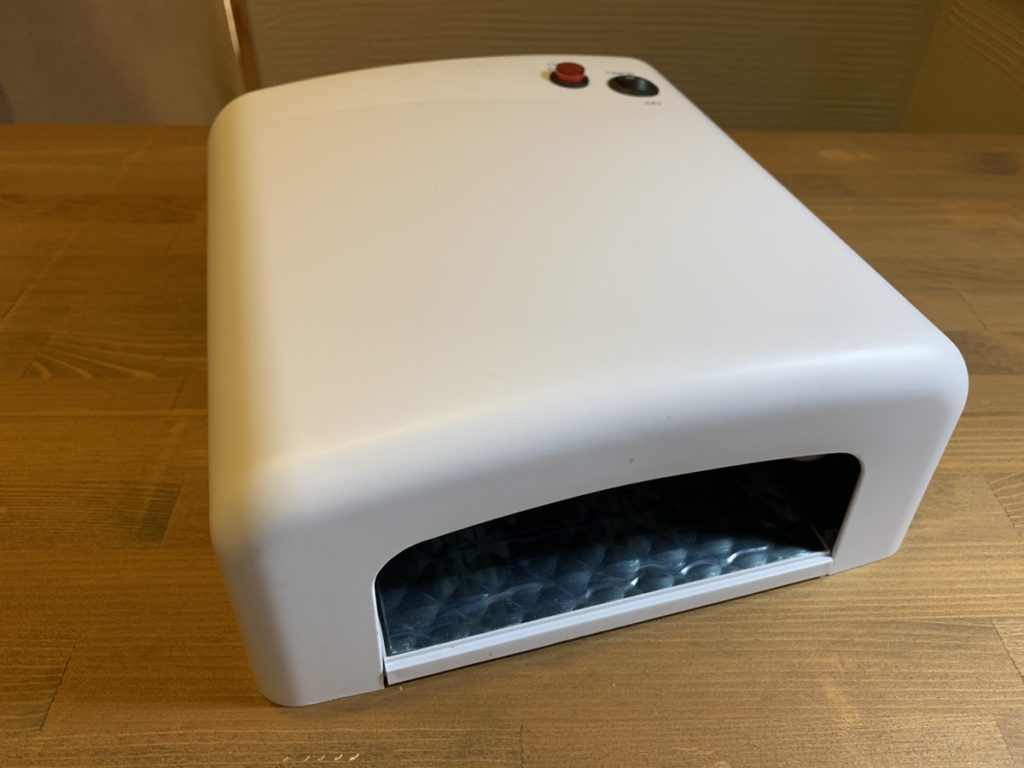
- 硬化ライト
- アルミホイル・パレットなど
- その他お好みでパーツなど
 Ami
Ami道具はご自身で所有しているものでOKです!では早速作成手順に移りましょう!作り方は大きく分けて4つの工程で進みます。
- プレパレーション
- ベースジェル
- カラージェル
- トップジェル
ジェルネイルスターターキット/ジェルネイルキットの見本商品


プレパレーション
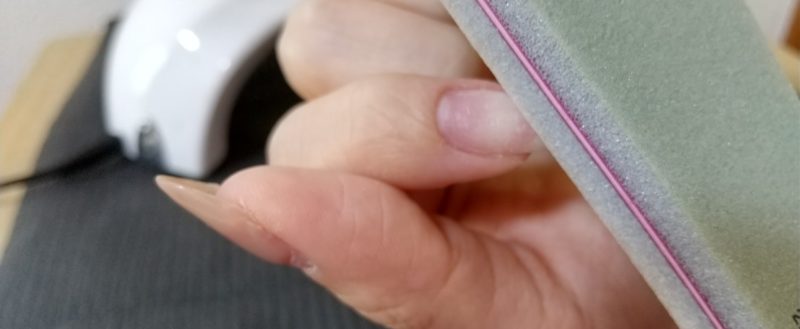
今回はネイルチップで作成します。そのため、プレパレーションの解説は省きます。自爪にされる方はプレパレーションからベースジェルの工程が発生しますので注意しましょう。
ジェルネイル実践記 編集部プレパレーションの解説はこちらのページで行っています。同じくYoutube動画もありますのでぜひ参考にしてみてください。
ベースジェル
Amiまずはネイルチップにベースジェルを塗布しましょう。ベースジェルの時点で表面を均一にしておくと、このあとに発生するグラデーションの工程がきれいに仕上がります。
ベースジェル・ベースコートの見本商品


カラージェル
 Ami
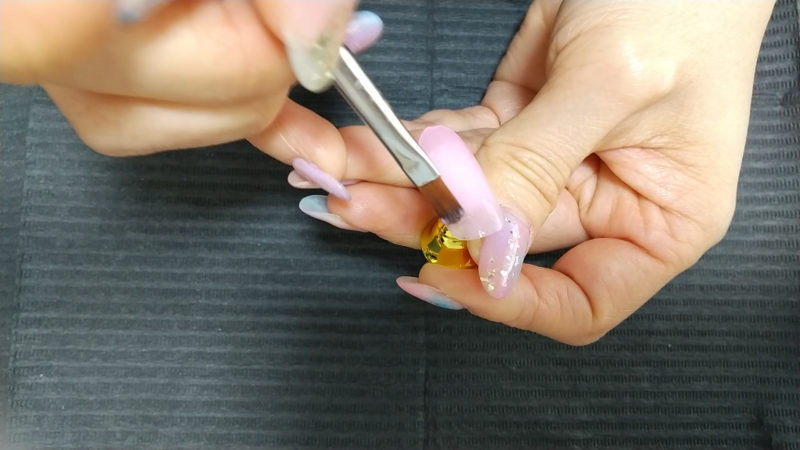
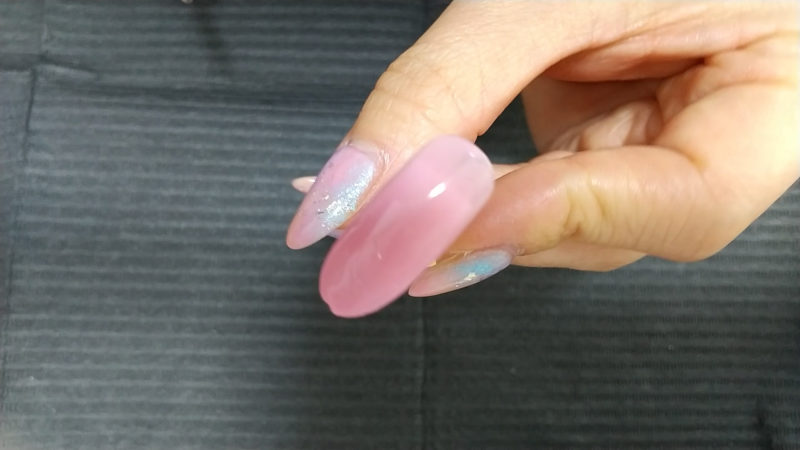
Amiカラージェルはグラデーションを描くために4回ほど重ねて塗ります。1回目のカラーは根元から薄めにワンカラー(全塗り)して硬化します。
今回使用しているカラージェル商品
| 商品画像 | (楽天商品ページ) |
|---|---|
| 商品名 | irogel 特別カラー ミルキータイプ |
| 価格 | 242円(税込み) |
| 内容量 | 約3g入り |
| その他 | 全24色から選べます。 |
ジェルネイル実践記 編集部カラーはお好みでOKです!
 Ami
Amiネイルチップの色合いが均一に、ムラにならないように塗っていきましょう。終わったら硬化させます。
1度目のワンカラーは薄く塗ると、よりグラデーションが映えます。難しいカラー(濃いカラー・ぼかしにくいカラー)や、固いカラージェルの場合はクリアジェルを混ぜましょう。
 Ami
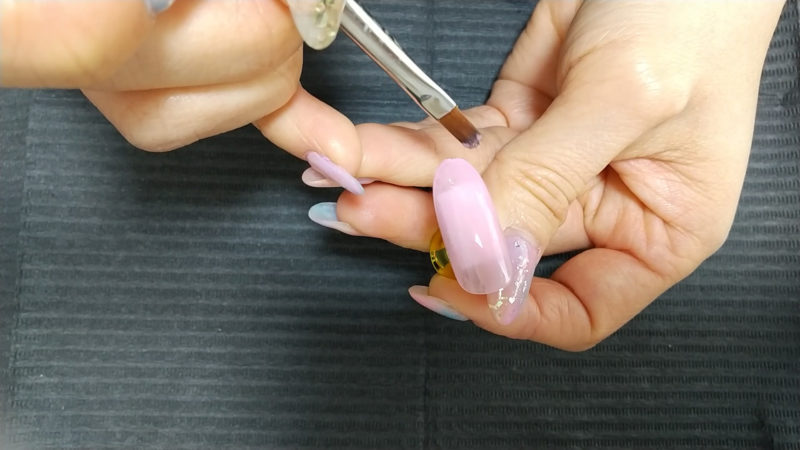
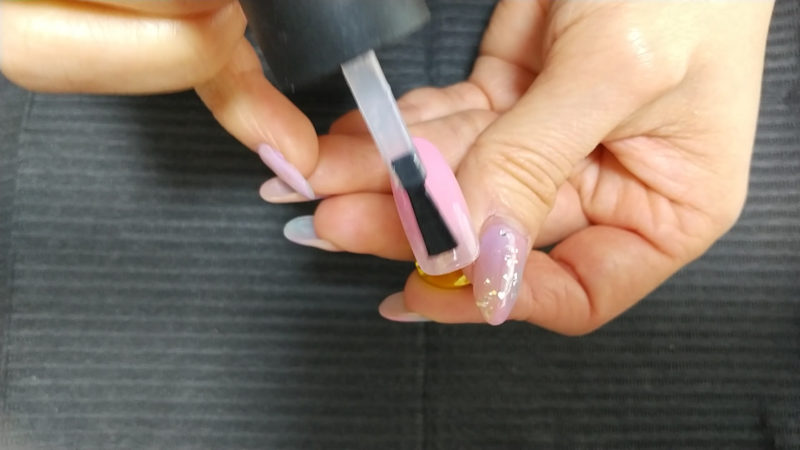
Ami続いて、2回目のカラージェルです。爪の2/3ぐらいの深さまで塗り、境目をぼかしていきます。ブラシの先端はこまめにキッチンペーパー・コットン・ワイプ等で拭き取り、きれいな状態でジェルを触ります。
※このあたりは動画が分かりやすいです。1:18~
コットン・ワイプの見本商品


境目を優しく触りぼかした後、先端まで同じ筆圧でサッと引いてきます。硬化するまでやり直せるので、納得がいかなければ拭き取って塗り直しましょう。
Amiまずはネイルチップにベースジェルを塗布しましょう。ベースジェルの時点で表面を均一にしておくと、このあとに発生するグラデーションの工程がきれいに仕上がります。
 Ami
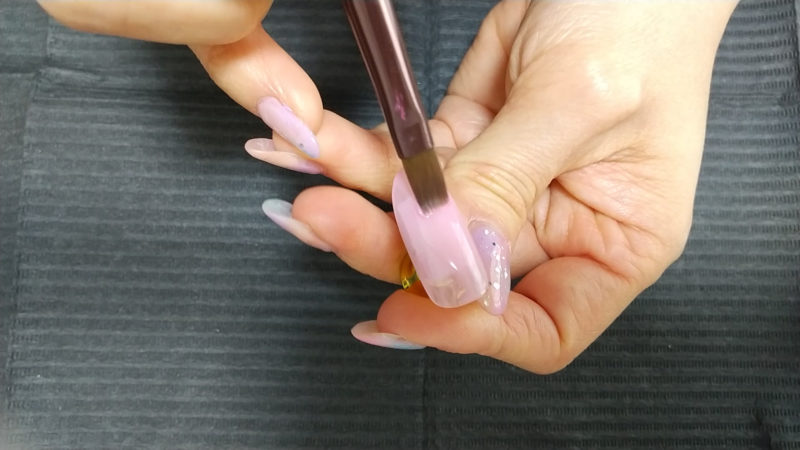
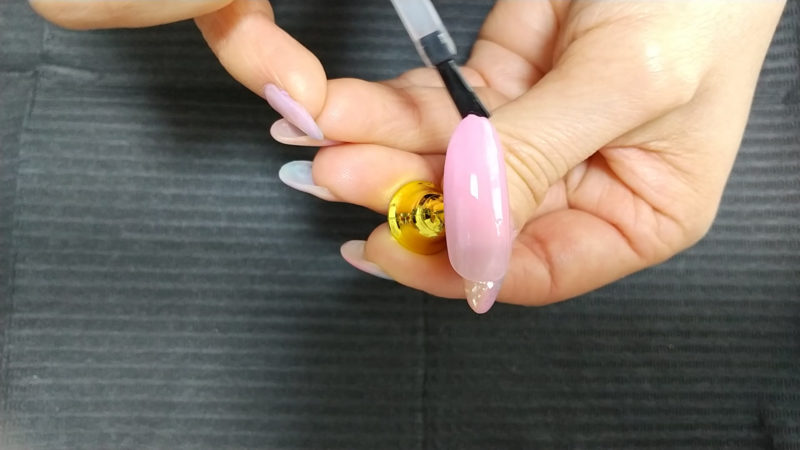
Amiさらに3回目のカラージェルを塗っていきます。薄いカラーの場合は、もう一度カラーを重ねるときれいに仕上がります。2回目のグラデーションよりも浅い1/3ぐらいの深さまで塗って、先ほどと同じようにぼかしてから硬化します。
※このあたりは動画の方が分かりやすいです!2:42~
グラデーションは深めから塗るのがポイントです。ワンカラーは根元からなのに、グラデーションを浅くしてしまうと、バランスが悪くなってしまいます。2/3の深さから塗った後に1/3の深さから塗るのを徹底すると、根元から先端まで綺麗に馴染んでくれます。
ネイルブラシセット見本商品


 Ami
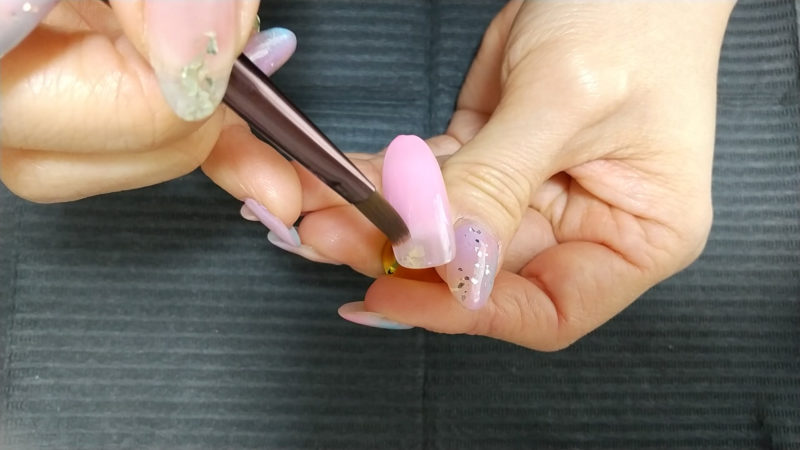
Ami4回目のカラージェルを塗っていきます。先ほどのカラーとクリアジェルと混ぜたジェルで薄く根元から全体塗りをして、ジュワッと感をアップさせます。
ワンカラーグラデーションはカラーがベースになっていますので、クリアベースのグラデーションよりも境目がぼかしやすく、ムラが目立ちにくいです。先端が濃ければ濃いほどグラデーションがきれいに見えるので、その点を意識しましょう。
クリアジェルの見本商品


 Ami
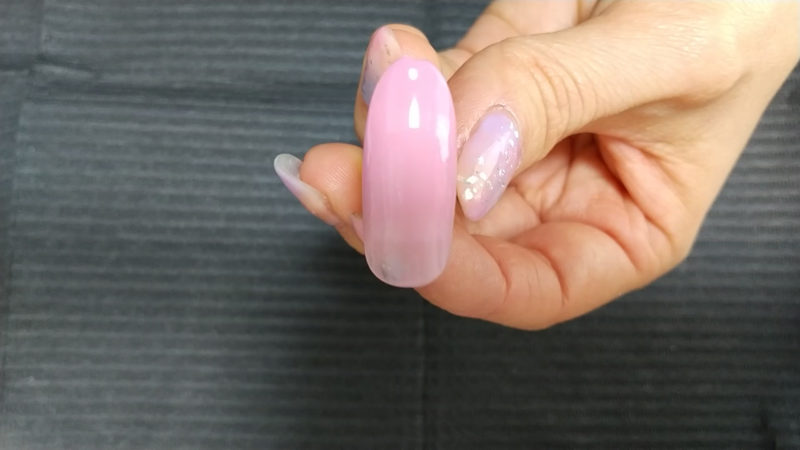
Amiこれでカラーは完成です!
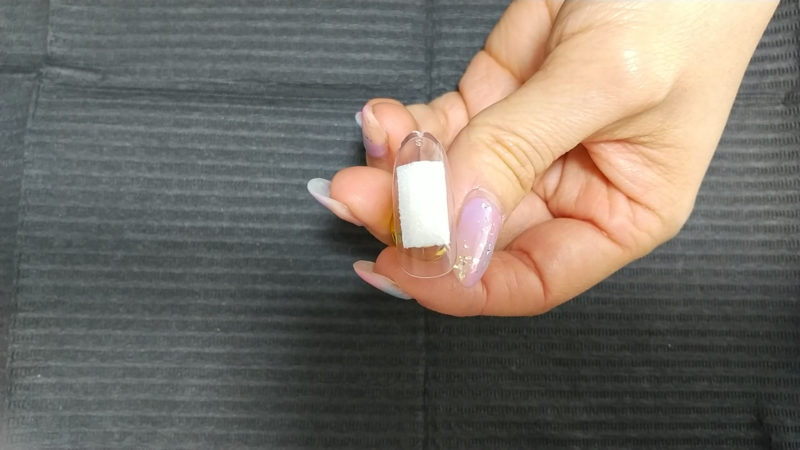
トップジェル
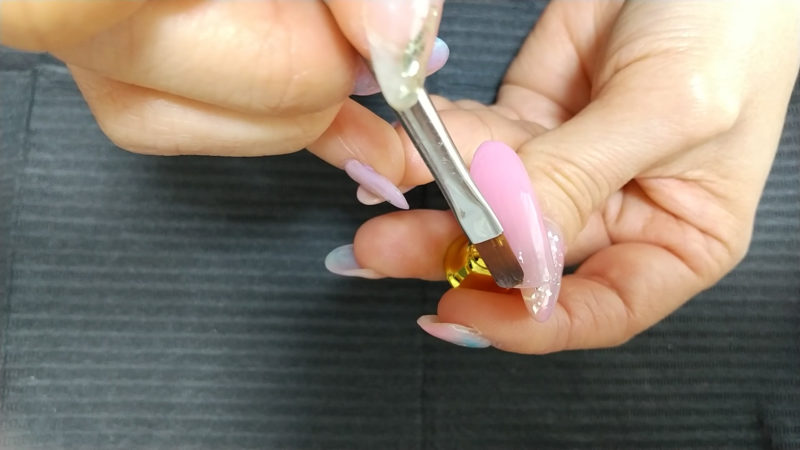
Ami最後にトップジェルでコーティングしていきます。
 Ami
Ami好みの厚さに調節して、凹凸がないように注意しながらコーティングして硬化させます。硬化後はエタノールを含ませたコットンで拭き取り完成です。ノンワイプタイプのトップジェルの場合、拭き取り作業は不要です。
コットン・ワイプの見本商品
 Ami
Amiこれで完成です!
じゅわっと馴染んでくれるワンカラーグラデーション
 ジェルネイル実践記 編集部
今回は撮影から実践まで対応いただきありがとうございました!おかげさまで作り方からポイントまで把握できました!
Ami一般的なグラデーションよりも色っぽくじゅわっと馴染んでくれるワンカラーグラデーションは、女性らしさ抜群のネイルデザインです。きれいで上品な手元を演出してくれるので、カラー選びによってはオフィスや学校などのかしこまったシーンでも活躍してくれます。
ジェルネイル実践記 編集部ぜひいろいろなカラーで、おしゃれなワンカラーグラデーションネイルを楽しんでください!