2021年10月3日記事を更新
 ジェルネイル実践記 編集部
ジェルネイルをしている方なら一度は聞いたことがある「マーブルネイル」。でも、そのマーブルネイルがイマイチ分かっていない方も多いはずです。
 Ami
Amiマーブルネイルは大人にも人気のデザインです。セルフでネイルをするならこの機会にしっかり押さえておきましょう!
ジェルネイル実践記 編集部今回は「次のネイルはどんなデザインにしよう?」「どんなデザインがあるかな?」と迷っている方のためにマーブルネイルの手順やコツポイントついてご紹介します。
Ami実際に私がマーブルネイルをしているところも簡単に解説しますので、参考にしてみてください。
コンテンツリード・編集

ジェルネイル実践記編集部
ジェルネイル実践記の編集部です。編集部では、主にネイリスト様とやり取りをして記事の編集や商品選定を行っています。おかげさまでジェルネイル実践記は4年目を迎え、少しずつ成長しています!これからもどうぞよろしくお願いいたします。
コンテンツの監修含む手順・ポイント・画像提供等

ami
【JNECネイリスト検定1級】と【JNAジェルネイル検定上級】保持。ネイリスト資格取得後、現場では6年勤務。新店舗の立ち上げや指導等も経験。現在は専業主婦で友人などにネイルを施す日々を過ごす。
【基本】マーブルネイルとは
 ジェルネイル実践記 編集部
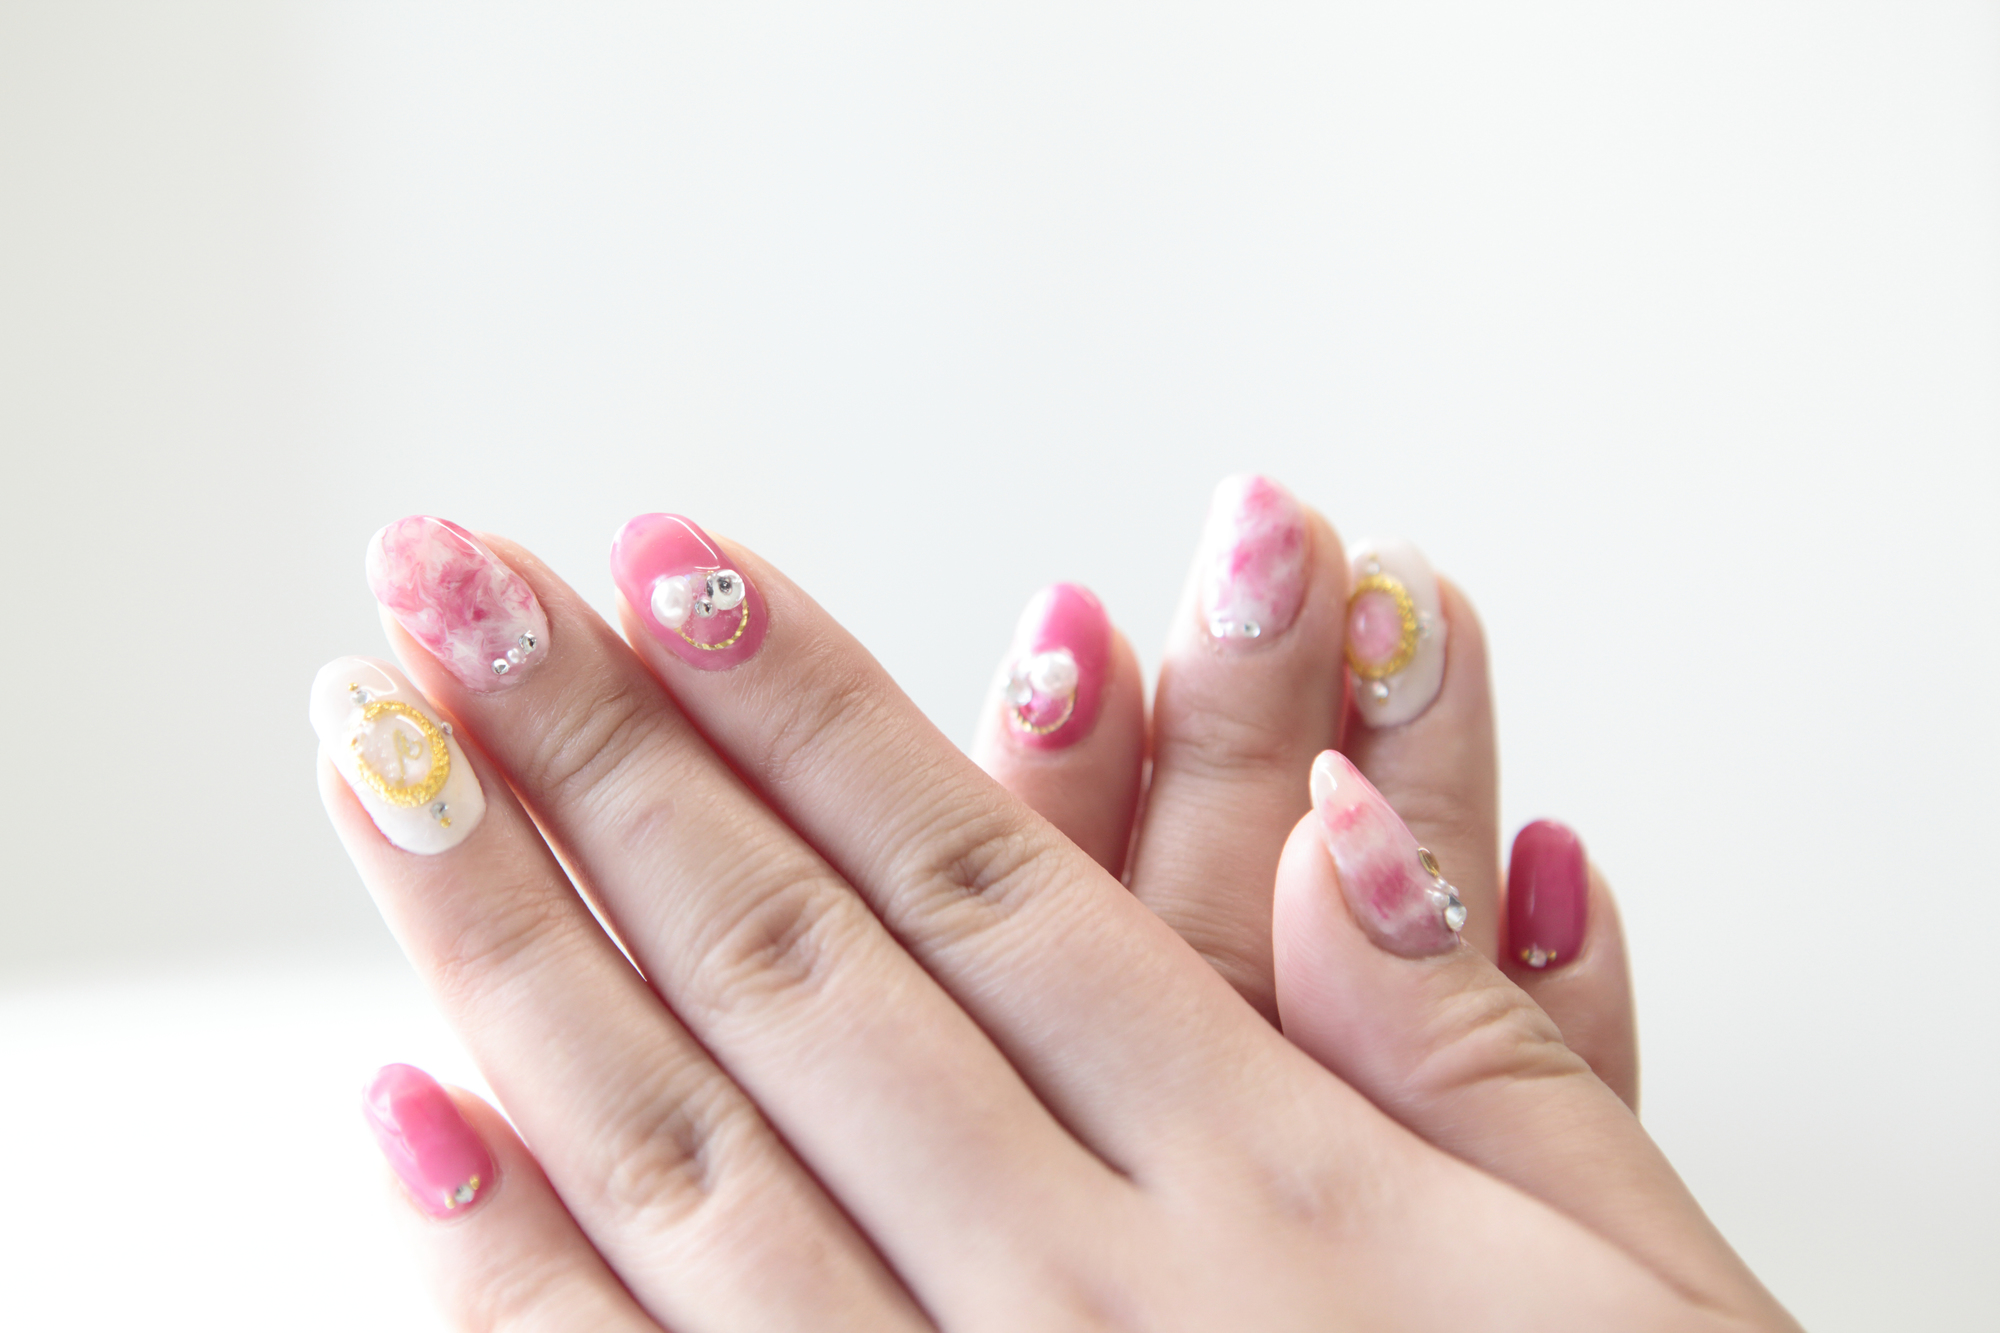
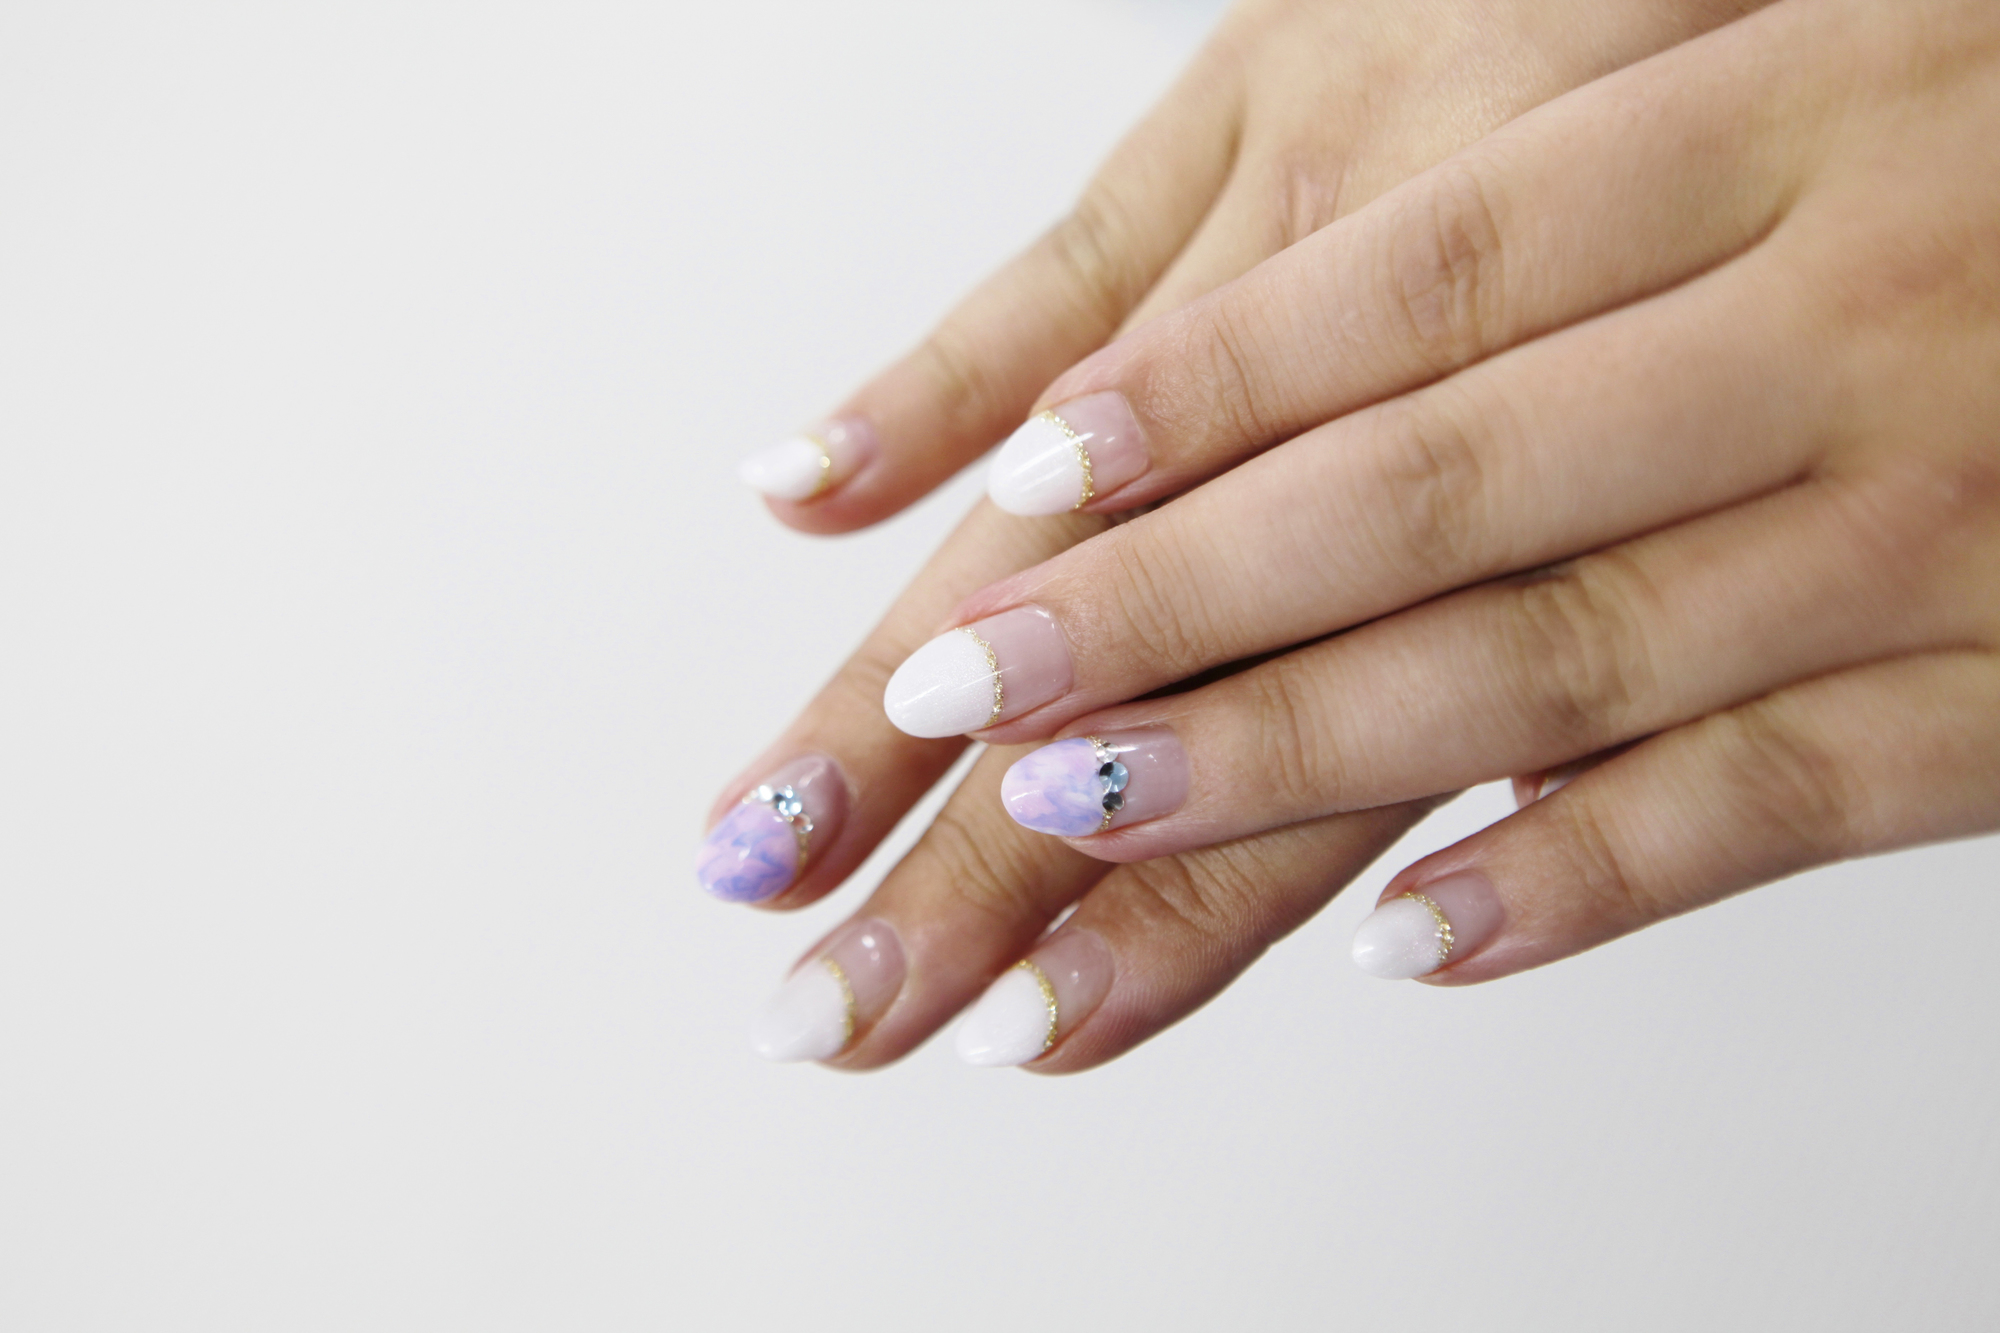
マーブルネイルとは、2種類以上のジェルを組み合わせ、マーブル柄(大理石模様)に仕上げるネイルデザインのことです。大人っぽい魅力もあり、幅広い年齢層の方に人気です。
Amiマーブルネイルは凝ったネイルデザインに見えるため、とても人気ですよね。同一色でシンプルにまとめてみたり、華やかな色を合わせて豪華にしてみたり、色の合わせ方によってアレンジの幅も無限大です。
ジェルネイル実践記 編集部「セルフでやるのは難しいんじゃないかな……」と思っている方も、セルフネイルをしたい方向けに詳しい手順を記載していますので、ぜひ参考にしてみてください。
【特徴】マーブルネイルは色選びが大切
 Ami
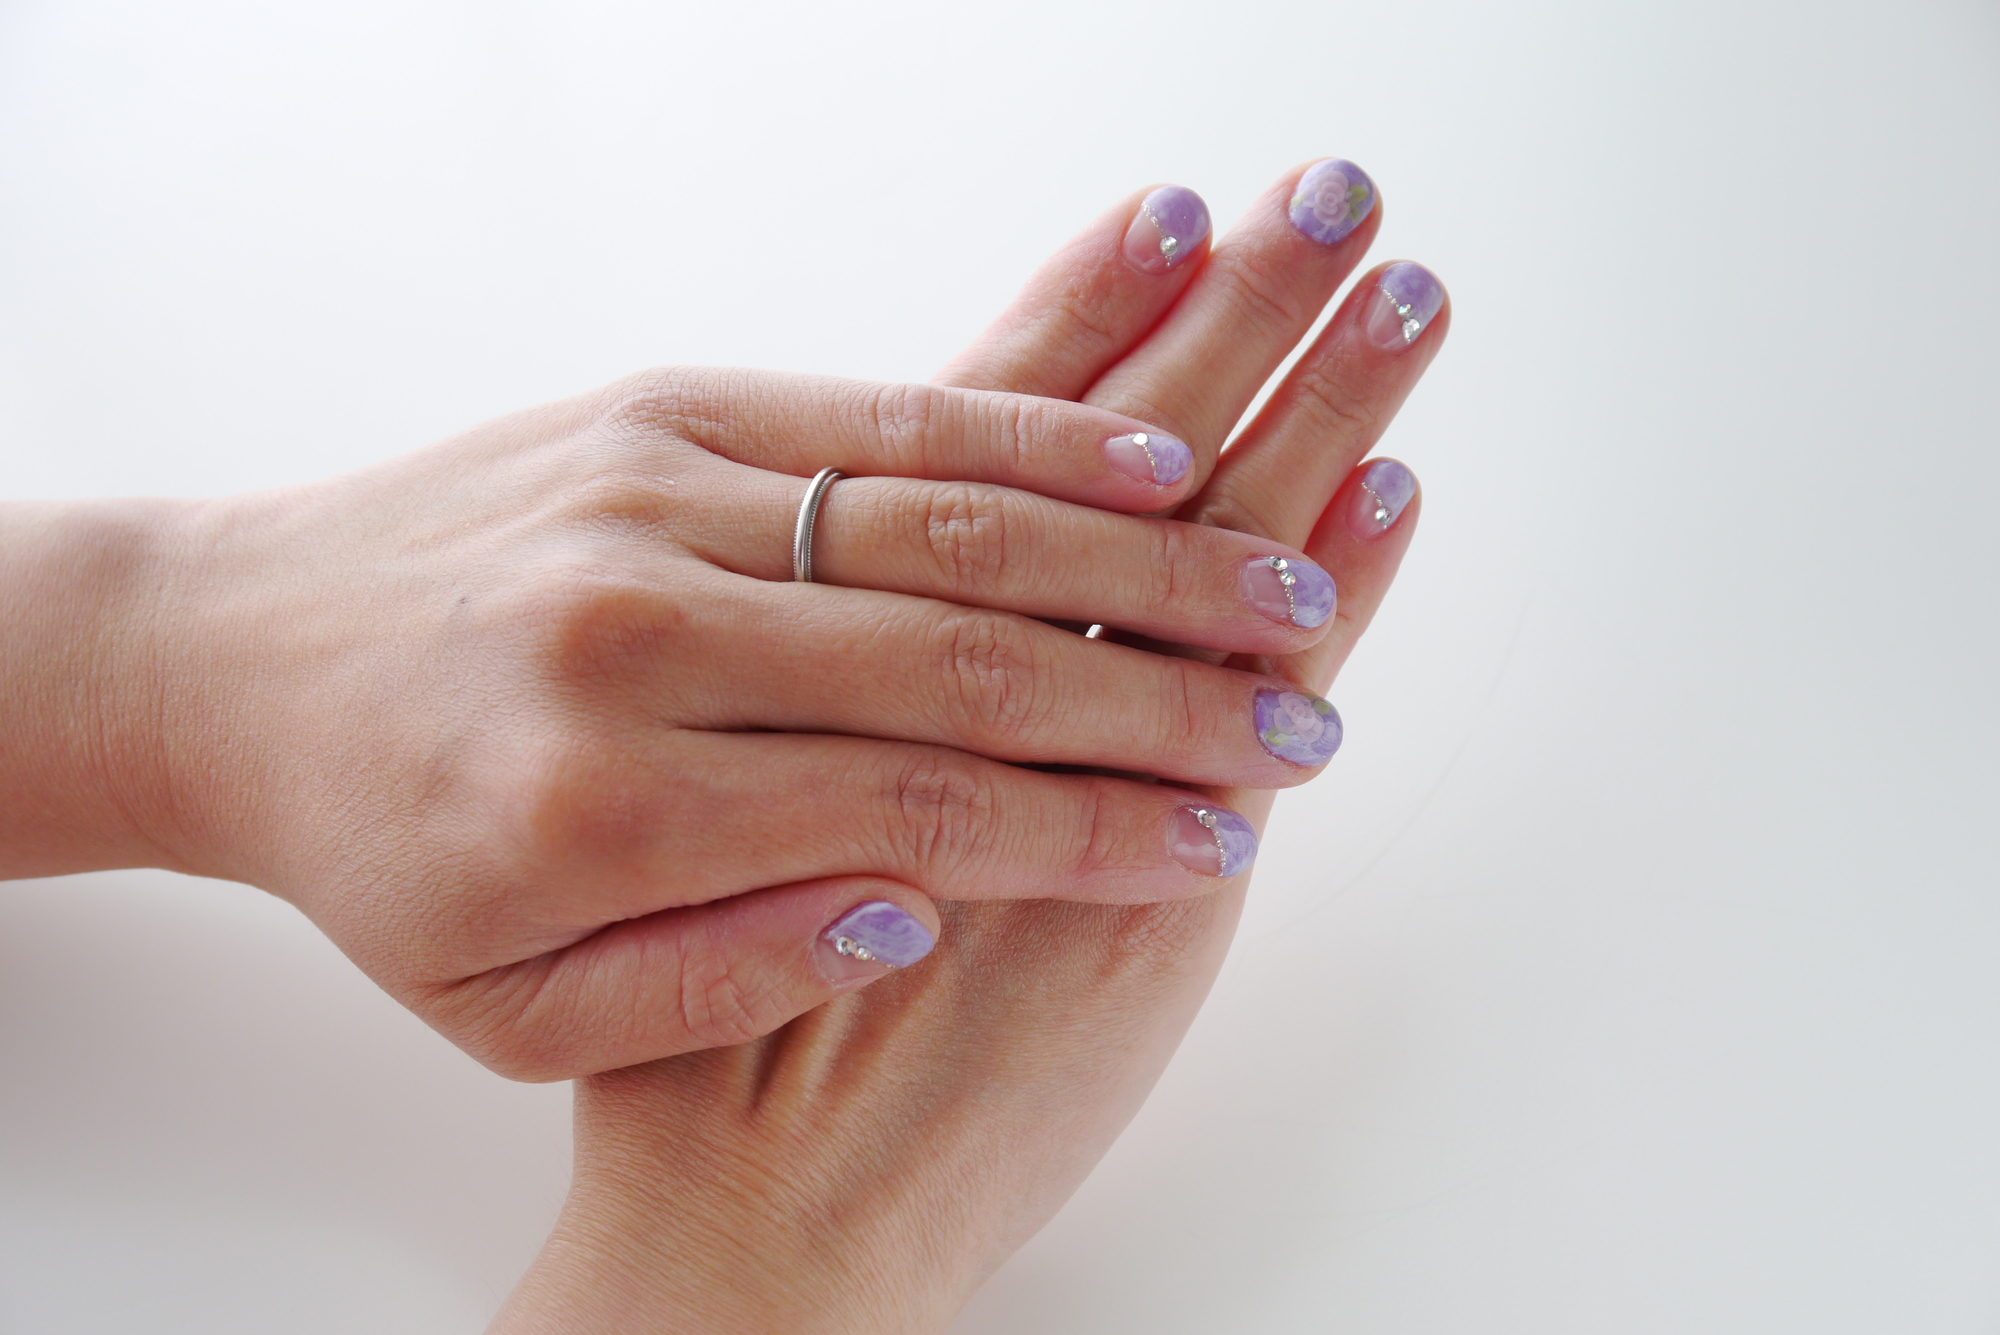
Amiマーブルネイルで重要なのは「色選び」です。マーブルネイルは同系色の濃淡で数色選ぶと失敗しにくいといわれています。
ジェルネイル実践記 編集部たとえば、淡いベージュやピンクを合わせることで上品なデザインに。ターコイズやパステルミントのような色を合わせると夏に人気のモロッコ風デザインになります。
Amiほかにも、オレンジ、レッド、ホワイト系のビタミンカラーを合わせればエスニックなデザインに変身しますよ。
カラフルにするときは同じトーンのカラーを合わせるのがポイントです。1番目立たせたい色を多めに入れることで、自分好みのマーブルデザインが完成します。
【方法】マーブルネイルの手順
 ジェルネイル実践記 編集部
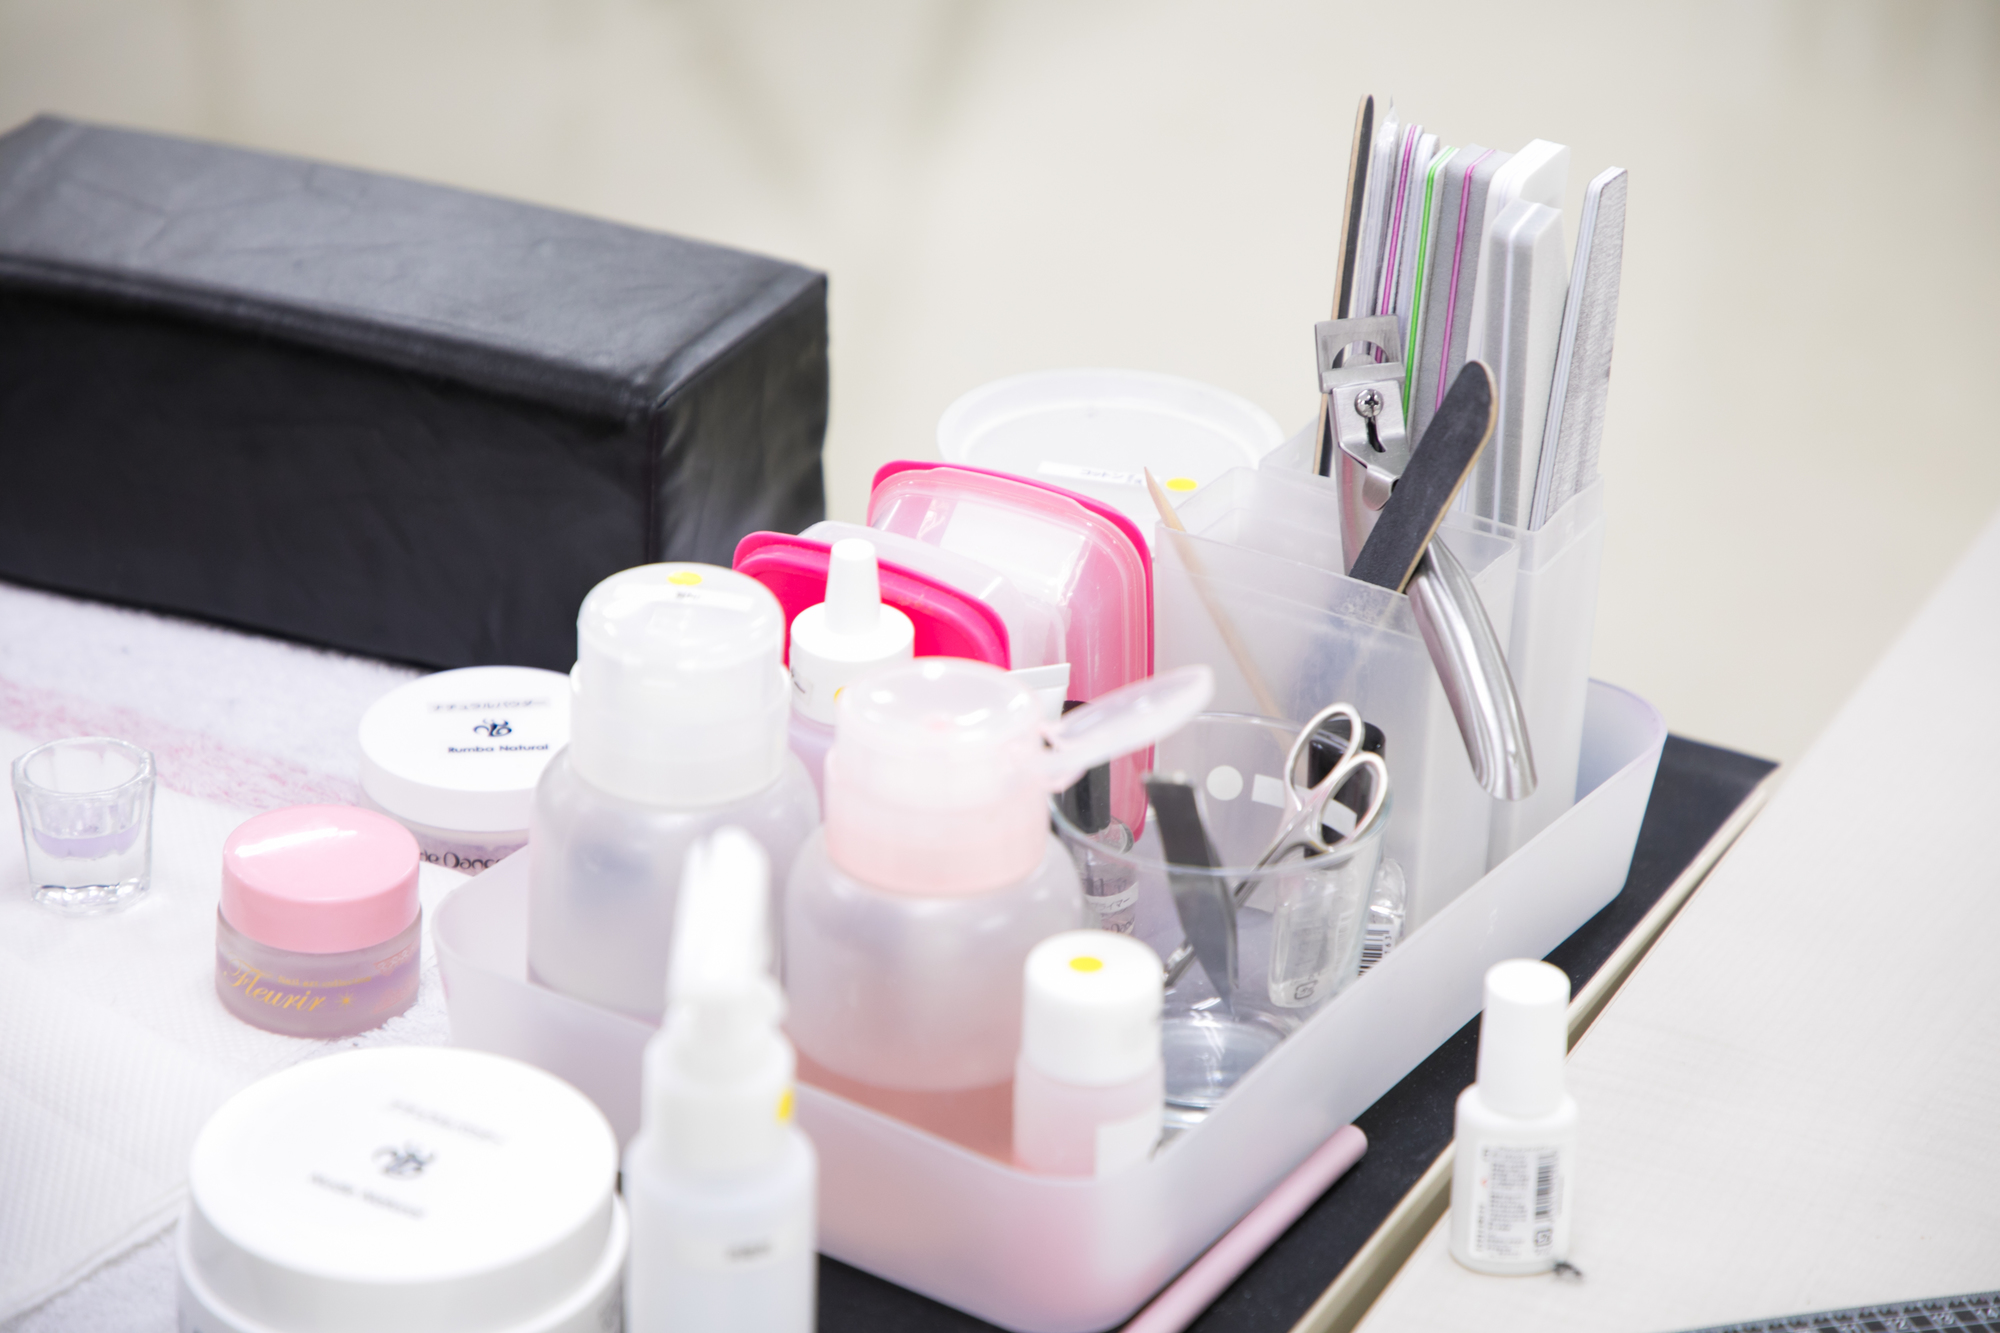
ここではセルフでマーブルネイルをする手順について紹介します!実際に行っているところも元ネイリストさんに撮影してもらいましたので参考にしてみてください!
プレパレーションの際に使用
- ファイル
- バッファー
- ストーンプッシャー
ベースジェルの際に使用
- ベースジェル
- 筆
- エタノール
- UVライトまたはLEDライト
カラージェルの際に使用
- カラージェル
- 筆
- キッチンペーパー
- プライマー
- ウッドスティック
トップジェルの際に使用
- トップジェル
- 筆
- ウッドスティック
- キッチンペーパー
- プライマー
【手順1】プレパレーションで整える
 ジェルネイル実践記 編集部
プレパレーションとは、セルフジェルネイルをする前の下準備のことです。爪や甘皮部分(キューティクル)を整え、ジェルネイルの土台を準備します。
プレパレーションの手順
ジェルネイル実践記 編集部今回のプレパレーションは2つの工程で進みます。
2つの工程
- ファイルで爪の長さ・形を整える
- 爪の表面をバッファーで傷付け
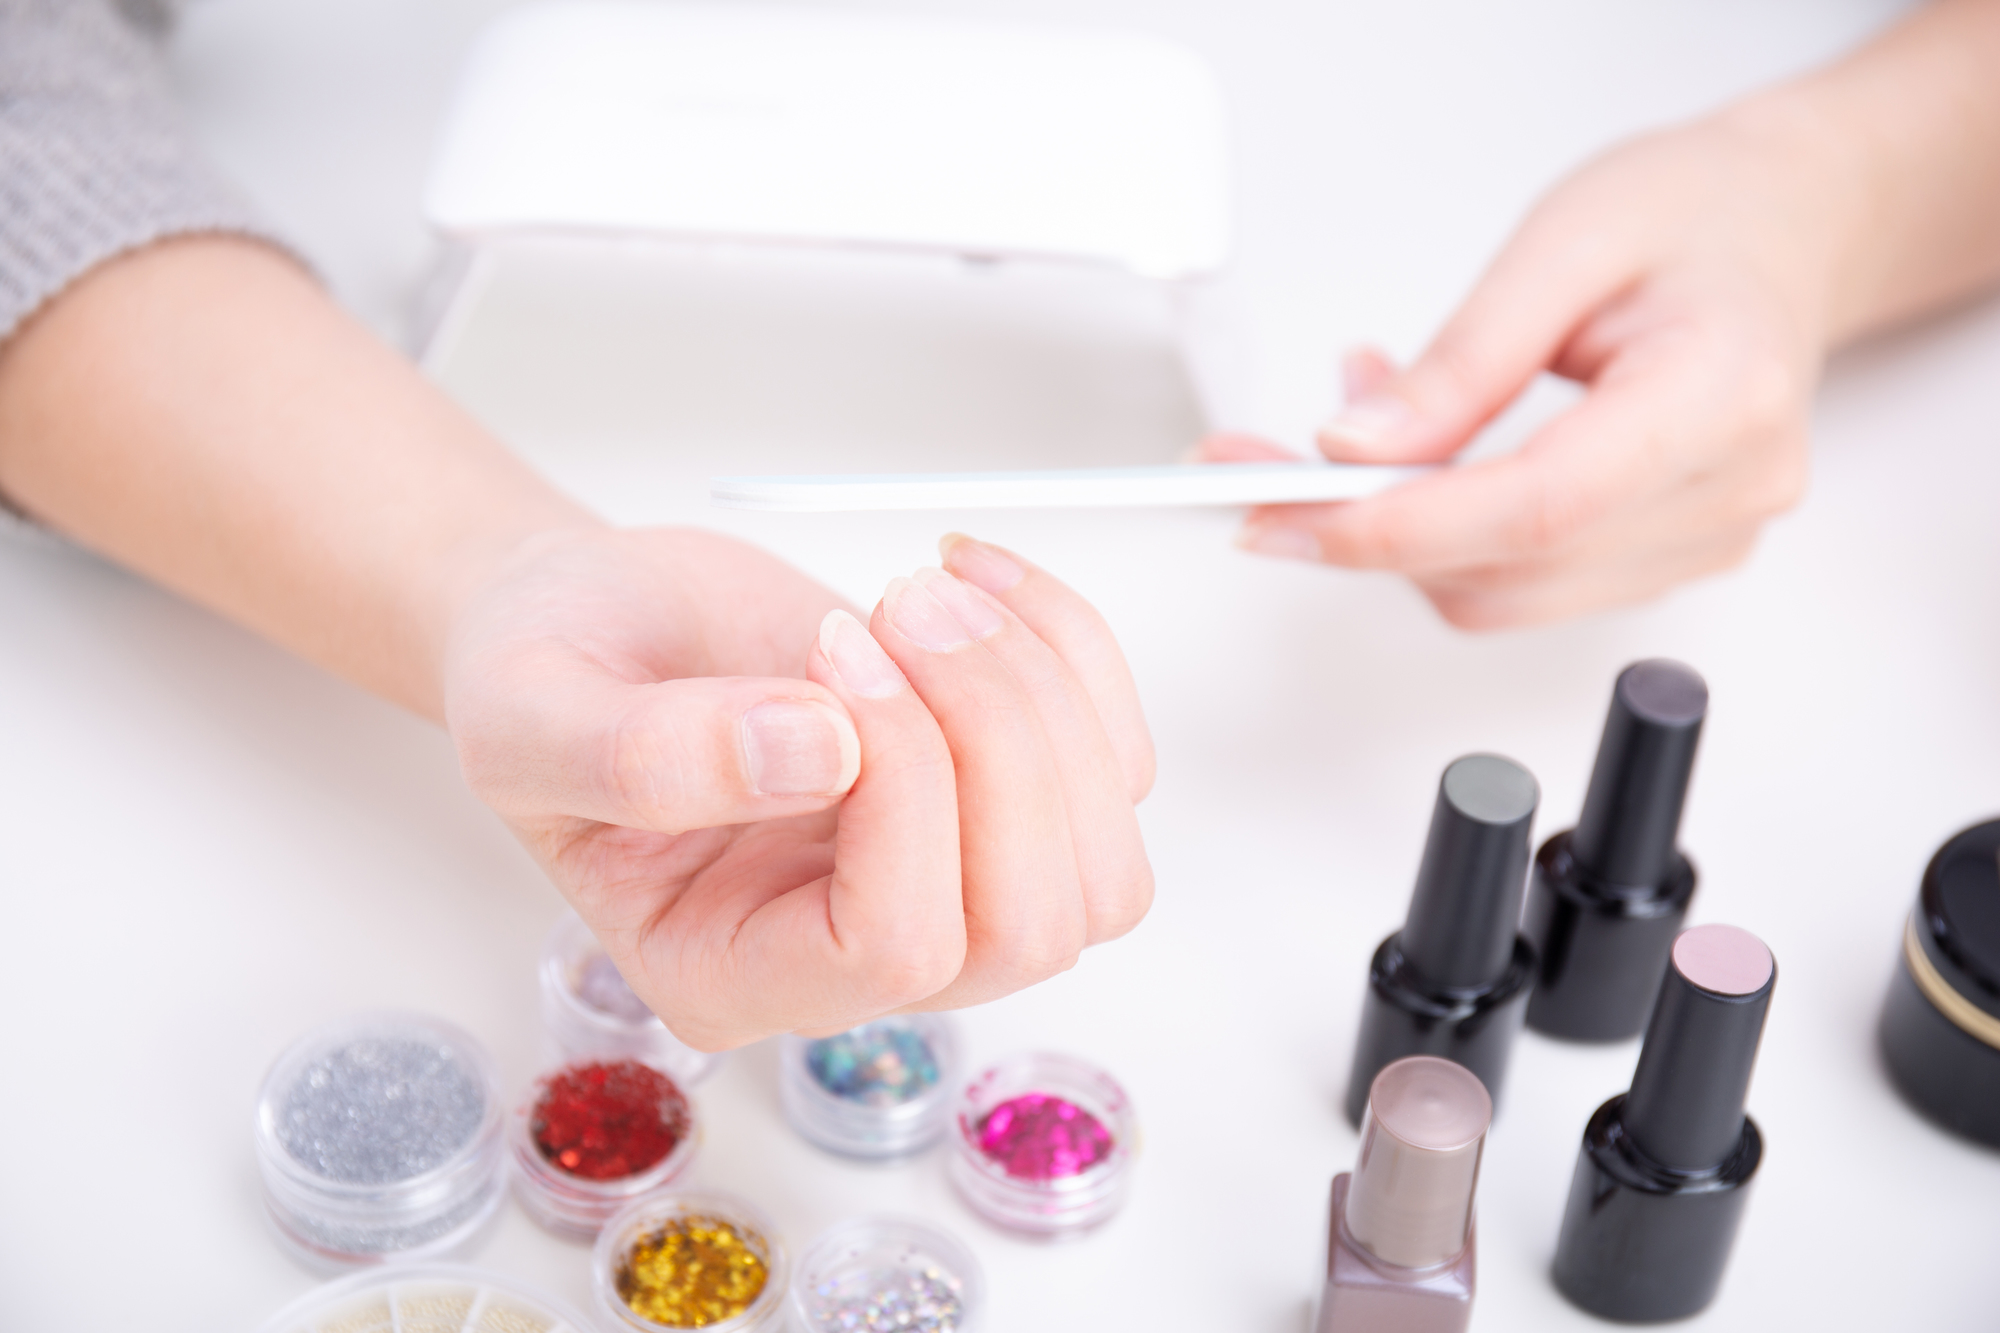
ファイルで爪の長さ・形を整える
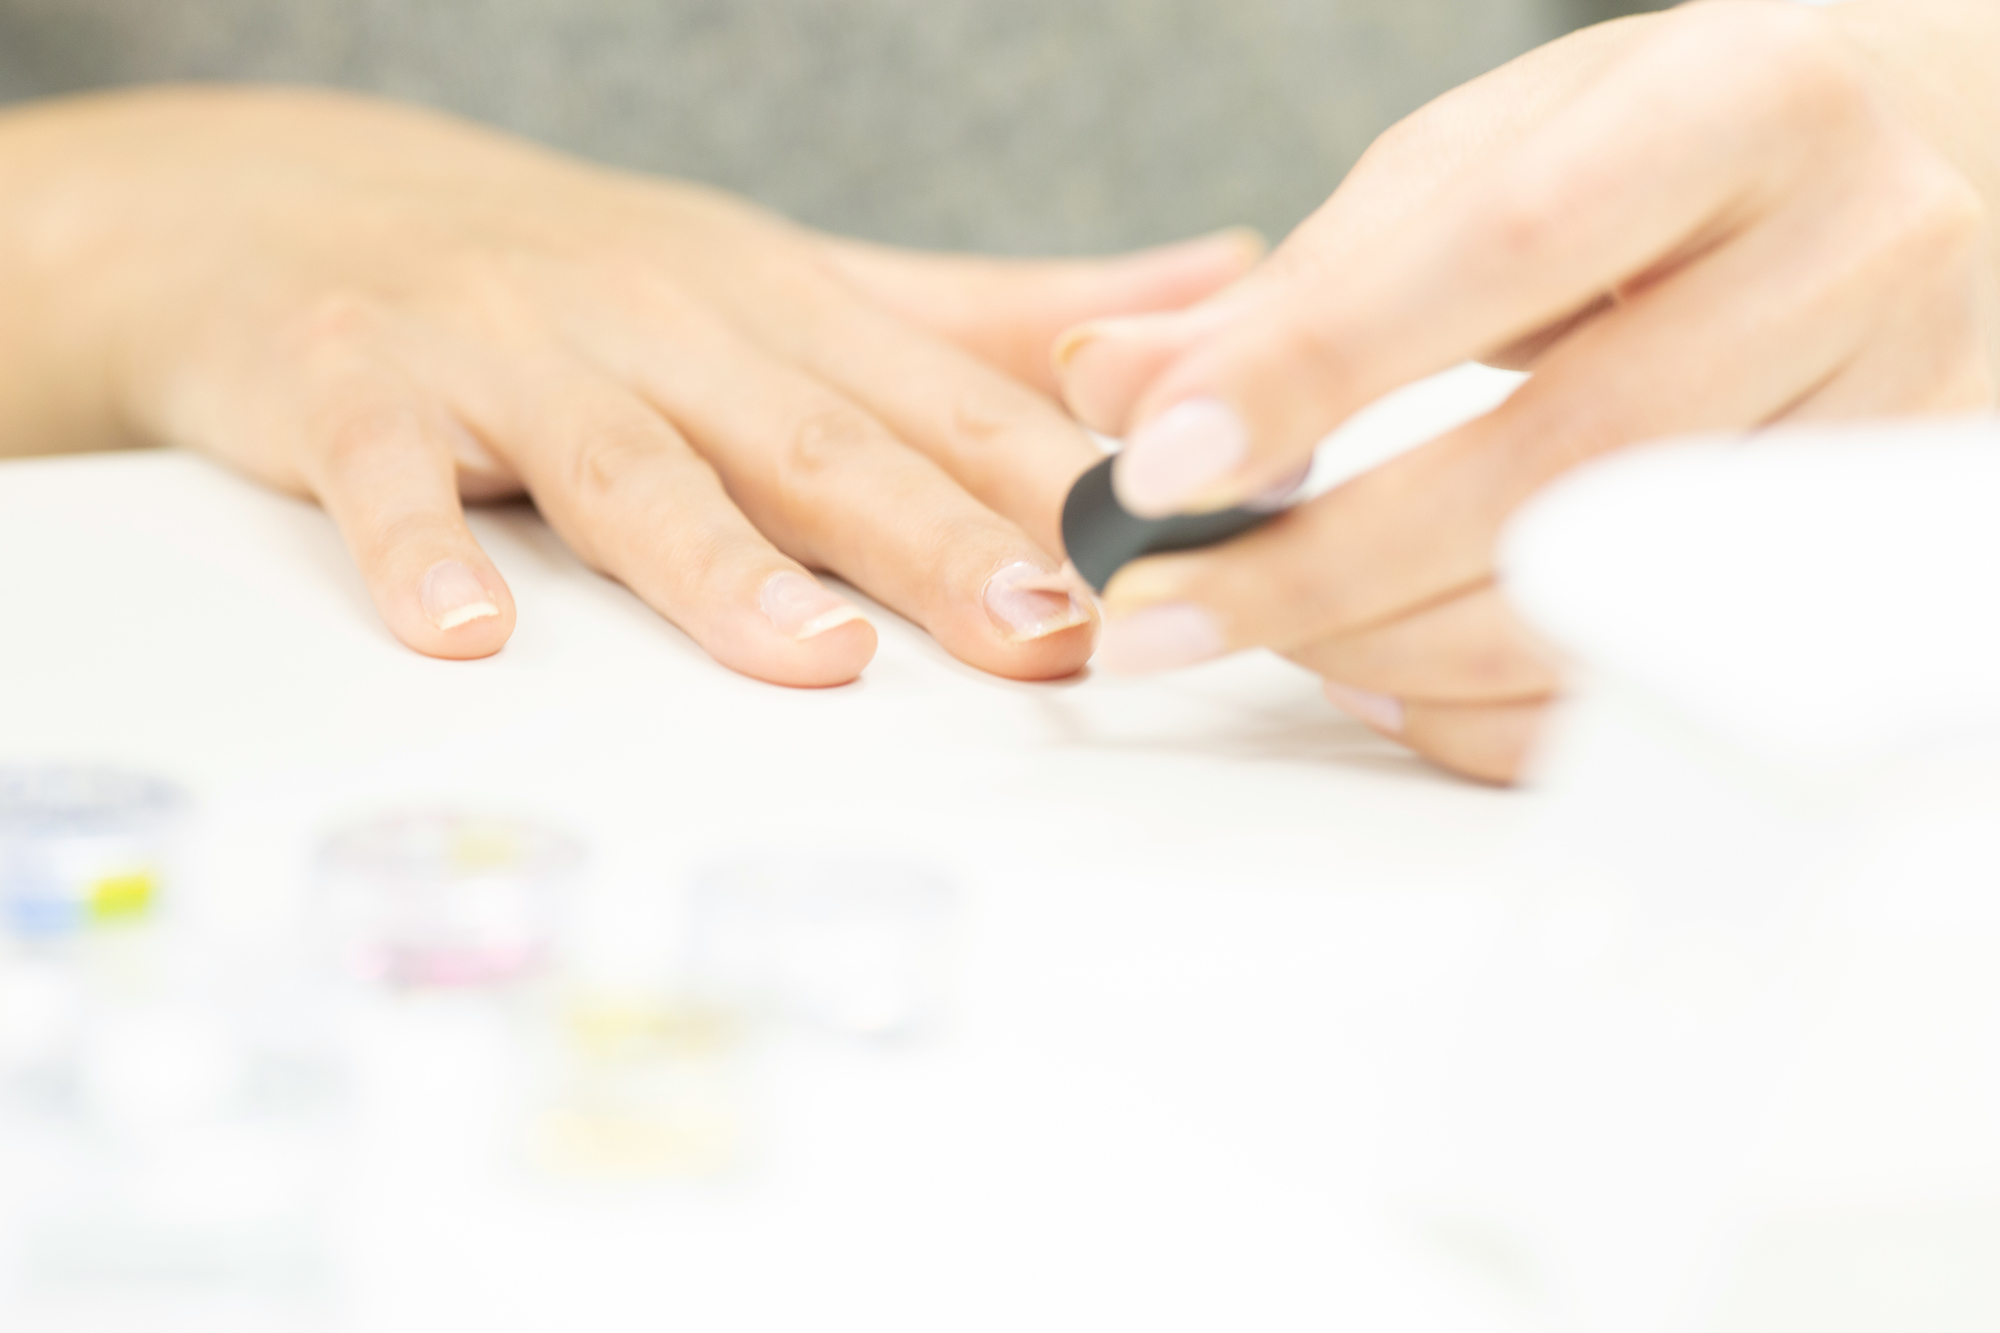
 Ami
Amiまずはファイルを使用して爪の長さや形を整えましょう。
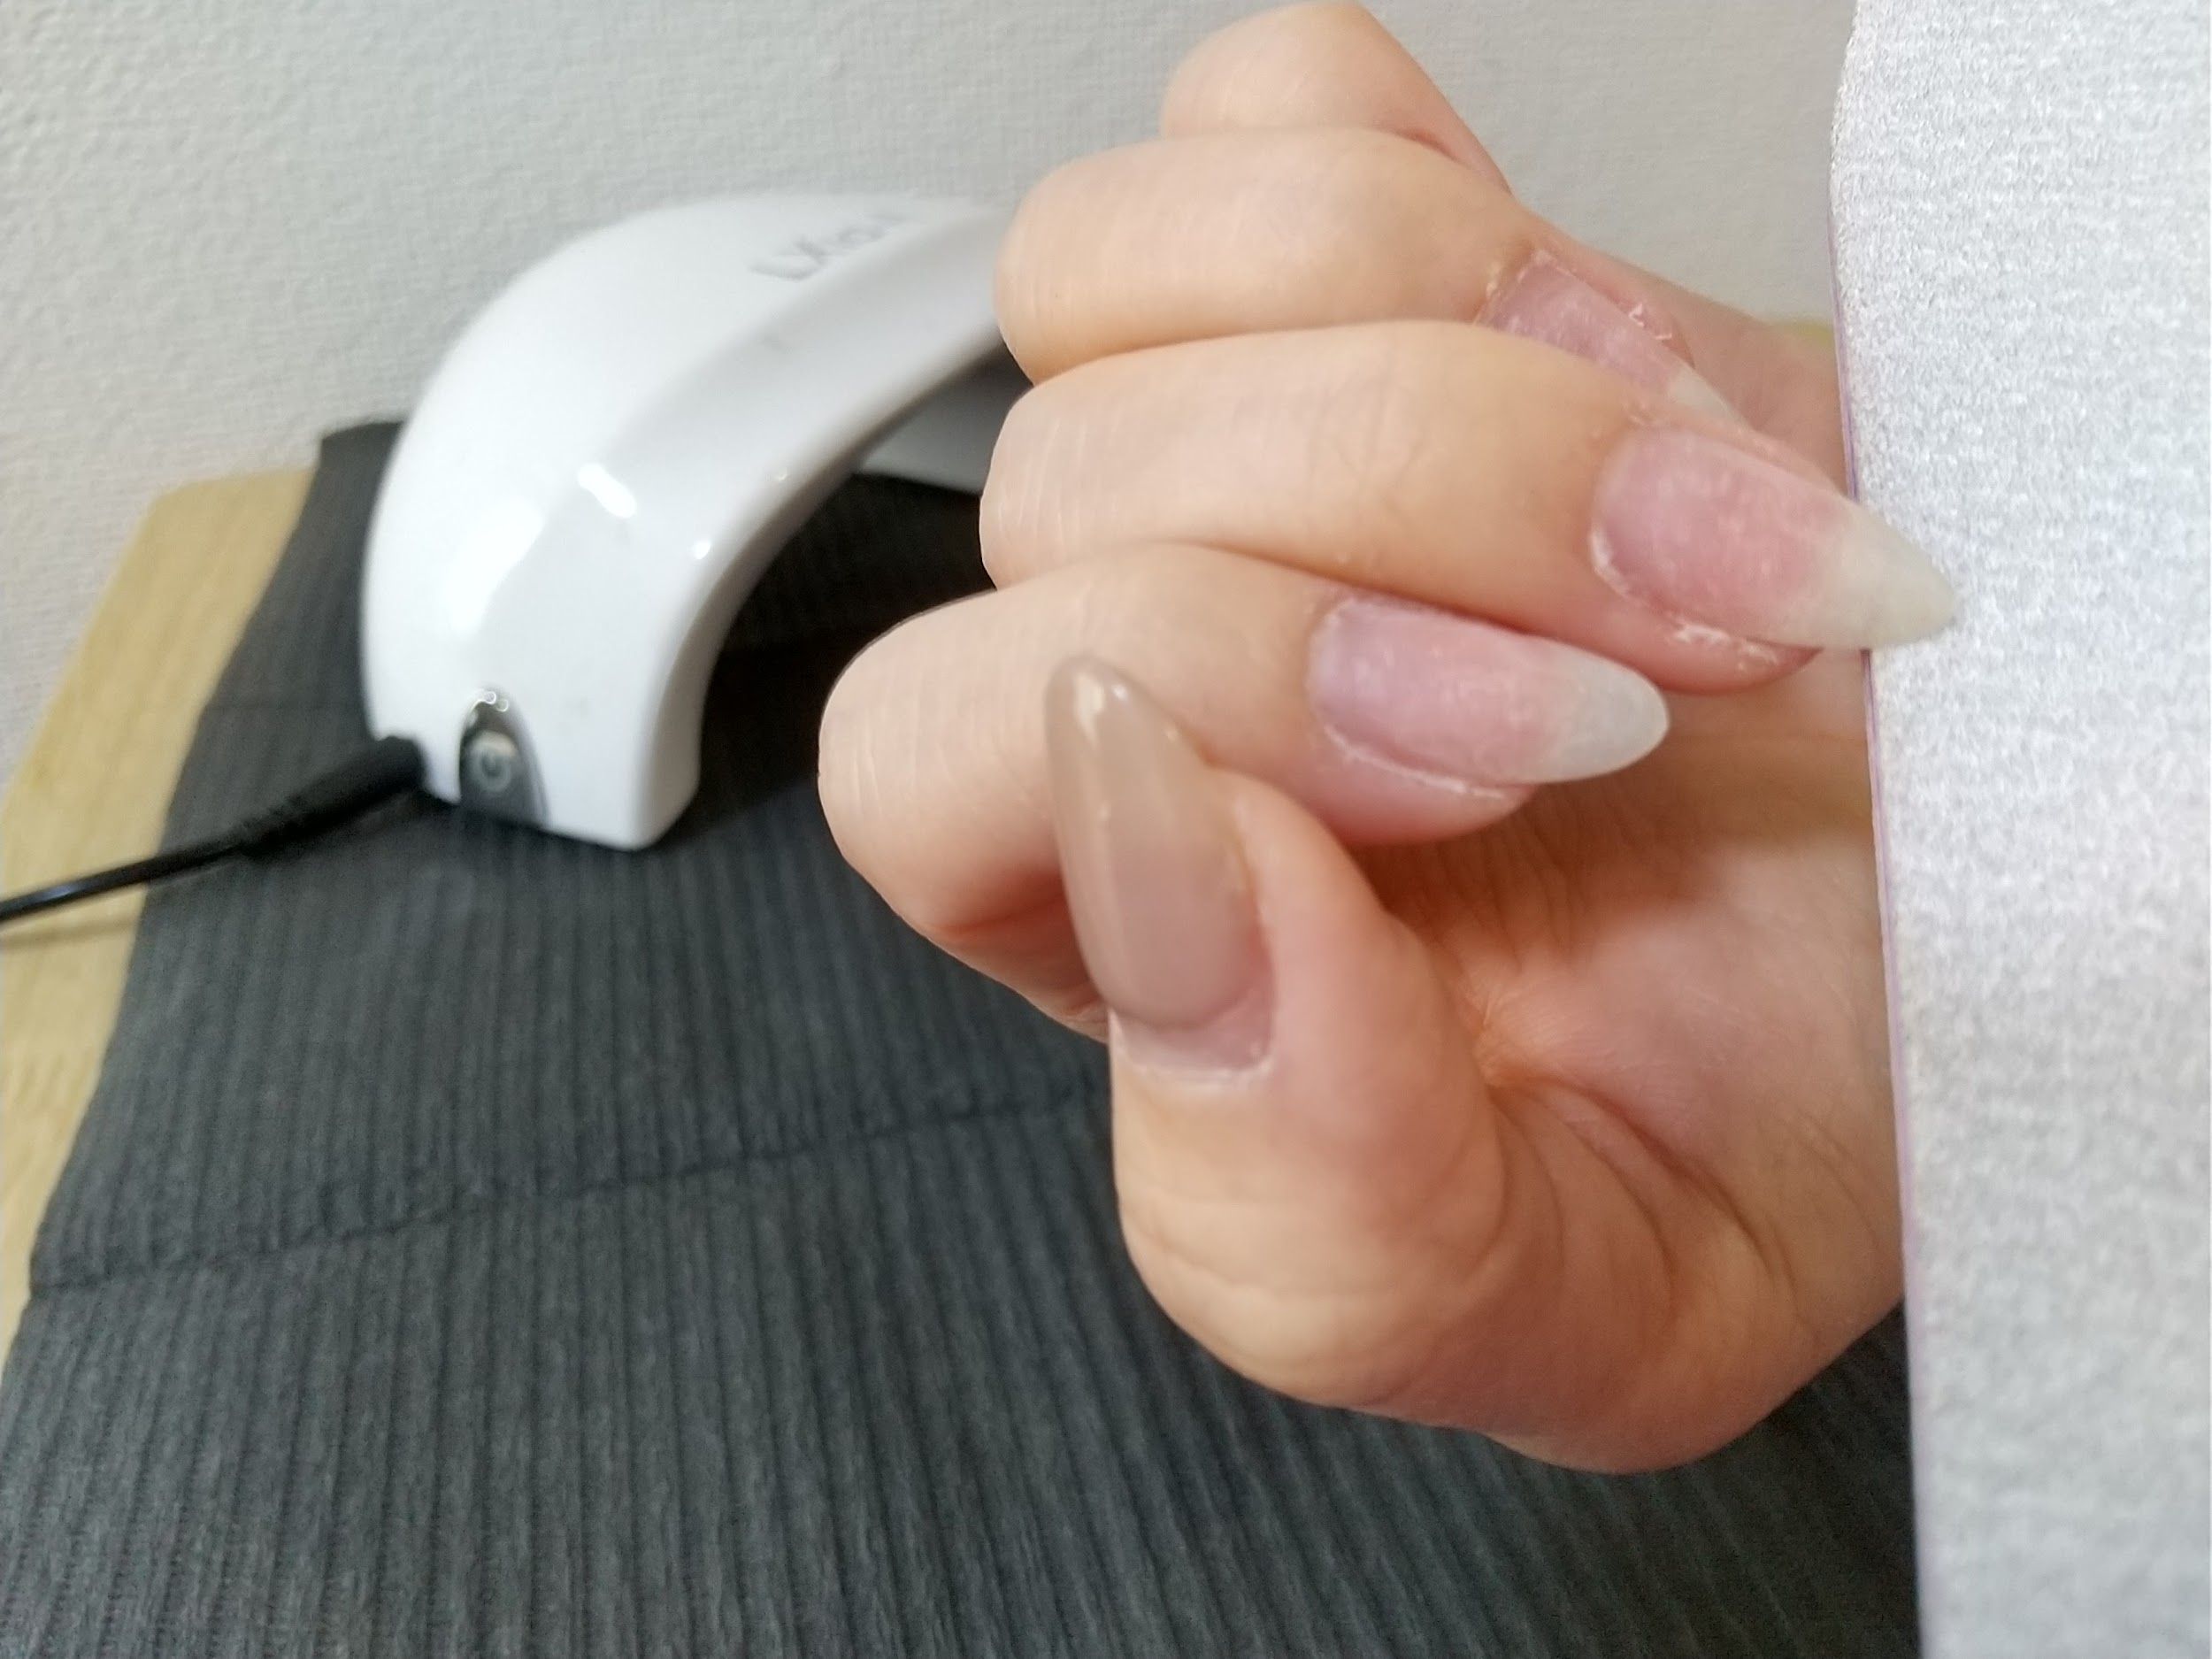
 Ami
Ami爪の長さ形を整えてからストーンプッシャーで甘皮部分を押し上げます。キューティクル周りをキレイにしましょう。
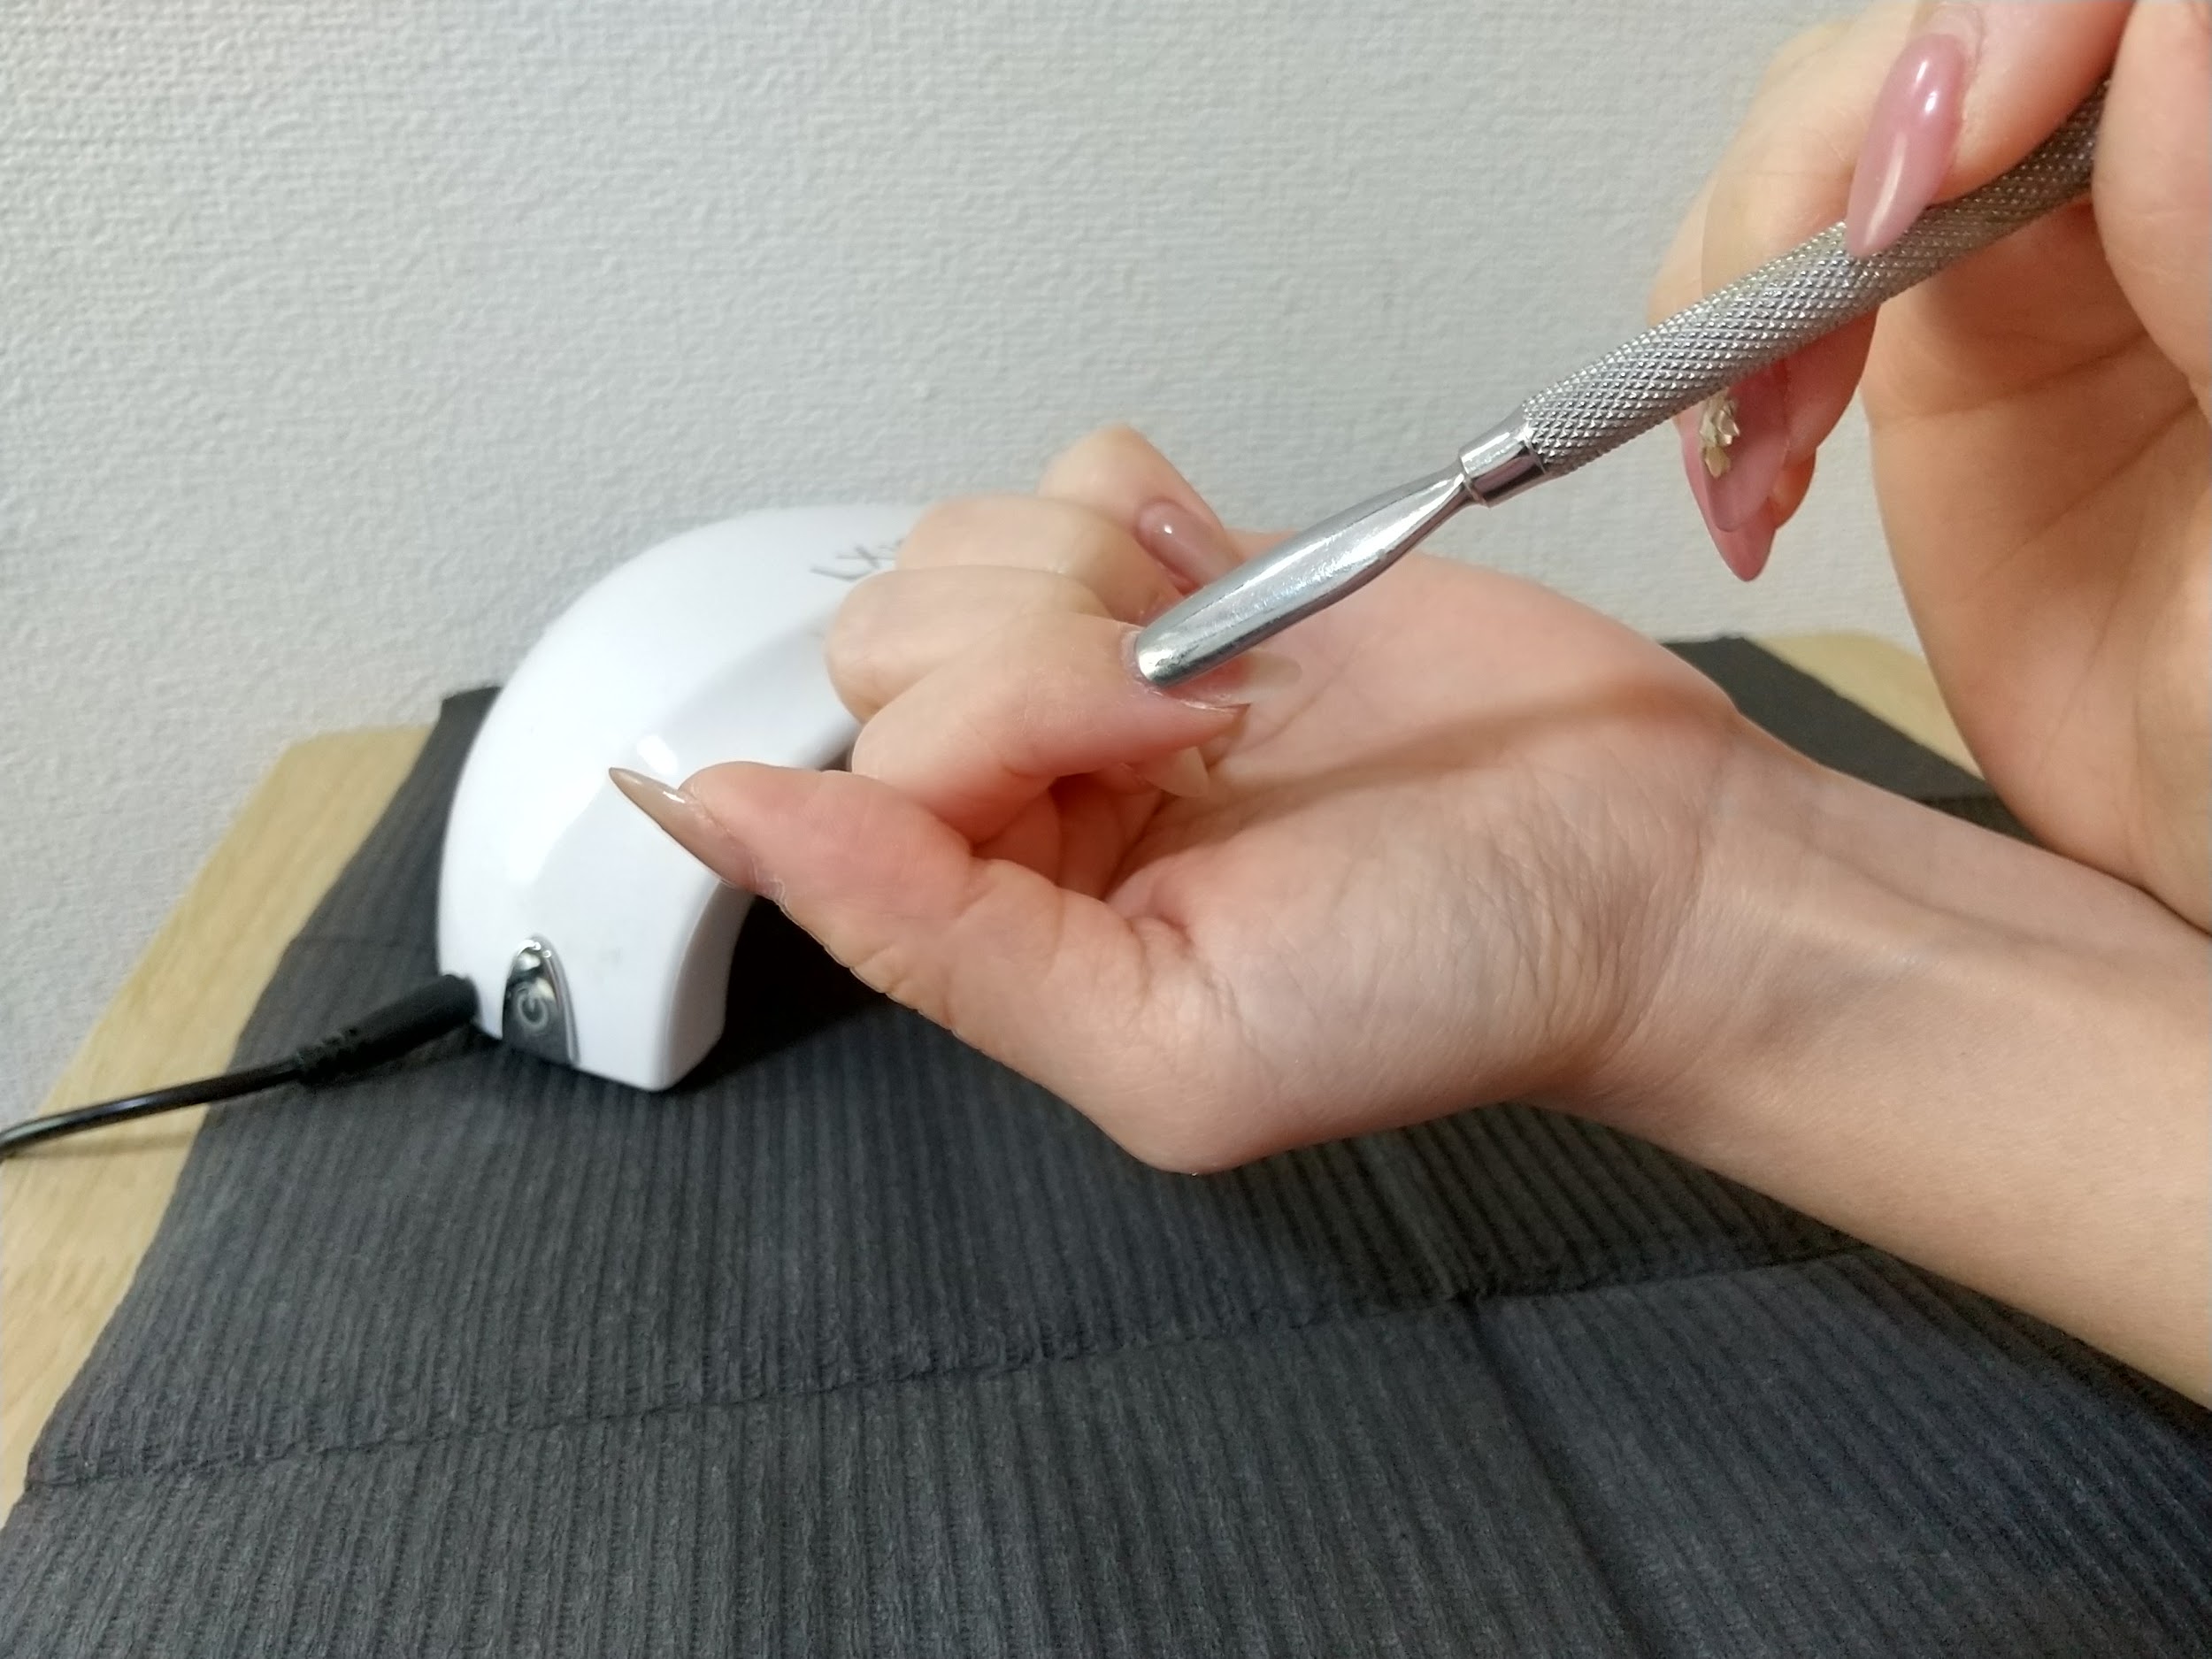
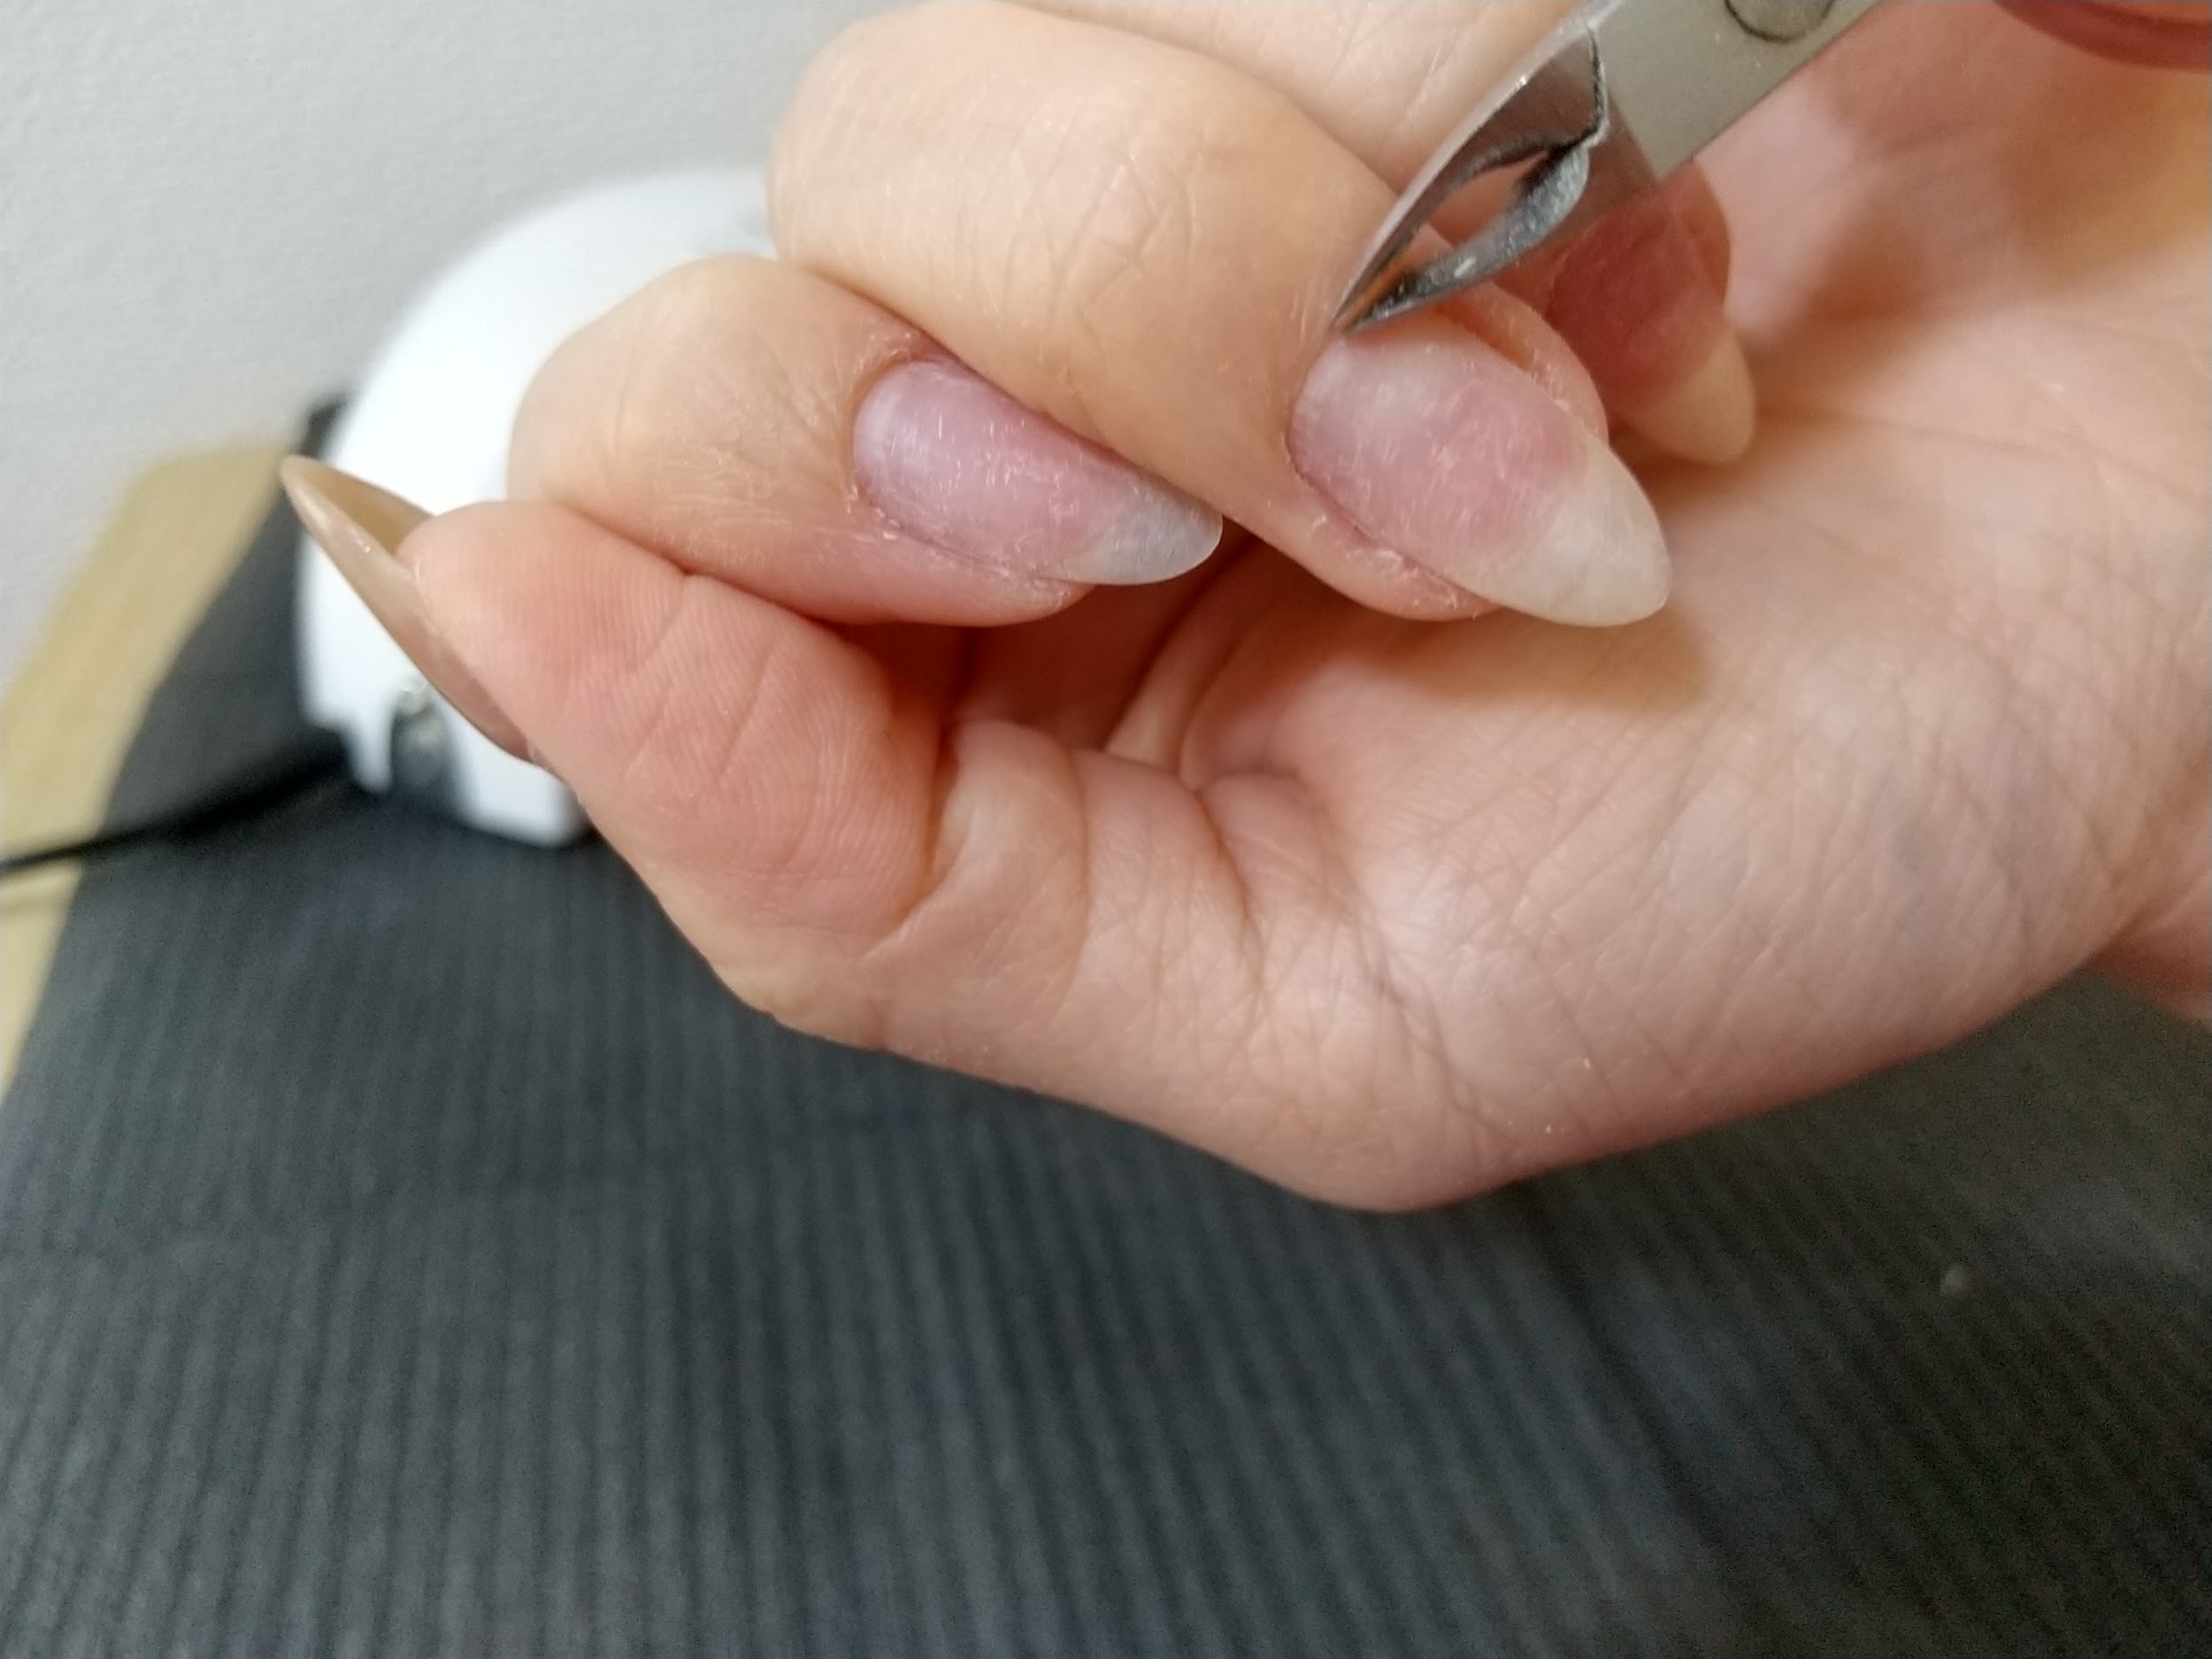 Ami
Ami余分な甘皮はキューティクルニッパーで除去しておきます。
ネイルファイルセットの見本商品


爪の表面をバッファーで傷付け
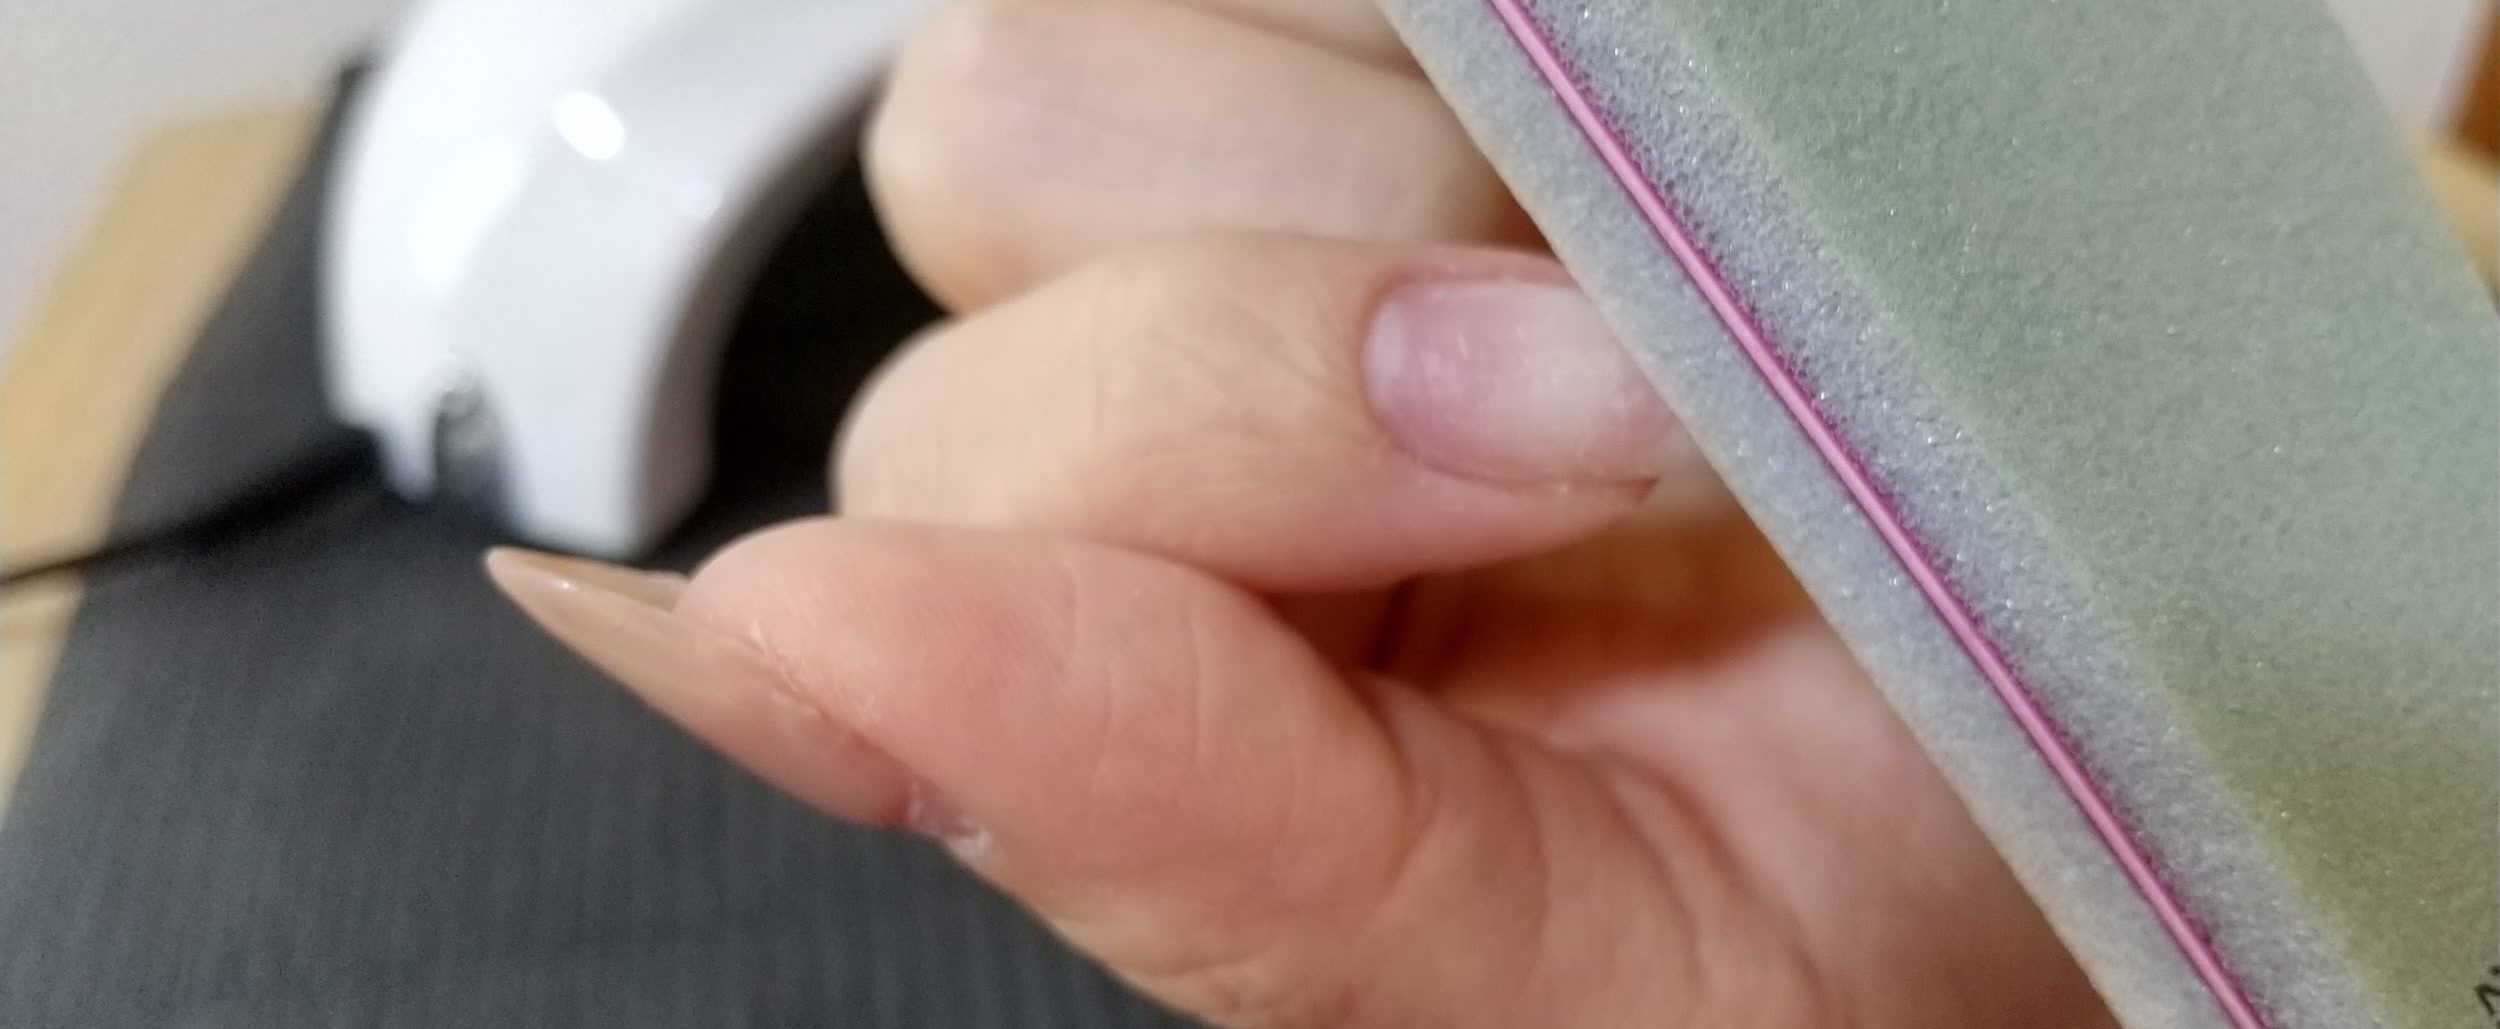 Ami
Amiバッファーで爪表面を傷つけましょう。
 Ami
Amiキューティクル周りだけファイルで傷をつけるとリフトしにくいです。表面に傷をつけたらプレプライマーやエタノールを付けたキッチンペーパーで表面の油分除去をします。そして次のベースジェル工程に移りましょう。
プレプライマーの見本商品


【手順2】ベースジェルを塗布
 ジェルネイル実践記 編集部
ベースジェルは下準備した爪の上にジェルを塗る作業です!
ベースジェルの手順
 Ami
Ami表面が乾いてからベースジェルを塗ります。凹凸があれば、ここで整えておきます。ベースジェルはリフトしないようにしっかりと2度塗りしましょう。
 Ami
Amiはみ出さないようにしながら、先端にもしっかり塗布します。ただし、この後の工程で厚みが出るので薄めに塗るようにしてください。
 Ami
Ami1度目は塗り込むように「ギュッギュ」と塗り、硬化させます。2度目は適度に塗ります。
 Ami
Amiセルフレベリング(表面張力でジェルの表面が平らになる現象)で時間をおき、横から見て「ぷっくり」となったら硬化させます。終わったら次のカラージェル装飾の工程へ。
ベースジェル・ベースコートの見本商品


[temp id=38]
ジェルがはみ出てしまった場合、ライトで硬化する前にウッドスティックで取り除いてください。はみ出たままにしてしまうとリフトの原因になります。
【手順3】カラージェルで装飾
 Ami
Amiベースジェルを塗り終えたら、実際にカラージェルで装飾を行います。
カラージェルの手順
- 下地に使いたいカラージェルを塗布
- 重ねたい色をランダムで配置
- ライトで硬化
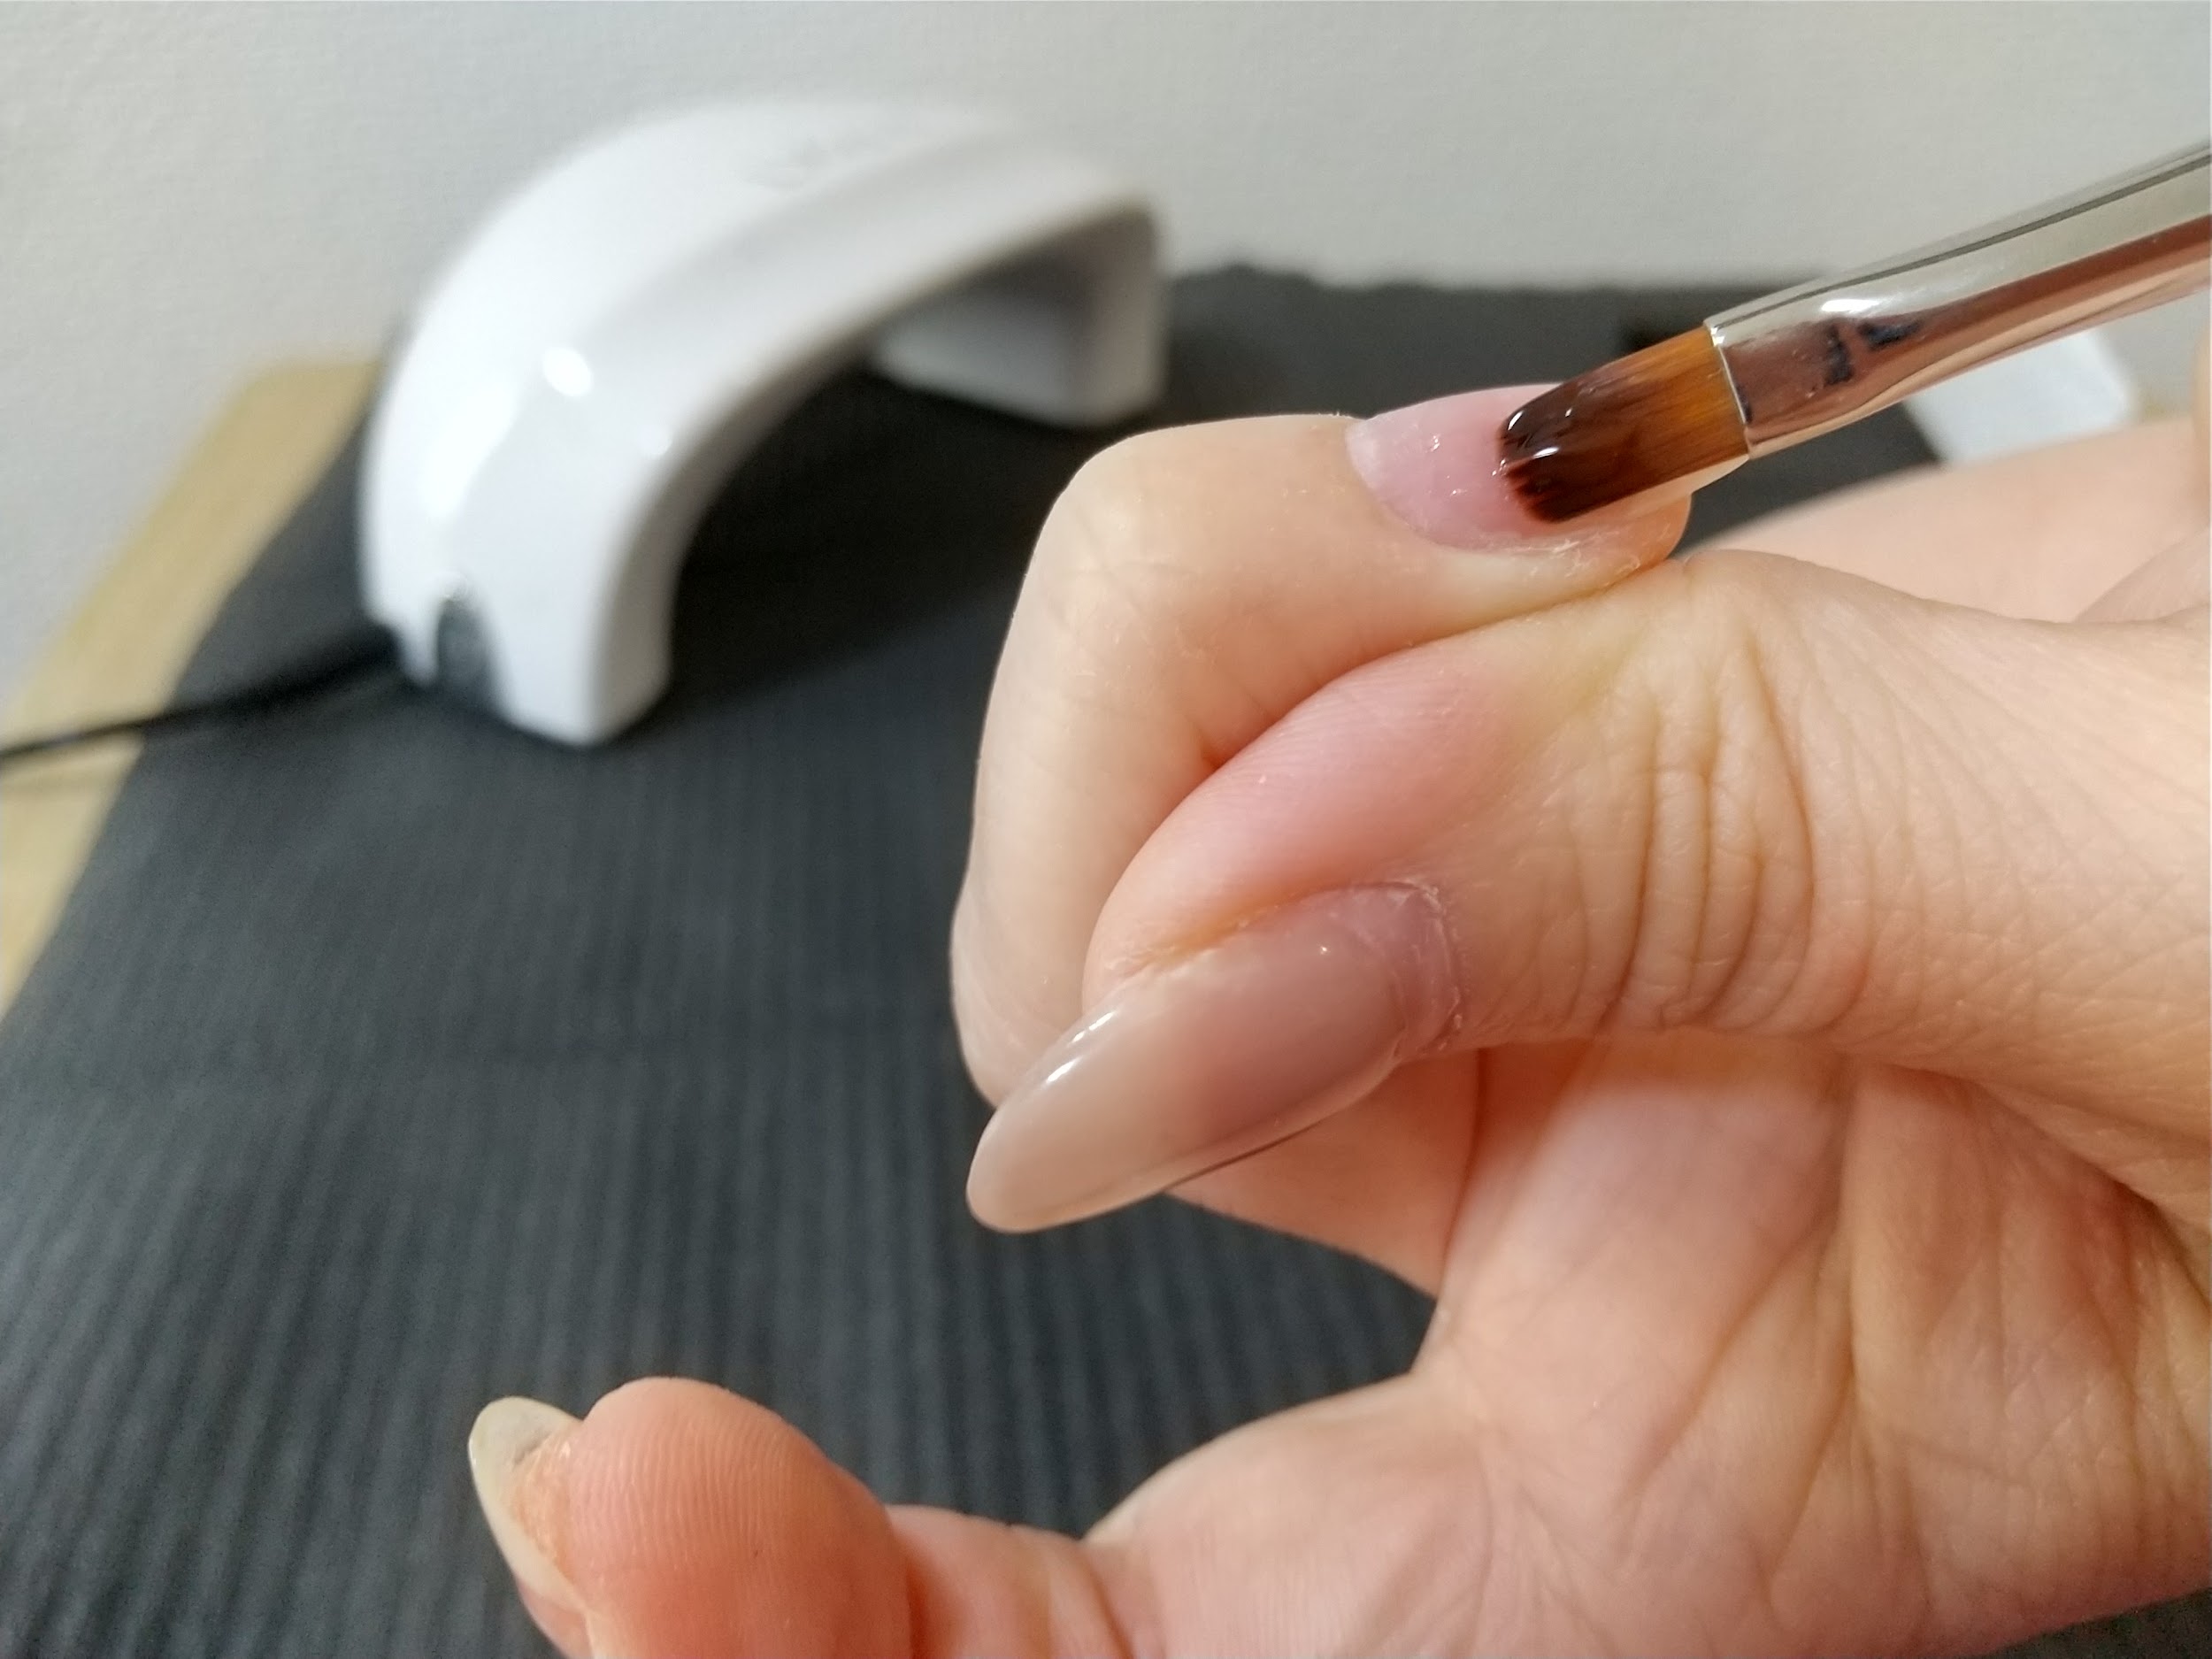
下地に使いたいカラージェルを塗布
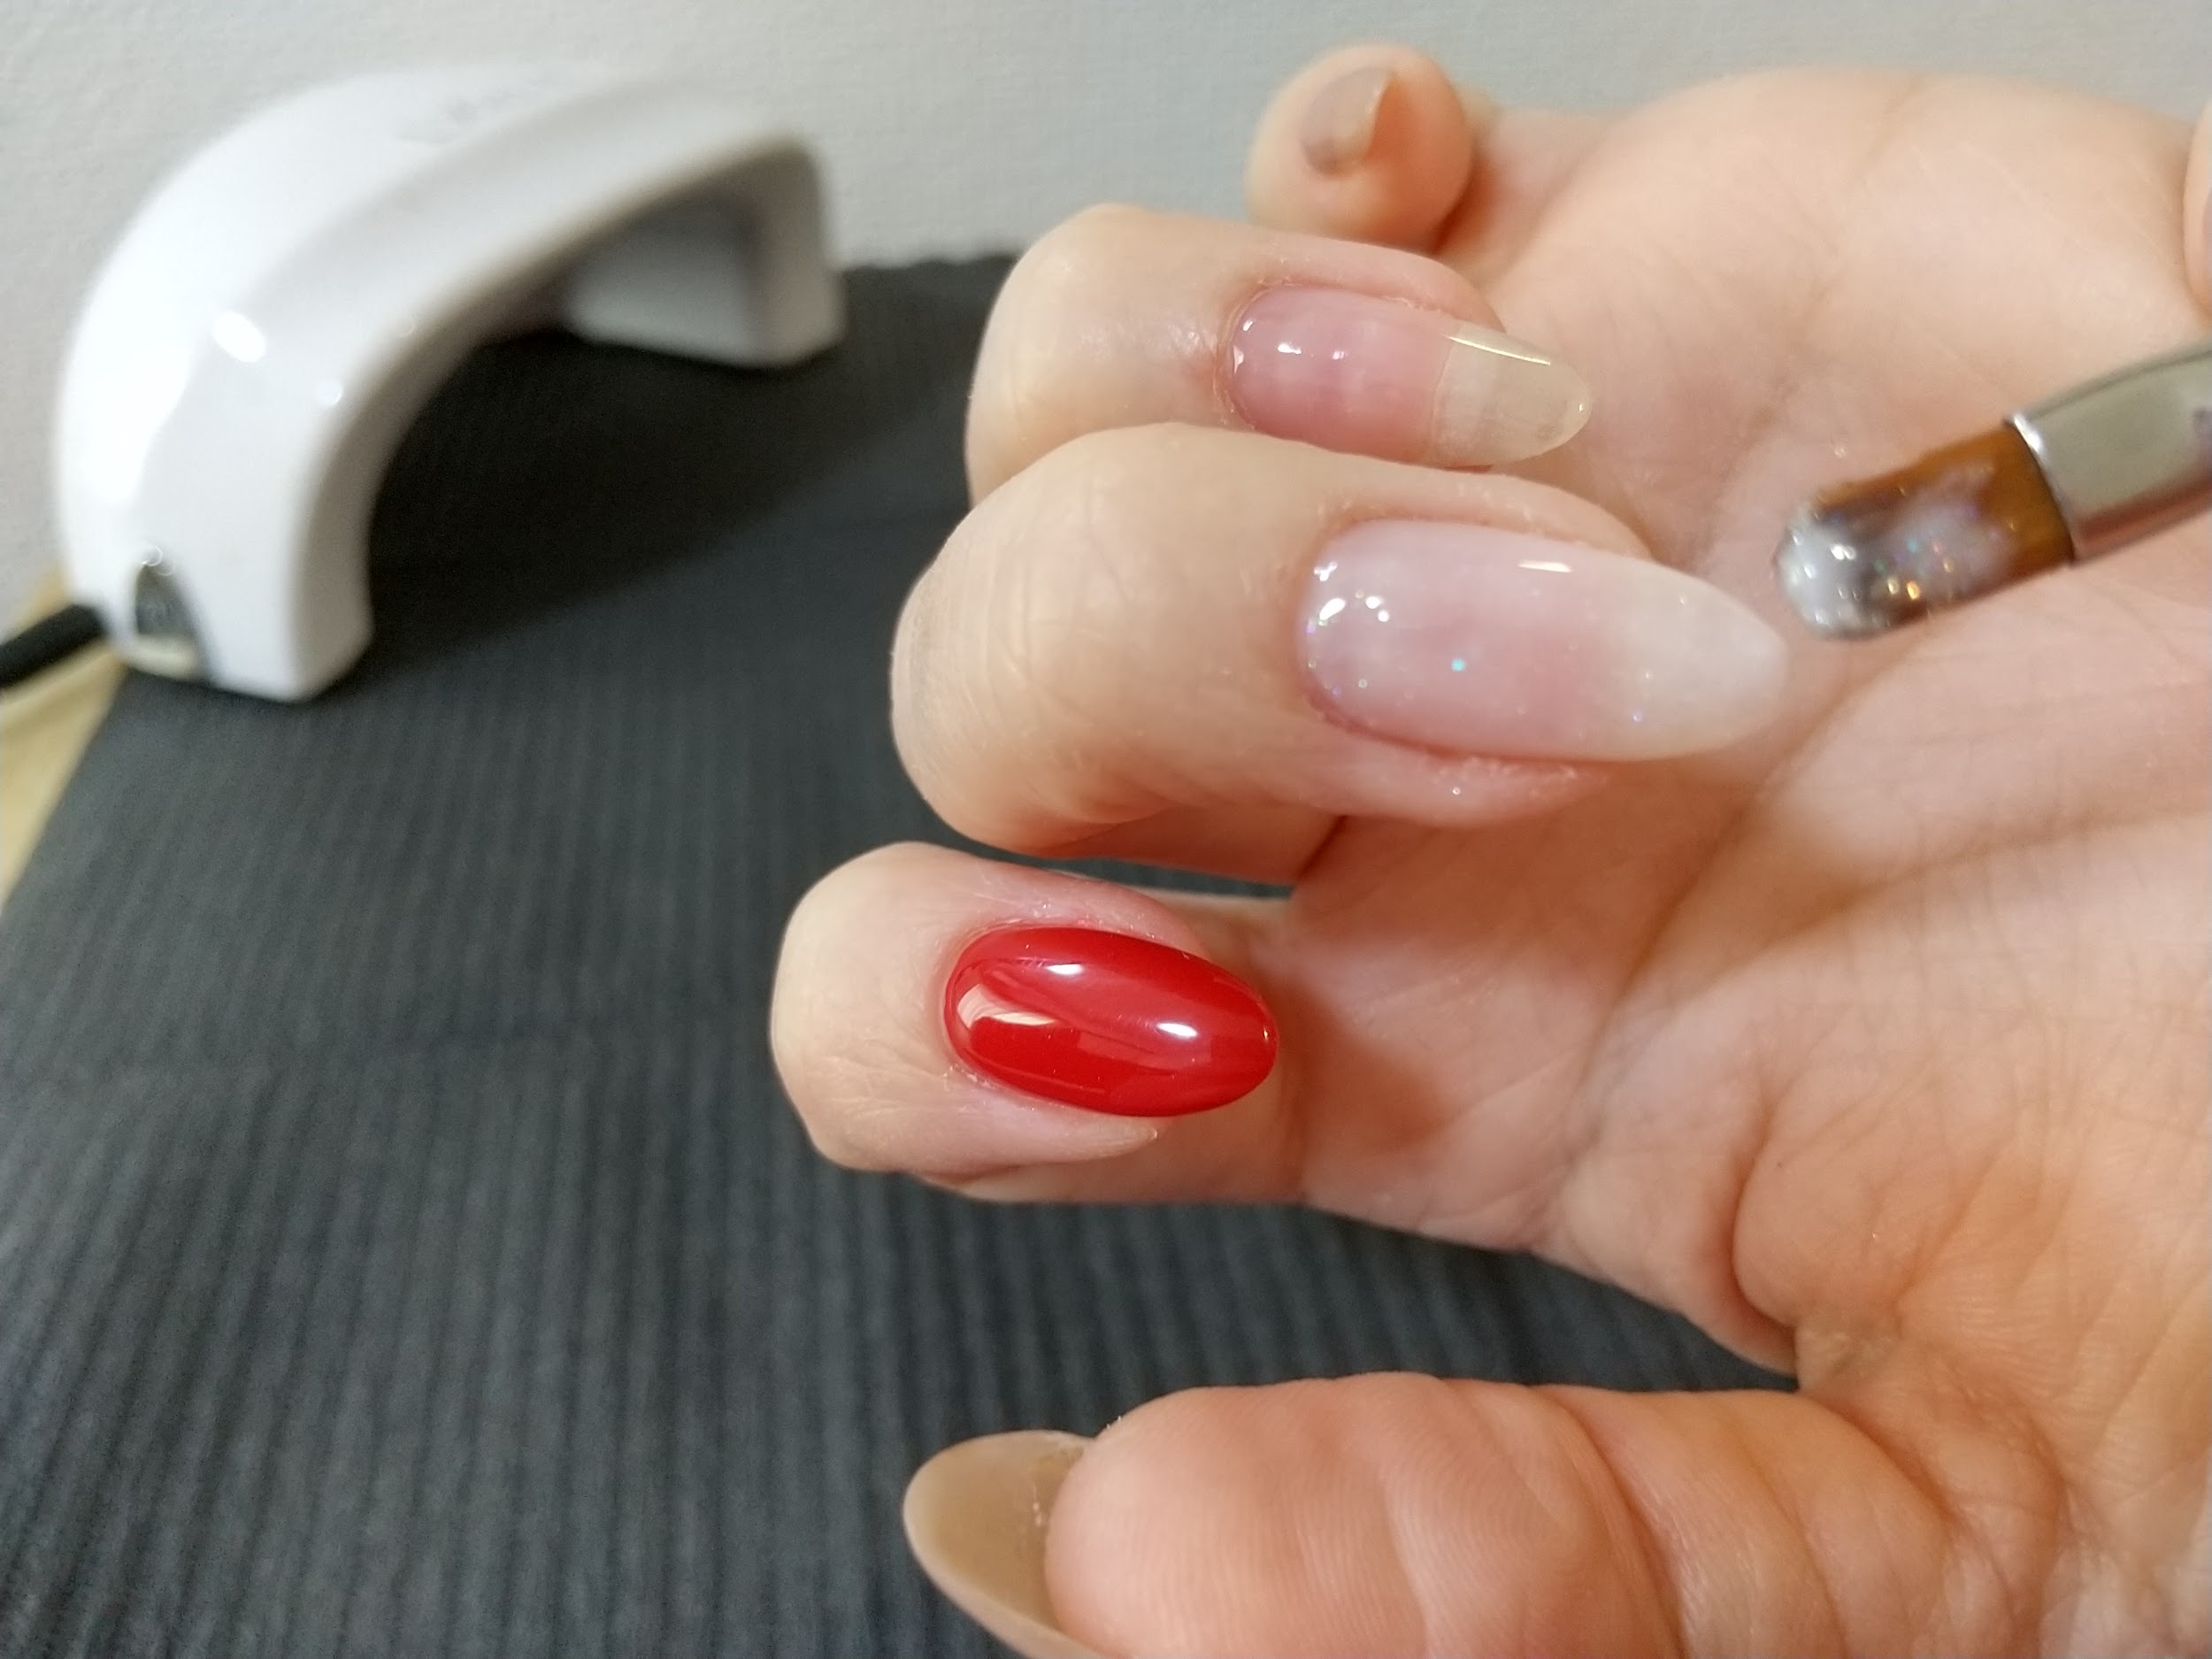
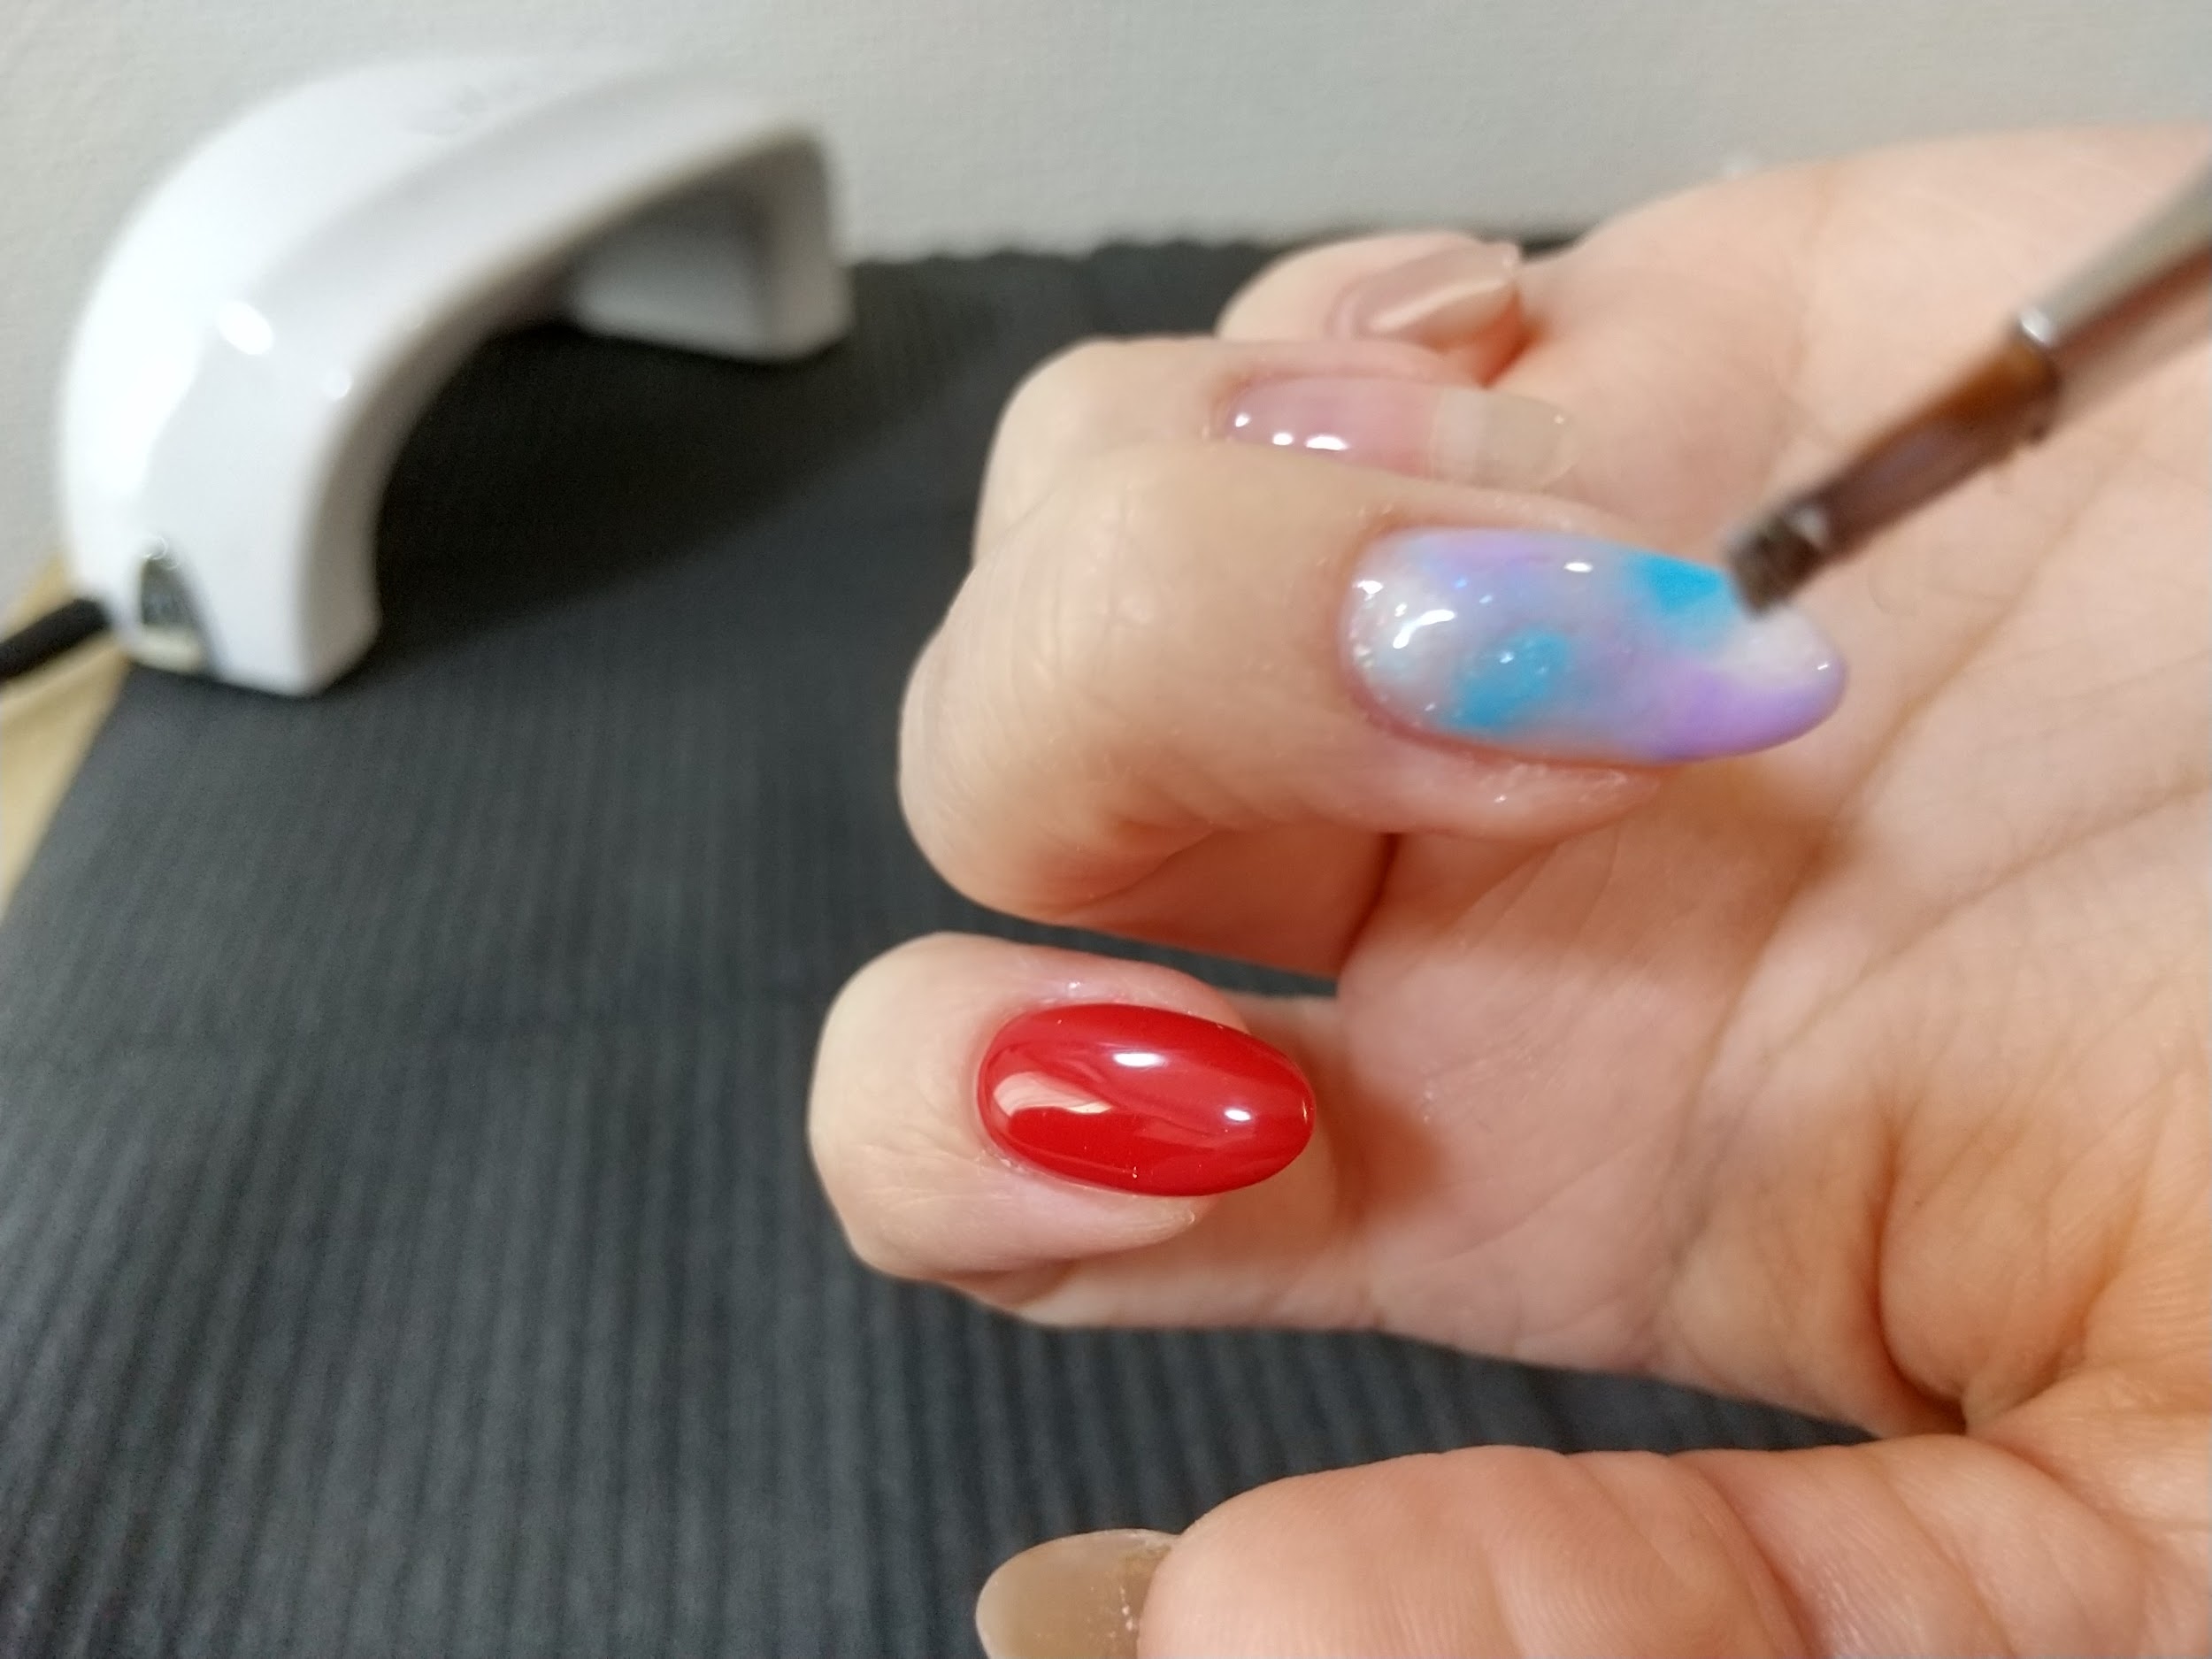
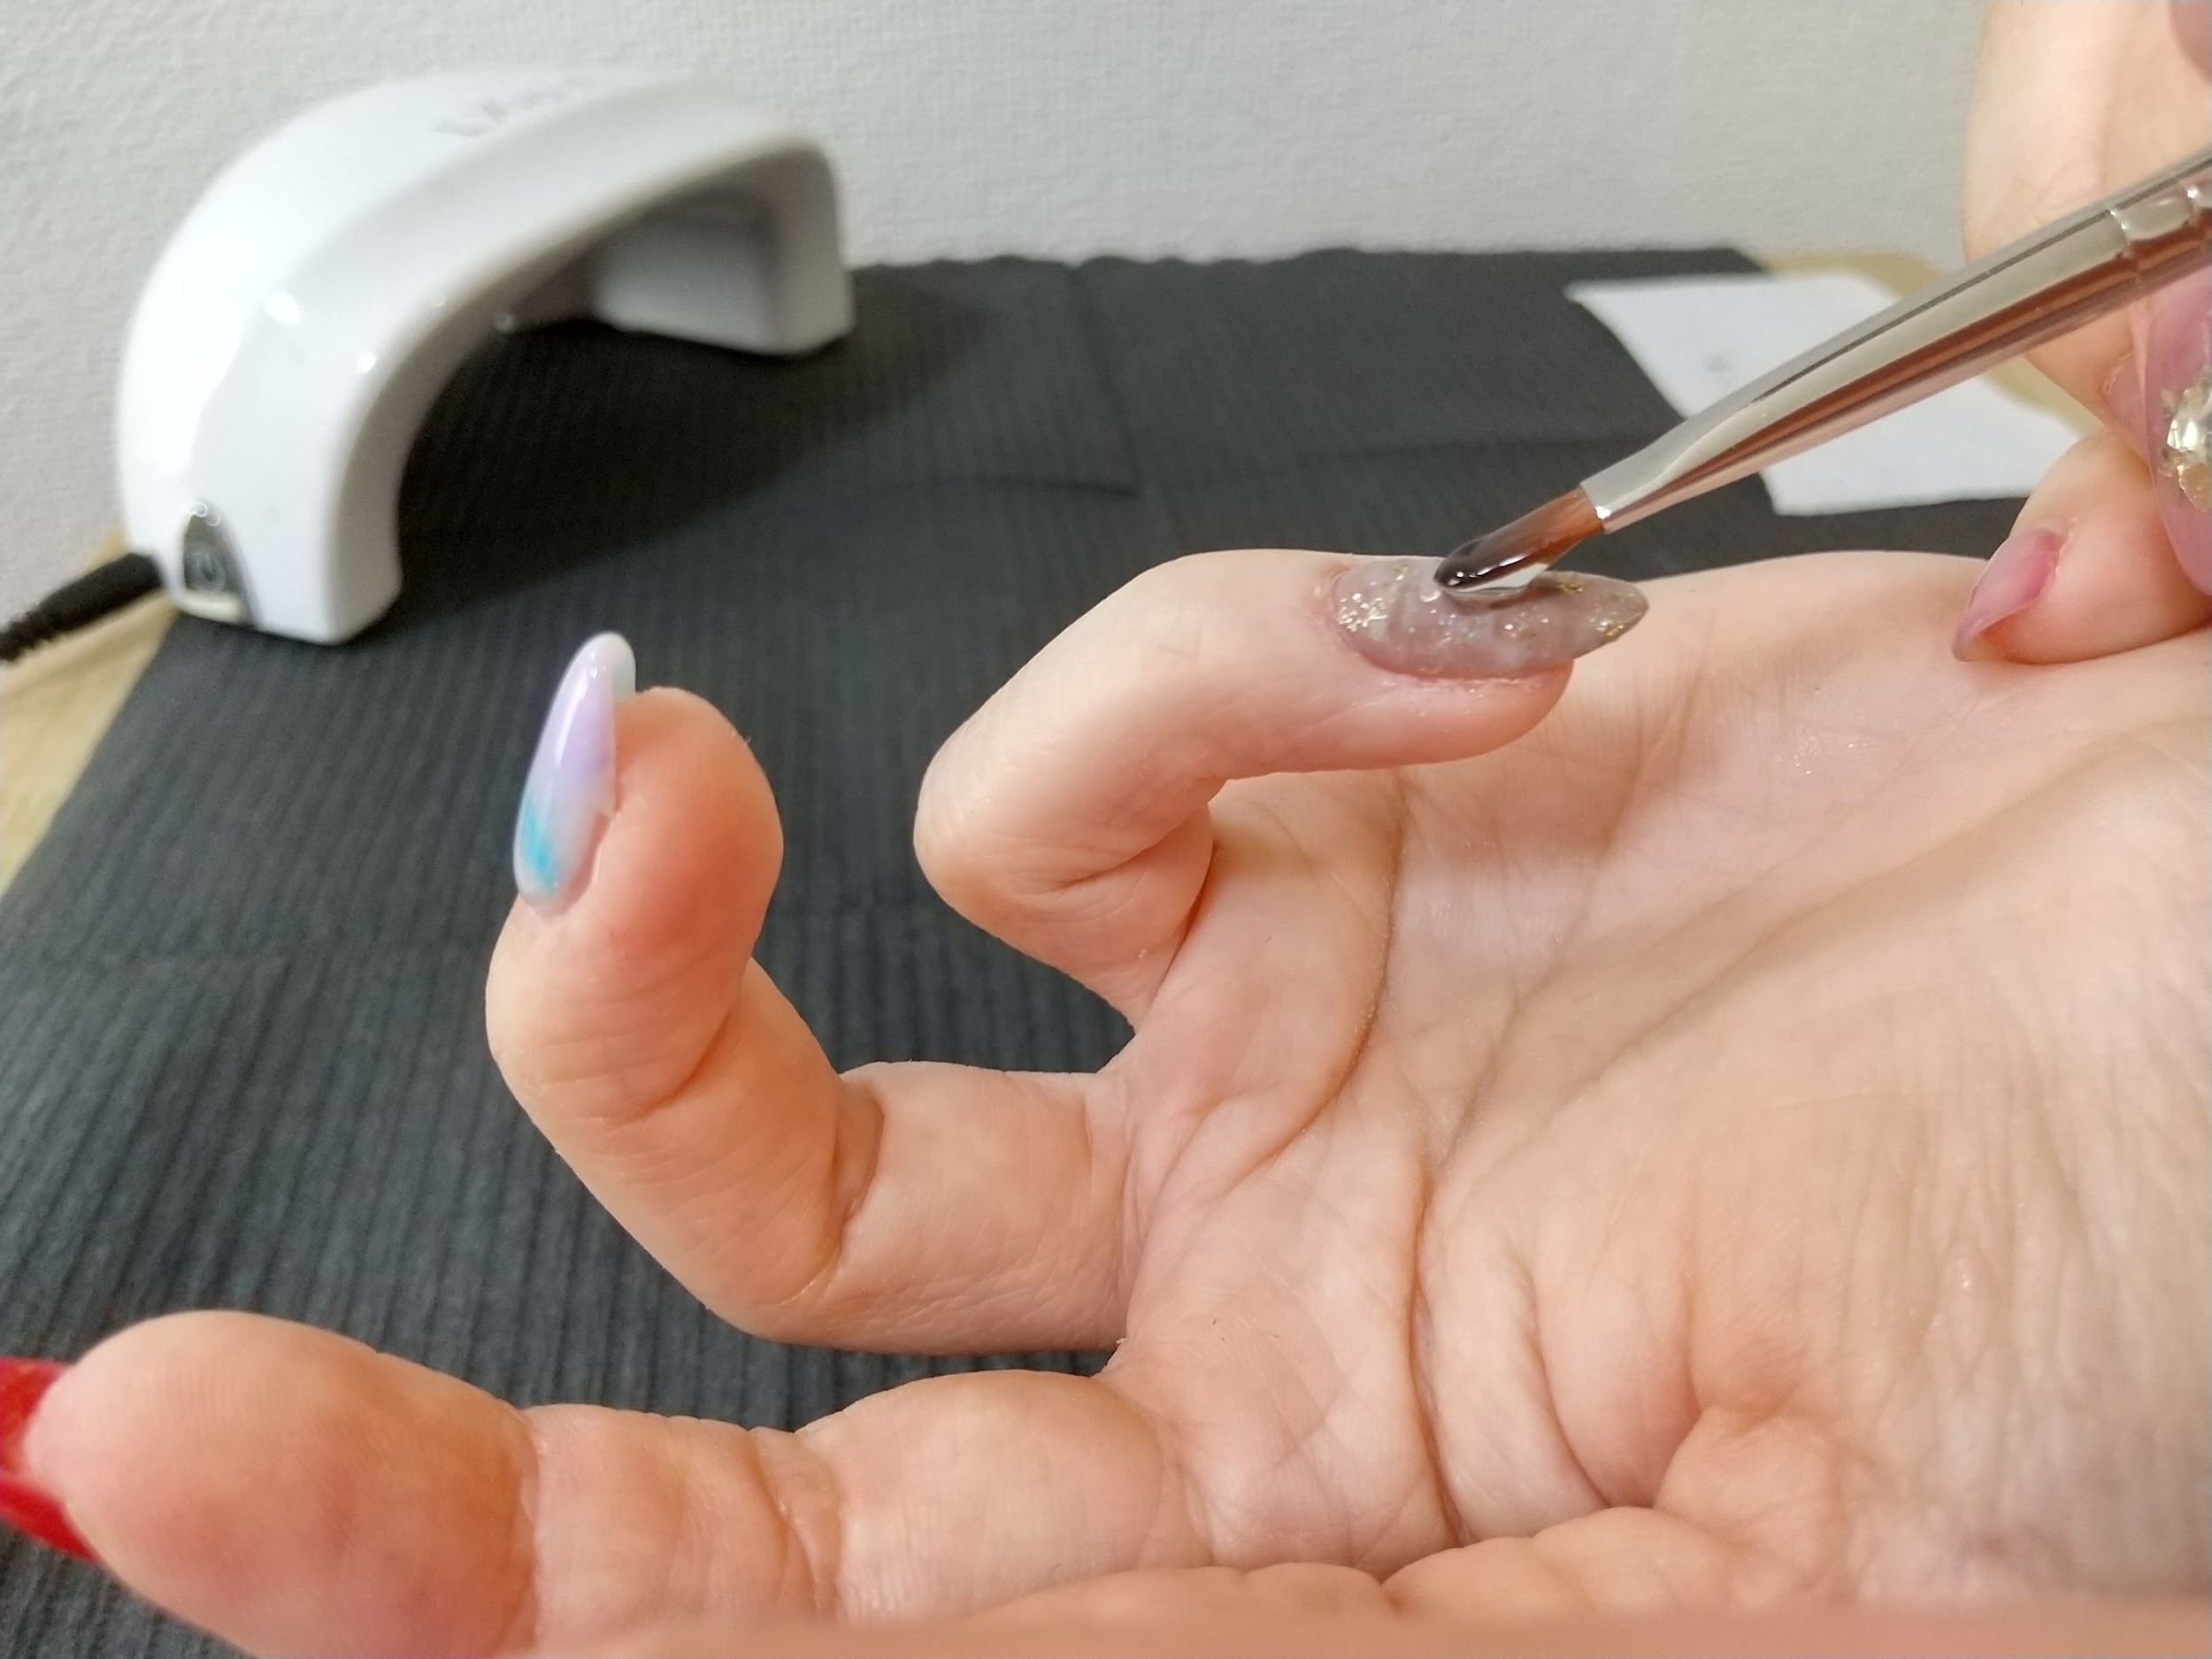
※画像の中指を装飾中
Ami色合わせを決めてからベースとなるカラーを全体に塗って硬化します。薄い場合は2度塗りも検討します。
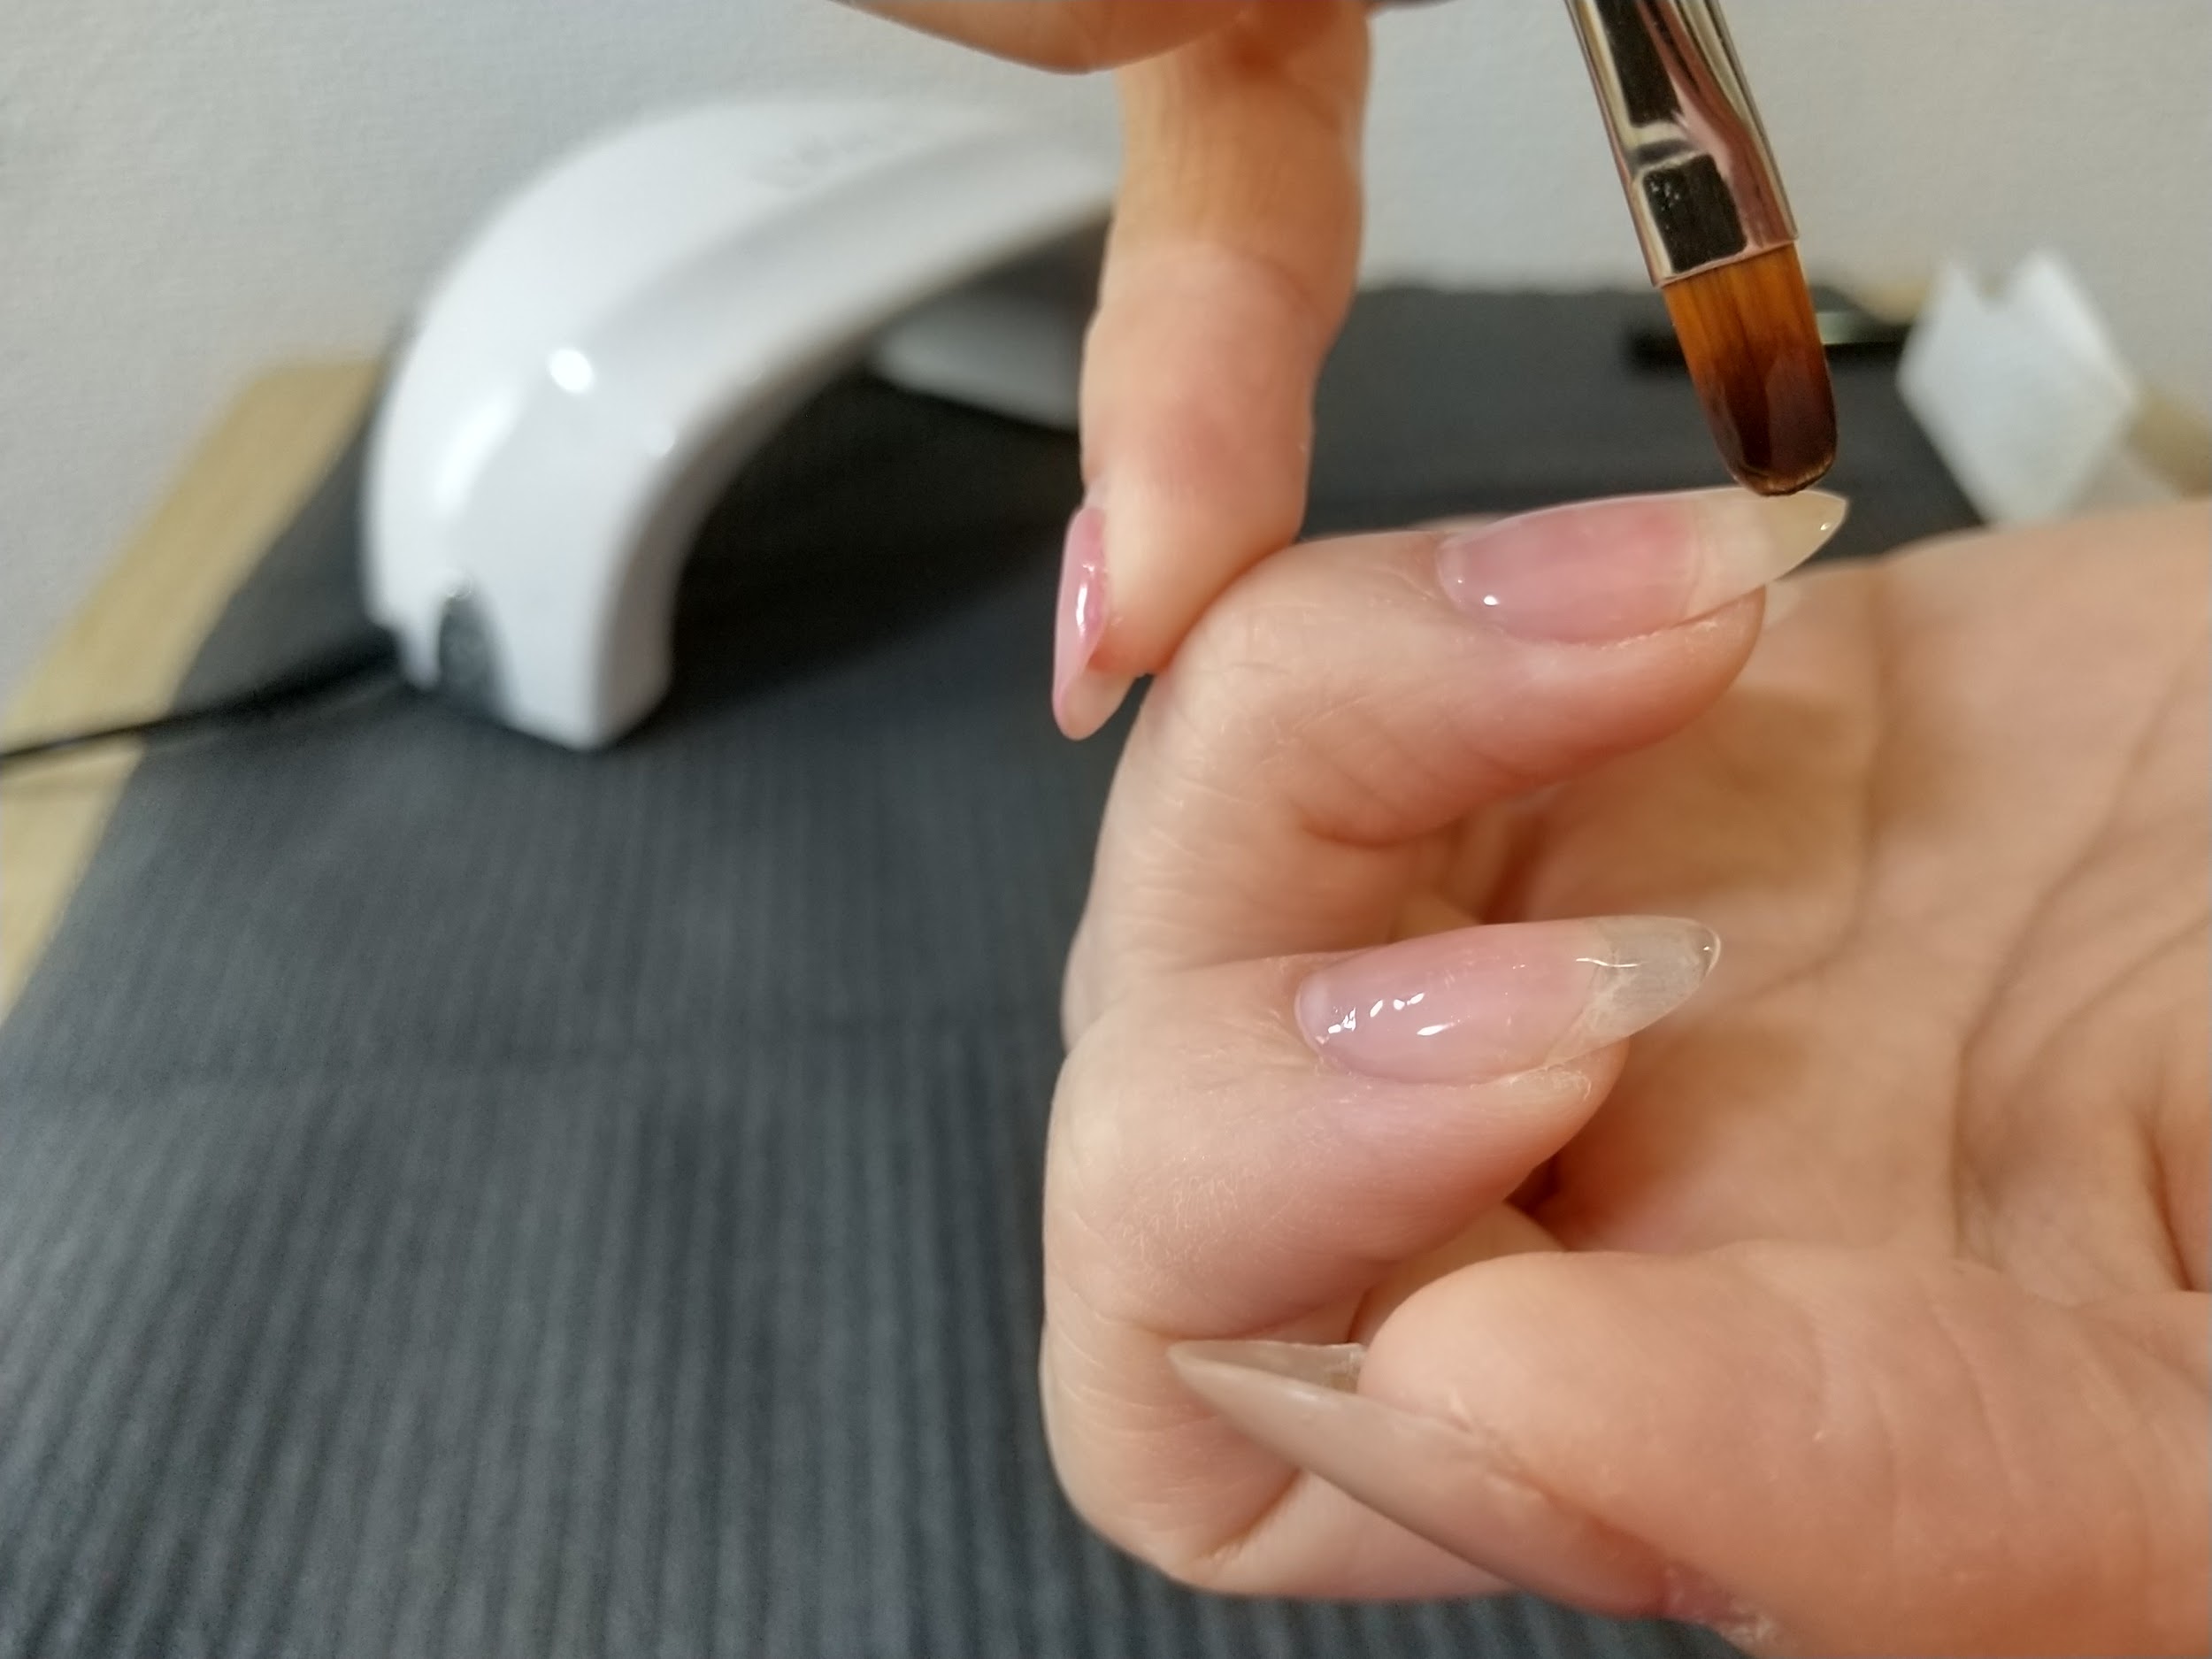
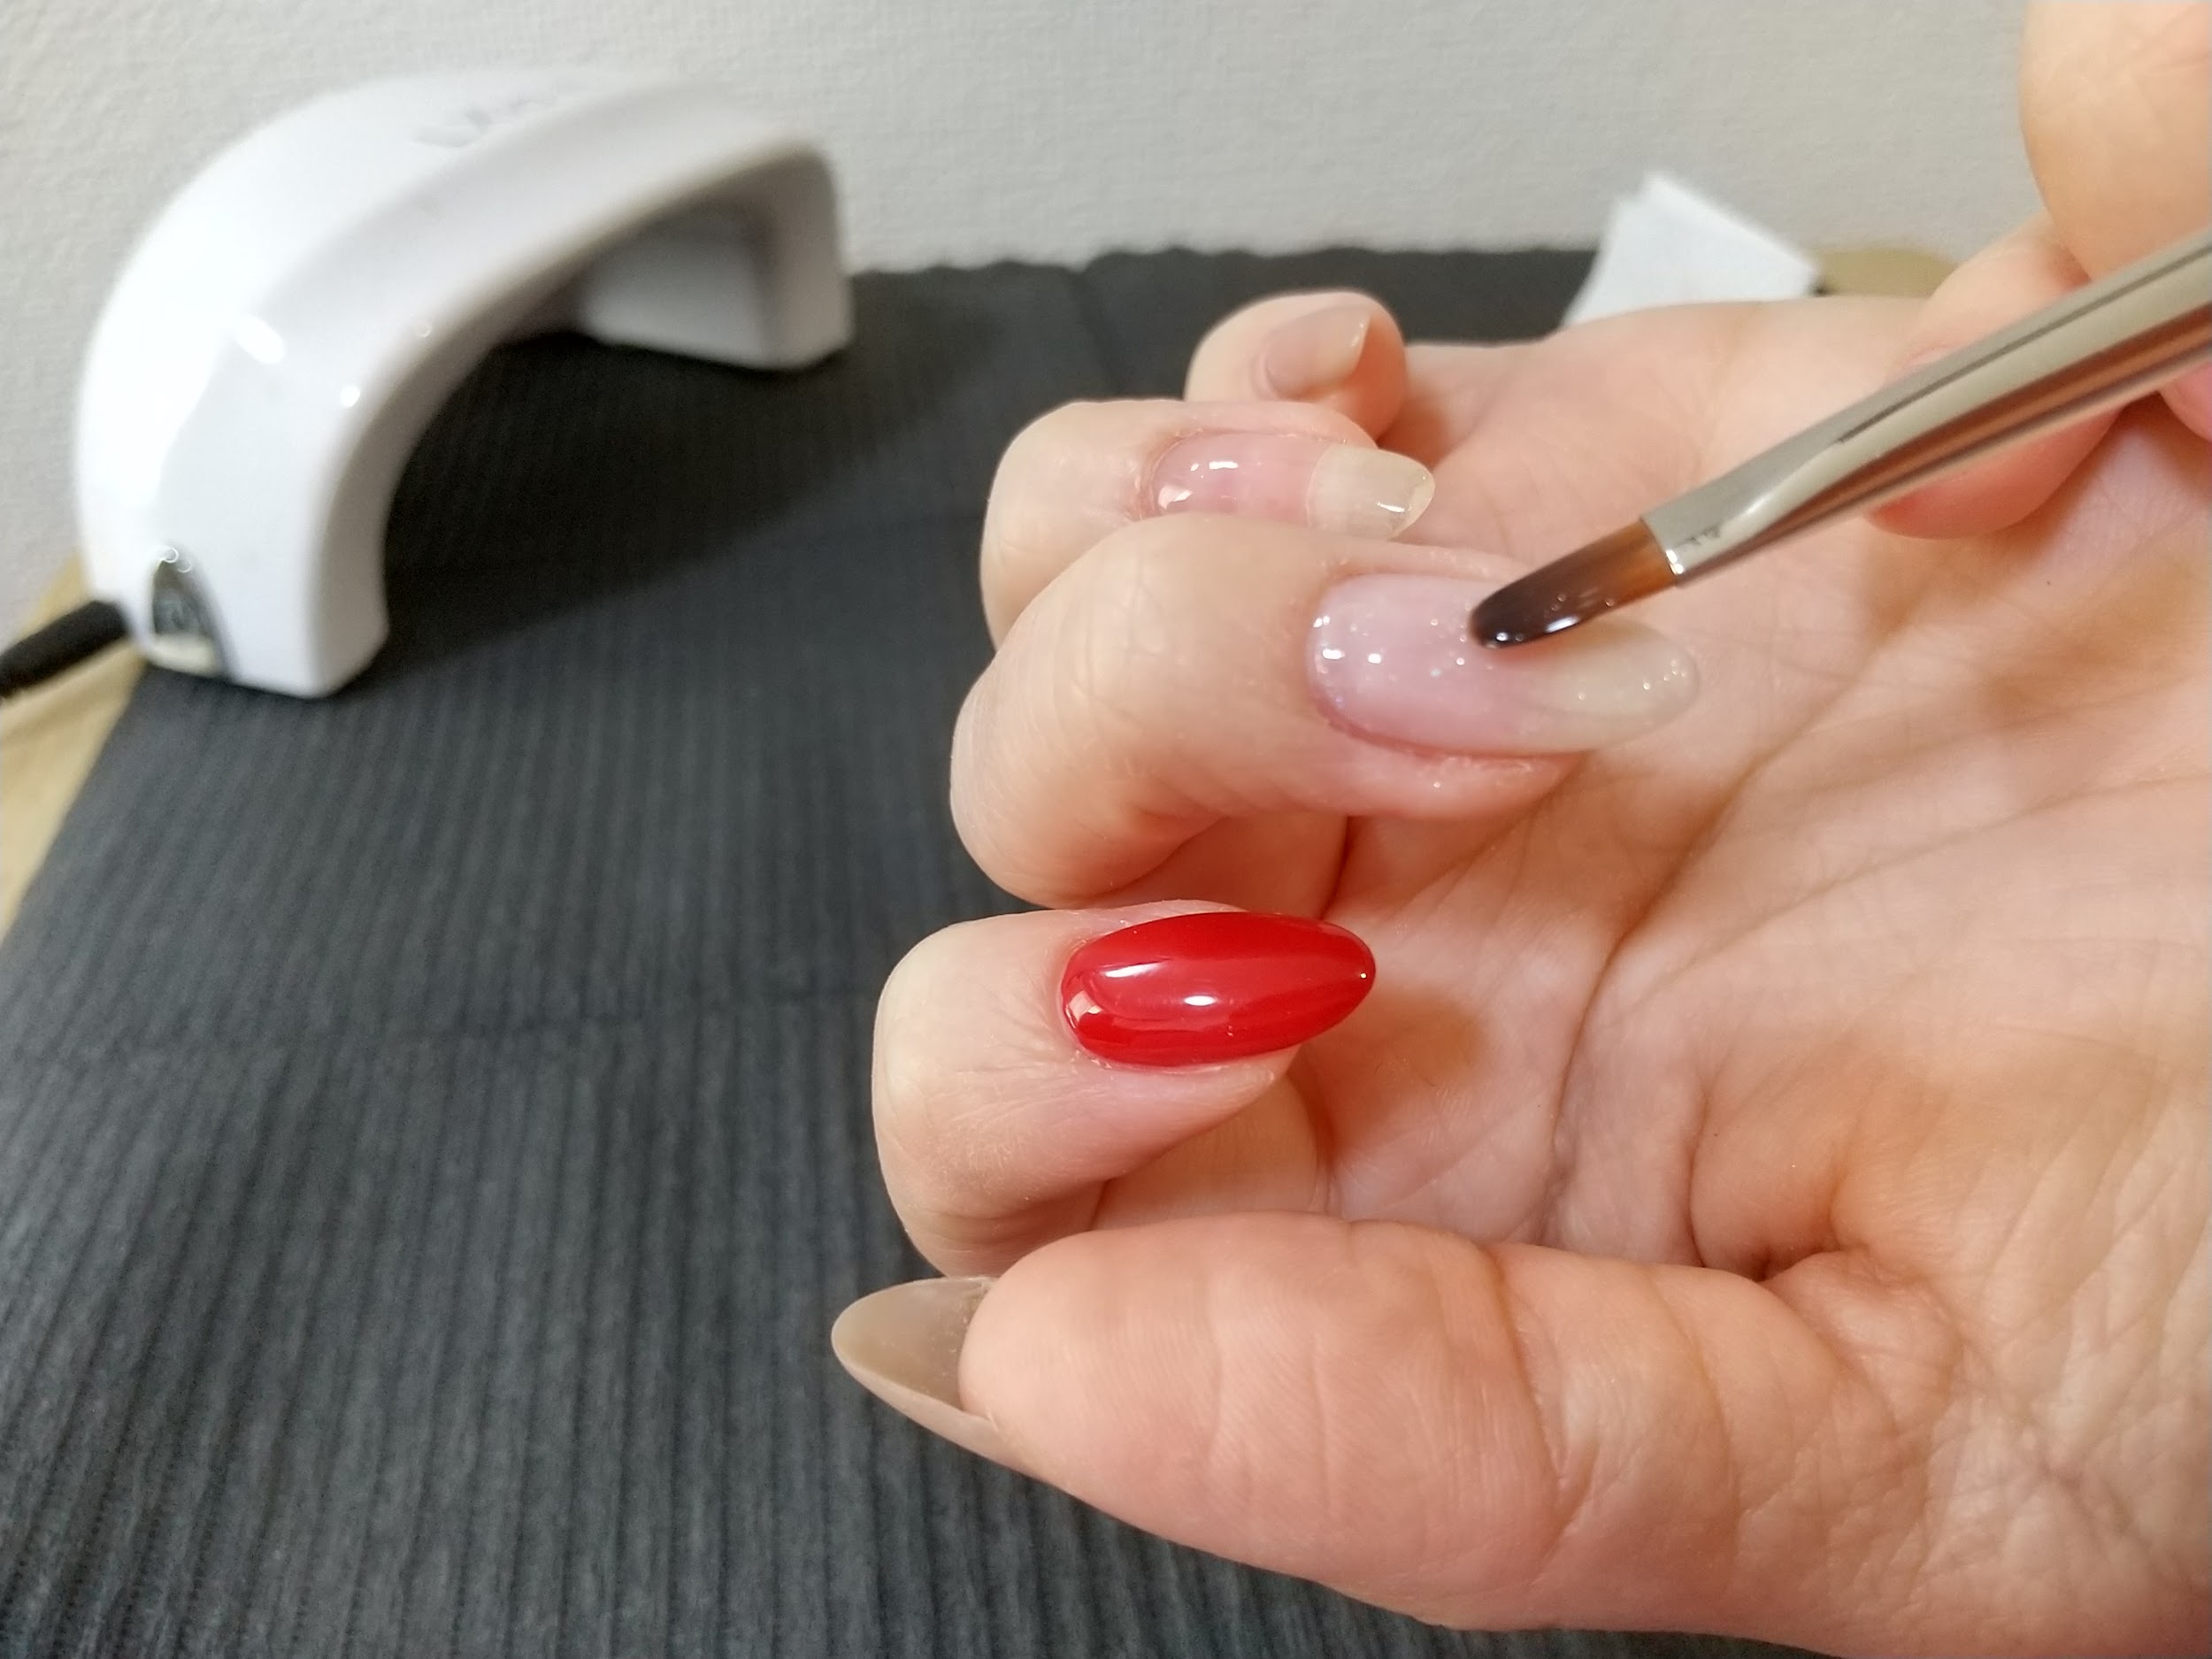 Ami
Ami上手くぼやけて馴染むように、クリアジェル(ベースジェルで可)を全体に一度塗りします。これは硬化しません。
重ねたい色をランダムで配置
 Ami
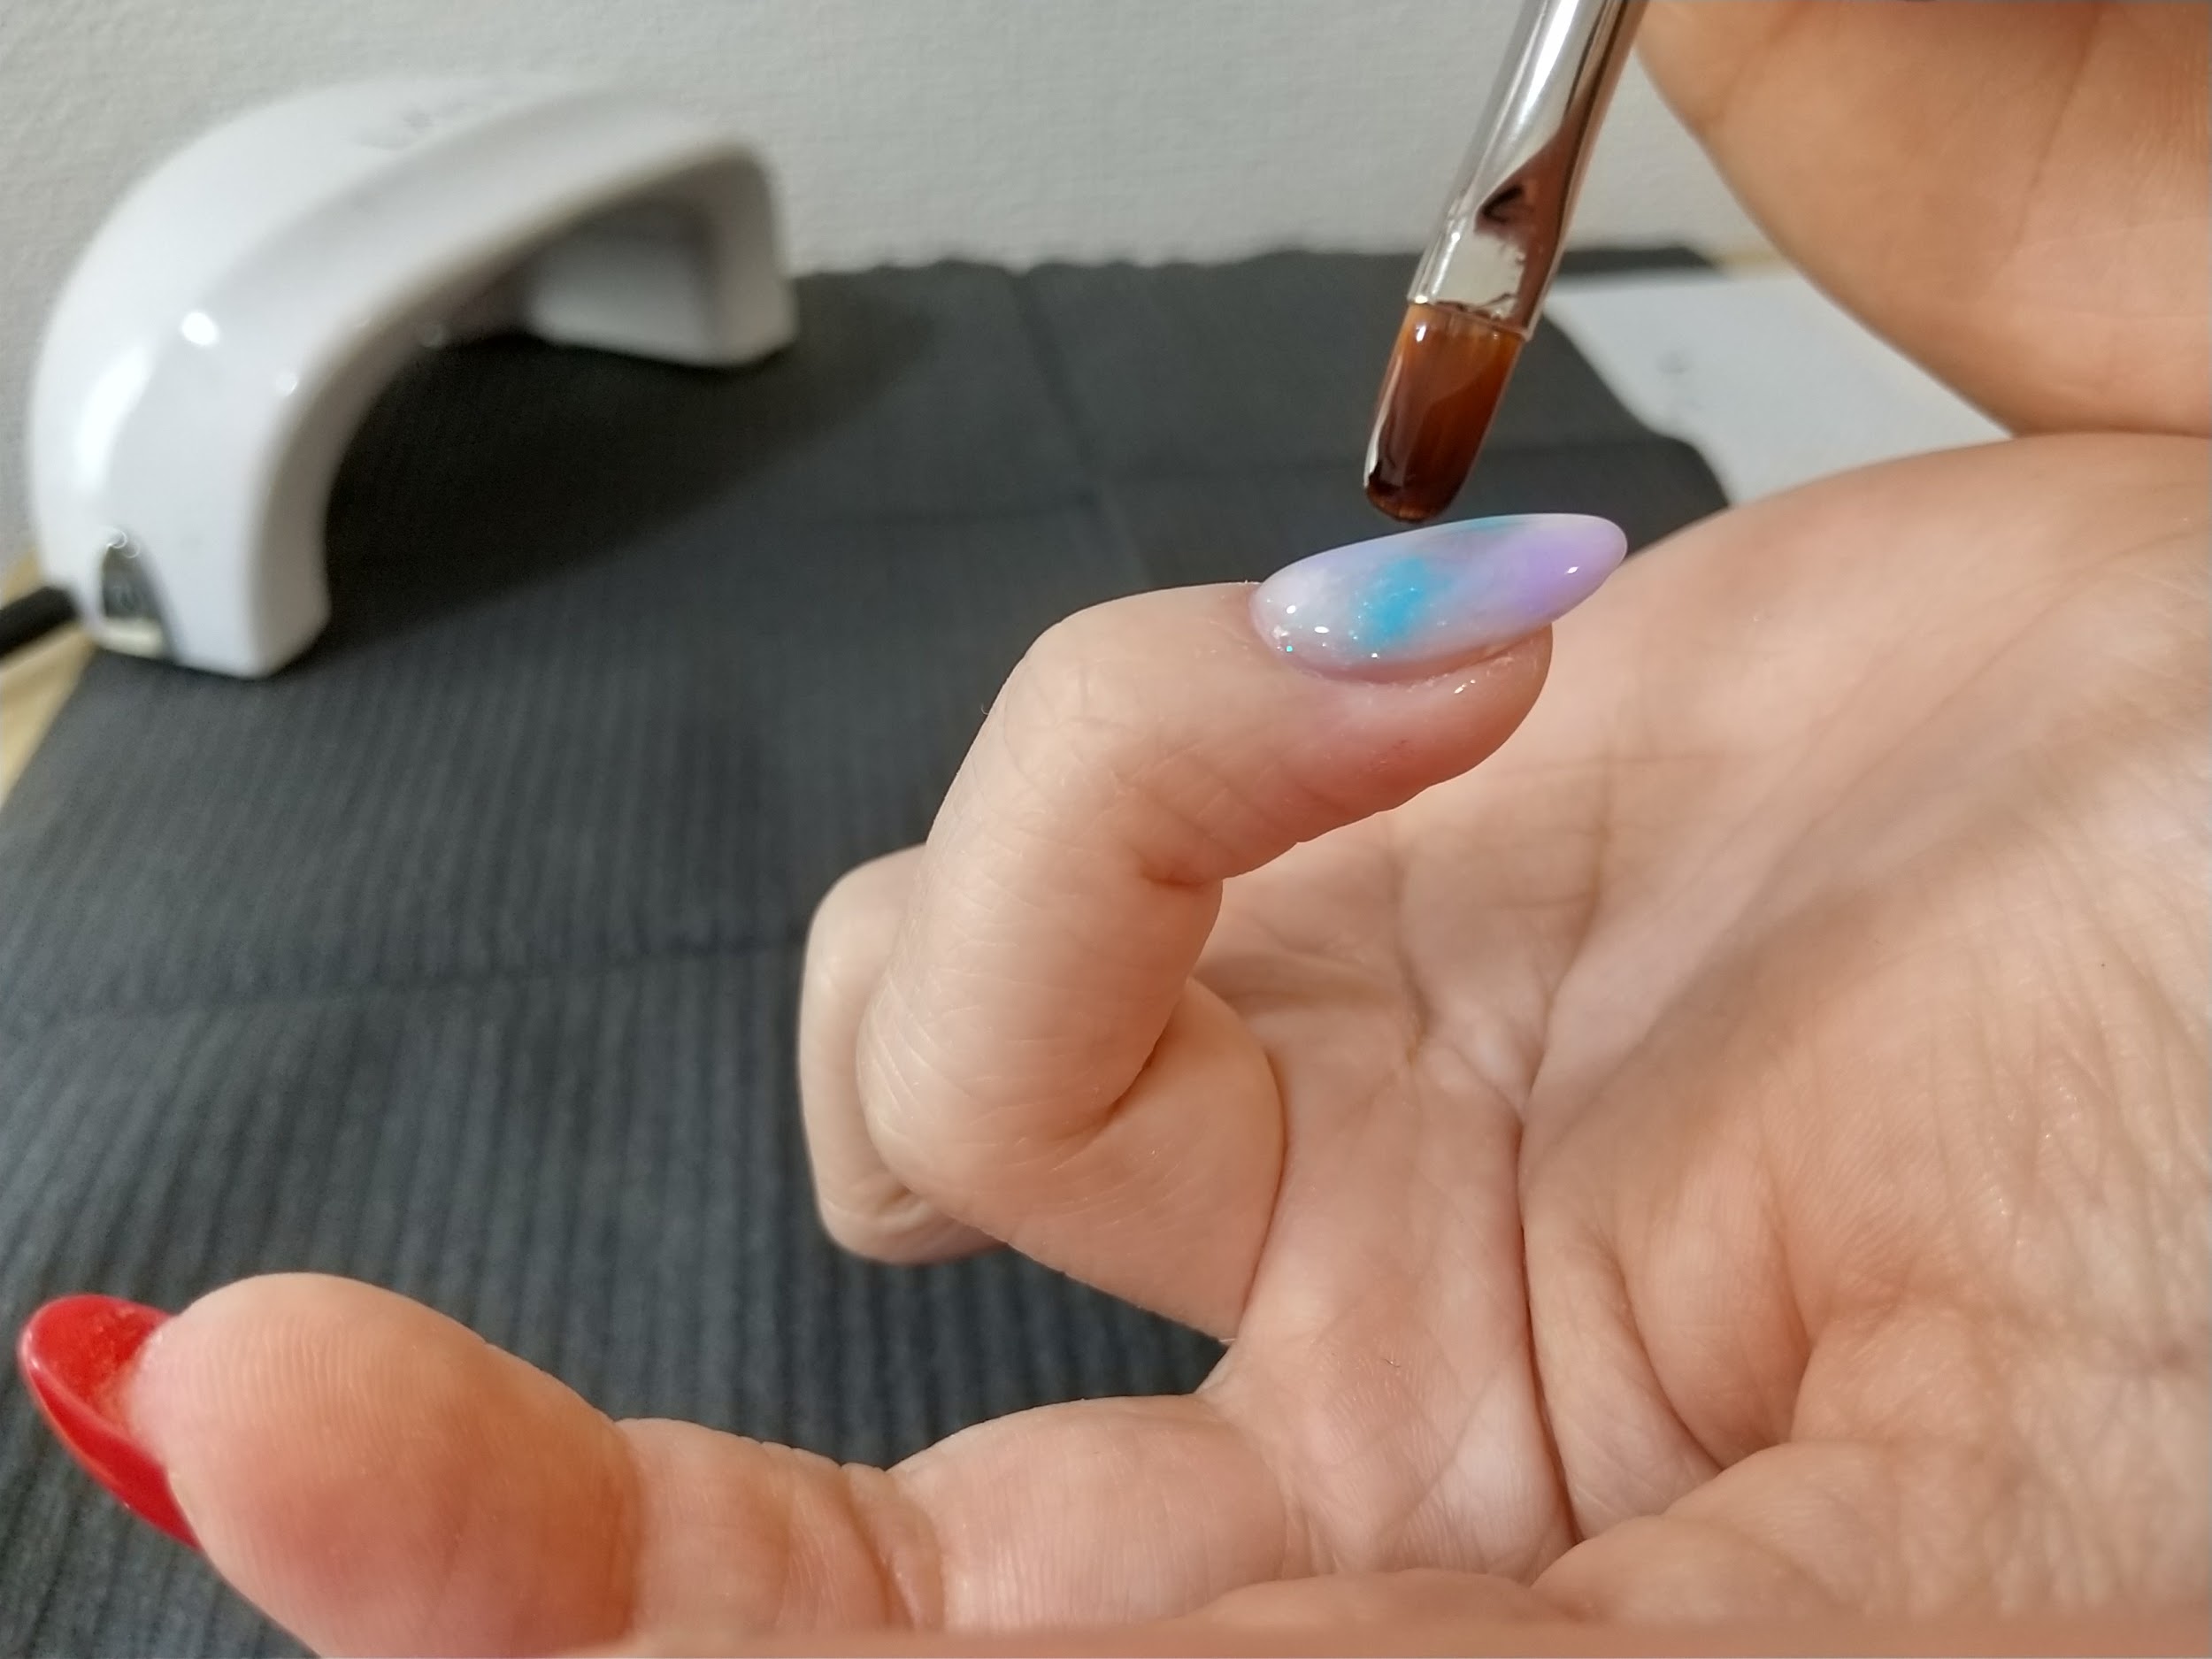
Amiクリアジェルの上に直接、重ねたいカラージェルをランダムに置きます。
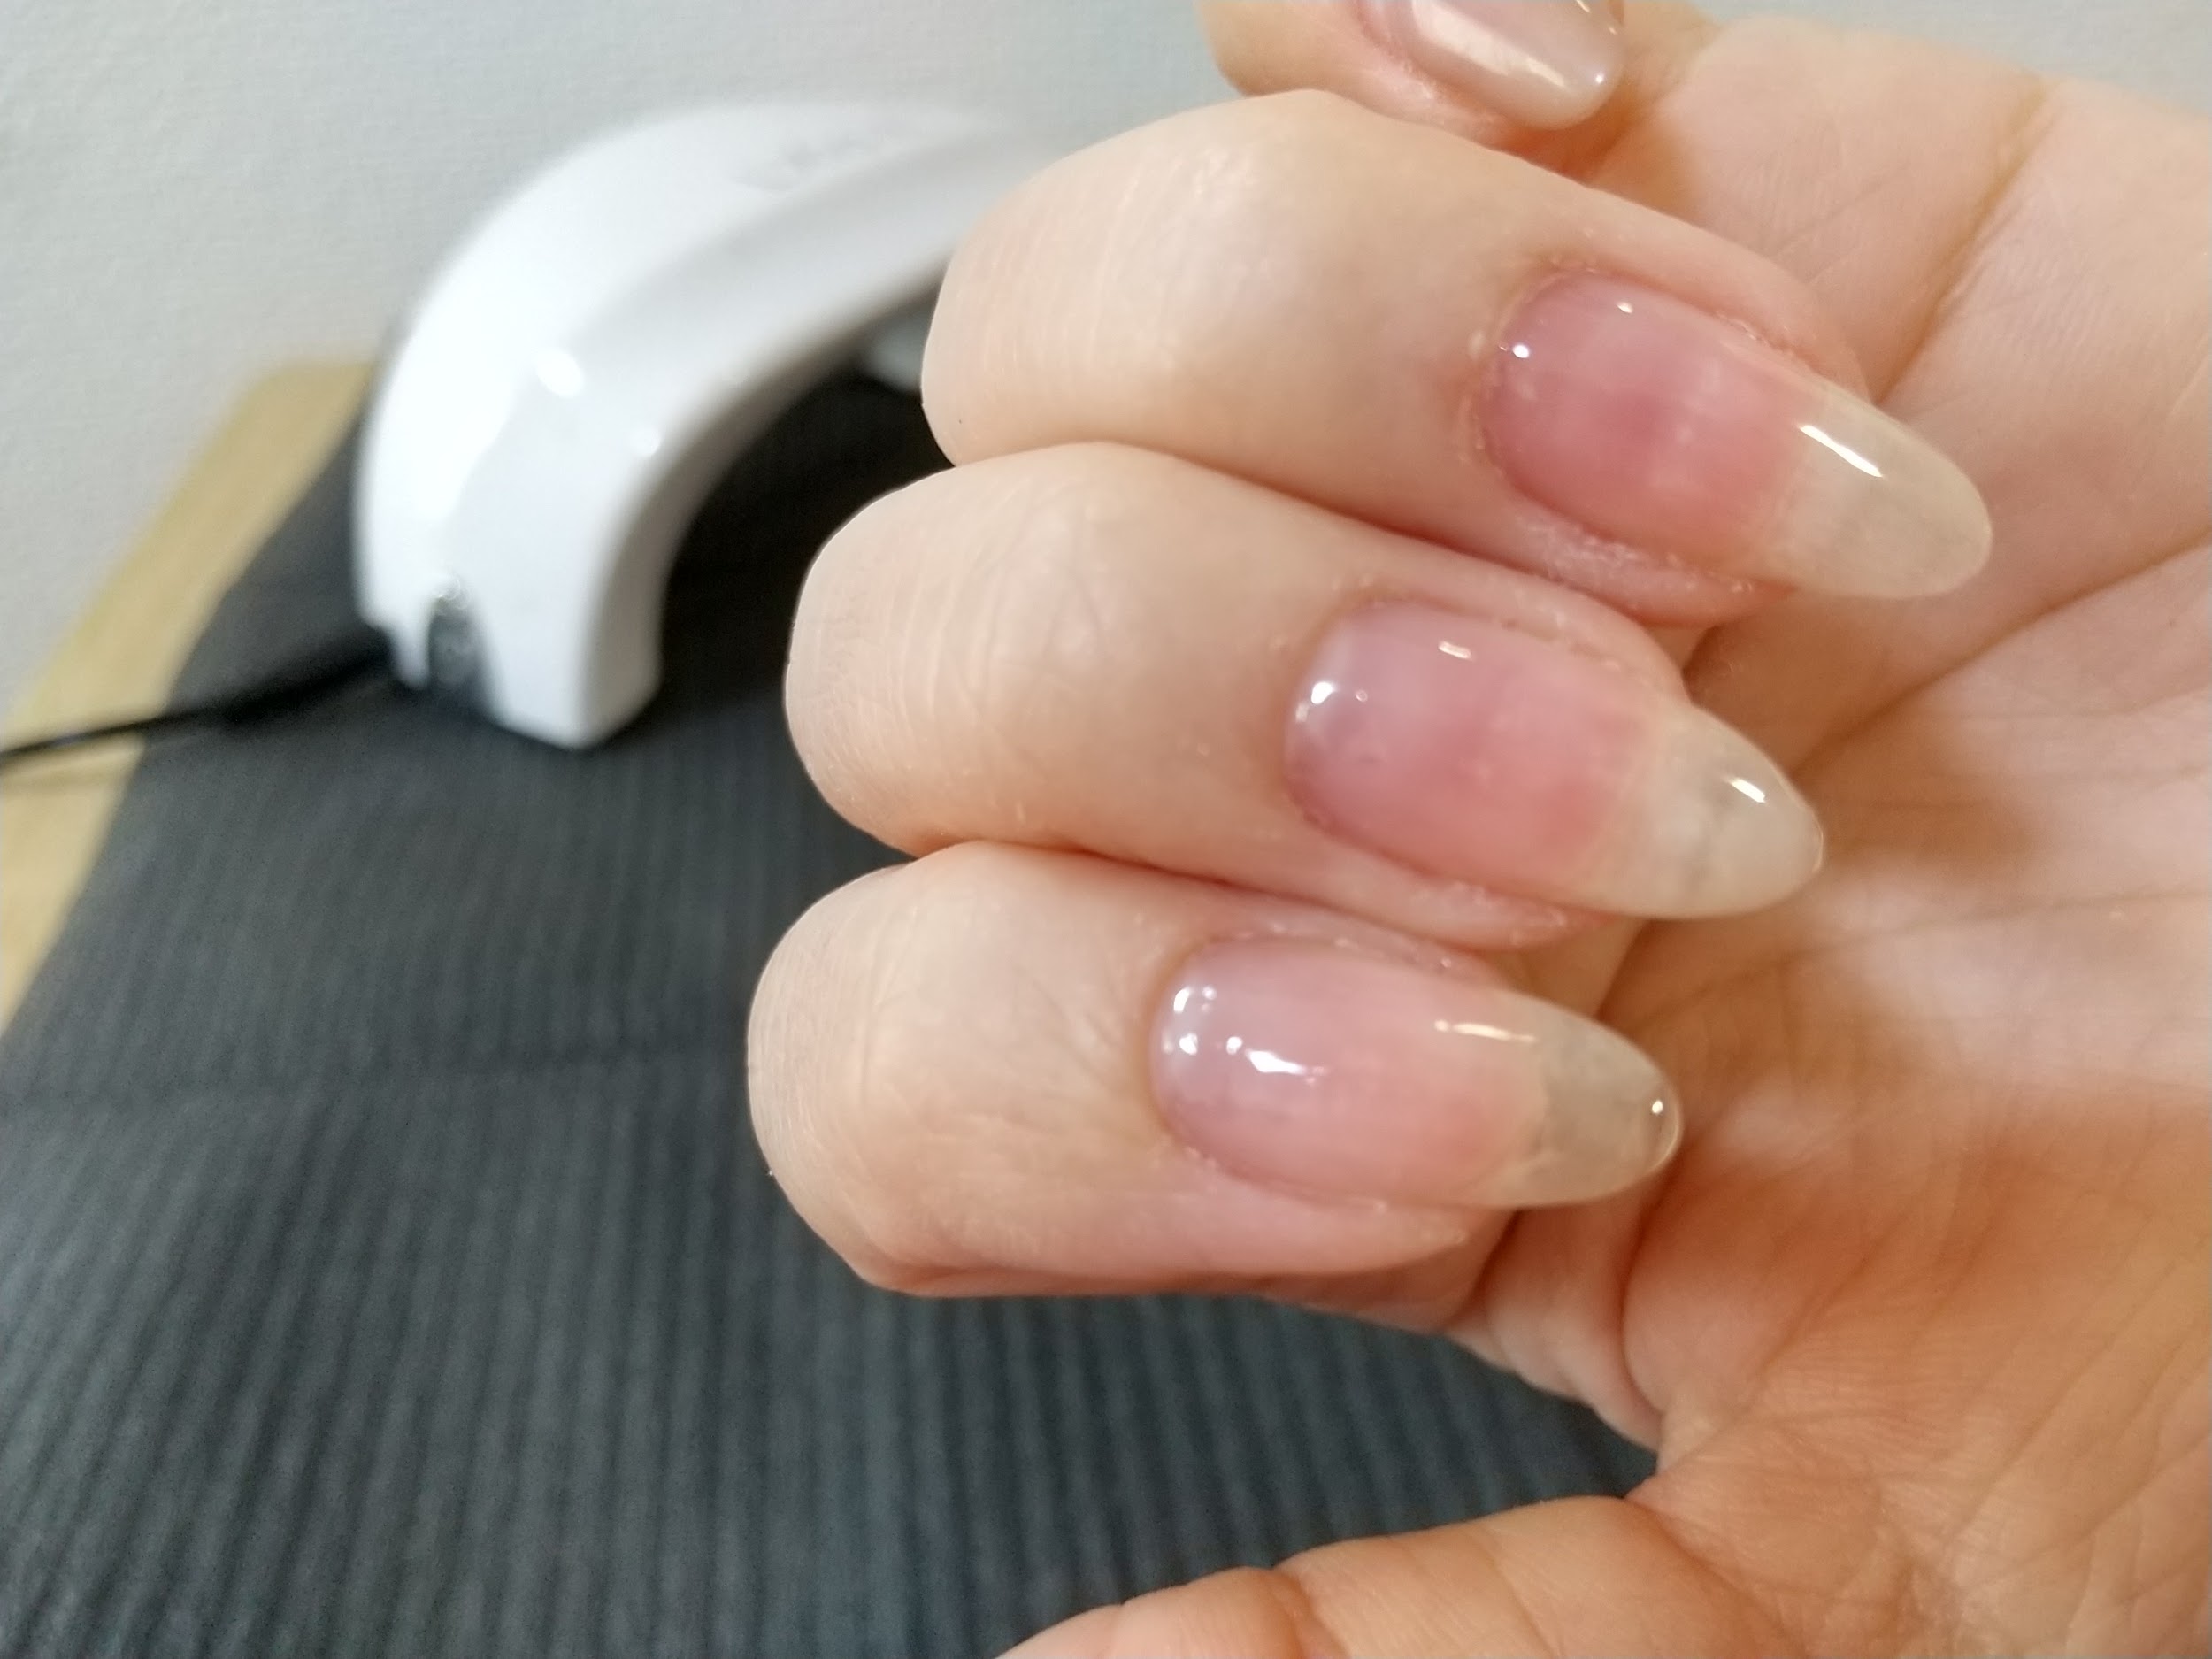
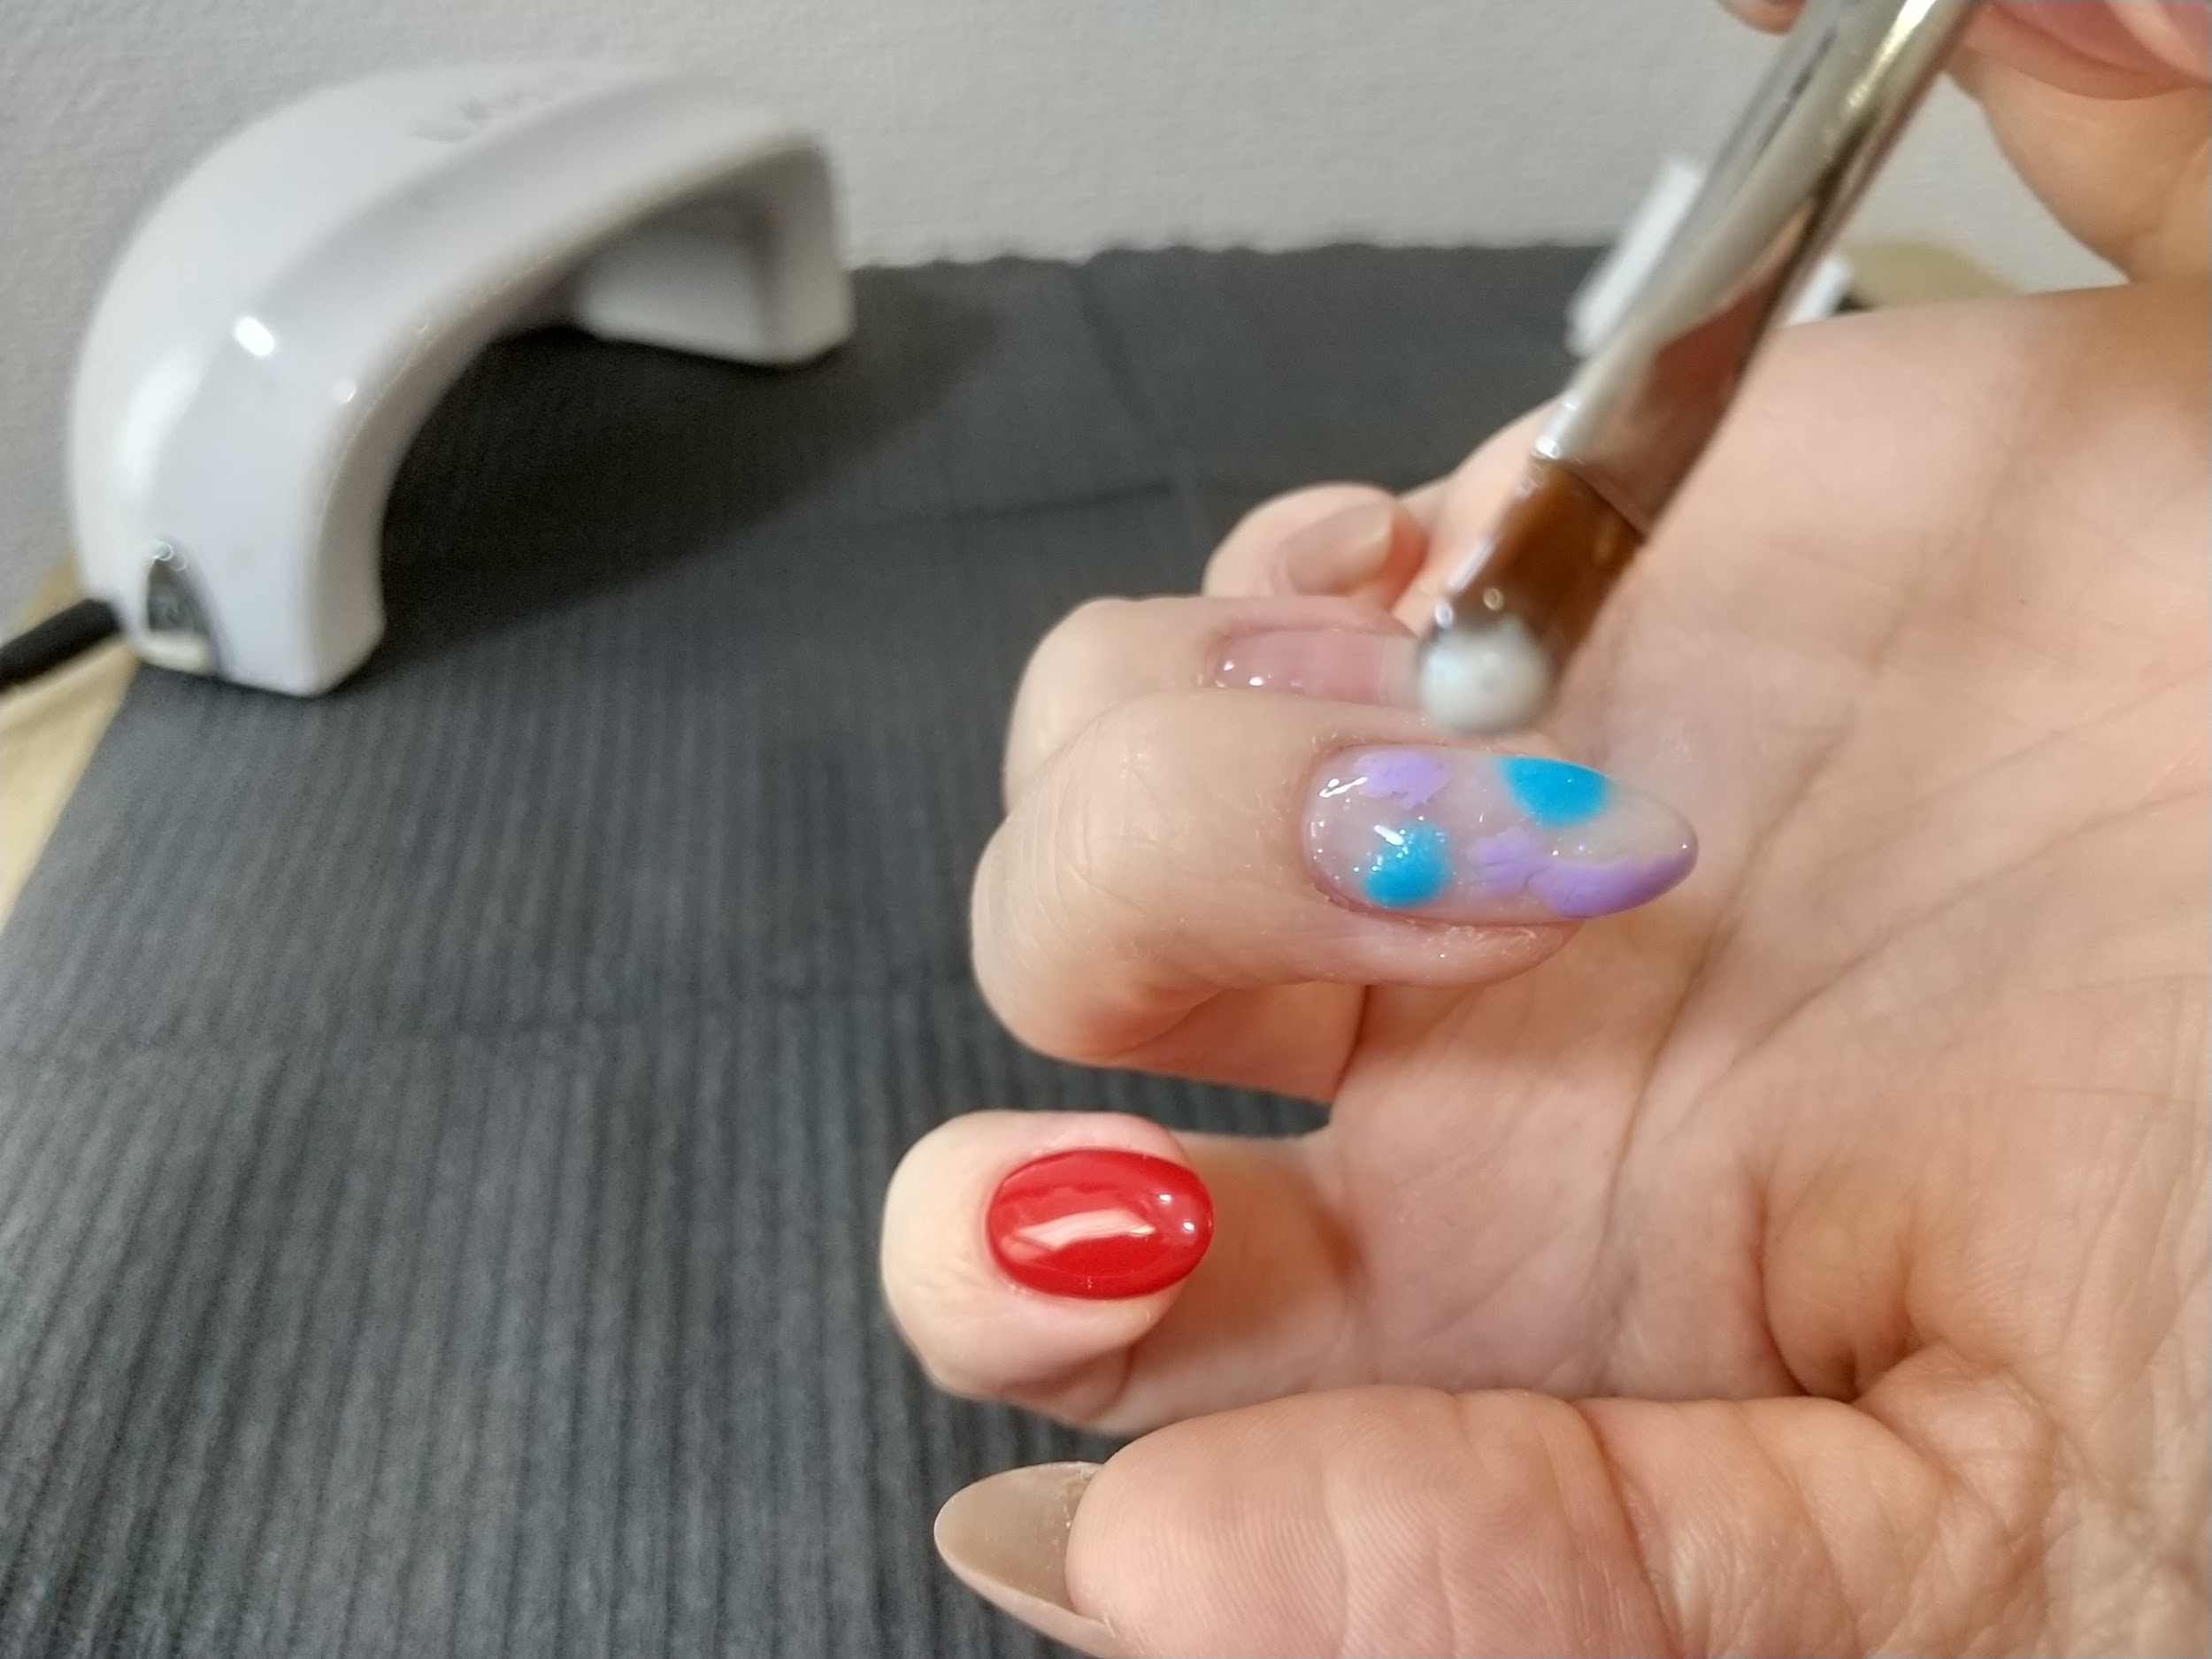 Ami
Ami置いた部分の真ん中ではなく、周りを触るようにして動かします。
 Ami
Ami置いたカラーを潰さないように注意します。
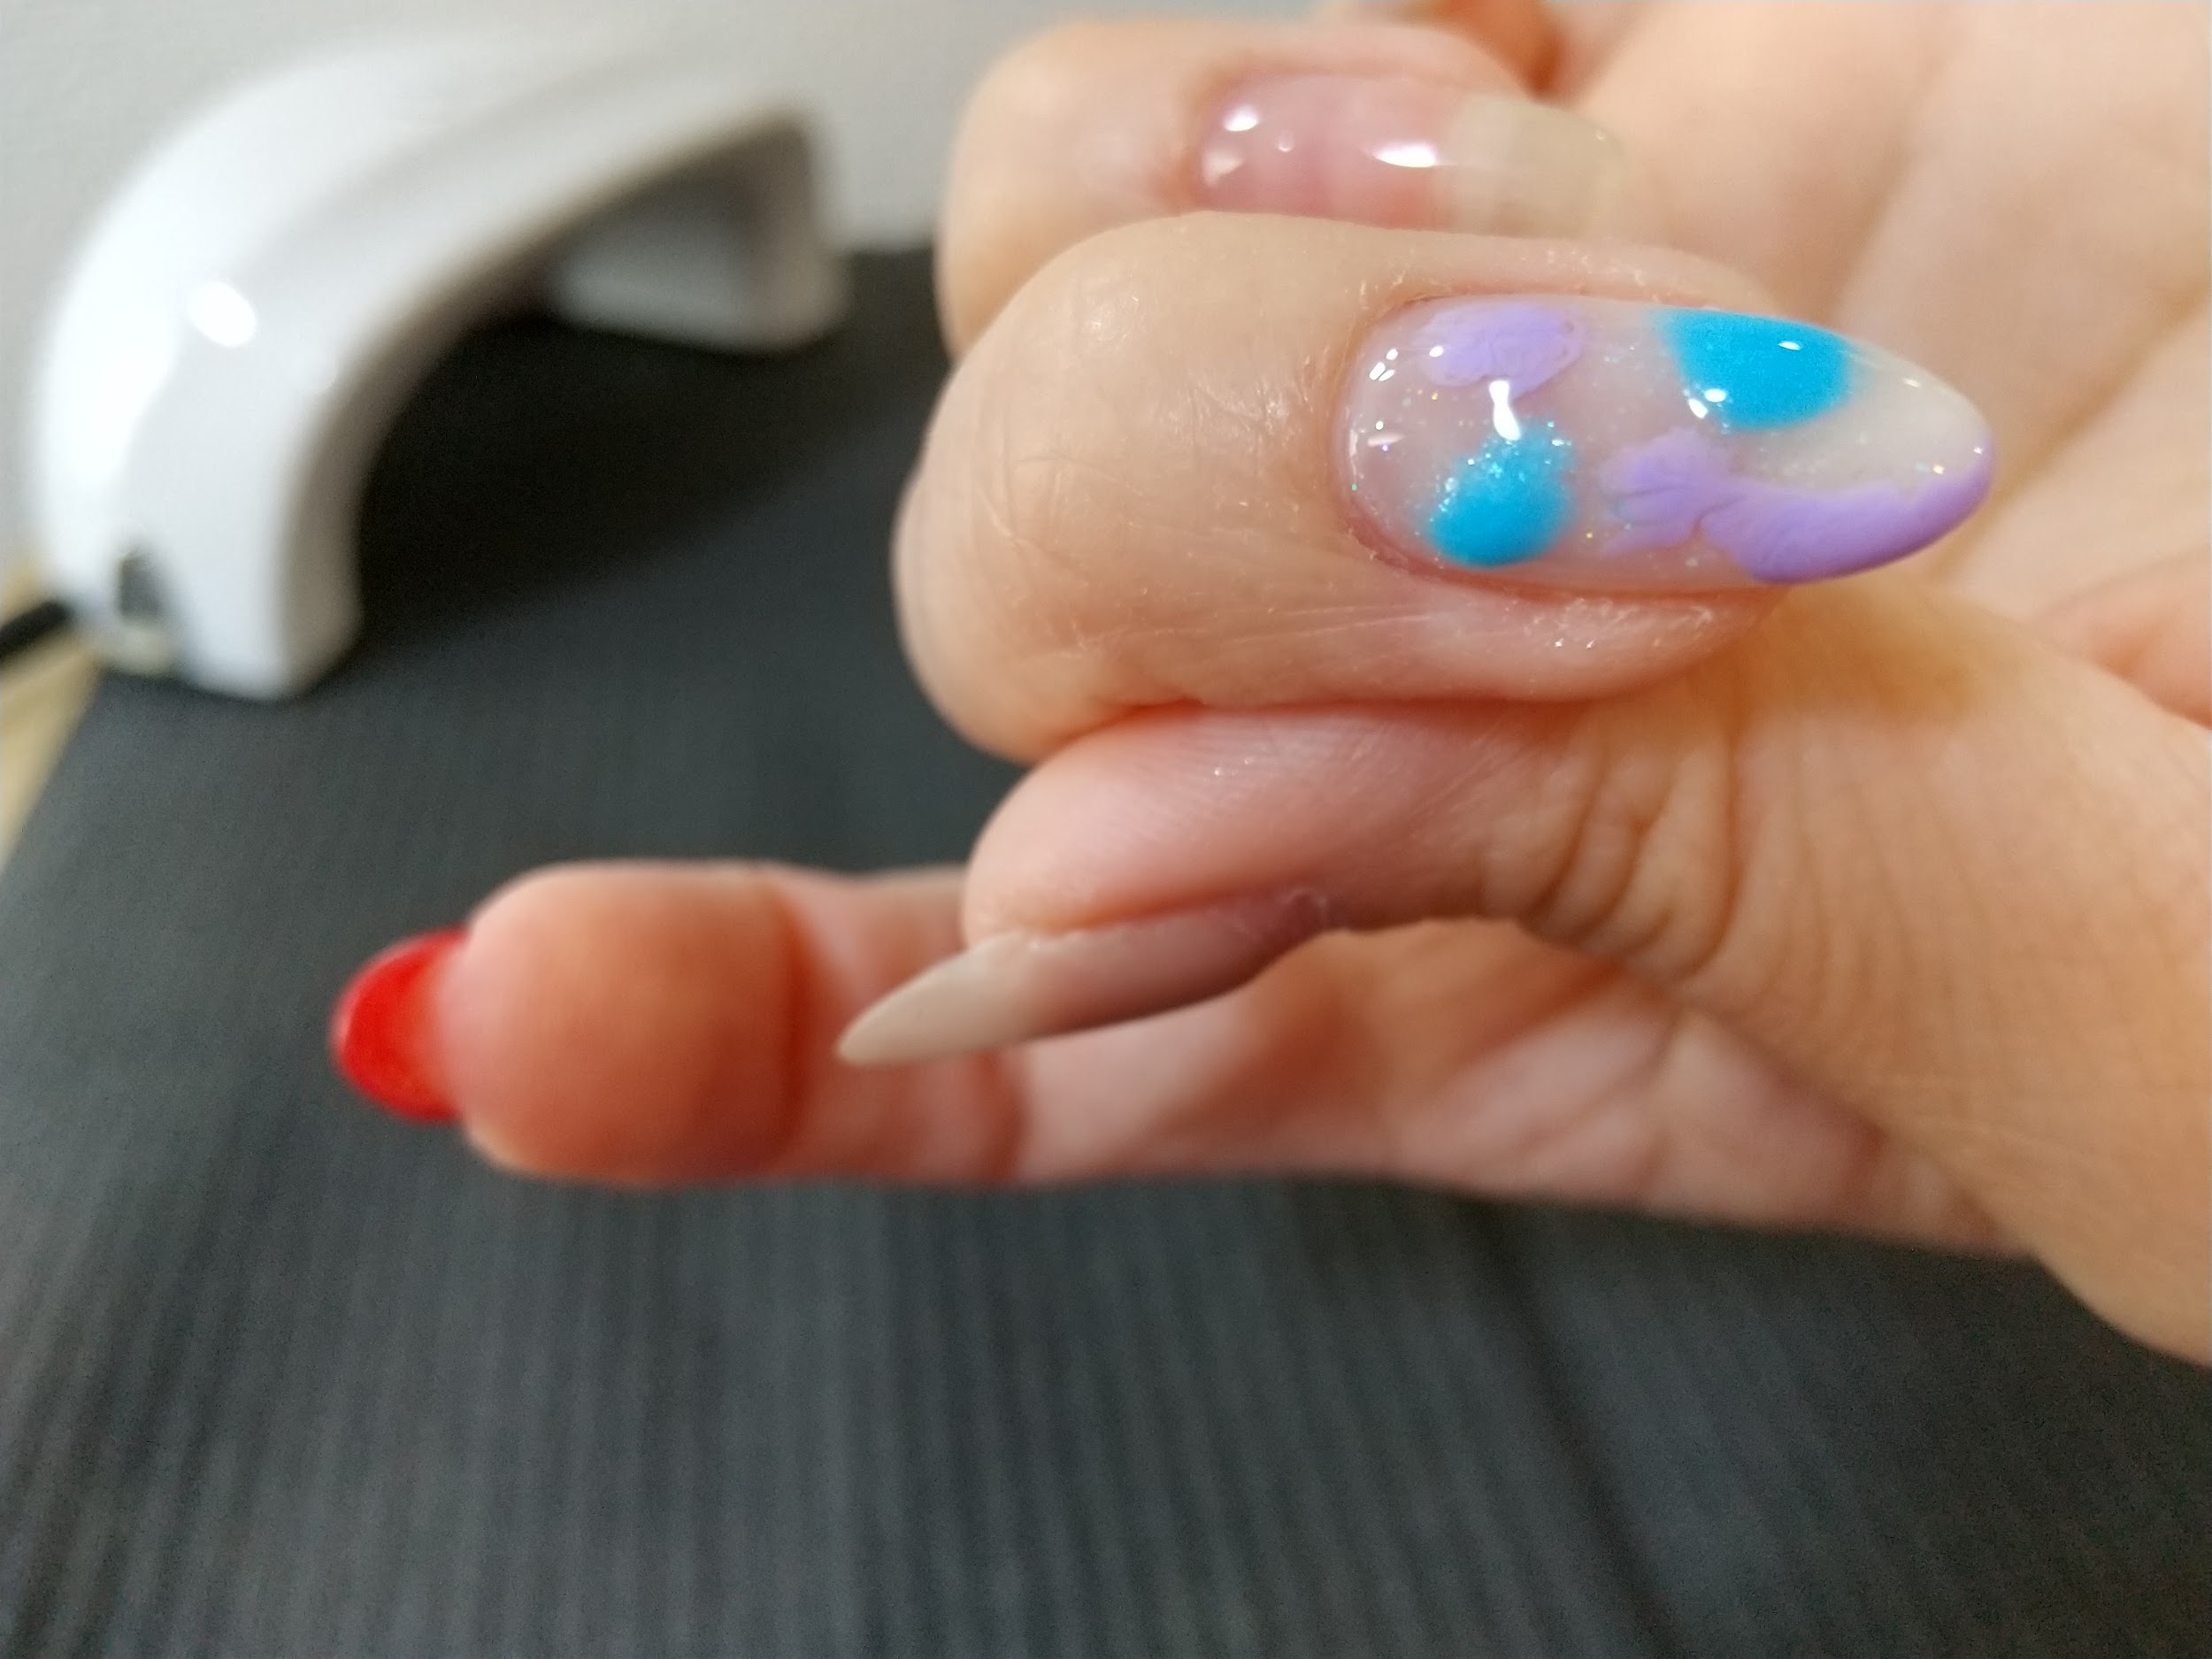
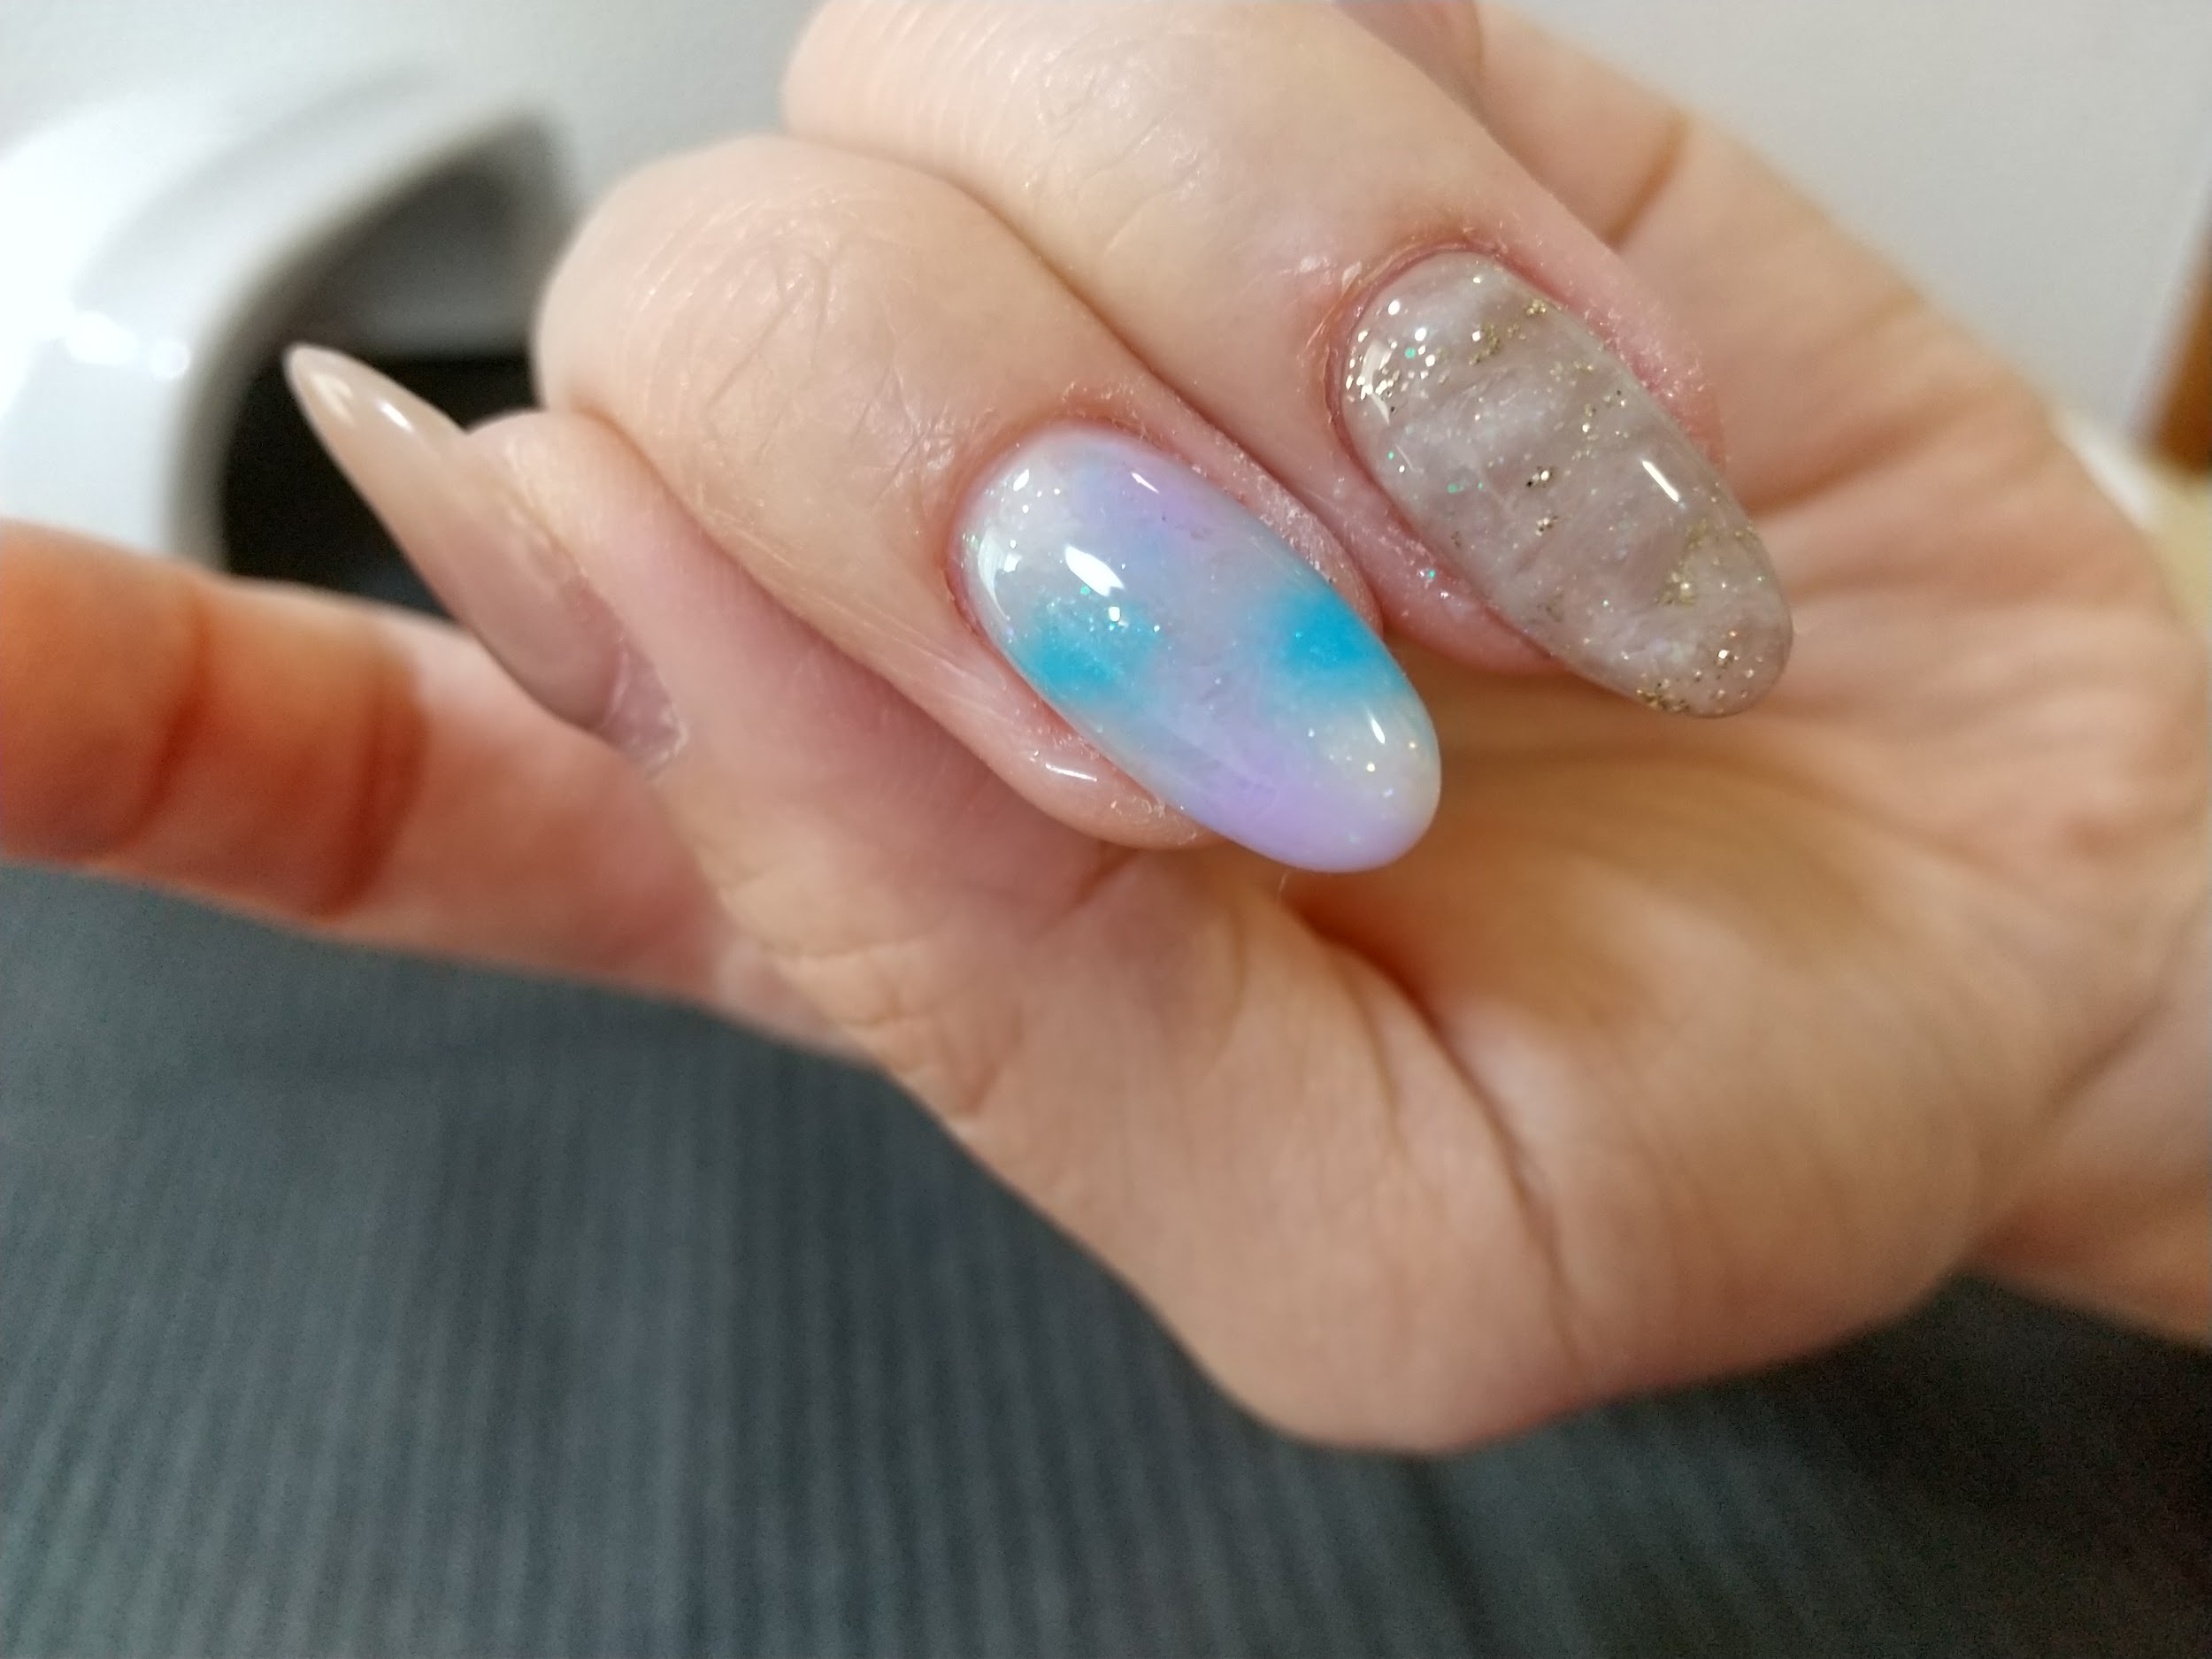
 Ami
Ami今回はクリアジェルの上に水色と薄い紫を配置してマーブル柄にしました。
カラージェル(コンテナ型)の見本商品


カラージェル(ポリッシュ型)商品


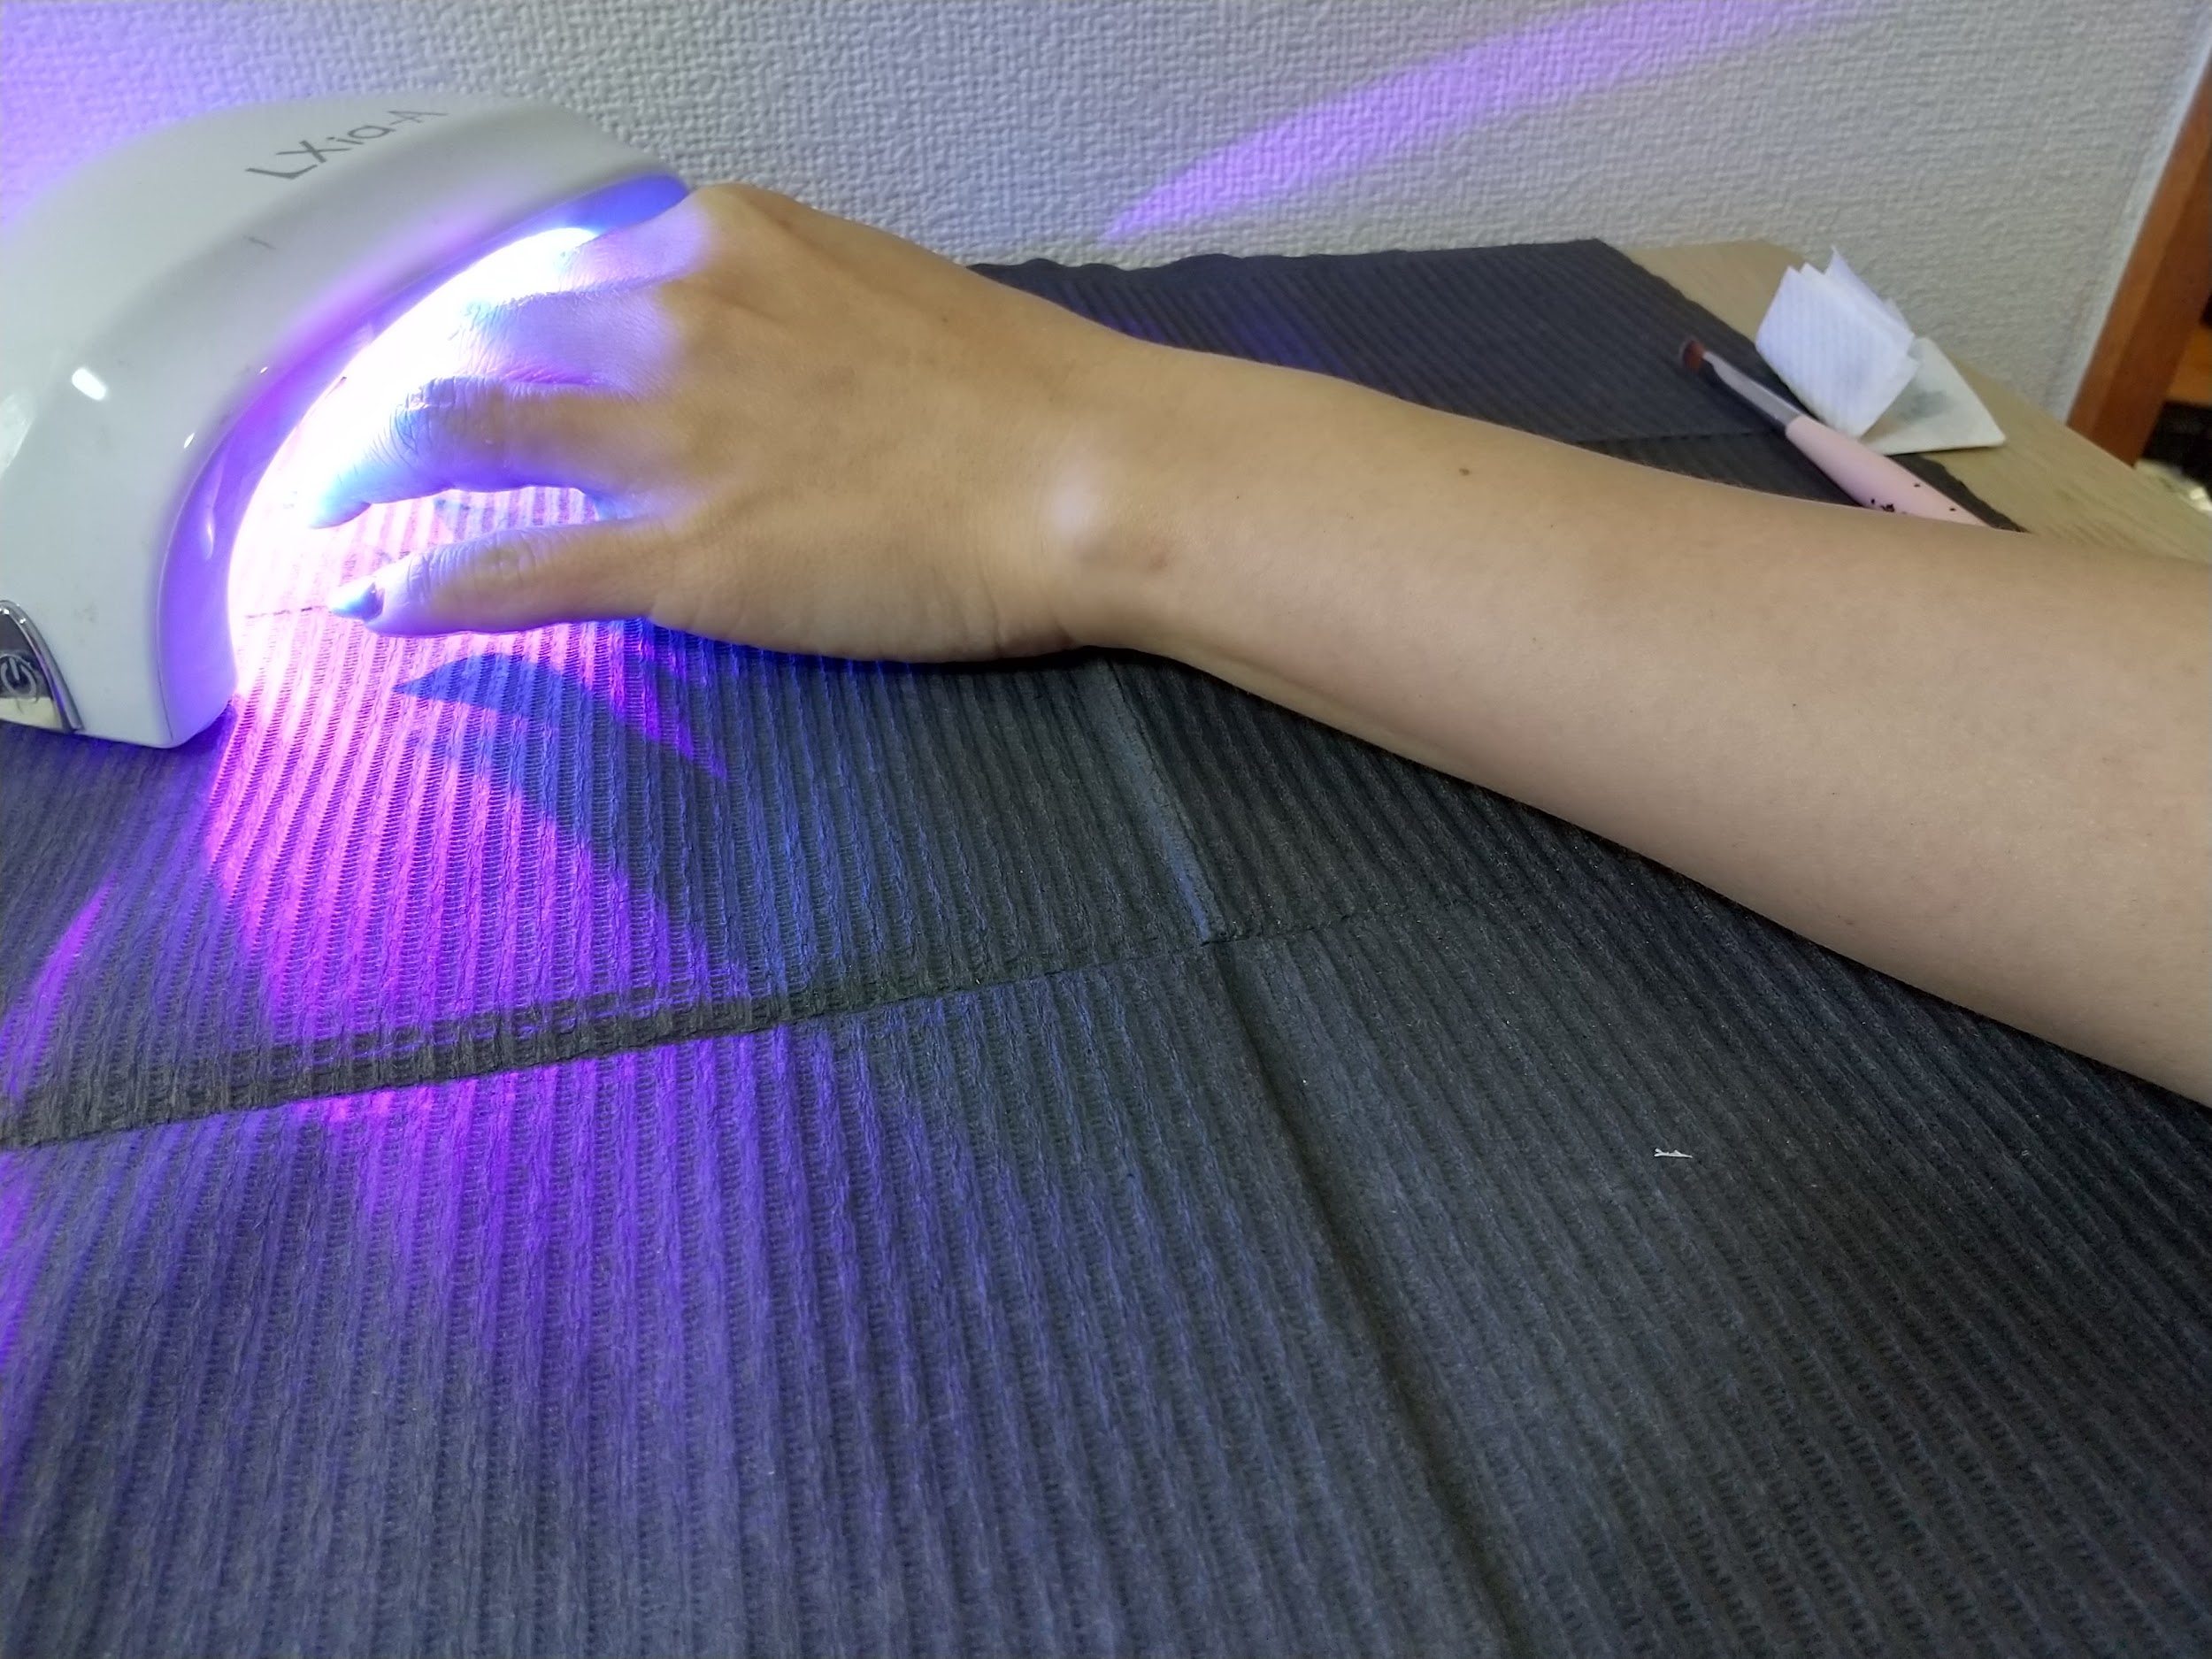
ライトで硬化
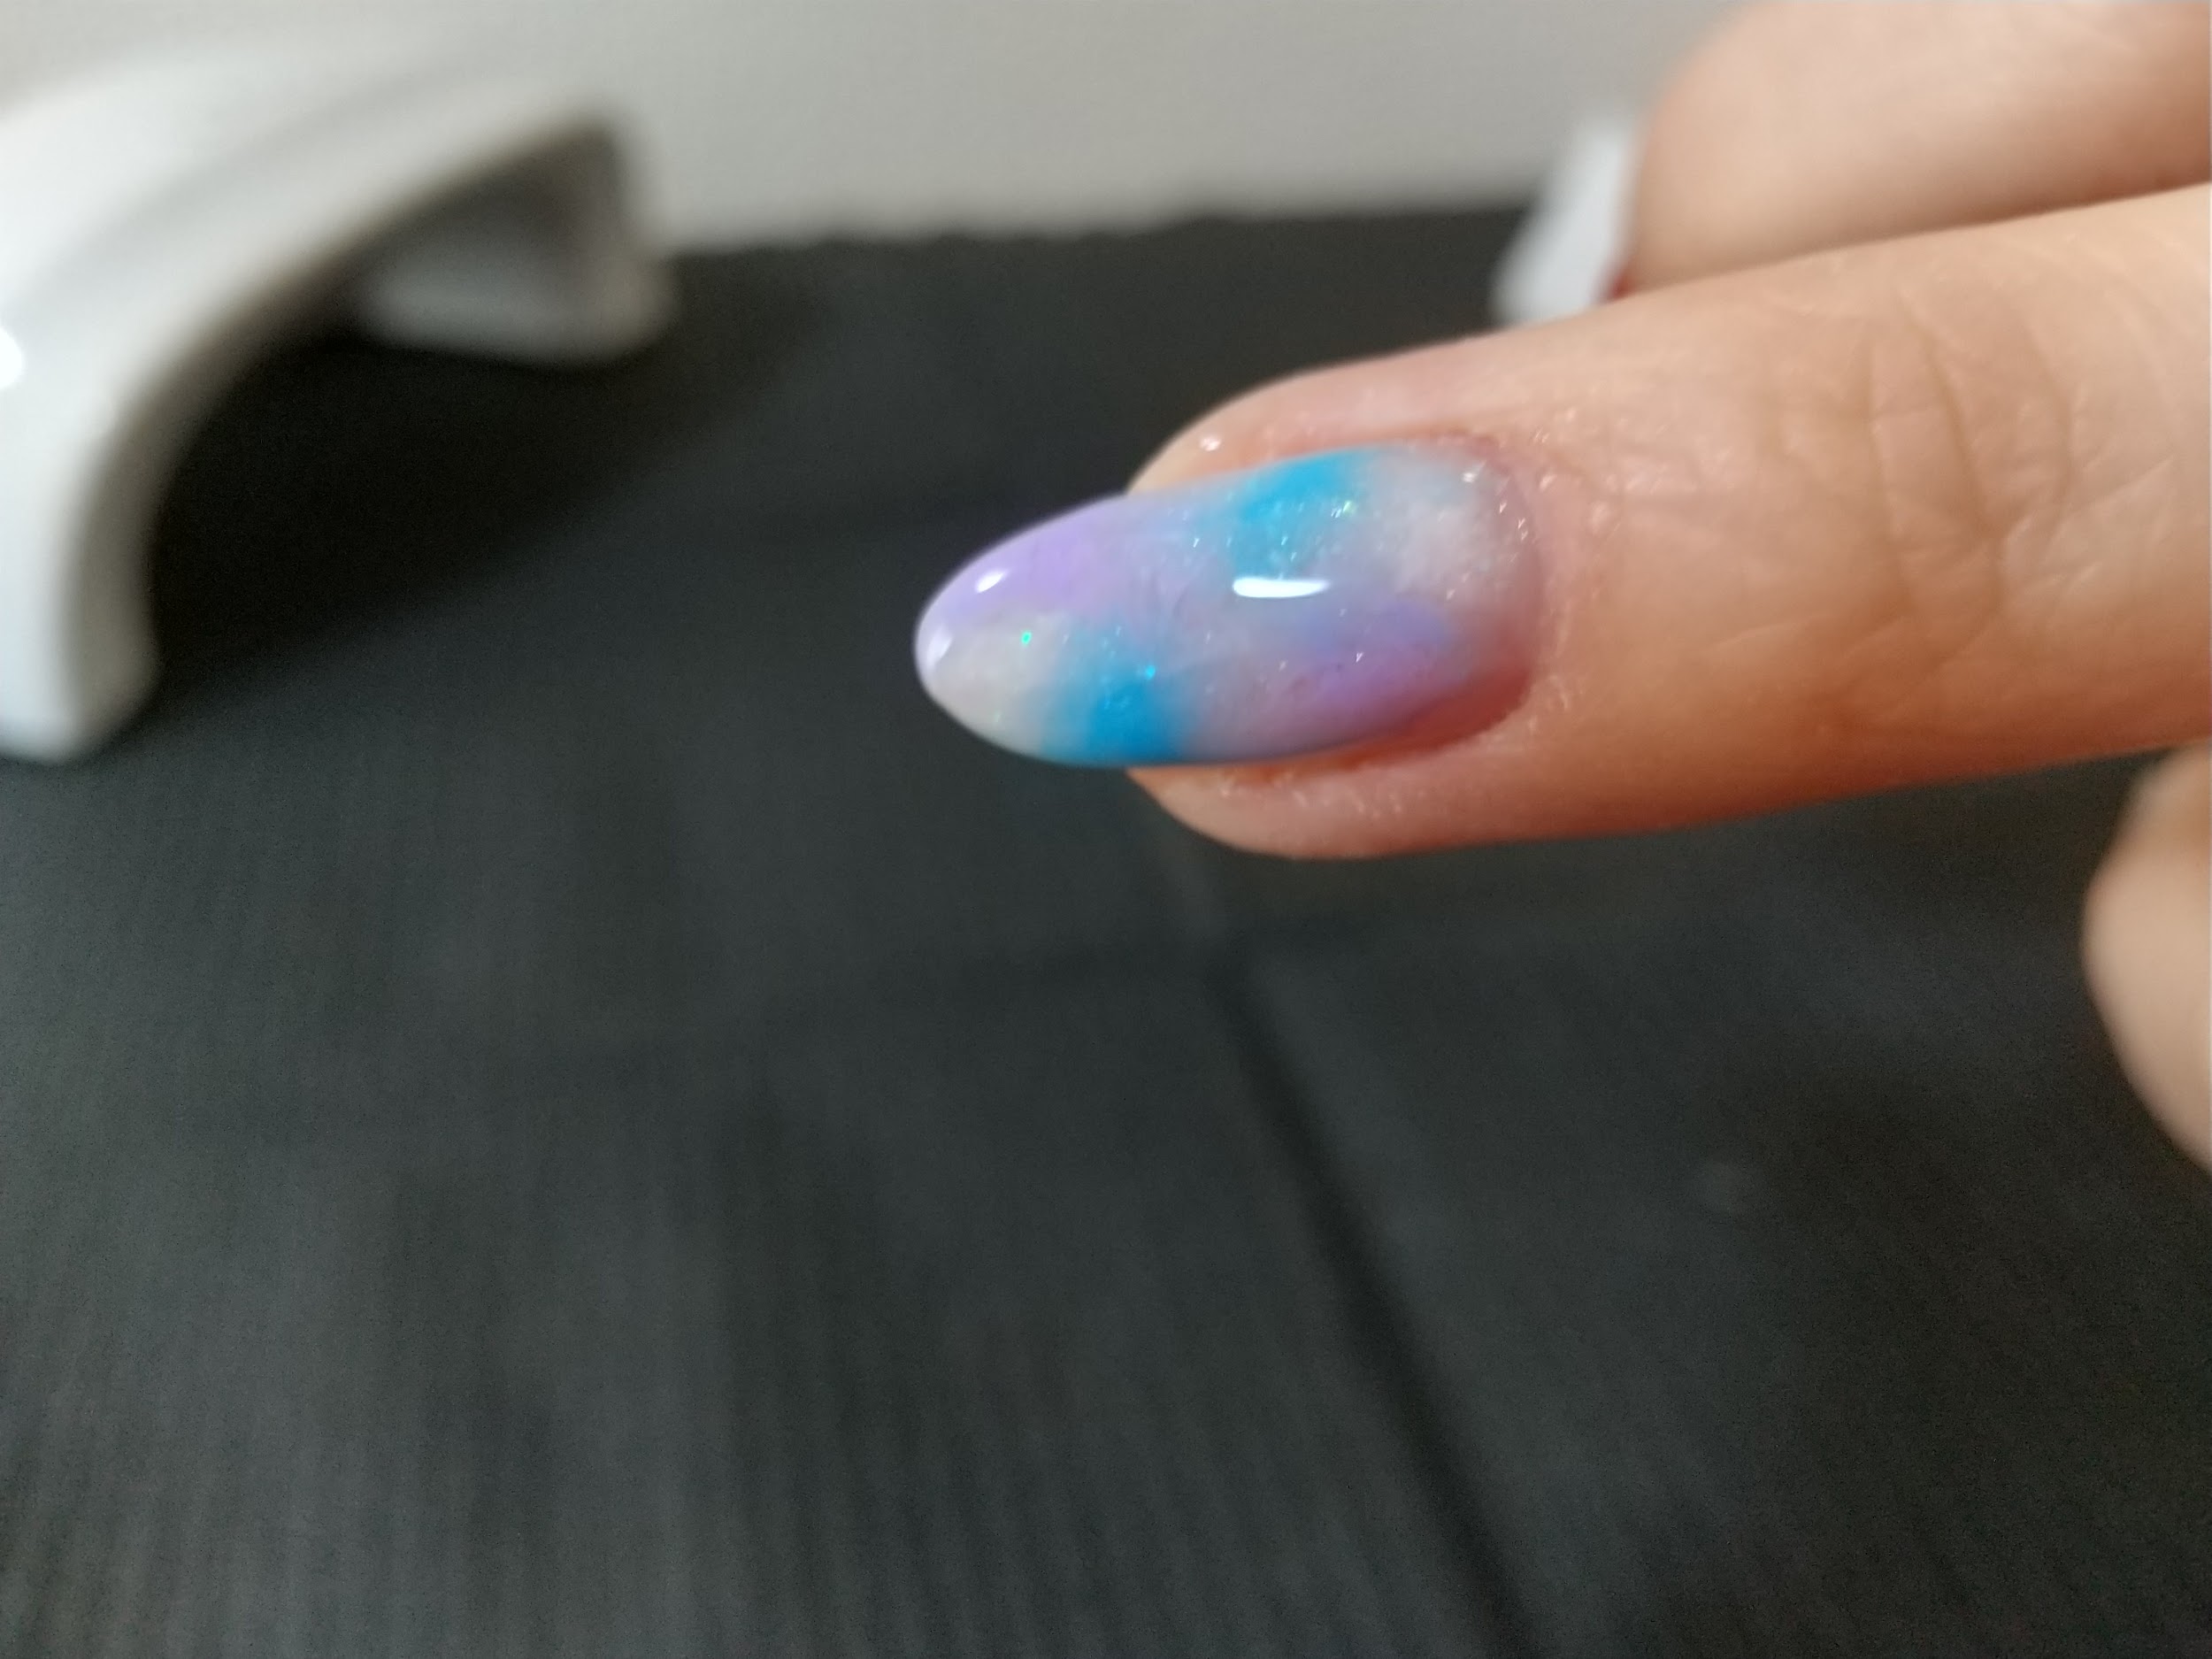
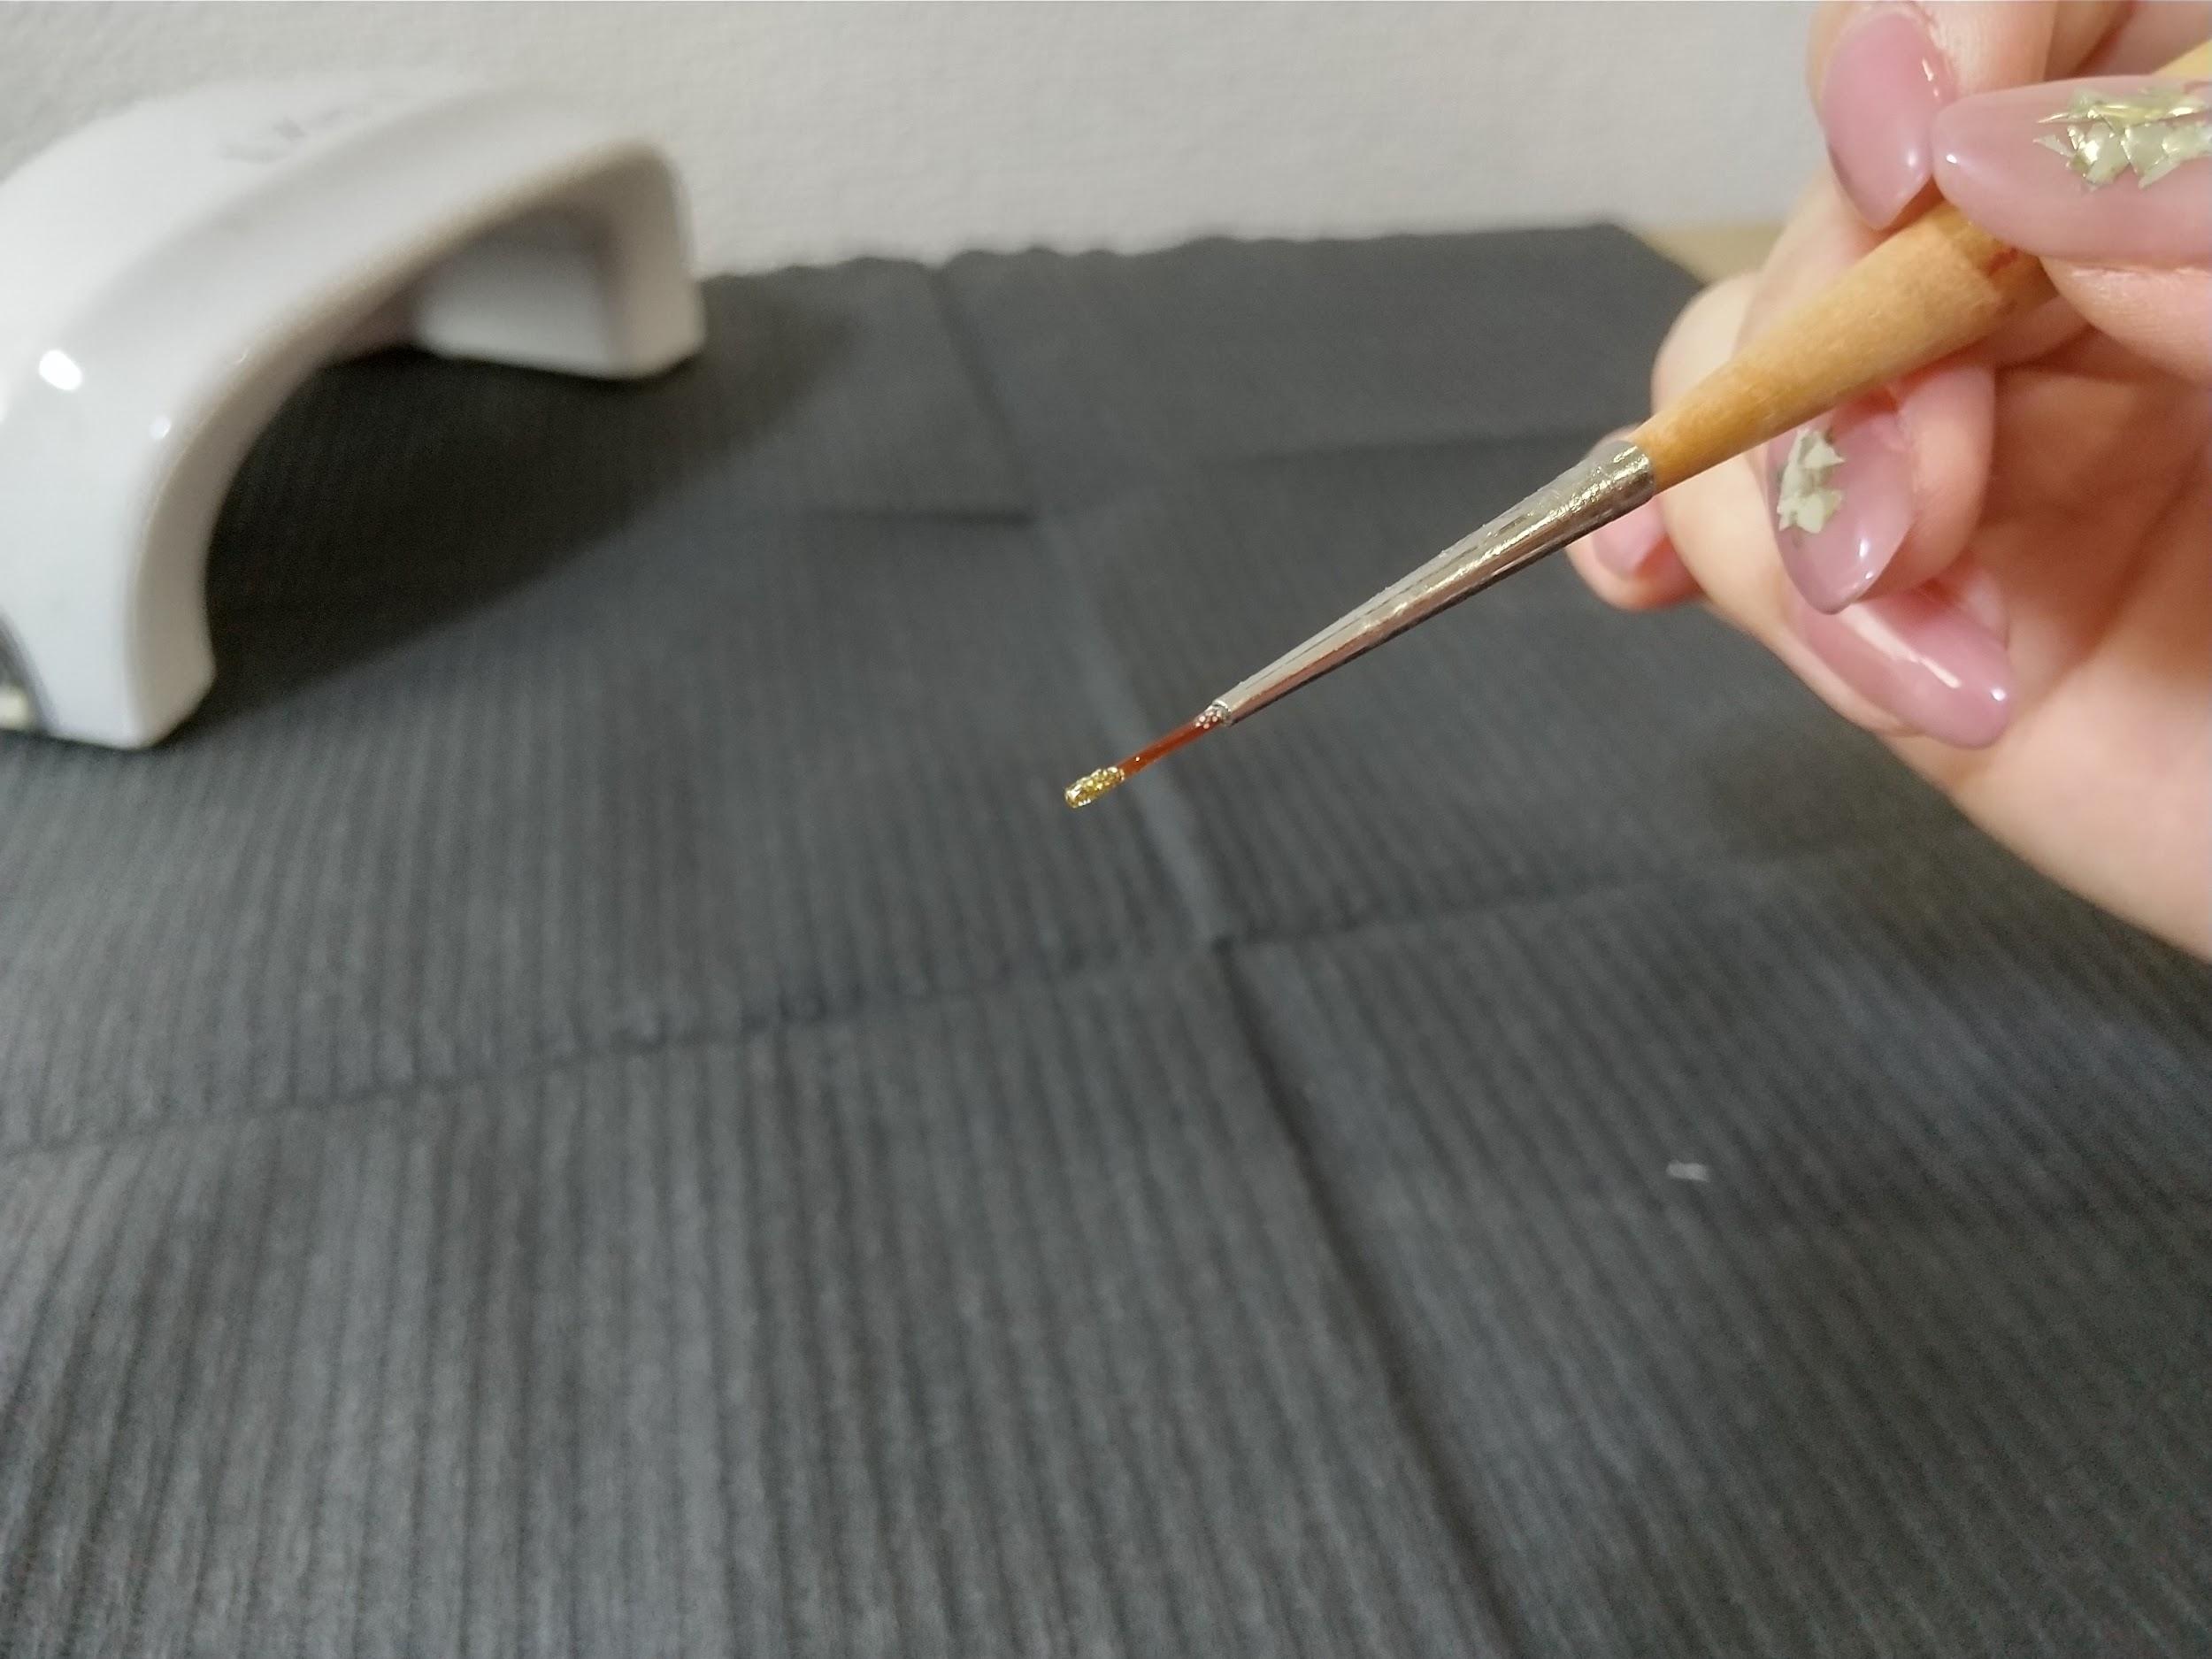
 Ami
Amiアート用筆で2色をS字になるようなイメージで混ぜ合わせます。ポイントは優しくなぞるようにすること。触りすぎないように注意!全体のバランスを見て硬化します。
ジェルネイルライト・硬化ライト

【手順4】トップジェルで表面をツルツルに仕上げる
ジェルネイル実践記 編集部仕上げにトップジェル工程です!
仕上げの手順
- ホロやラメの装飾
- トップジェルを塗布
- 拭きとり作業
- ファイルを使用して爪を整えて完成!
- 【見本】横模様のマーブルネイル
ホロやラメの装飾
 Ami
Amiアートが終わったら仕上げにトップジェルを塗ります。
 Ami
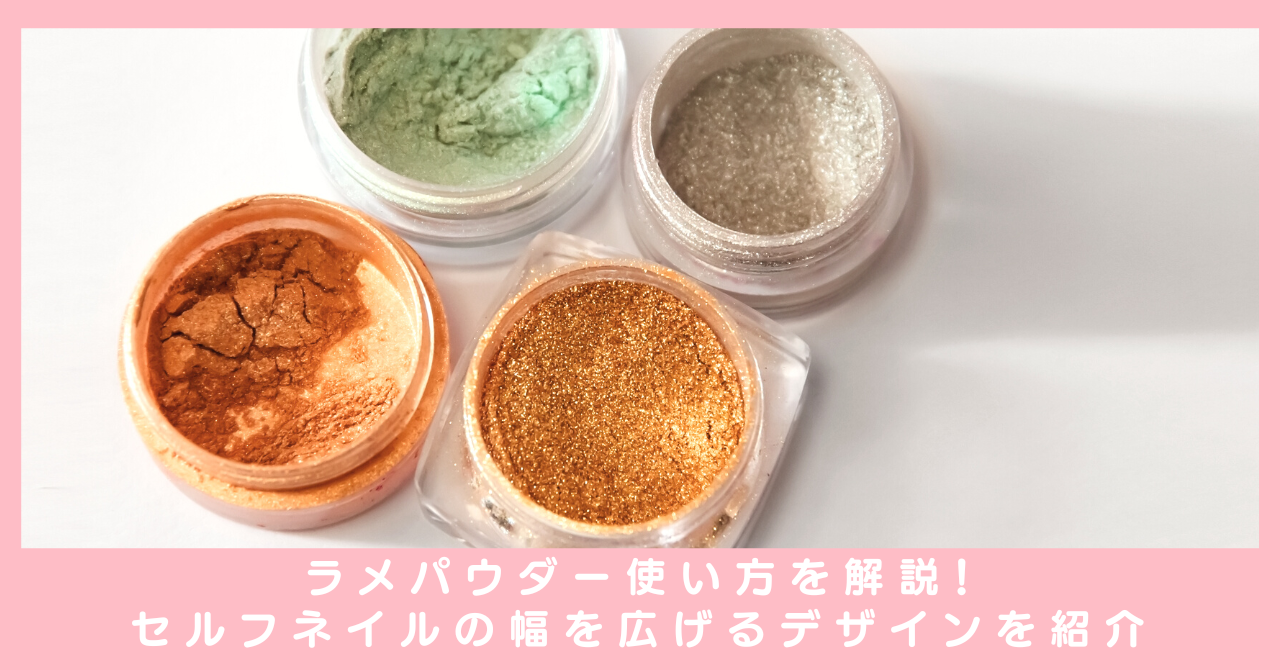
Ami人によってはラメやホログラムを配置したい人もいるはずです。まずはトップジェルを行う前に装飾をしておきましょう。お好みでラメやホログラムを散らばせてキレイに仕上げます
ラメパウダーの見本商品


トップジェルを塗布
 Ami
Amiラメやホロなどの装飾が終わったら、トップジェルを適量筆に取って爪に塗り、仕上げたい分厚さに整えます。このときには先端をしっかり覆うように塗りましょう。
[temp id=40]
拭きとり作業
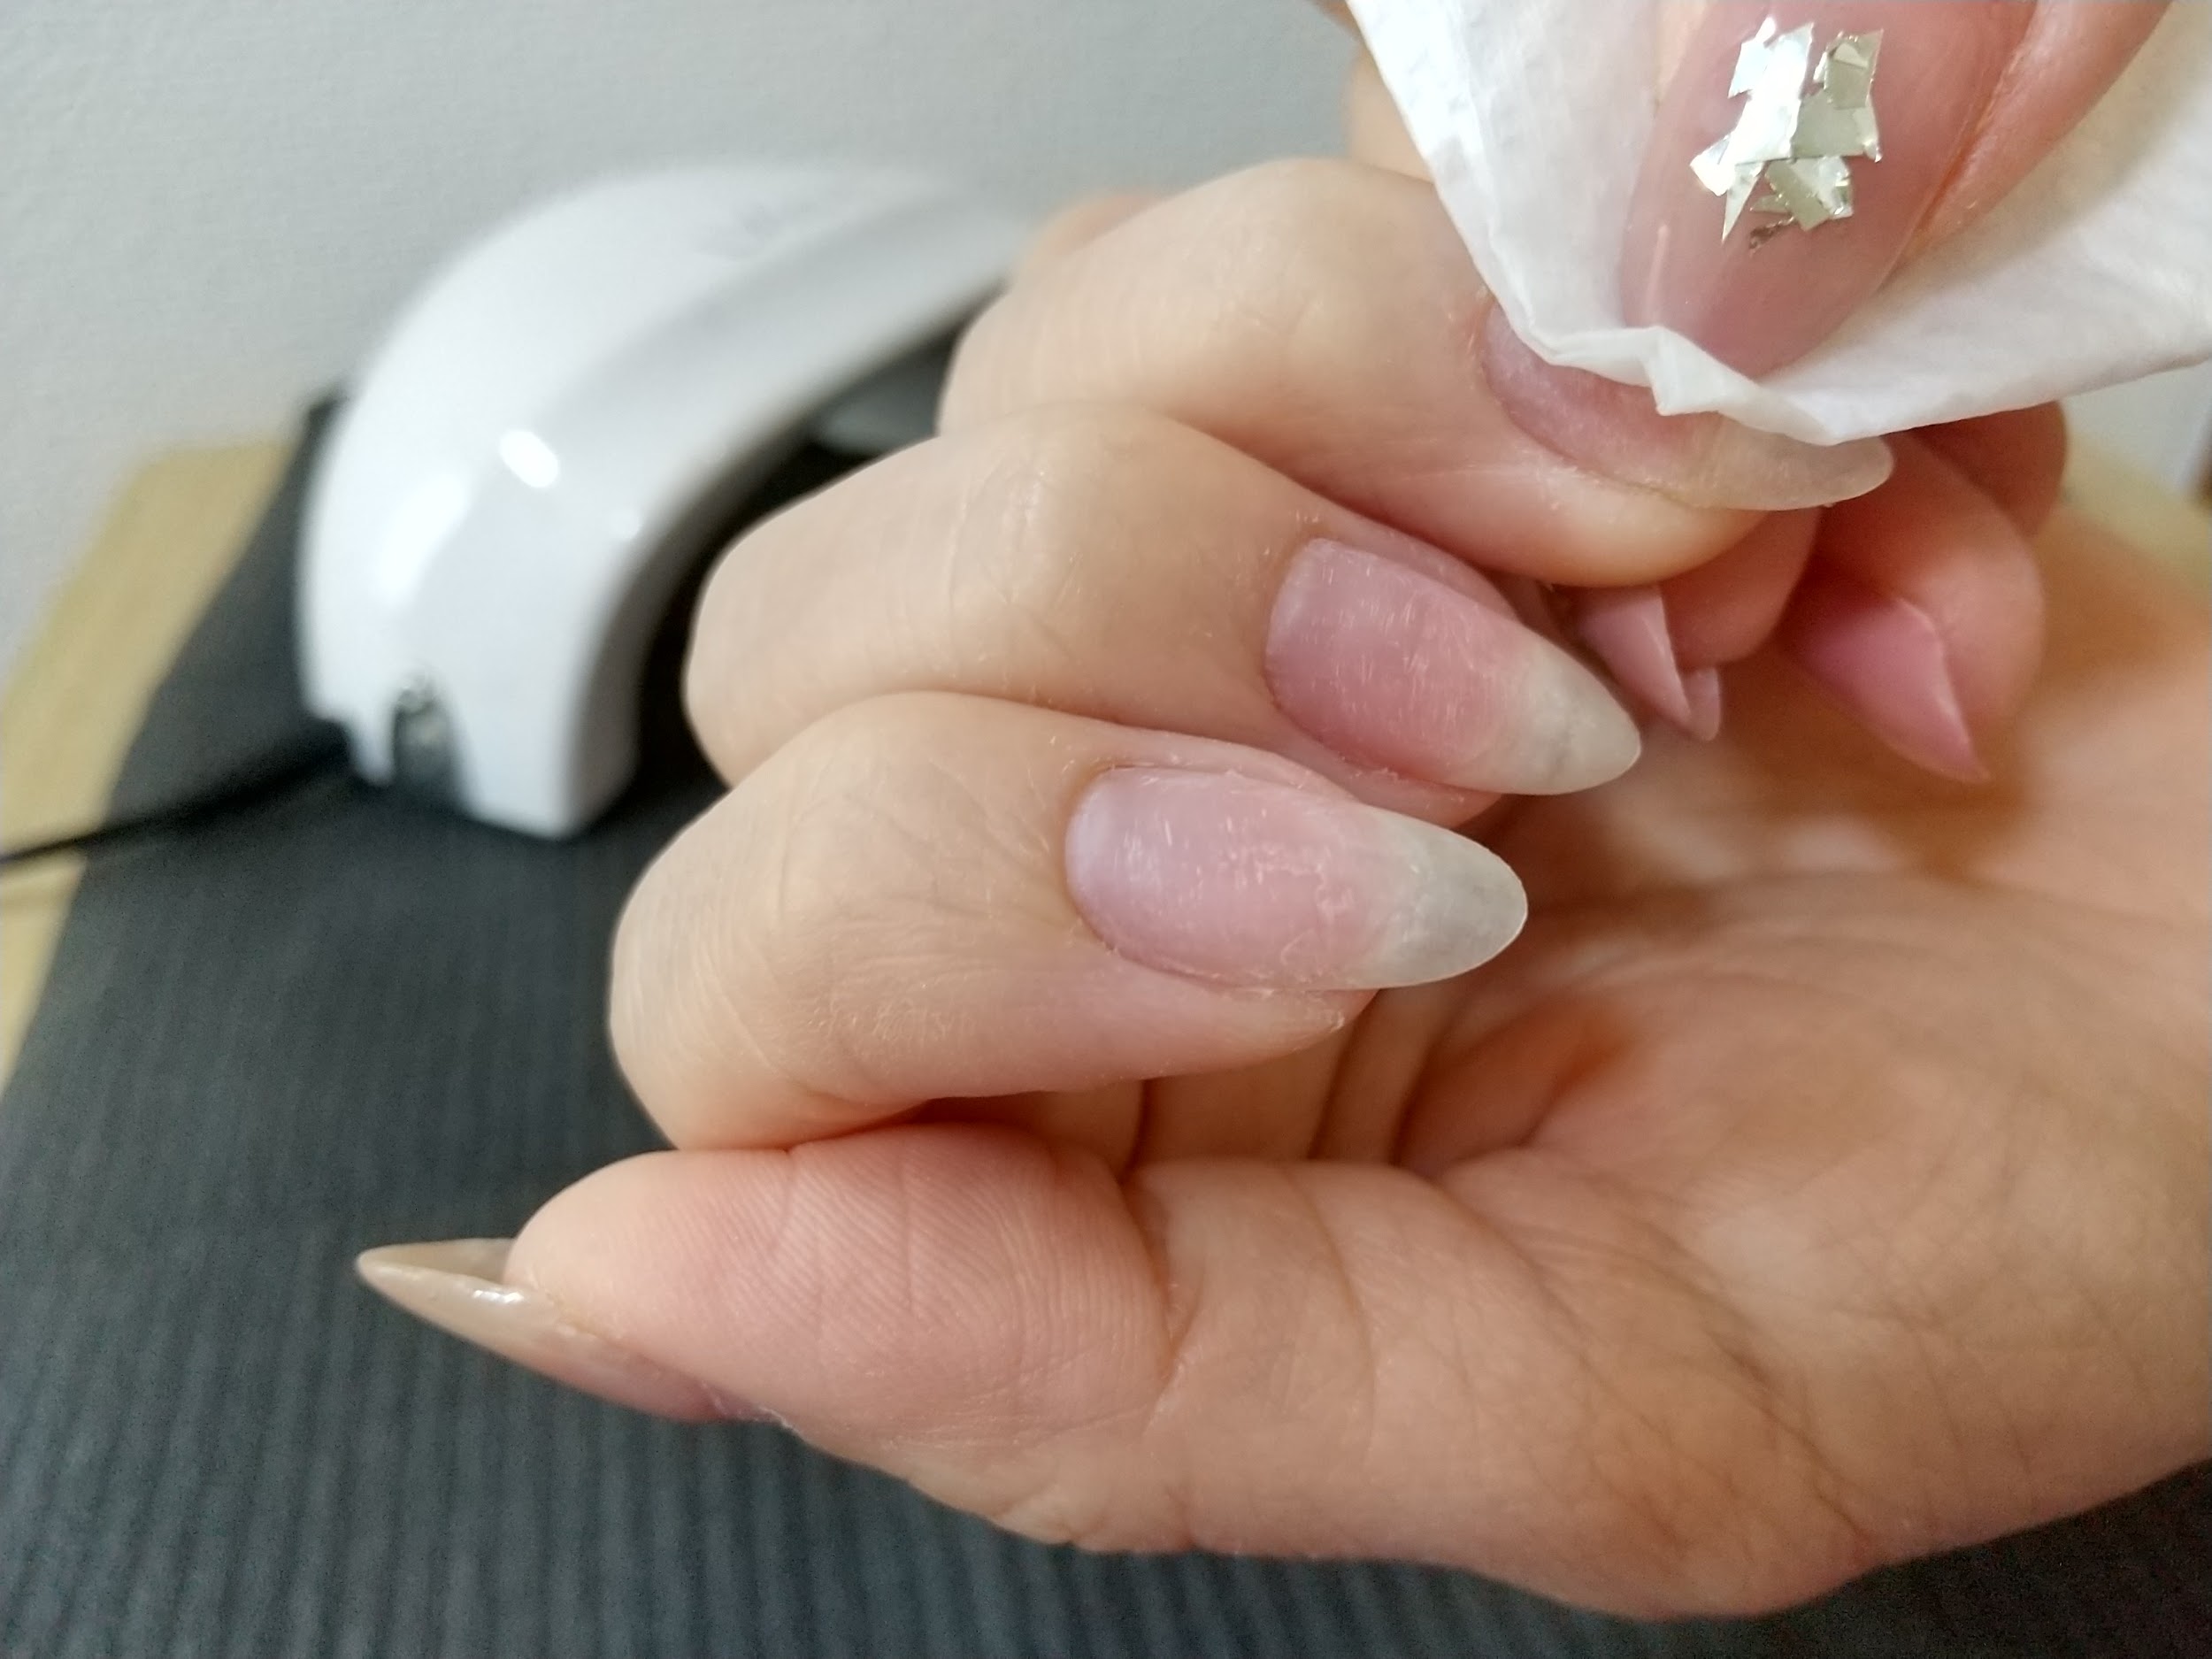
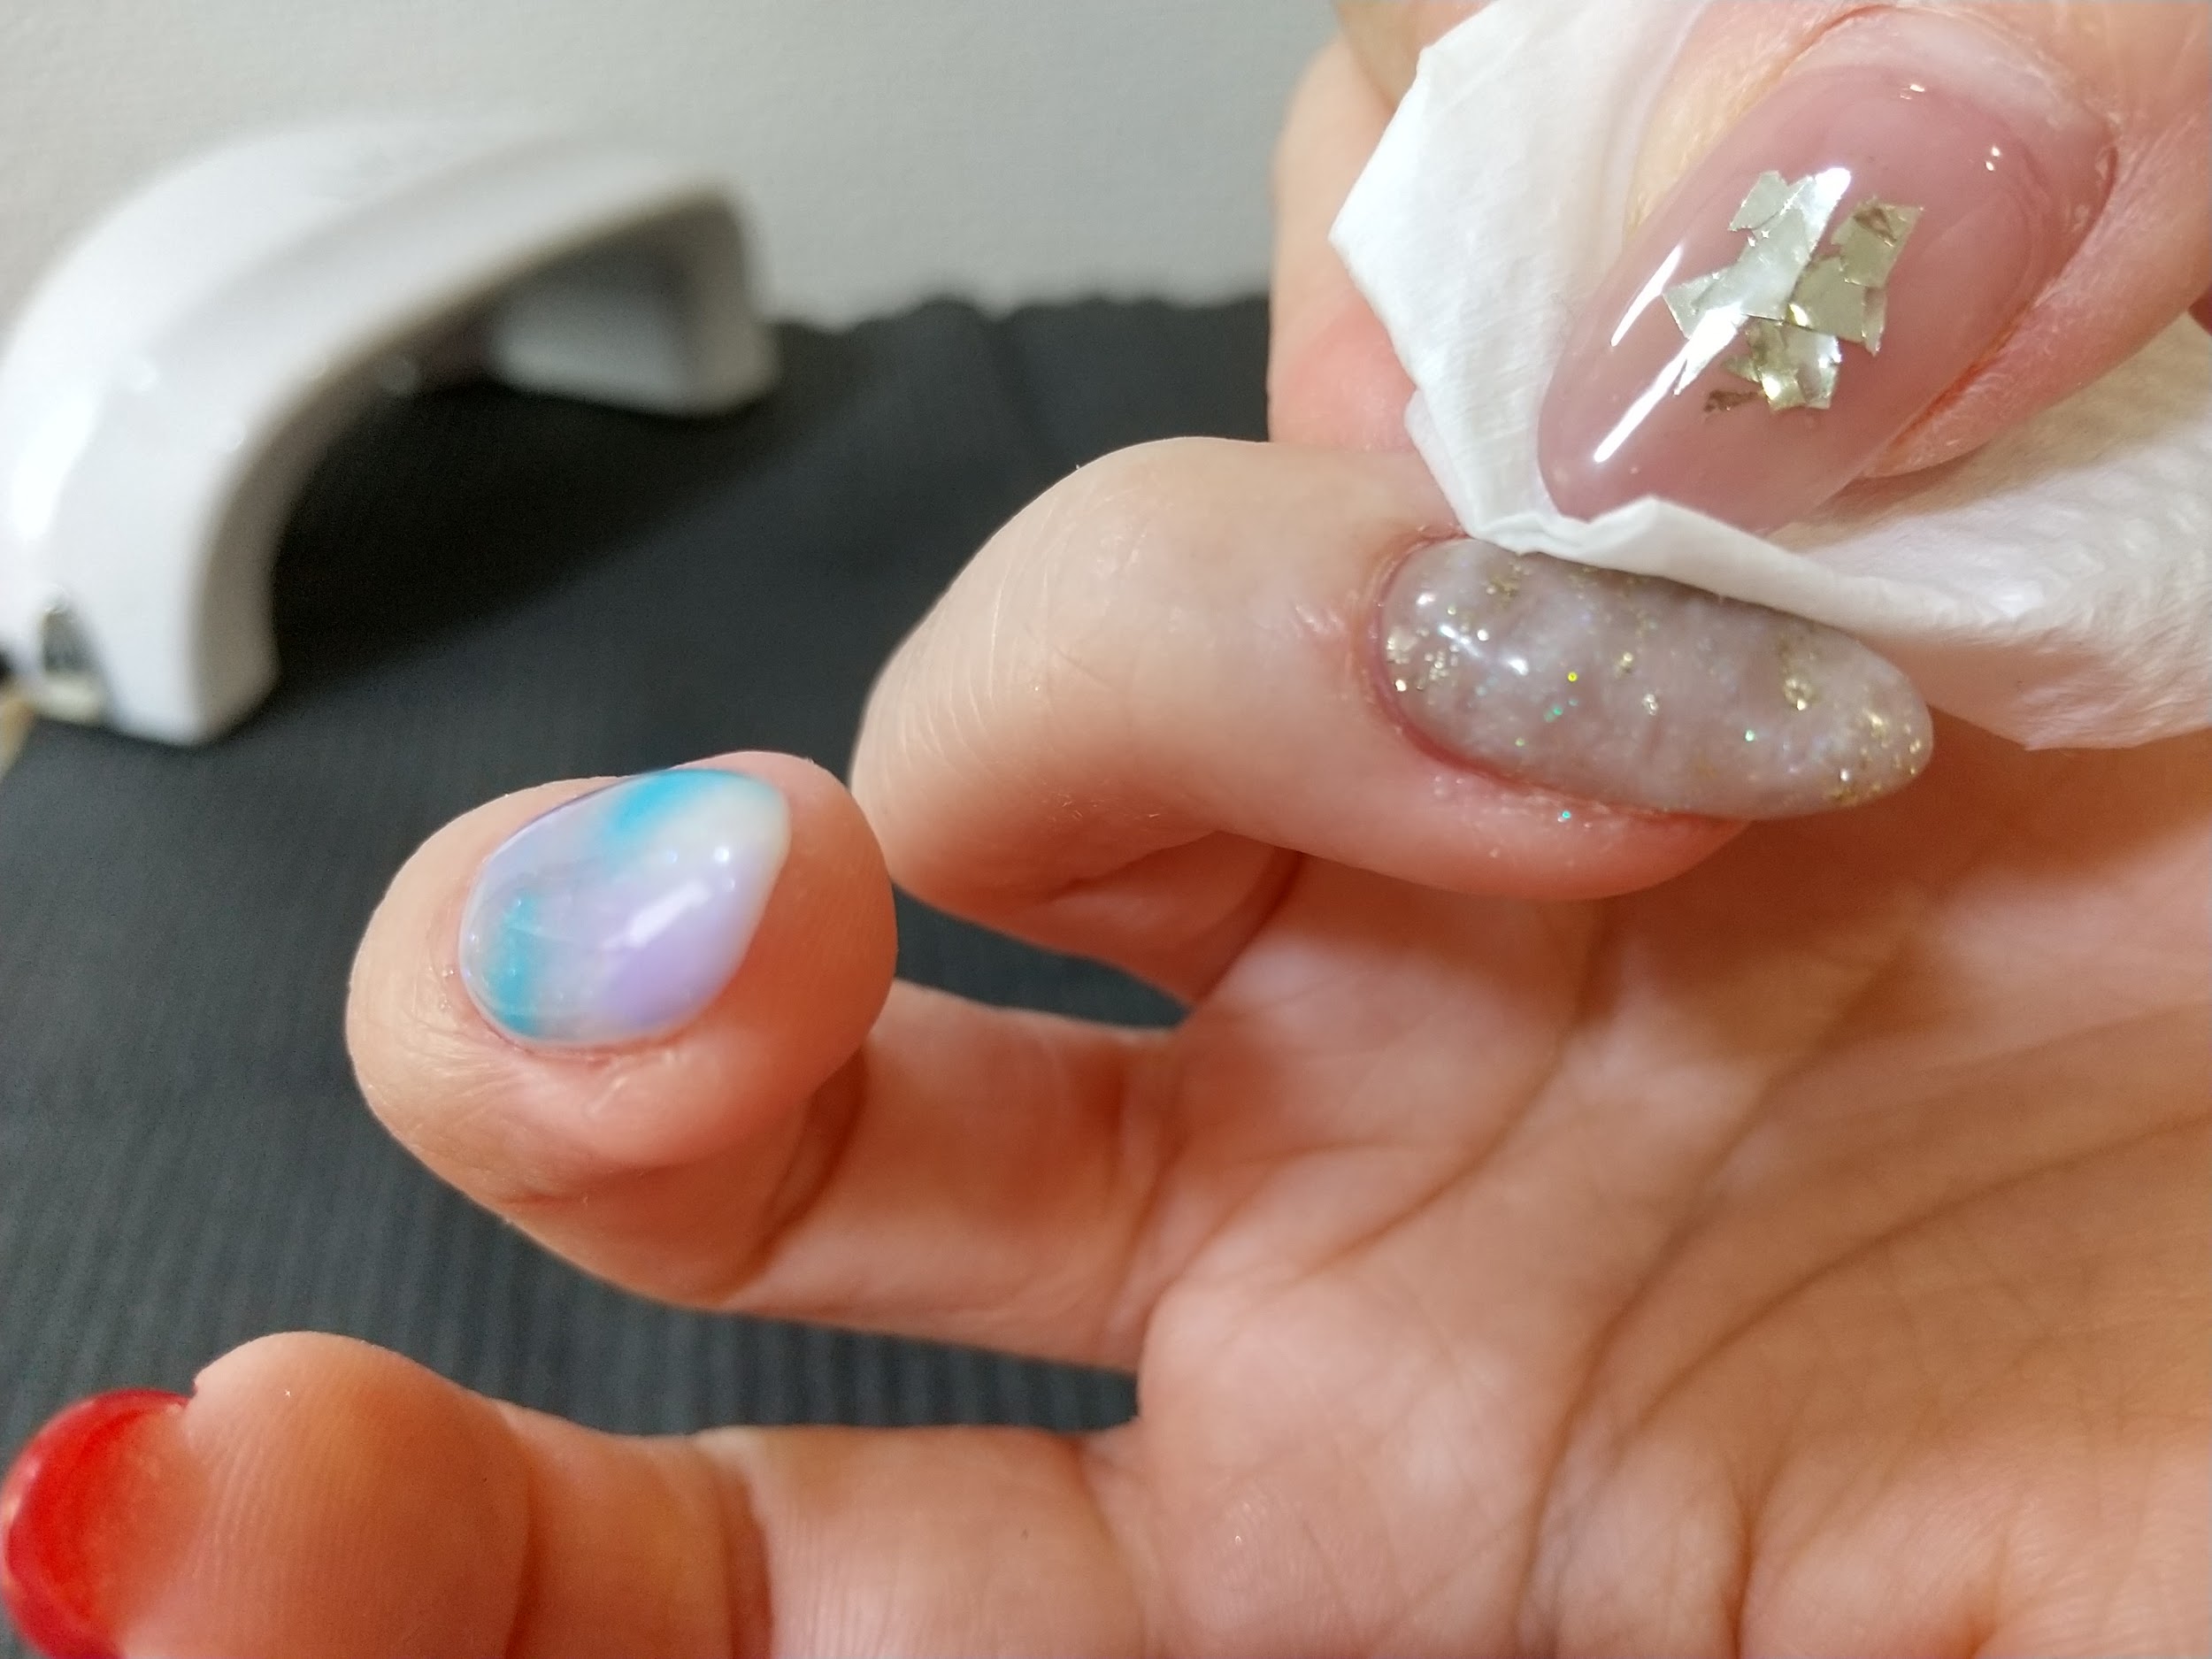
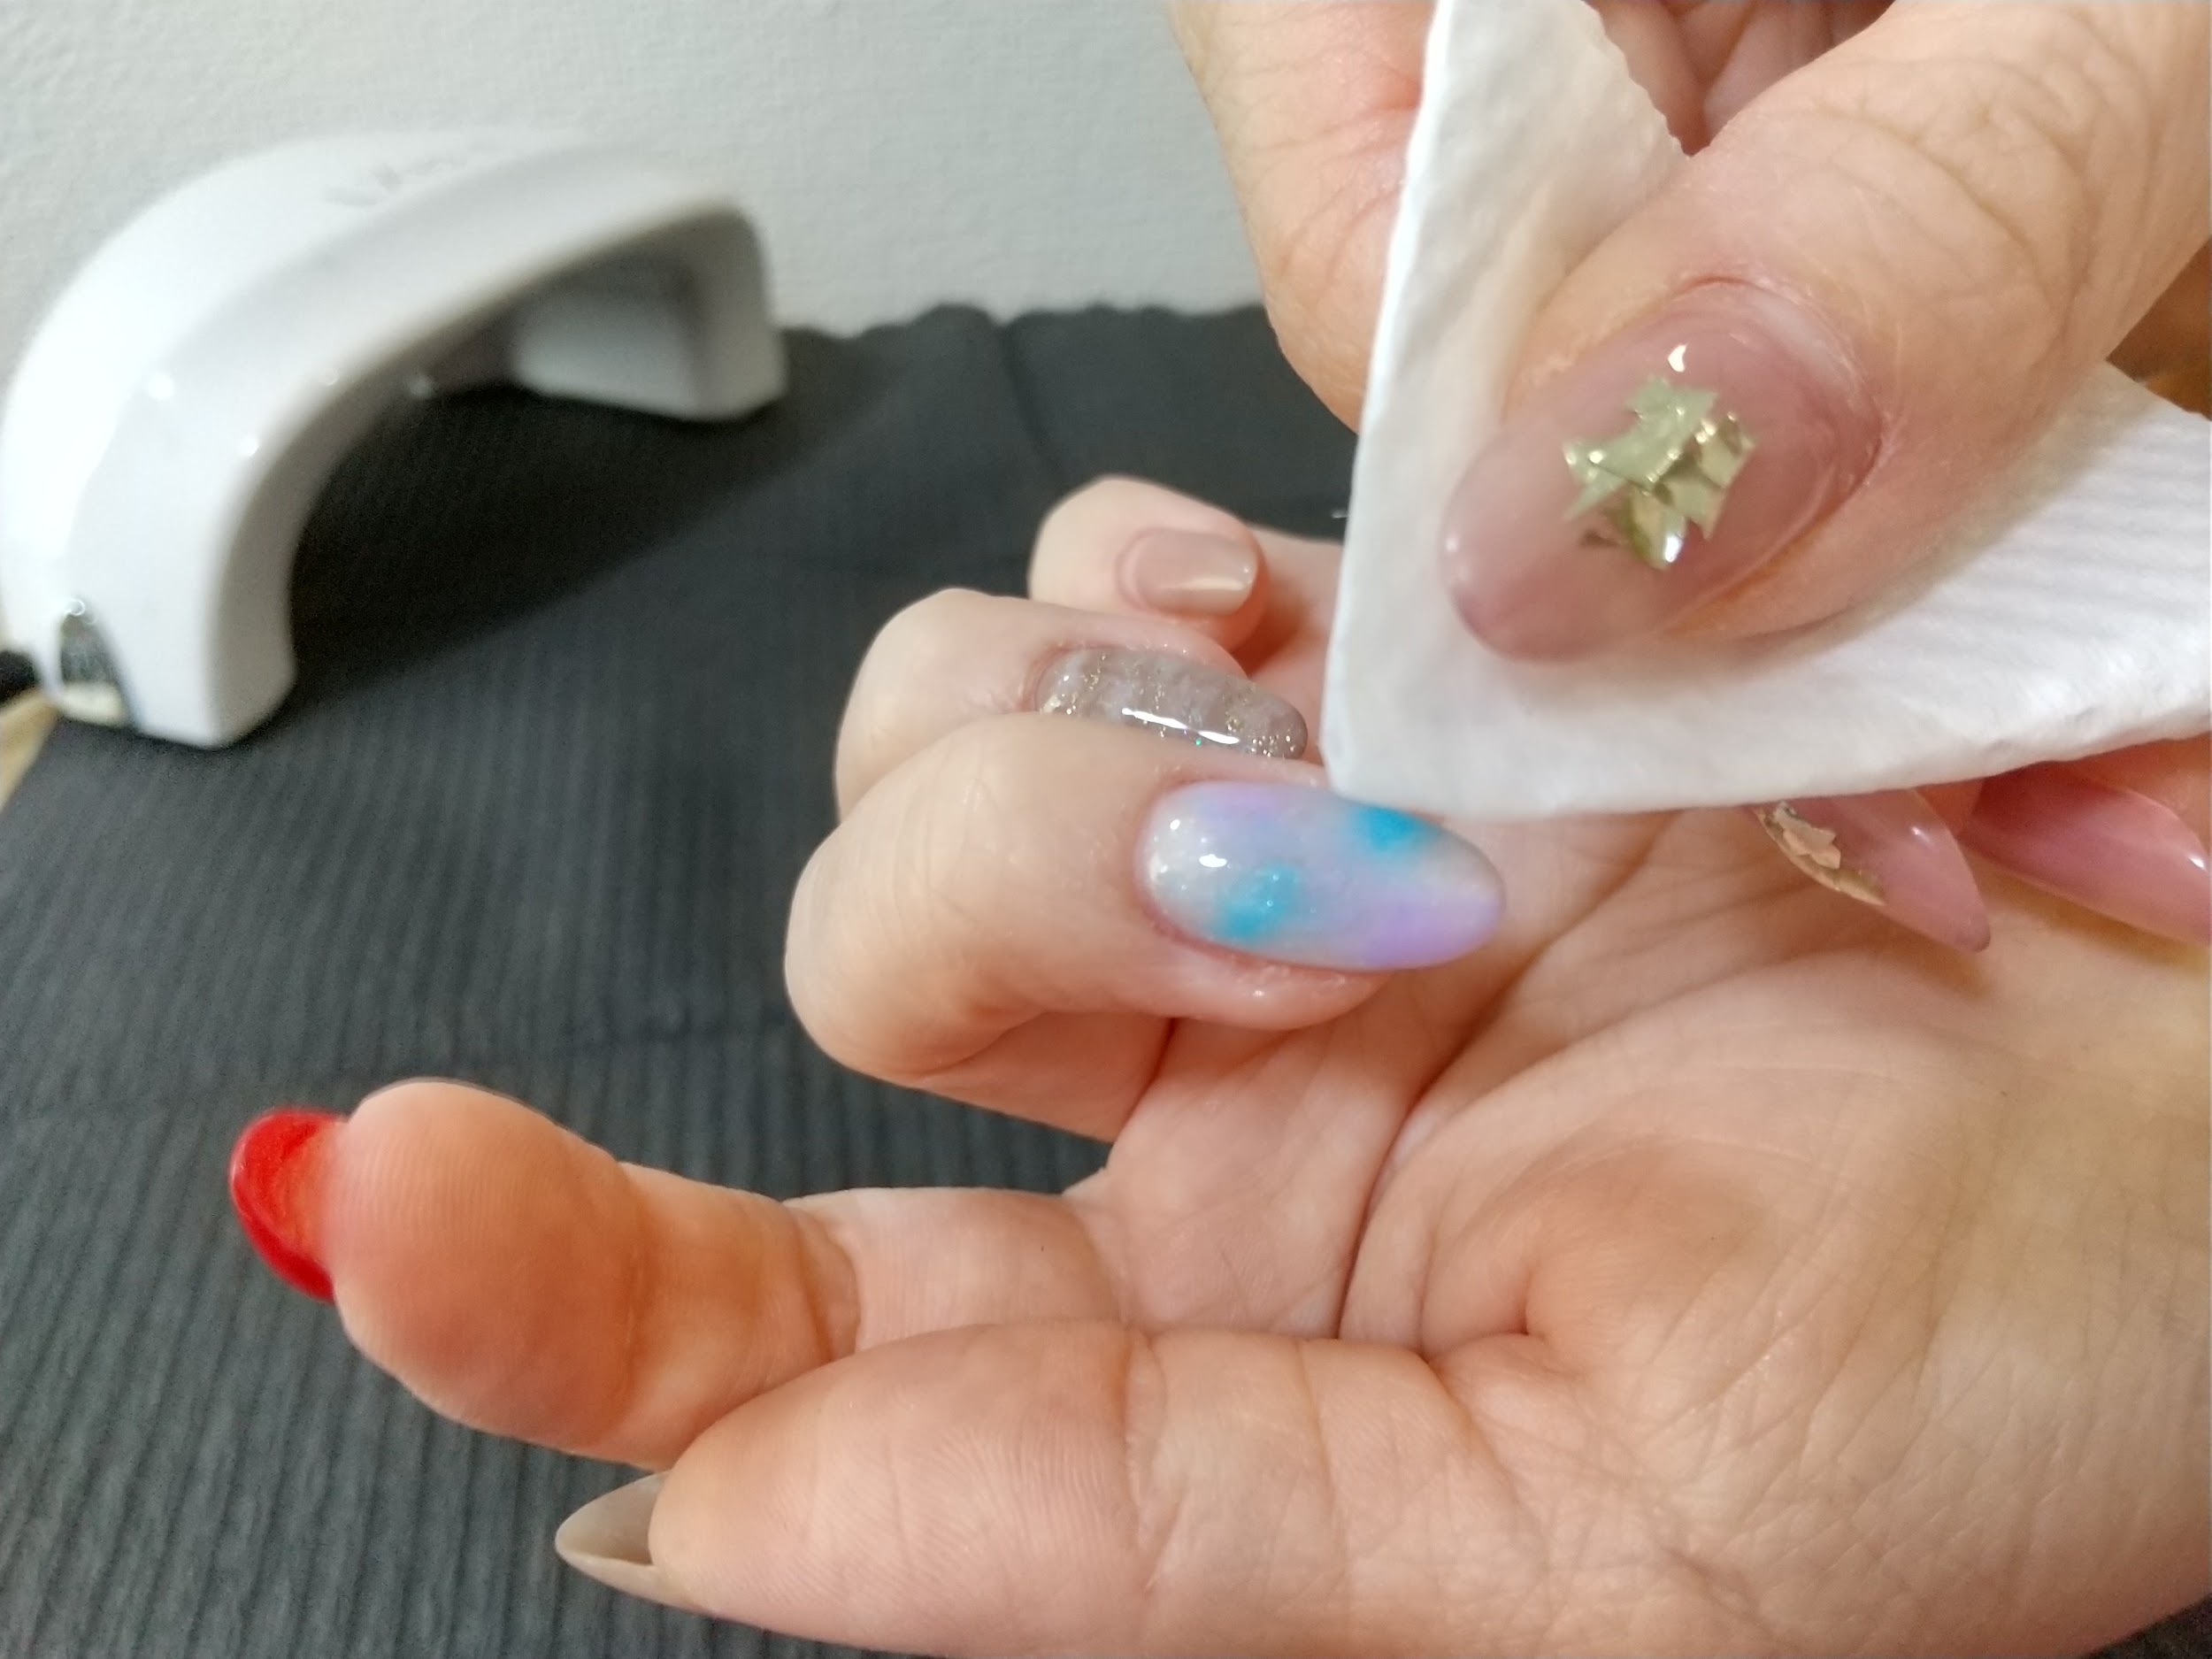 Ami
Amiノンワイプのトップジェルでない場合は、エタノールを付けたキッチンペーパーで拭き取ります。
コットン・ワイプの見本商品


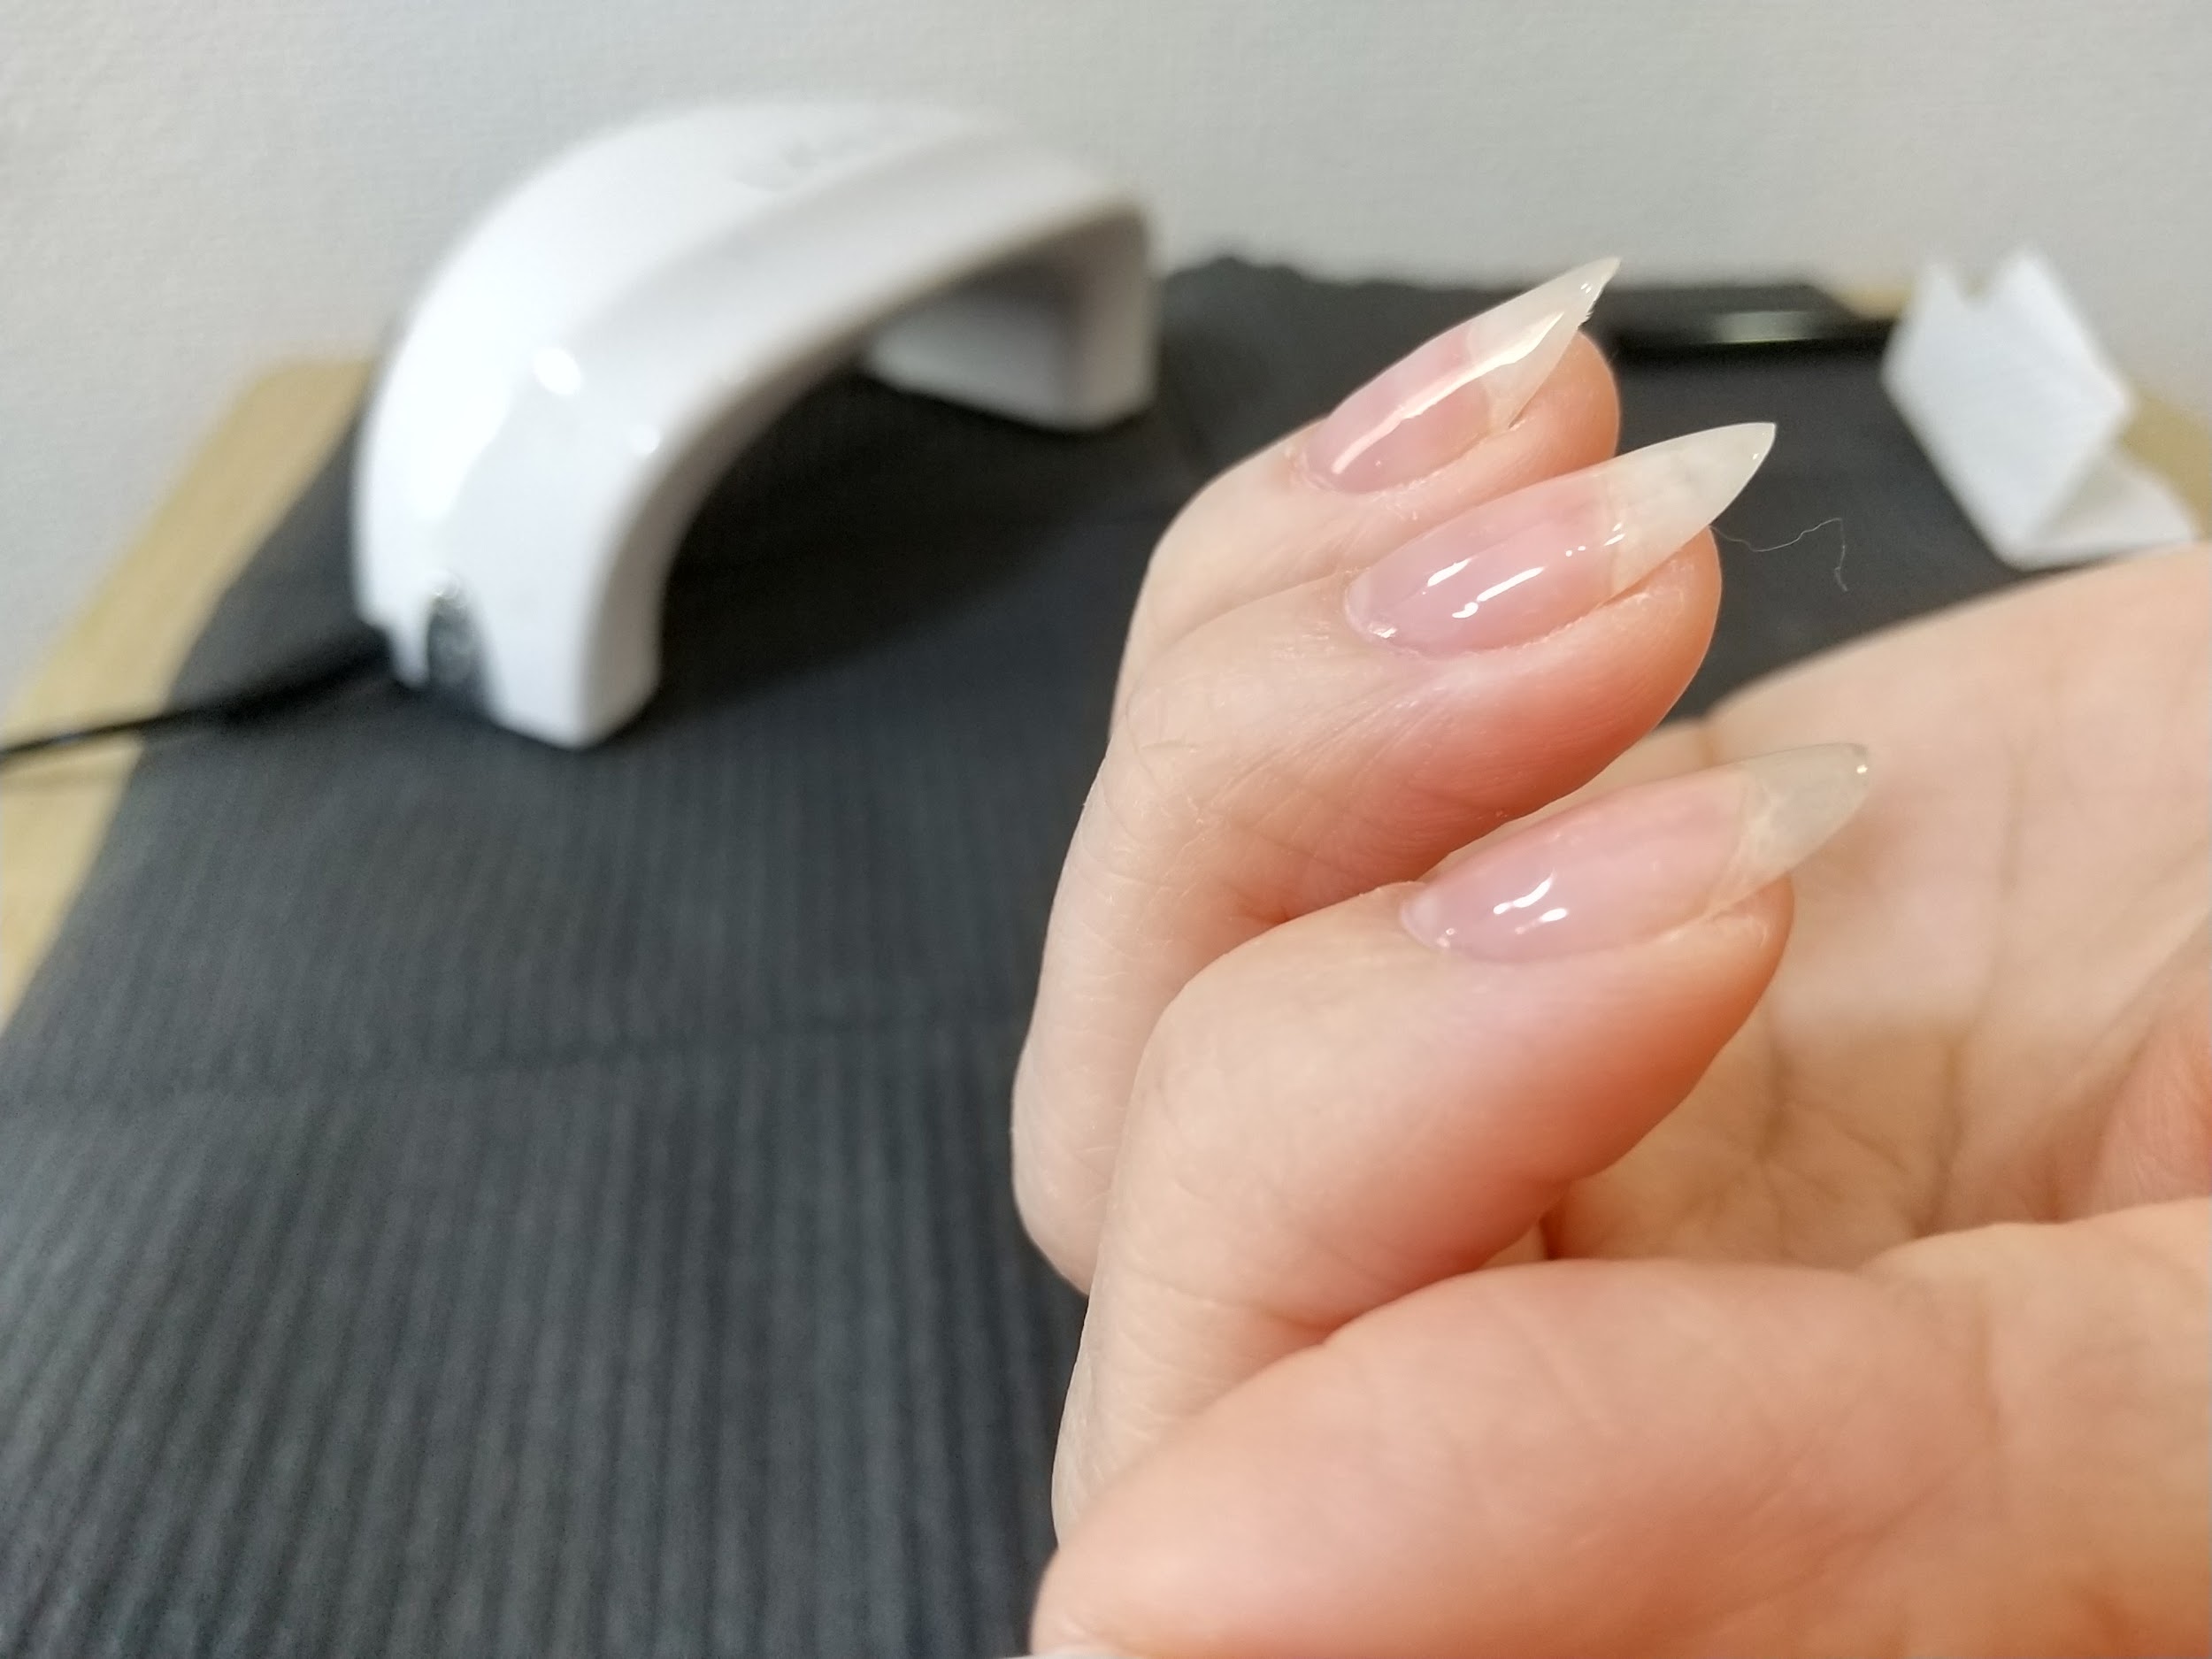
ファイルを使用して爪を整えて完成!
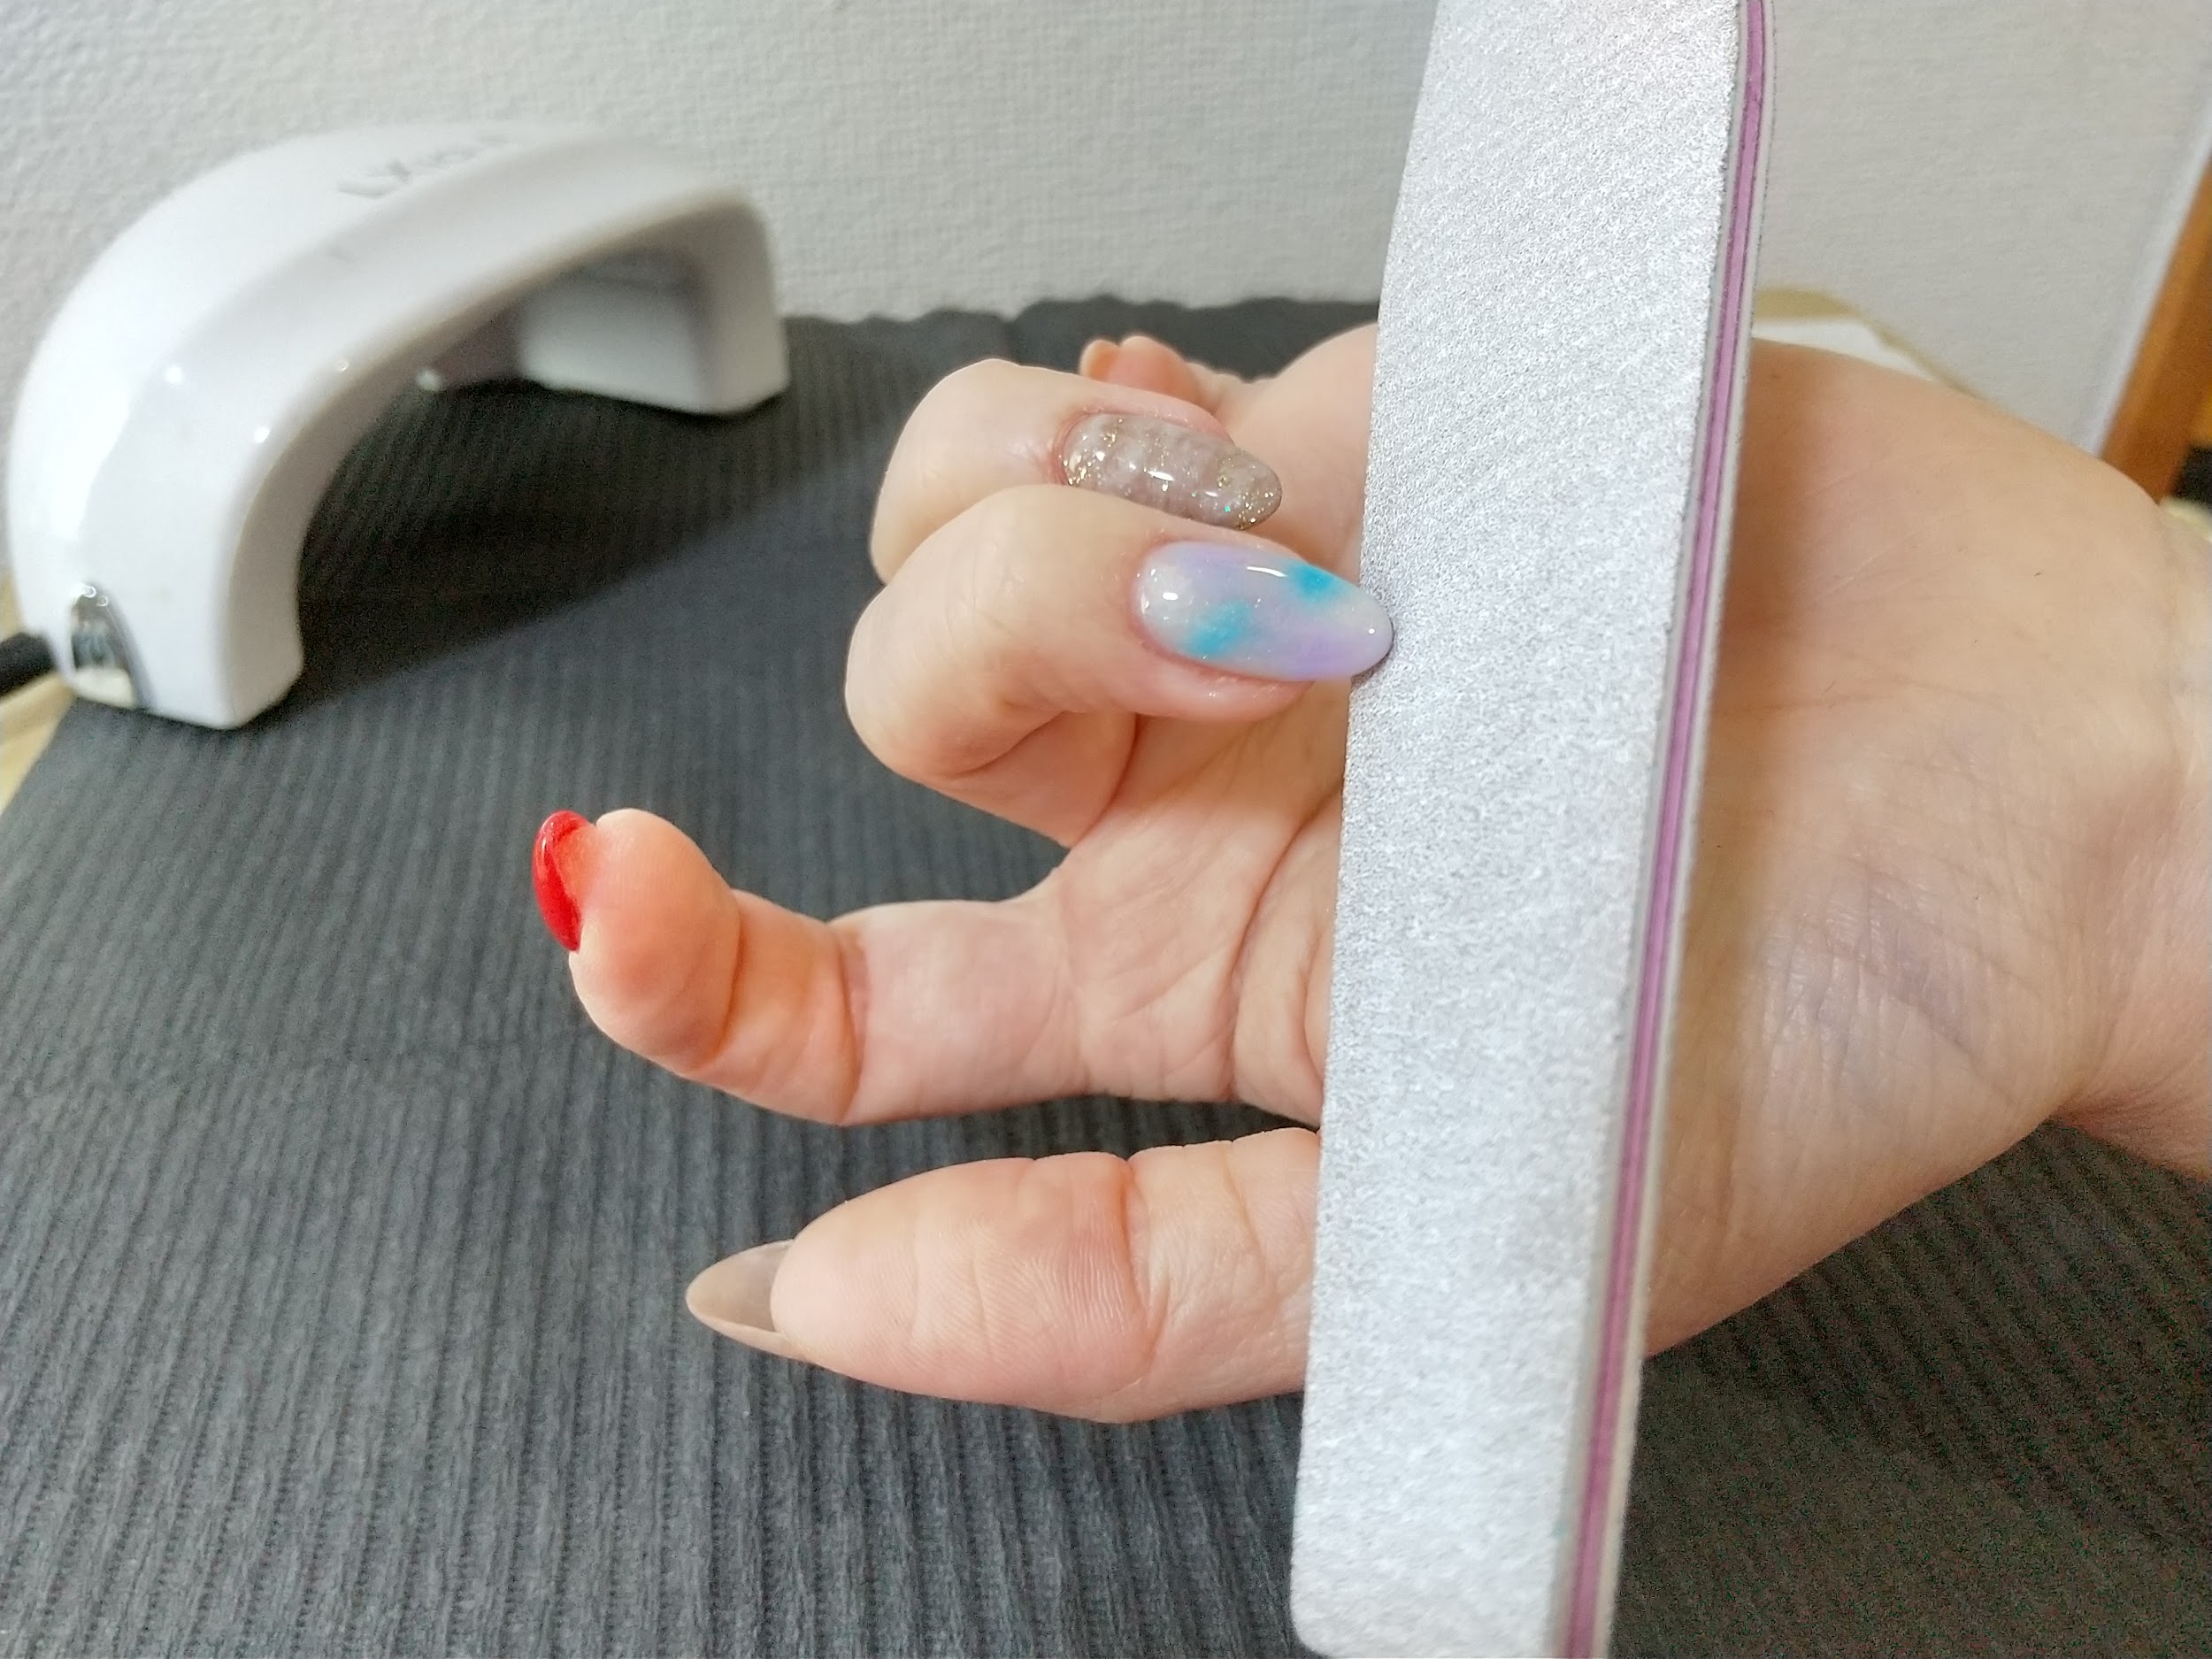 Ami
Ami拭きとりが終わったらファイルで爪先を整えて完成です。
ネイルファイルセットの見本商品
【見本】横模様のマーブルネイル
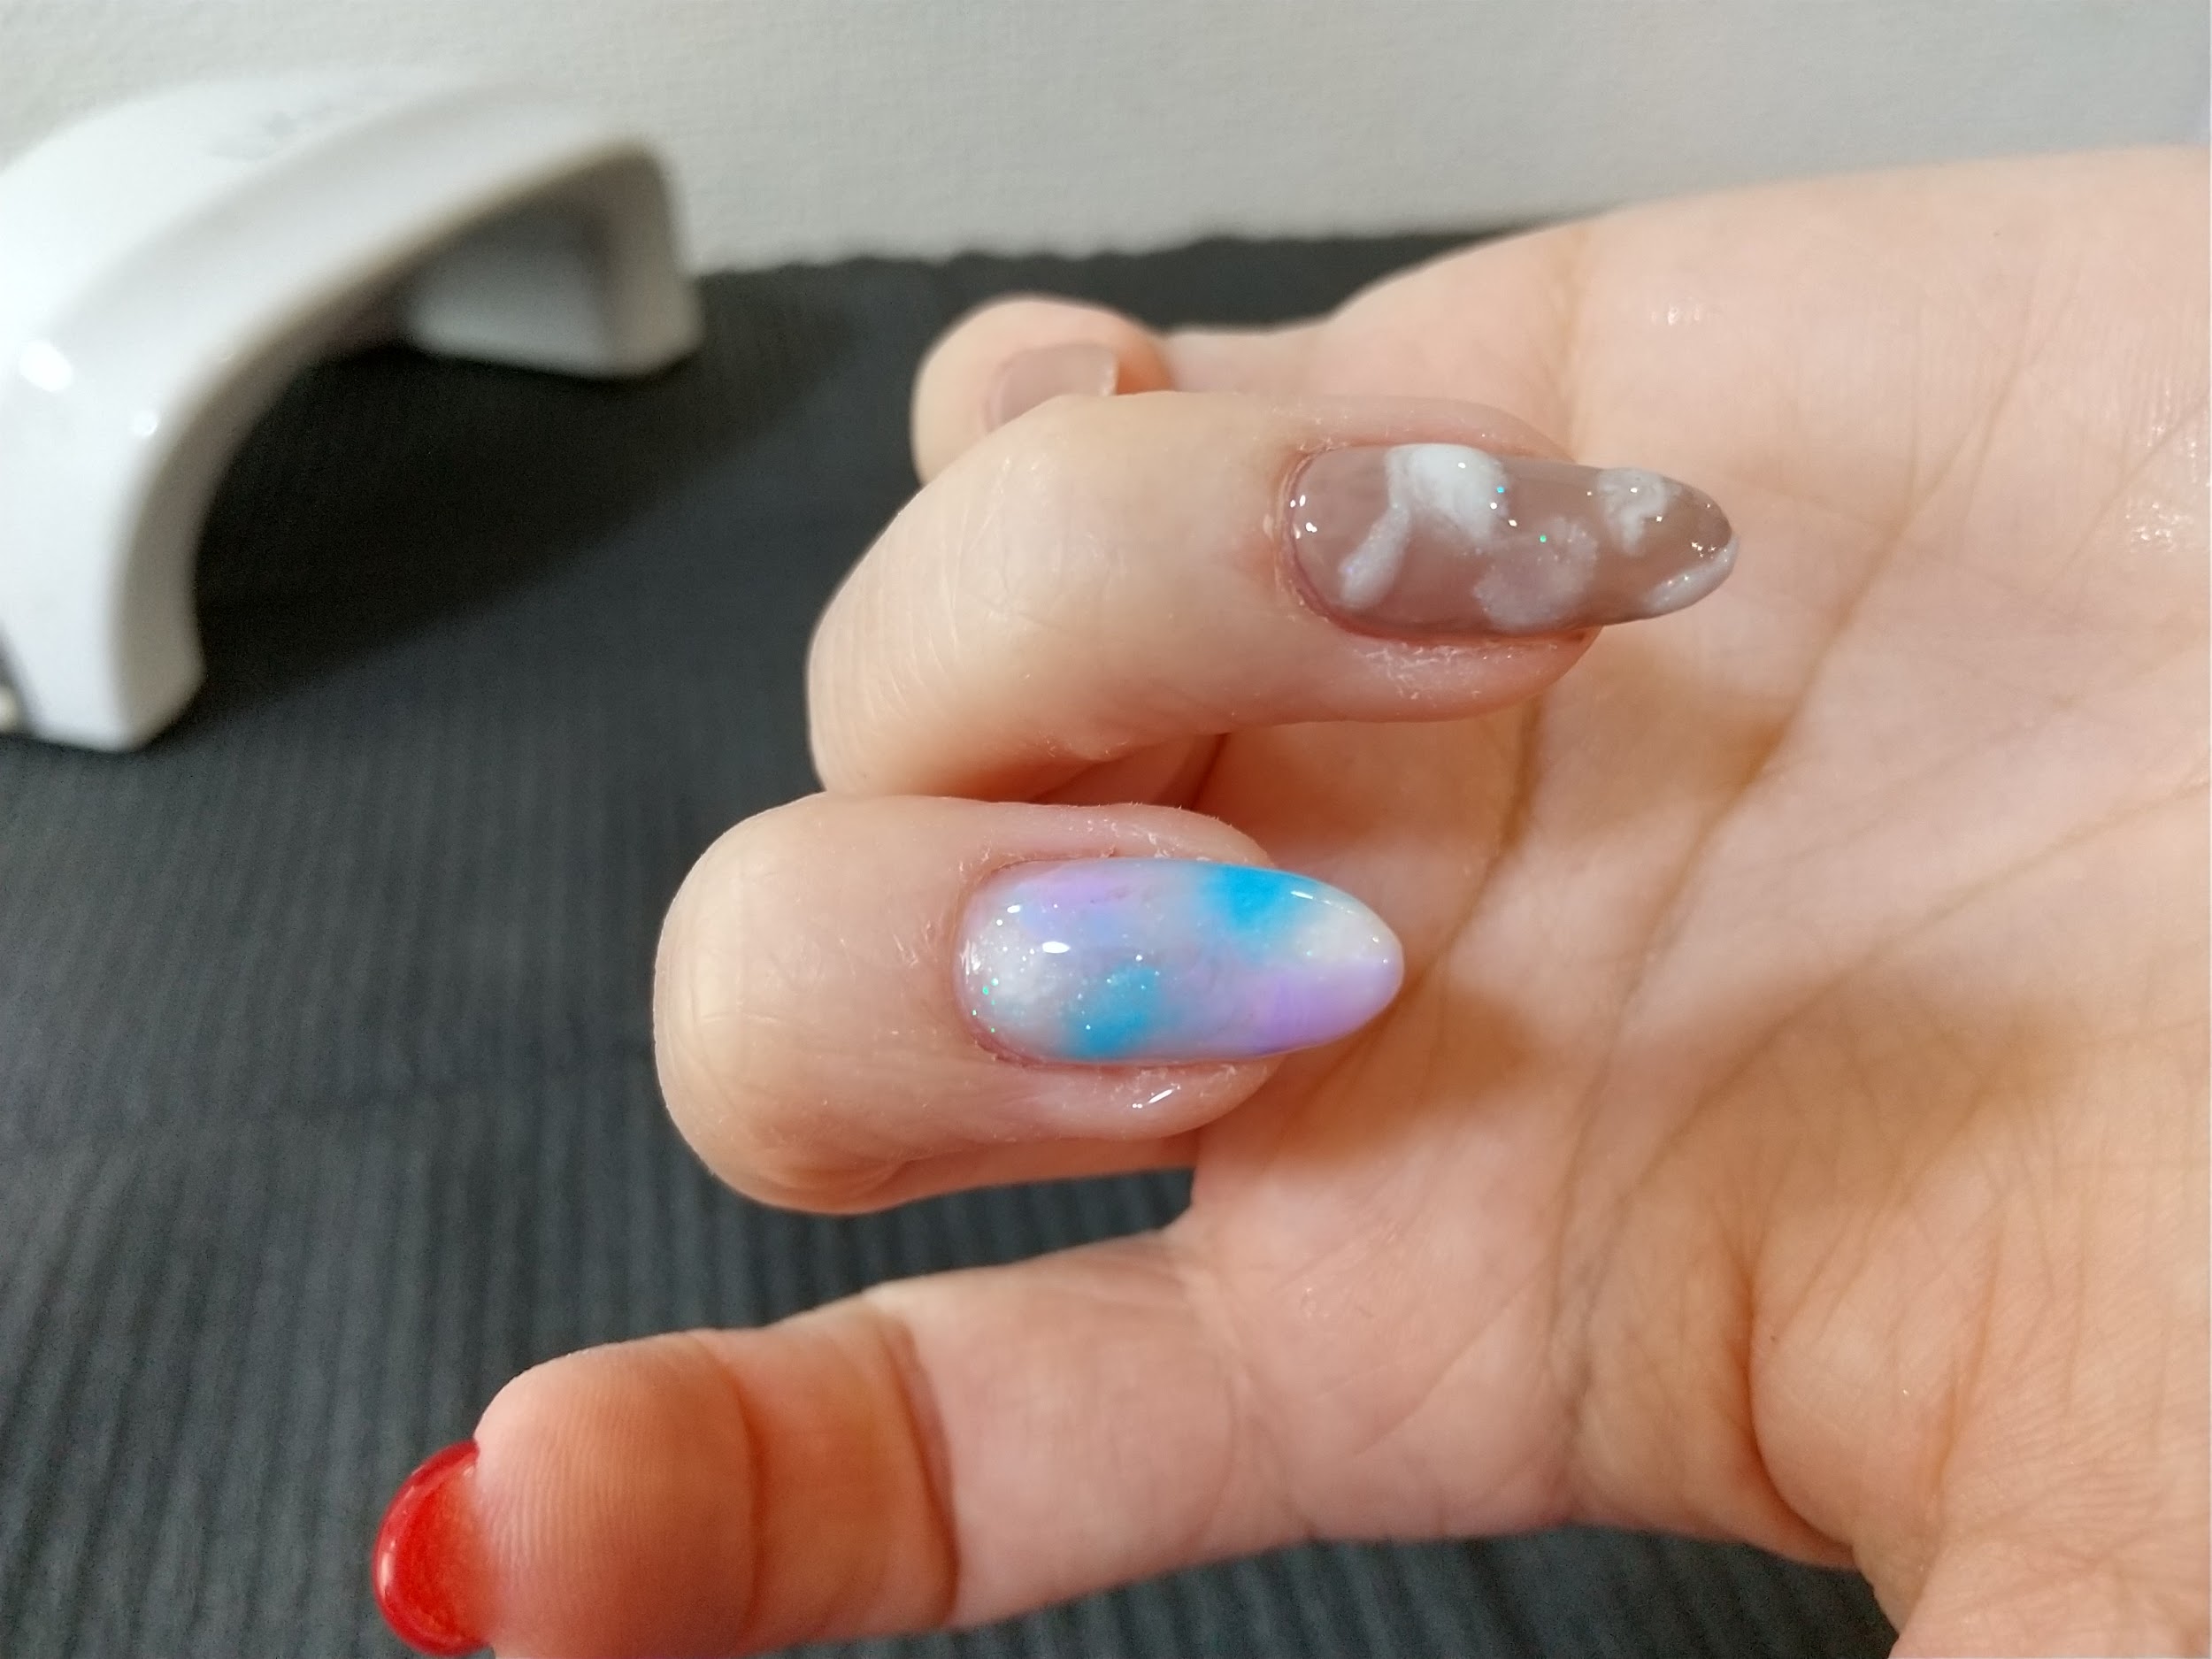
※右手中指を装飾
Ami今回は水色と薄い紫以外にも、横模様の茶色と白のマーブルネイルも行いました。
 Ami
Ami色を潰さないように境目をぼかしながら横に動かしていきます。横に流れるように乗せると横模様のマーブルネイルが完成します。
 Ami
Ami横に流れるように乗せると横模様のマーブルネイルが出来上がります。
 Ami
Amiキワを拭き取り。
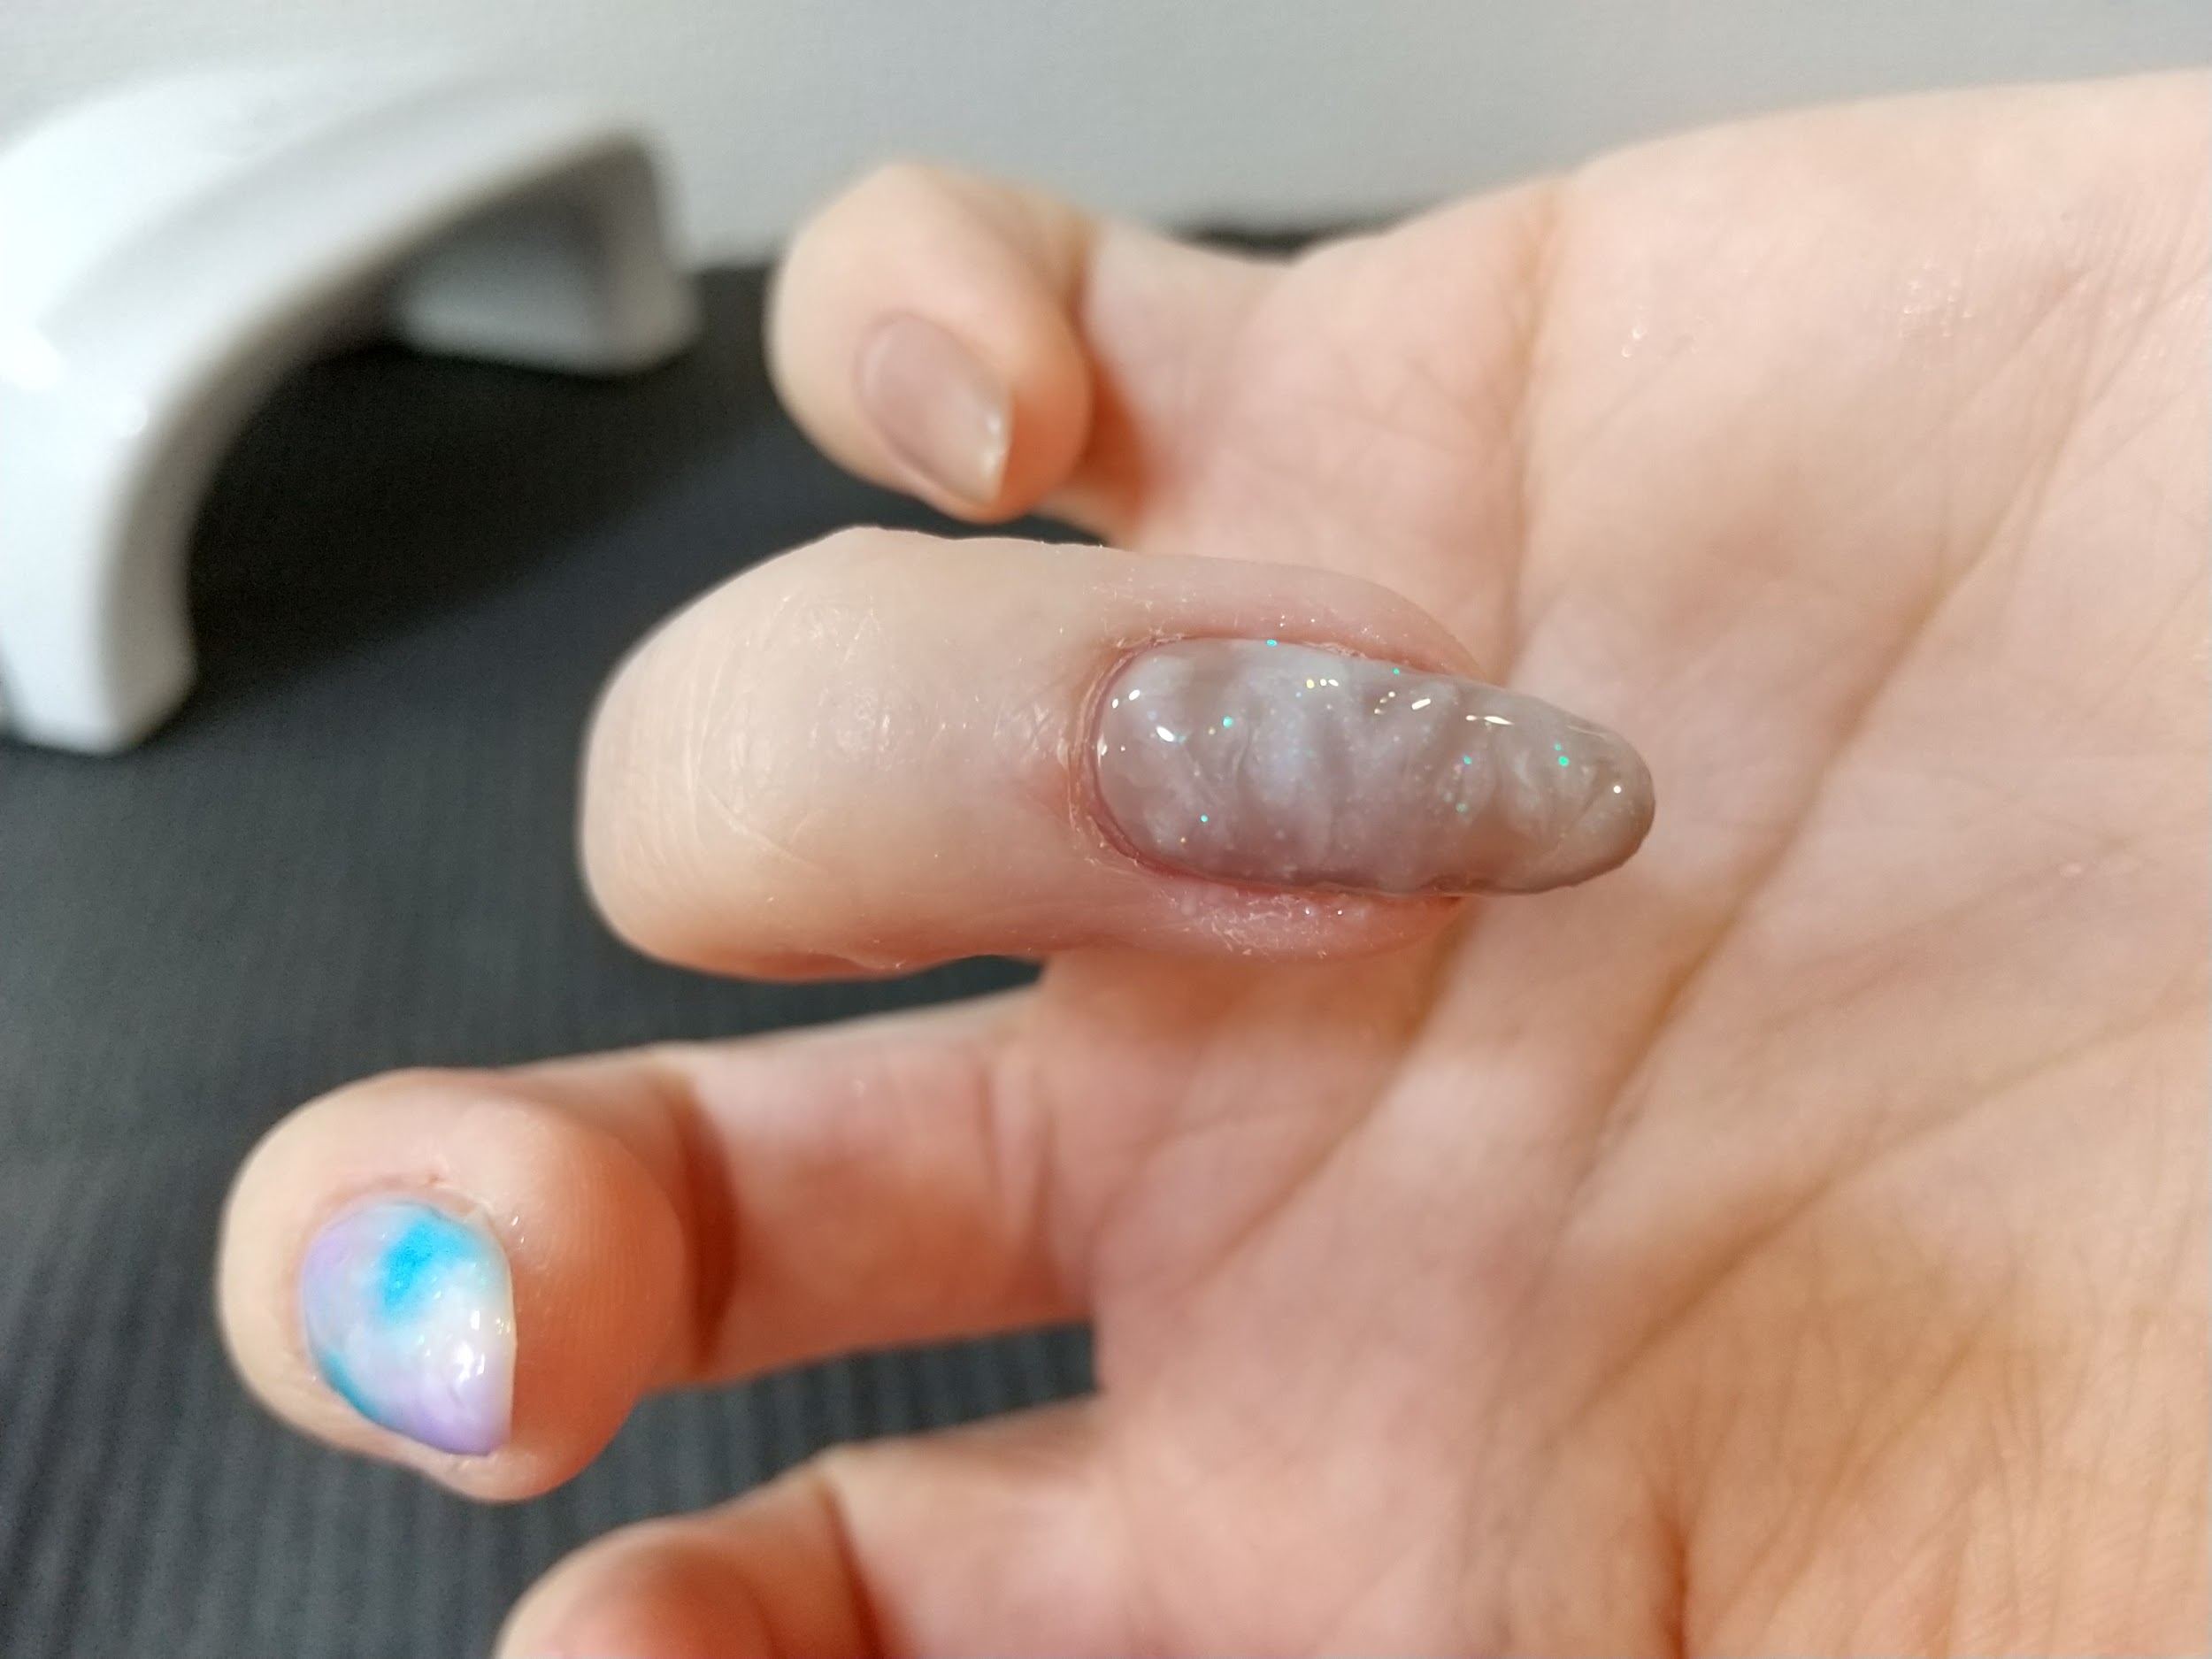
 Ami
Ami完成です!ぼかし方で違った雰囲気が楽しめます。
【番外編】ラップを使った簡単なやり方
 Ami
Ami自分で道具を用意して本格的に挑戦してみるのもよいですが、最初は簡単にしてみたいという方もいますよね。ここではマニキュアでやりたい方や初心者の方も簡単にできる方法を紹介します!
用意する道具
- ベースコート
- カラーマニキュア
- トップコート
- ラップ
- マスキングテープ
簡単な手順とコツ
- ベースコートを塗って乾かす
マスキングテープで皮膚を覆っておくと、皮膚にマニキュアが付くのを防げます。 - カラーマニキュアを塗って乾かす
薄い場合は2度塗りしましょう - マーブル模様にしたい色を水玉状にランダムに
1色目と2色目は重なるようにおきます - 乾かないうちにラップを上から被せてボヤかす
- 乾かないうちにラップを外します。外したら乾かす
- トップコートを塗って乾かしたら完成!
Amiマーブル模様がうまくいかないときはトップコートを塗る前に、ラメでマーブル柄の様に書くと可愛く仕上がります。
【コツ】筆の動かし方
 Ami
Amiマーブルネイルをアートするときのコツは、力を入れすぎないことです。力が入りすぎてしまうと、カラーがえぐれてしまってキレイに仕上がりません。
2つのコツ
- 力を入れすぎない
- S字を描くようにする
Ami力を抜いて、サーっと軽くマーブルにしたいジェルを引っ張るようにします。また、引っ張るときは、S字を描くようにすると素敵なマーブルデザインになります。
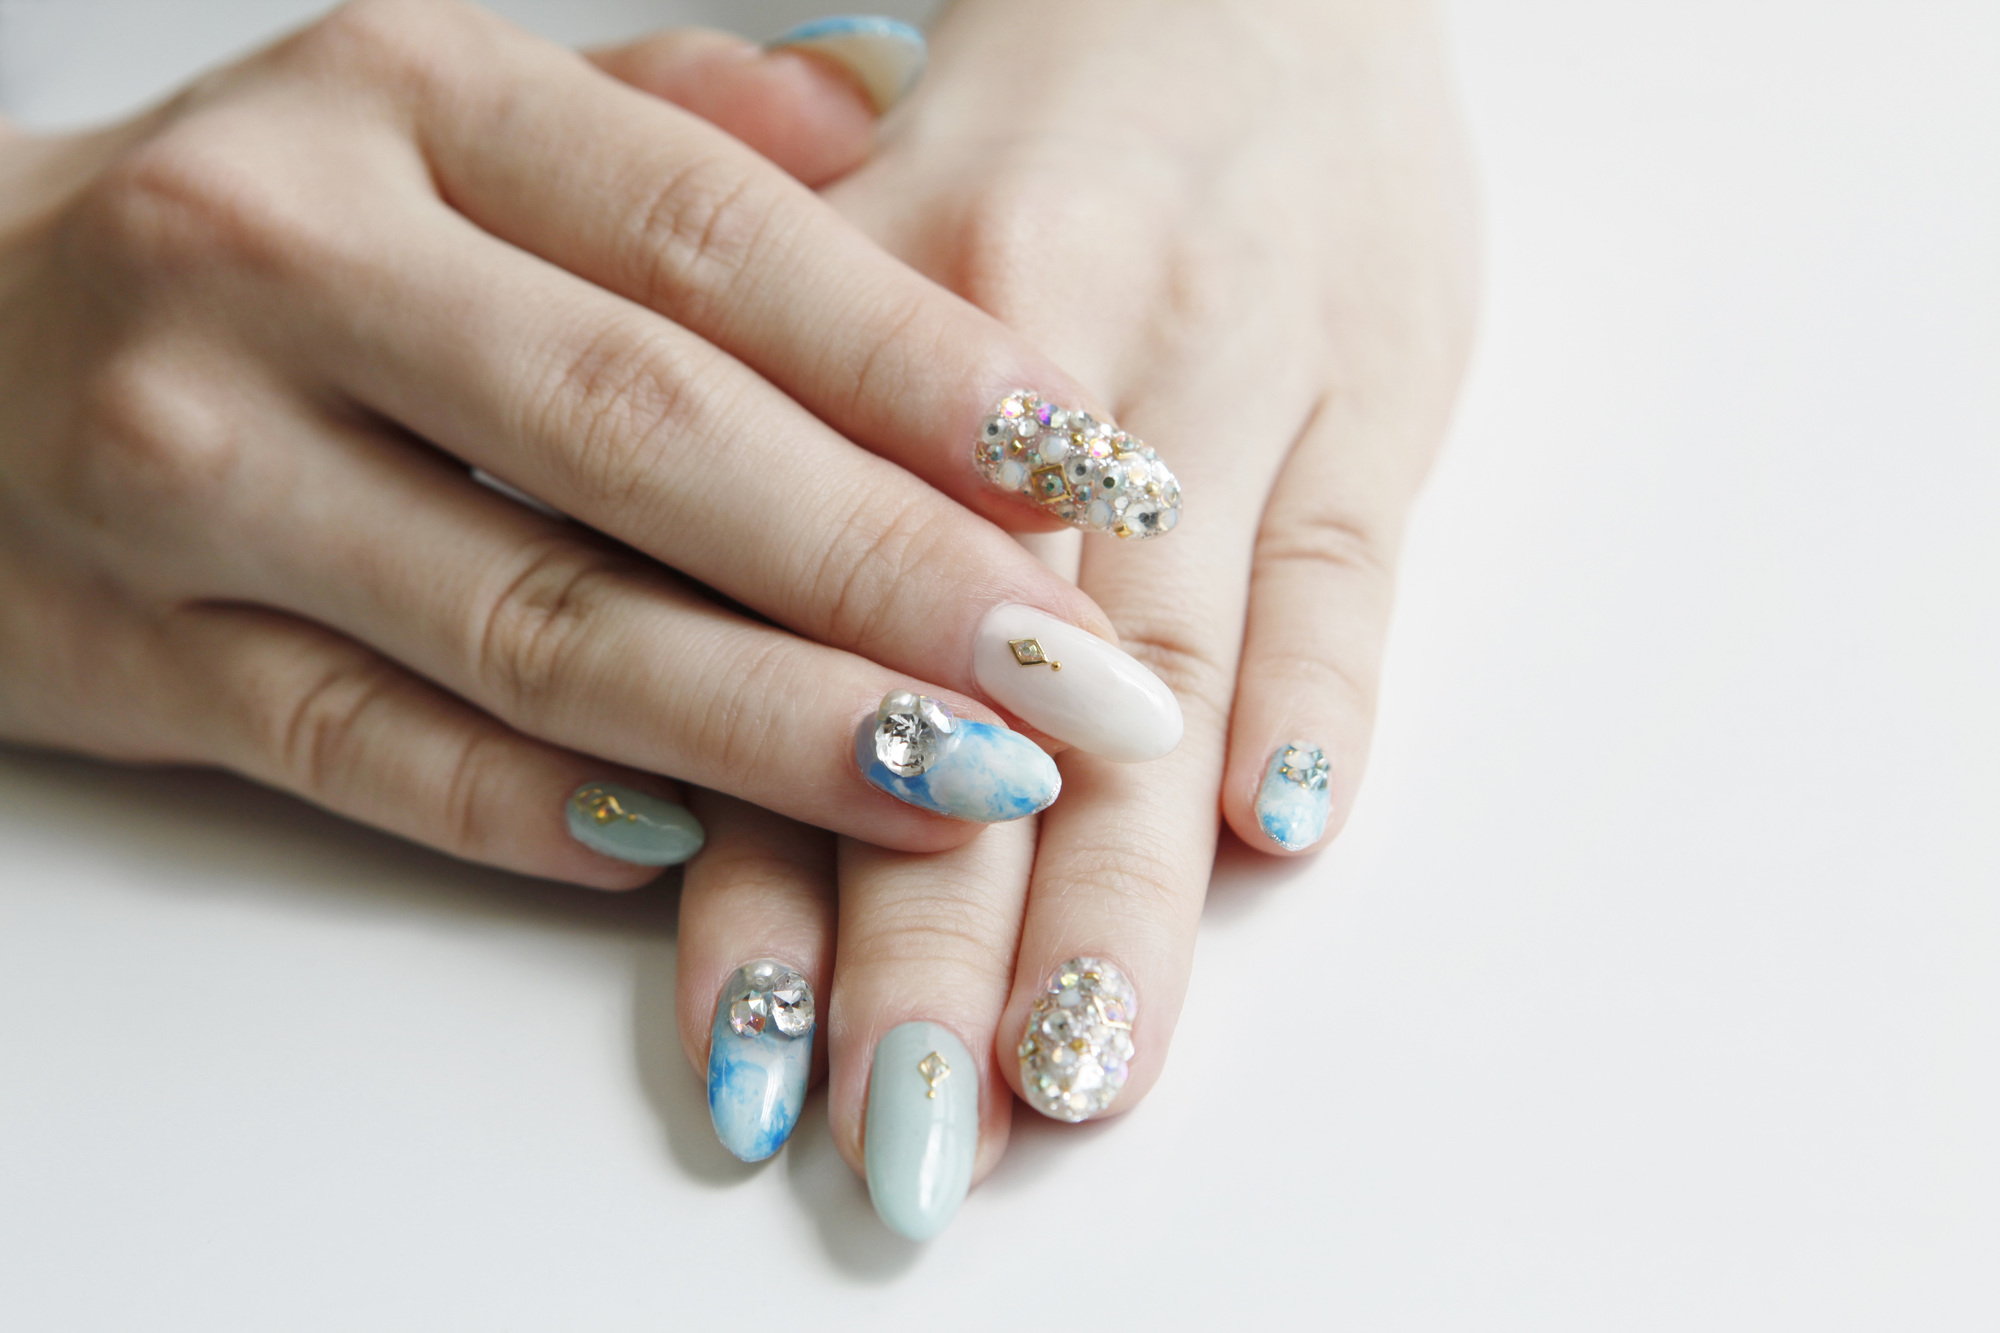
【まとめ】お好みのアレンジを加えよう!
 ジェルネイル実践記 編集部
マーブルネイルはそのままでも十分おしゃれで可愛いですが、自分好みにアレンジすることで素敵なネイルデザインになります。
Amiネイルパーツを付けてみたり、ラメを入れたりするだけで、とてもおしゃれになります。ぜひ、おしゃれなネイルデザインを見つけましょう。